
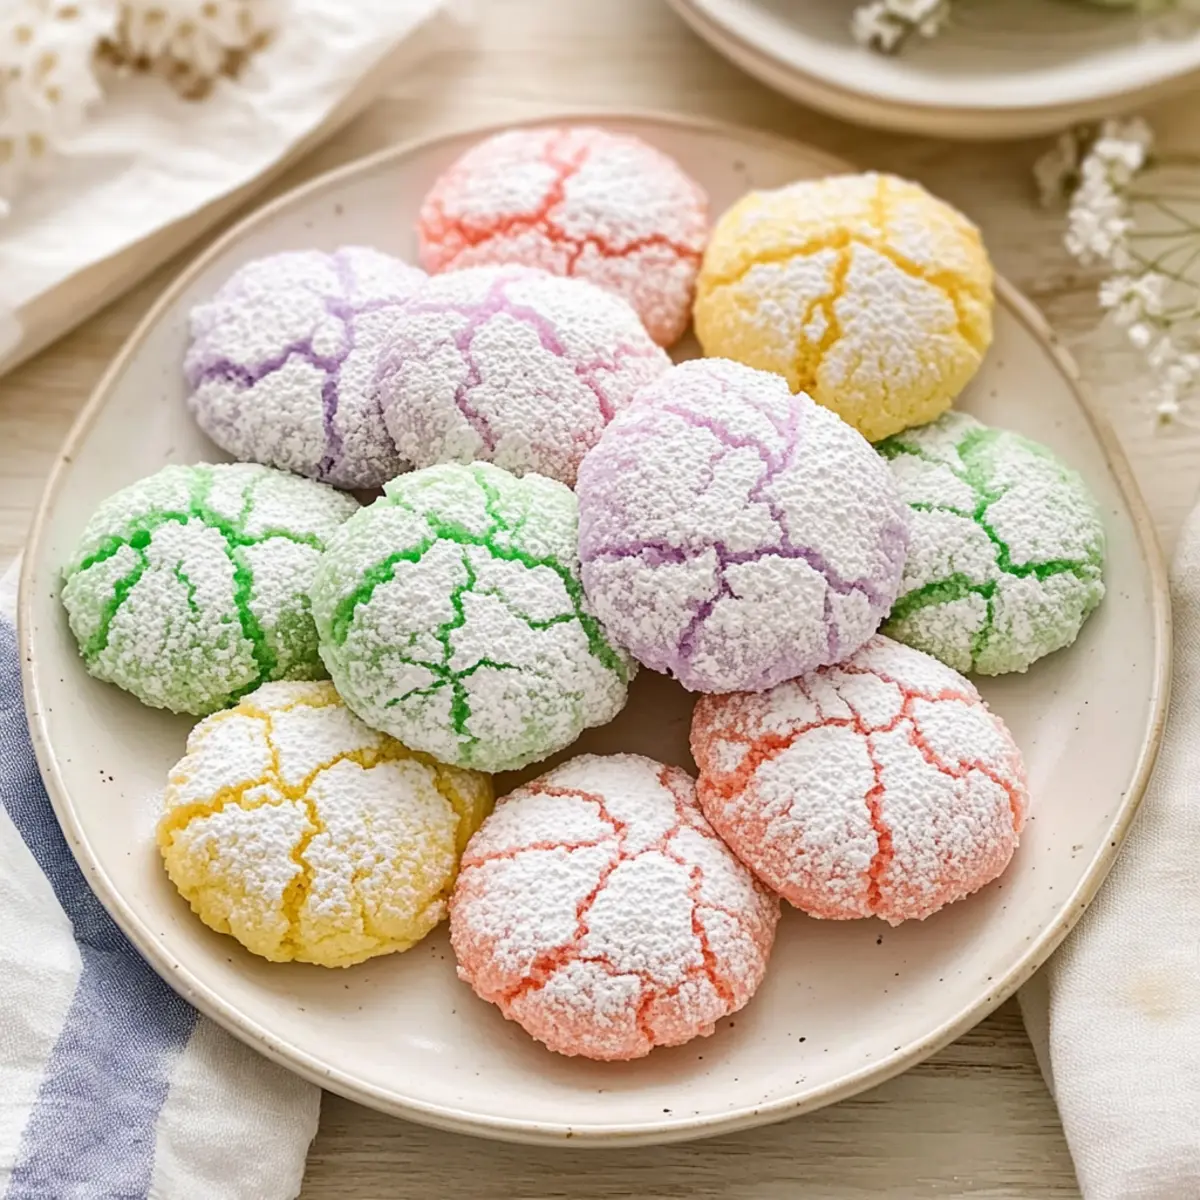
A sudden sprinkle of color transforms a gray kitchen counter into a vibrant spring celebration! With each bite of these Springtime Crinkle Cookies, I’m transported to sunny days filled with laughter and joy. They’re effortlessly easy to whip up and perfect for any occasion—Easter brunch, baby showers, or simply to brighten a friend’s day. The delightful pastel shades and sugary exterior not only catch the eye but also create a soft, chewy center that’s simply irresistible. Whether you’re a kitchen novice or a seasoned pro, this fun treat is a fantastic way to bring a burst of warmth and cheer into your home. Are you ready to bake and bring spring vibes to your table? Let’s dive into the recipe!
Why are Springtime Crinkle Cookies a must-try?
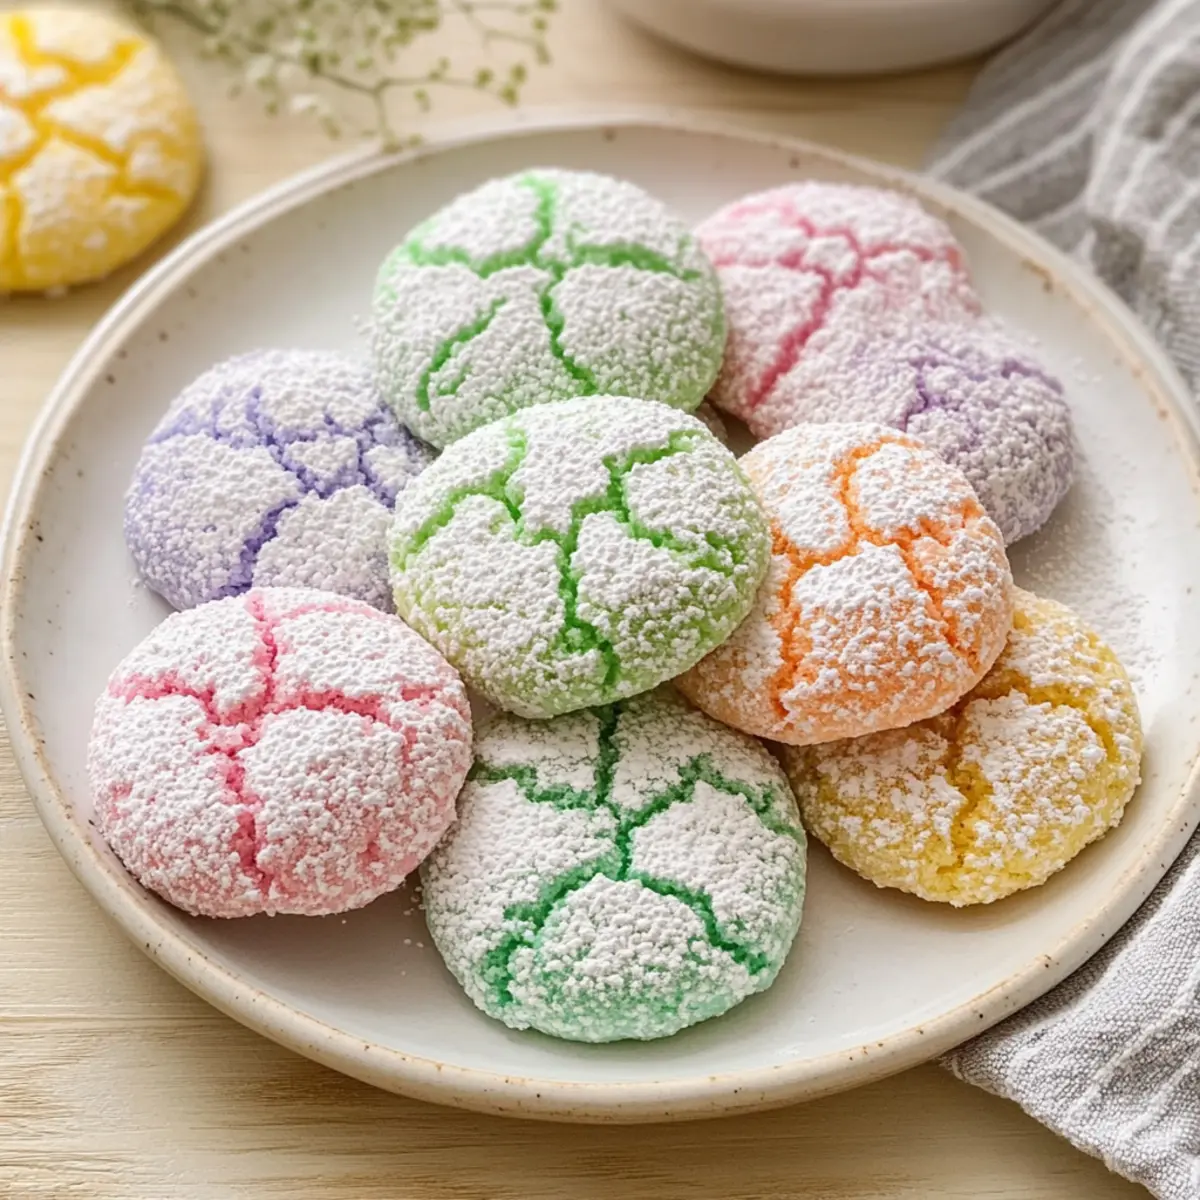
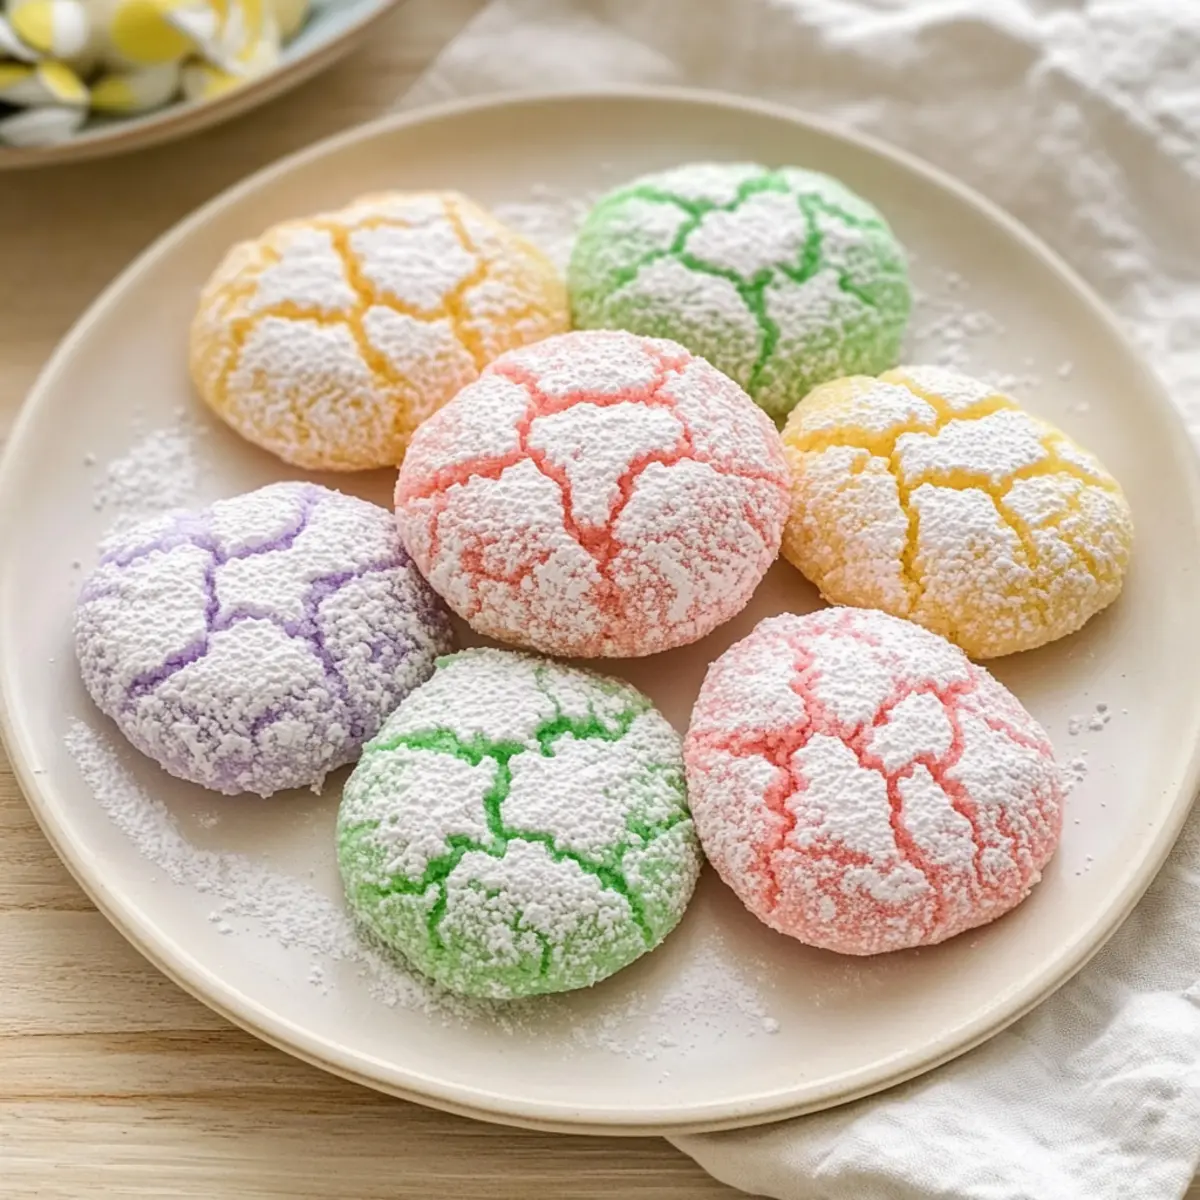
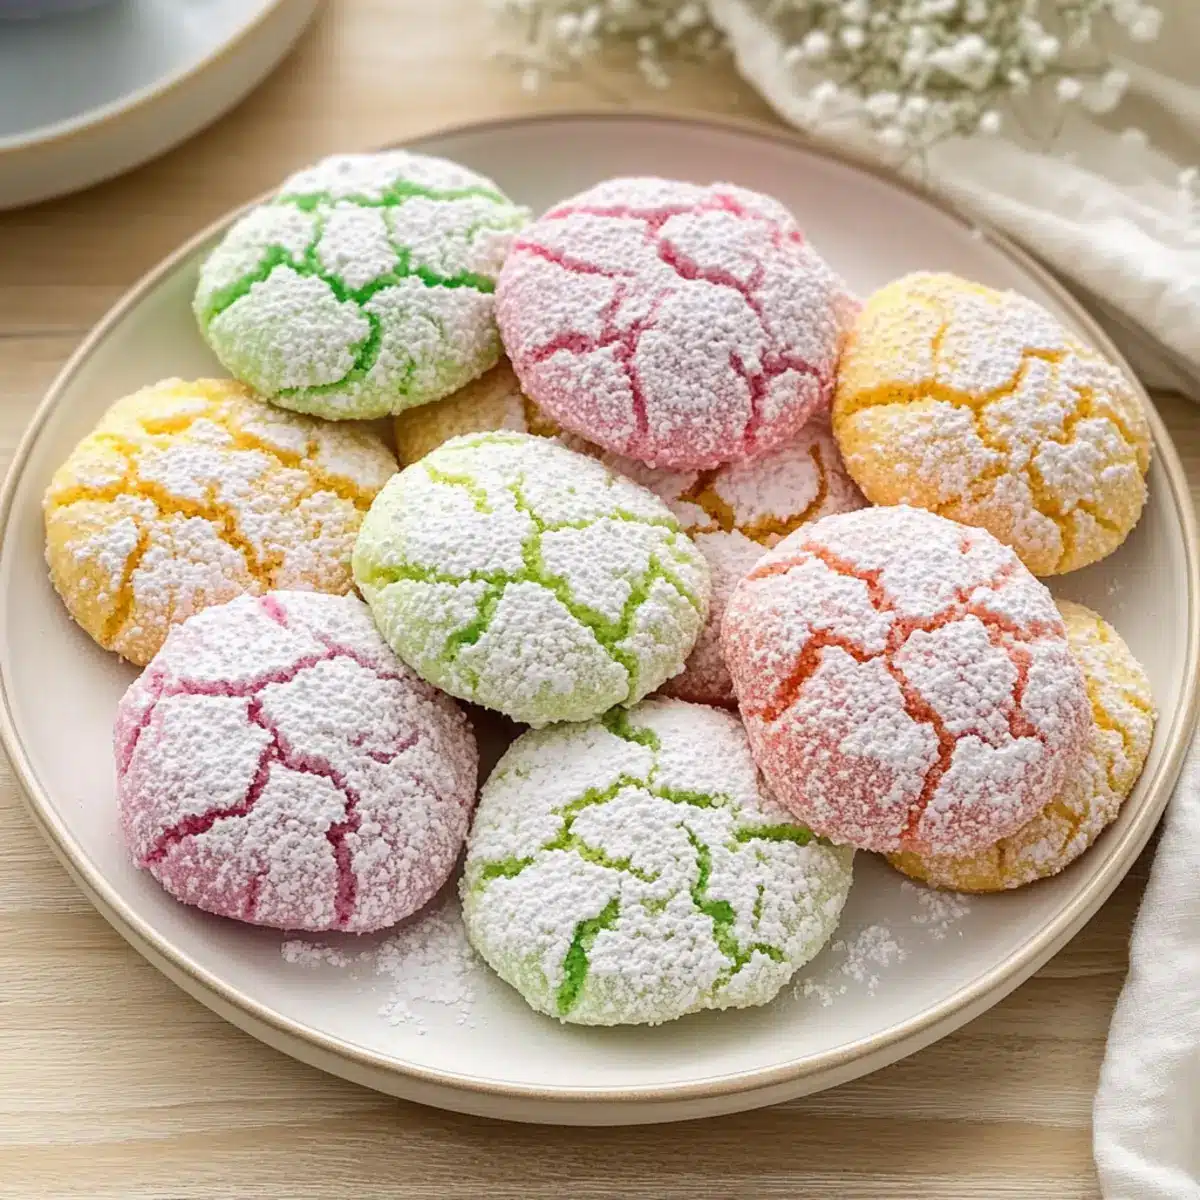
Vibrant colors: These cookies bring a cheerful pop of pastel to your dessert table, brightening any occasion with their delightful appearance.
Effortless preparation: Perfect for both novice and seasoned bakers, they require simple steps and common ingredients, making them a go-to dessert option.
Bursting with flavor: The combination of sweet vanilla and optional almond extract creates a scrumptious taste that’s perfectly complemented by the sugary crust.
Versatile treats: Ideal for Easter brunch, baby showers, or an afternoon pick-me-up, these cookies cater to various celebrations and gatherings. Get inspired by related recipes like Lemon Oatmeal Cookies for more festive ideas!
Crowd-pleaser: With their soft centers and chewy texture, these cookies are bound to be a hit among friends and family alike.
Springtime Crinkle Cookies Ingredients
For the Batter
• All-Purpose Flour – Provides structure; ensure accurate measurement for best results.
• Baking Powder – Vital for a soft and fluffy texture; don’t skip this ingredient!
• Salt – Enhances flavor; a pinch balances the sweetness perfectly.
• Unsalted Butter – Adds richness; make sure it’s at room temperature for easy mixing.
• Granulated Sugar – Keeps cookies soft and enhances texture; use for that delightful sweetness.
• Large Eggs – Acts as a binding agent; helps provide moisture for a chewy crumb.
• Vanilla Extract – Essential for flavor; it creates a comforting aroma you won’t want to miss!
• Almond Extract (optional) – Adds an overlay flavor; feel free to substitute with other extracts, if desired.
For the Coating
• Powdered Sugar – Creates the signature crinkle look; make sure not to skip this crucial step.
For the Color
• Gel Food Coloring – Offers vibrant hues; use this instead of liquid coloring to maintain the dough’s consistency.
Dive into these delightful Springtime Crinkle Cookies and watch as they elevate your next gathering with their cheerful flavors and textures!
Step‑by‑Step Instructions for Springtime Crinkle Cookies
Step 1: Preheat and Prepare
Begin by preheating your oven to 350°F (175°C) ensuring it reaches the right temperature for perfect baking. While the oven warms up, line a baking sheet with parchment paper—this will prevent the cookies from sticking and aid in easy cleanup, giving you a clean canvas for your delightful Springtime Crinkle Cookies.
Step 2: Mix the Dry Ingredients
In a medium bowl, whisk together the all-purpose flour, baking powder, and salt until evenly combined. This dry mixture helps to create the structure and lift the cookies need. Take a moment to enjoy the aroma of the flour as you prepare to blend it with the wet ingredients later for your Springtime Crinkle Cookies.
Step 3: Cream the Butter and Sugar
In a large mixing bowl, use an electric mixer to beat the softened unsalted butter and granulated sugar together until the mixture is light and fluffy, about 2-3 minutes. This creaming process is vital in incorporating air, which will help your cookies achieve that lovely chewy texture. Stir in the eggs, one at a time, ensuring each is fully incorporated before adding the next.
Step 4: Incorporate the Flavoring
Once the eggs are mixed in, stir in the vanilla extract and optional almond extract. The comforting aroma will fill your kitchen, setting the mood for baking. Gradually fold the prepared dry ingredients into the wet mixture until a thick, cohesive dough forms—this is the base of your delicious Springtime Crinkle Cookies.
Step 5: Color and Chill the Dough
Divide the dough into several portions and mix in your chosen pastel gel food coloring, kneading gently until the colors are evenly distributed. To maintain their shape while baking, wrap the dough in plastic wrap and chill in the refrigerator for at least 30 minutes. This crucial step helps prevent spreading and allows the flavors to meld beautifully.
Step 6: Shape the Cookies
After chilling, remove the dough from the fridge and preheat your oven if needed. Pinch off tablespoon-sized portions of dough and roll them into balls in your hands. Once shaped, thoroughly coat each ball in powdered sugar, ensuring they are generously covered before placing them on the prepared baking sheet, spaced about two inches apart.
Step 7: Bake and Cool
Bake the Springtime Crinkle Cookies in your preheated oven for 10–12 minutes or until the tops crack and the edges set while the centers remain soft. You’ll know they’re ready when you see lovely cracks forming on the surface, giving them that signature crinkle look. Allow them to cool on the baking sheet for a few minutes before transferring to a wire rack to cool completely, letting their flavors develop.
What to Serve with Springtime Crinkle Cookies?
These delightful treats create an inviting atmosphere for any gathering and pair deliciously with seasonal flavors.
- Fresh Fruit Salad: A mix of vibrant seasonal fruits adds a refreshing contrast to the cookies’ sweetness, enhancing the joy of your spring celebration.
- Vanilla Ice Cream: Creamy and cool, a scoop of vanilla ice cream perfectly balances the chewy texture of the cookies, creating a delightful dessert duo.
- Lemonade or Iced Tea: The zesty refreshment of lemonade or herbal iced tea cleanses the palate, making each bite of cookie feel like a new experience.
- Chocolate Dipped Strawberries: The luscious chocolate pairs beautifully with the sweet vanilla and pastel colors, creating an elegant dessert spread perfect for special occasions.
- Cream Cheese Frosting: A dollop or spread of tangy cream cheese frosting takes these cookies to another level, adding richness that complements their flavor beautifully.
- Mini Cheesecakes: Bite-sized cheesecakes provide a contrast in texture and flavor, ensuring your dessert table is both varied and enticing for everyone.
- Sparkling Water with Citrus: Fizz and zesty notes of citrus in sparkling water refresh after each sweet bite, making it a lively accompaniment to your cookies.
- Coffee or Espresso: The bold flavors of coffee or espresso provide a delightful contrast to the sweet cookies, making them an excellent post-meal treat.
How to Store and Freeze Springtime Crinkle Cookies
Room Temperature: Store cookies in an airtight container at room temperature for up to 5 days. This keeps them fresh and soft for snacking!
Fridge: If you prefer a slightly firmer texture, you can refrigerate the cookies for up to a week in an airtight container. Just allow them to come to room temperature before serving.
Freezer: For long-term storage, freeze the cookies in a single layer on a baking sheet until solid, then transfer to an airtight container or freezer bag for up to 3 months.
Reheating: To enjoy the cookies warm, reheat them in the oven at 300°F (150°C) for about 5-7 minutes. This will bring back their lovely chewy texture!
Make Ahead Options
These Springtime Crinkle Cookies are a fantastic choice for meal prep enthusiasts looking to save time on busy days! You can prepare the cookie dough up to 24 hours in advance by mixing it and chilling it in the refrigerator. This not only helps meld the flavors but also prevents spreading during baking. When you’re ready to bake, simply roll the chilled dough into balls, coat them in powdered sugar, and bake as directed. If you’re planning ahead for an event, baked cookies can be stored in an airtight container for up to 5 days at room temperature or frozen for up to 3 months. This way, you can always have a delightful treat ready to go, just as delicious as when freshly made!
Springtime Crinkle Cookies Variations
Feel free to get creative with these delightful Springtime Crinkle Cookies; your kitchen deserves a fun twist!
-
Almond Extract Swap: Replace almond extract with coconut or hazelnut for a unique flavor profile that surprises the taste buds. The buttery base pairs wonderfully with different extracts, letting you craft a cookie that’s tailored to your preferences.
-
Color Mix: Incorporate several pastel shades into the dough for a vibrant mix that looks like a spring garden. This playful approach will brighten your treat table and excite the senses.
-
Nutty Add-Ins: Add chopped nuts like walnuts or pecans for added texture and a delightful crunch. Just fold them into the dough before chilling to create a layered experience in every bite.
-
Fruity Zing: Incorporate a tablespoon of lemon or orange zest to infuse a citrusy brightness into the cookies. This lively flavor combination will uplift your dessert game and transport you straight to sunny days.
-
Chocolate Chip Surprise: Swap out some flour with mini chocolate chips for a delightful chocolate swirl within the cookie. This sweet twist harmonizes beautifully with the pastel aesthetics, pleasing both the eye and the palate.
-
Spicy Kick: For those who enjoy a little heat, add a pinch of cayenne pepper or cinnamon to the dough. This unexpected spice can elevate the flavor profile while creating a cozy, warm sensation in every bite.
-
Mini Cookies: Make smaller versions of these cookies for bite-sized delights! Just decrease the baking time by a couple of minutes and watch them disappear quickly at your gatherings.
Creating variations can make these Springtime Crinkle Cookies an even more delightful and versatile treat. If you love fun cookies, consider making Lemon Oatmeal Cookies for an equally cheerful dessert experience! Or, if you’re looking for something a bit different and quick, try my scrumptious 4-Ingredient Chewy Cookies. Enjoy your baking adventure!
Expert Tips for Springtime Crinkle Cookies
-
Chill Time Matters: Make sure to chill the dough for at least 30 minutes. This prevents spreading during baking and helps maintain a perfect shape for your Springtime Crinkle Cookies.
-
Gel Food Coloring: Opt for gel food coloring instead of liquid. It gives vibrant colors without altering the consistency of the dough—important for those stunning pastel hues!
-
Prepping the Baking Sheet: Always line your baking sheet with parchment paper. This prevents the cookies from sticking and ensures a hassle-free cleanup, allowing you to focus on enjoying your delicious cookies.
-
Rolling in Sugar: For a flawless crinkle look, be generous with the powdered sugar when coating the dough balls. Skimping can result in less visible cracks during baking.
-
Cooling Technique: Let the cookies cool on the baking sheet for a few minutes before transferring them to a wire rack. This helps them firm up while retaining a soft, chewy center.
Springtime Crinkle Cookies Recipe FAQs
How do I choose ripe ingredients for my Springtime Crinkle Cookies?
Absolutely! For the best results, make sure your eggs are fresh and at room temperature, which helps them blend more smoothly into the batter. When selecting butter, choose unsalted and ensure it’s soft but not melted, allowing for easy creaming with sugar. Proper ingredient temperatures can really elevate the final product!
What’s the best way to store my cookies after baking?
Very straightforward! After your cookies cool completely, store them in an airtight container at room temperature for up to 5 days. If you’re worried about them becoming stale, you might consider refrigerating them for about a week, just be sure to let them reach room temperature before serving.
Can I freeze Springtime Crinkle Cookies? How should I do that?
Absolutely! For freezing, place your cookies in a single layer on a baking sheet and freeze until solid. Then, transfer them to an airtight container or a freezer bag and they’ll last for up to 3 months. When you’d like to enjoy them again, simply reheat at 300°F (150°C) for about 5-7 minutes to restore that delightful chewy texture.
What should I do if my dough seems too sticky to roll into balls?
If you find your dough is too sticky to manage, don’t worry! This can happen sometimes. Simply chill the dough for an additional 10-15 minutes to help firm it up. If it’s still too sticky afterward, lightly dust your hands with powdered sugar while rolling the dough into balls to make the process easier.
Are there any allergy considerations for Springtime Crinkle Cookies?
Definitely! If you have nut allergies, I suggest omitting the almond extract, as it can cause reactions in sensitive individuals. The recipe is generally free from gluten allergens as well, provided you use gluten-free flour. Make sure to check all your ingredient labels for gluten cross-contaminations if that is a concern.
Can I customize the colors and flavors of my cookies?
Oh, very much so! Feel free to experiment with gel food coloring—combine different shades for a fun, swirled effect or adjust the flavors by substituting almond extract with vanilla, coconut, or hazelnut extracts. The possibilities are endless, and the more, the merrier!
Delicious Springtime Crinkle Cookies for Sweet Celebrations
Ingredients
Equipment
Method
- Preheat your oven to 350°F (175°C) and prepare a baking sheet with parchment paper.
- In a medium bowl, whisk together the all-purpose flour, baking powder, and salt until evenly combined.
- In a large mixing bowl, beat the softened unsalted butter and granulated sugar together until light and fluffy, about 2-3 minutes. Stir in the eggs one at a time.
- Stir in the vanilla extract and optional almond extract. Gradually fold in the prepared dry ingredients until a thick dough forms.
- Divide the dough into several portions and mix in gel food coloring. Chill in the refrigerator for at least 30 minutes.
- Pinch off tablespoon-sized portions of dough and roll into balls. Coat each ball in powdered sugar and place on the baking sheet.
- Bake for 10–12 minutes until tops crack and edges are set. Let cool on the baking sheet for a few minutes before transferring to a wire rack.
Leave a Reply