Ingredients
Equipment
Method
Step-by-Step Instructions
- Preheat your oven to 350°F. In a mixing bowl, combine your favorite cake mix according to the package instructions. Fill each sugar cone with about 2 tablespoons of the batter, anchoring them upright on a baking sheet. Bake for 15-18 minutes until the cones are golden and spring back lightly when touched. Let the cookie bases cool completely on a wire rack.
- Once cooled, carefully trim the excess cake from the tops of the baked cones to create a clean edge. Use the black color mist food coloring spray to coat each cone evenly, ensuring to hold the can about 6 inches away for a smooth application. Allow the cones to dry completely on a wire rack.
- Divide the creamy white decorator icing into separate bowls for coloring. Add lemon yellow, rose, violet, or any vibrant shades you desire to create your icing palette. Mix well until the colors are rich and vivid, and then transfer each colored icing into prepared piping bags.
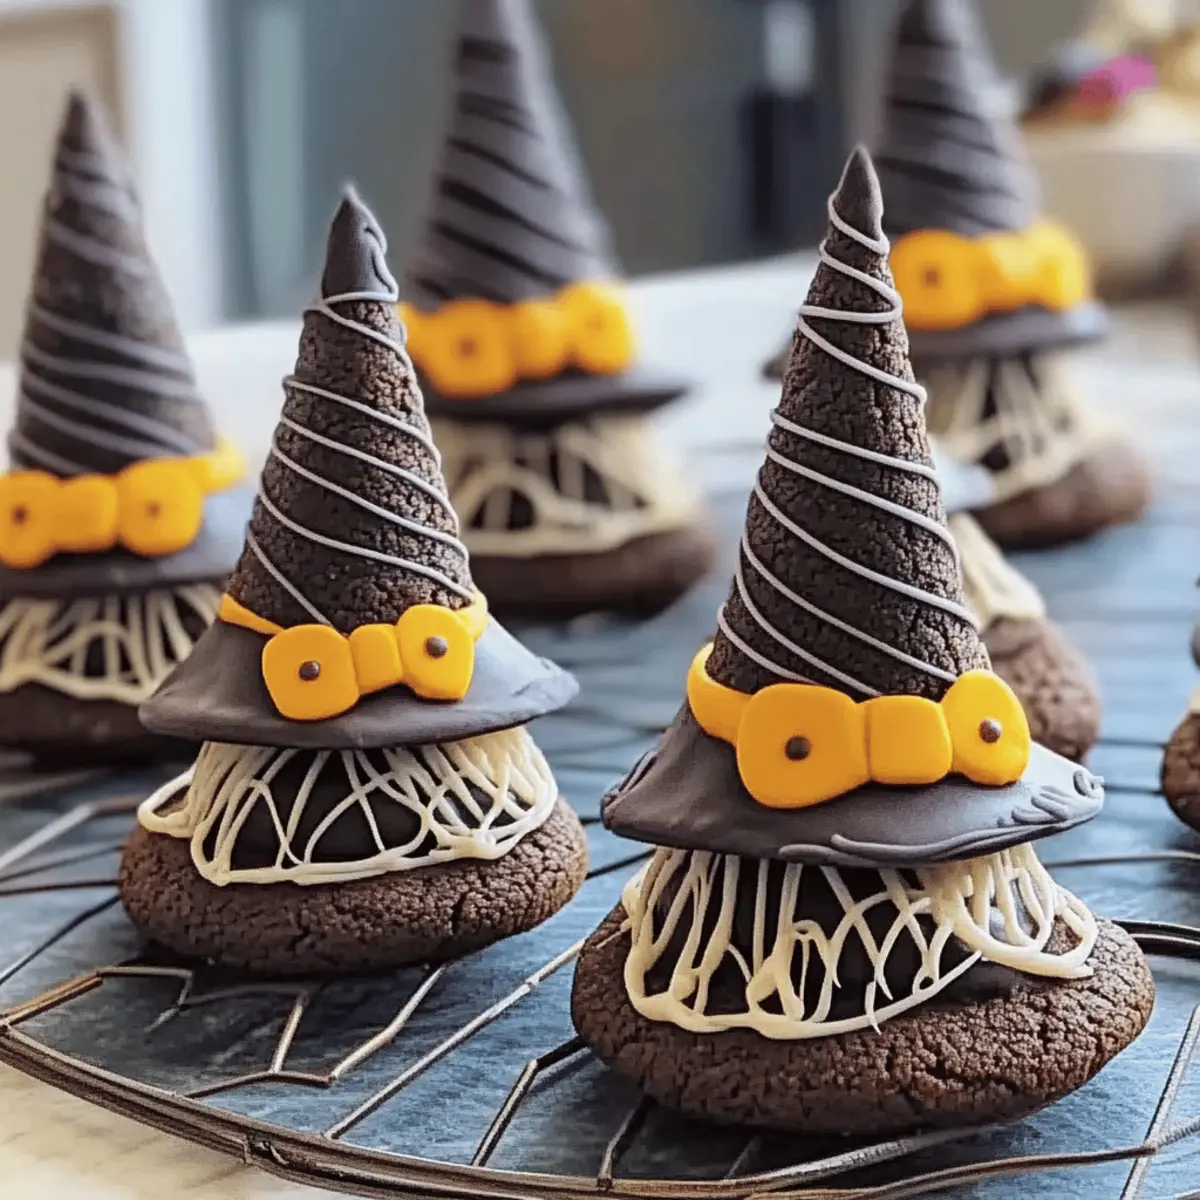
- To assemble your witch hats, take a piping bag filled with orange icing and pipe a small dollop onto the center of each cookie base to serve as adhesive. Gently position the decorated sugar cone atop the cookie, pressing down slightly to secure it in place.
- After the initial icing sets, pipe decorative designs around each cone using the various colored icing. Allow all the icing to dry thoroughly before serving your Fun Halloween Witch Hat Cookies.
Nutrition
Notes
Store cookies in an airtight container at room temperature for up to 5 days. For longer storage, individually wrap each cookie and freeze for up to 3 months. Let them dry completely between steps to prevent smudging.
