
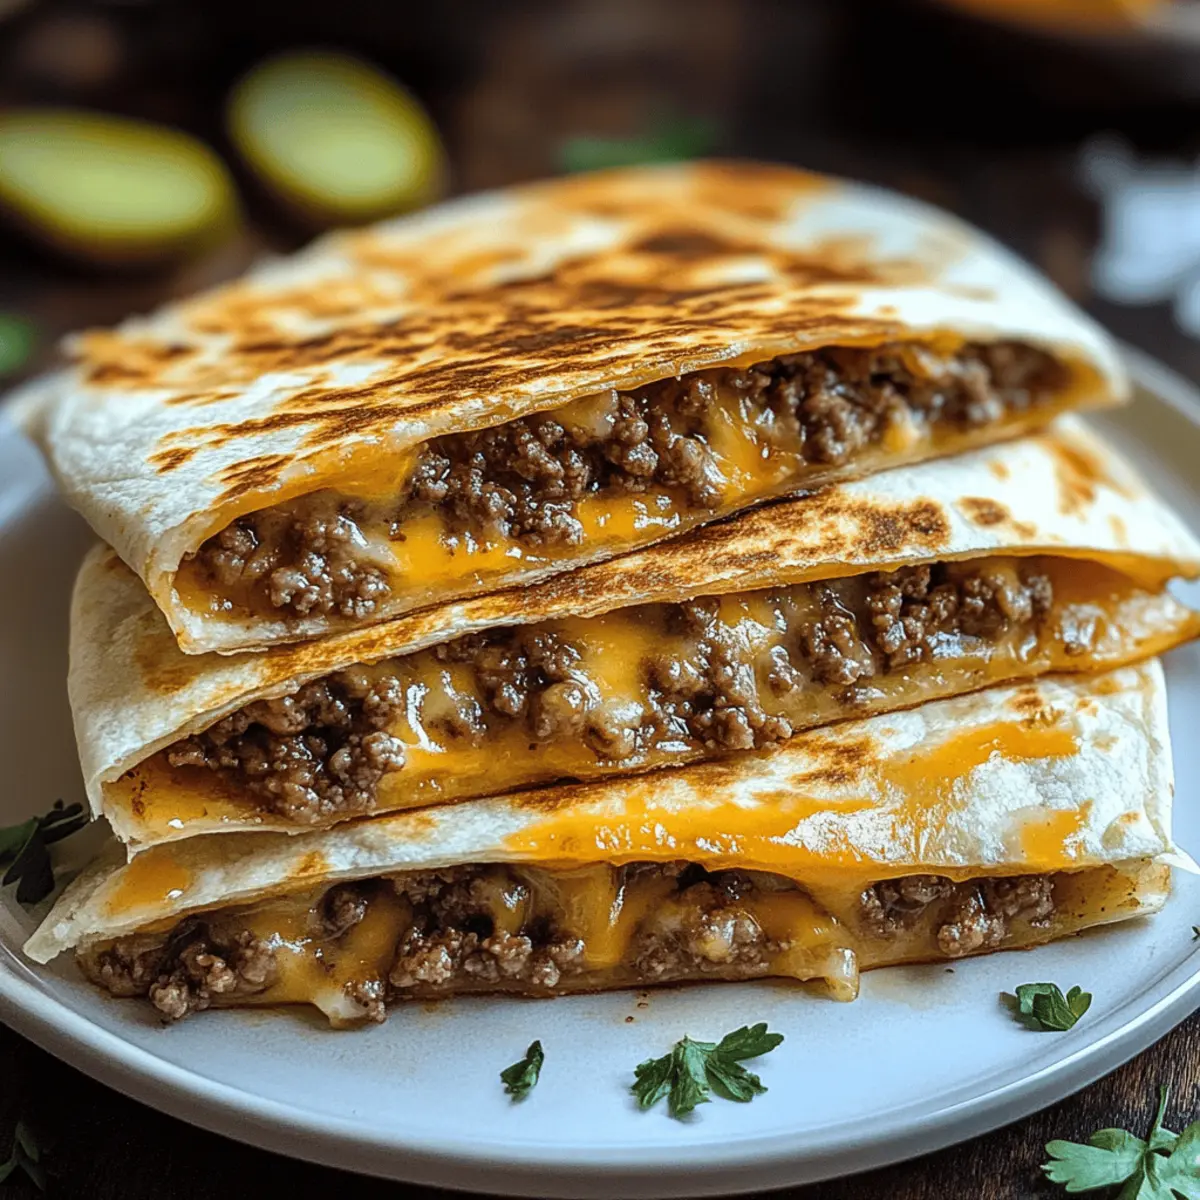
Fridays used to be all about waiting for takeout, but now they’ve transformed into something much more delicious. I’m excited to share my Smashburger Quesadillas—a playful twist on classic burger night that’s ready in just 20 minutes! Picture this: juicy, seasoned beef nestled between warm, crispy tortillas, all blanketed in ooey, gooey cheese. Not only are these quesadillas an easy dinner solution that satisfies the whole family, but they’re also infinitely customizable. Whether you’re in the mood for a touch of spice or some sweet pineapple, you can make them your own. So why settle for fast food when a comforting, cheesy meal is just a flip and a sizzle away? What fun ingredients will you choose to enhance your Smashburger Quesadillas?
What makes Smashburger Quesadillas irresistible?
Simplicity at Its Best: This recipe is incredibly easy to whip up, perfect for a busy weeknight or a last-minute gathering.
Cheesy Goodness: The melty cheese combined with the juicy beef creates a rich flavor explosion that will have everyone coming back for seconds.
Customizable Delight: Whether you prefer spicy chorizo or a Hawaiian twist, these quesadillas can be tailored to suit every taste. Add your favorite toppings from pickles to barbecue sauce for an extra punch!
Time-Saving Wonder: Ready in just 20 minutes, this dish is a fantastic alternative to takeout, leaving more time for what you love.
Crowd-Pleasing Essential: Perfect for family dinners, game day, or casual get-togethers; these Smashburger Quesadillas always impress! Try serving them with crispy waffle fries or mini bowls of toppings for a well-rounded meal that’s fun to share.
Smashburger Quesadilla Ingredients
Let’s gather everything you need for these delightful Smashburger Quesadillas!
For the Filling
- Ground Beef (1 lb) – Provides a juicy and flavorful protein base; aim for 80/20 fat content for the best flavor.
- Salt, Pepper, Garlic Powder – Essential seasonings for enhancing flavor; feel free to add smoked paprika for an extra kick.
For the Wrap
- Flour Tortillas (4 large) – These act as the delicious wrap for your fillings; consider gluten-free tortillas if needed, but use caution as they may be more delicate.
For the Cheese
- Shredded Cheese (1 cup) – This is what brings melty goodness; a mixture of sharp cheddar and American works beautifully.
Optional Toppings
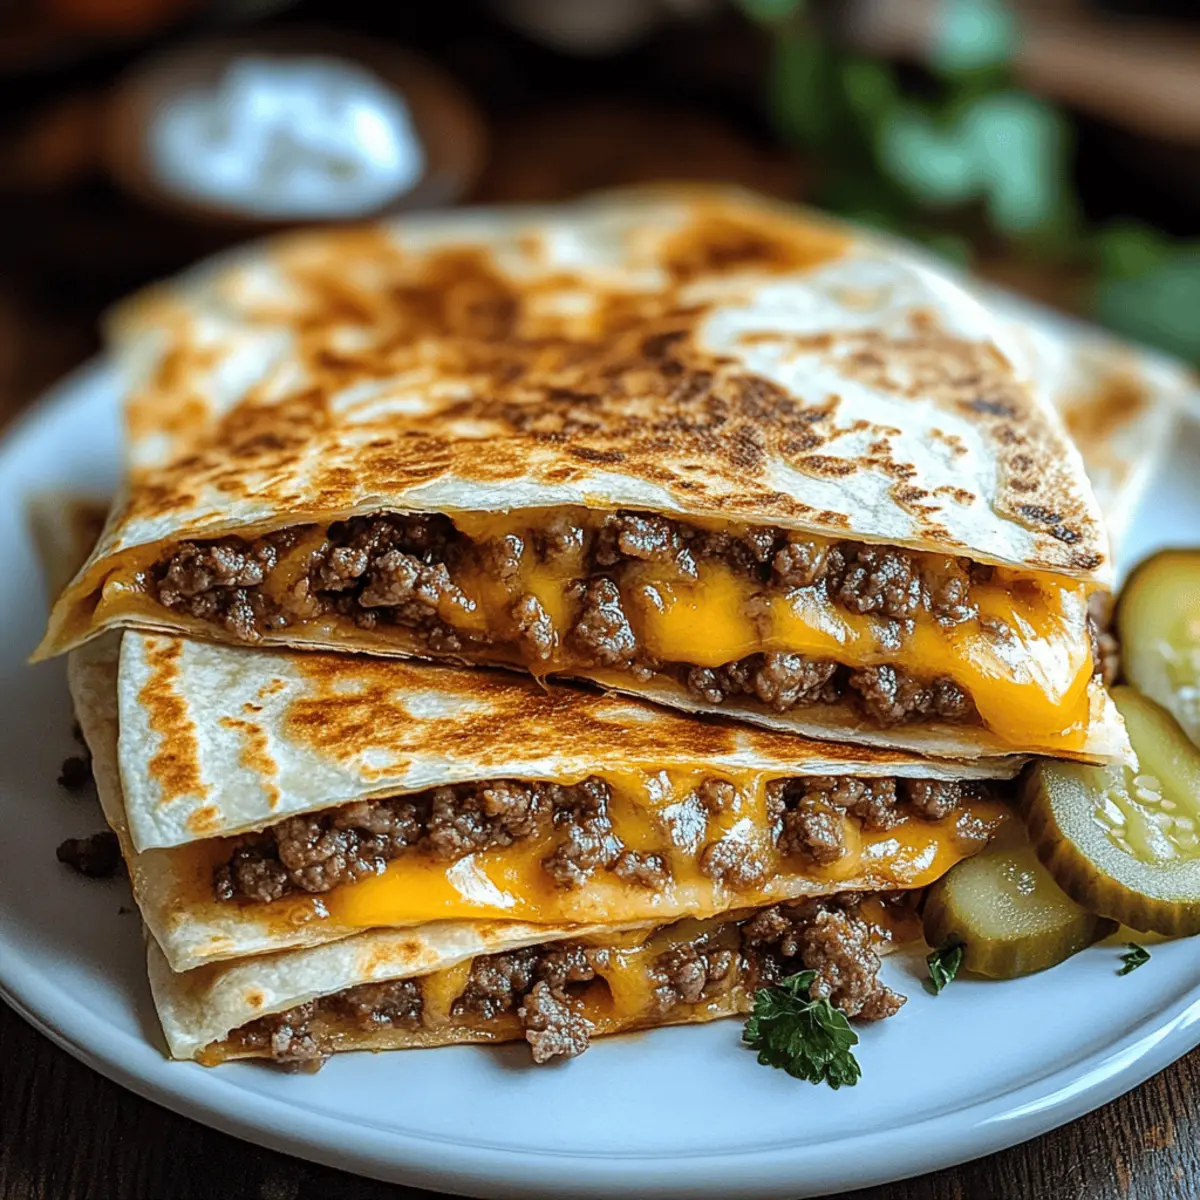
- Pickles – Add a crunchy and tangy bite that brightens the dish.
- Diced Onions – A classic burger addition that adds flavor and texture.
- Burger Sauce – Elevate your quesadillas with your favorite sauce for a zesty finish.
With these ingredients, you’re all set to create a comforting, cheesy meal that’s sure to impress. Have fun customizing your Smashburger Quesadillas!
Step‑by‑Step Instructions for Smashburger Quesadillas
Step 1: Prepare the Skillet
Begin by heating a large skillet or griddle over medium-high heat. To check if it’s ready, flick a drop of water onto the surface—if it sizzles, you’re good to go! Ensure the pan is hot enough to achieve that perfect crispiness on your Smashburger Quesadillas.
Step 2: Season the Beef
Take your ground beef and place a small handful onto one half of each tortilla. Generously season the beef with salt, pepper, and garlic powder, ensuring the flavors seep into the meat. This simple step enhances your quesadillas, making them irresistibly flavorful.
Step 3: Cook the Beef
Carefully place the tortilla with the beef side down onto the preheated skillet. Let it cook for 2–3 minutes until the beef is browned and crispy, and the tortilla starts to golden around the edges. Keep an eye on it, as this will infuse your Smashburger Quesadillas with rich flavor.
Step 4: Add Cheese and Flip
Once the beef is browned, use a spatula to carefully flip the tortilla over. Immediately sprinkle a generous amount of shredded cheese on top, then fold the tortilla in half. Press down gently to help the cheese melt and adhere to the beef, creating that gooey deliciousness.
Step 5: Grill the Quesadilla
Grill the folded quesadilla for another 2–3 minutes on each side, or until the outside is golden brown and crispy while the cheese is melted and gooey inside. Keep a close watch as you want them perfectly toasted without burning.
Step 6: Rest and Slice
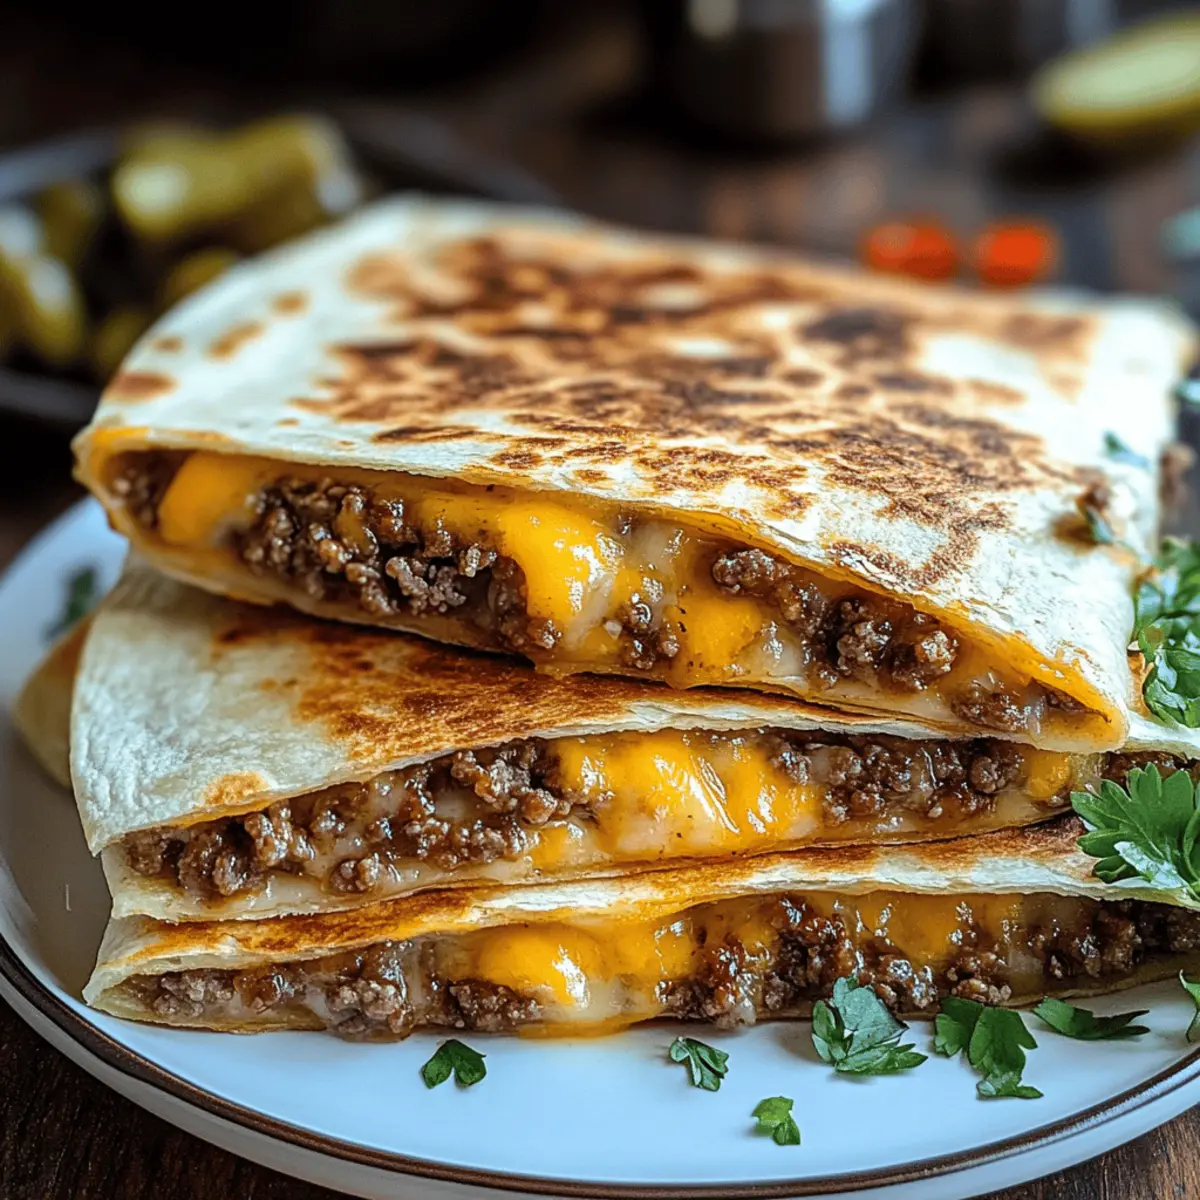
Once your Smashburger Quesadillas are cooked to perfection, transfer them to a cutting board. Let them rest for about 1-2 minutes to prevent cheese spillage. After resting, slice into triangles with a sharp knife and get ready to serve your mouthwatering creation.
What to Serve with Smashburger Quesadillas?
Elevate your dining experience with delightful pairings that complement the cheesy goodness of your Smashburger Quesadillas.
- Crispy Waffle Fries: These golden fries add a crunchy texture and are perfect for dipping into your favorite sauces.
- Fresh Guacamole: The creamy, smooth avocado dip balances the crispy quesadillas and adds a refreshing zest to each bite.
- Tangy Coleslaw: A crunchy side of coleslaw offers a tangy contrast, making each bite sing with variety and flavor.
- Mini Bowls of Toppings: Set out an enticing array of toppings—pickles, salsa, and diced onions—encouraging guests to personalize their quesadillas.
- Zesty Pickled Jalapeños: For a spicy kick, these pickled delights will awaken your taste buds and add a punch of flavor.
- Beer or Citrus Soda: Pair your meal with a crisp beer or a refreshing citrus soda to balance the richness of the quesadillas.
- Margaritas: A classic pairing, these drinks bring a lively touch and enhance the festive feel of dinner.
- Chocolate Chip Cookies: For a sweet ending, serve warm chocolate chip cookies—these comforting treats will delight everyone after a cheesy feast.
How to Store and Freeze Smashburger Quesadillas
Fridge: Store cooked Smashburger Quesadillas in an airtight container; they’ll stay fresh for up to 3 days. Reheat in a skillet to retain crispiness.
Freezer: For longer storage, freeze quesadillas (without toppings) in a single layer, then wrap individually. They’ll keep for up to 1 month. Reheat in a 375°F oven until heated through.
Room Temperature: It’s best to avoid leaving Smashburger Quesadillas at room temperature for more than 2 hours to ensure safety and quality.
Reheating: When reheating, use a skillet or air fryer for that delightful crispy texture, bringing your delicious quesadillas back to life!
Smashburger Quesadillas Variations
Feel free to unleash your culinary creativity and customize these Smashburger Quesadillas to suit your flavor cravings!
-
Breakfast Smash: Add scrambled eggs and crumbled bacon for a delightful breakfast twist, including hash browns for extra texture. It’s a perfect way to start the day or enjoy a brunch treat!
-
Spicy Fiesta: Incorporate cooked chorizo and swap in pepper jack cheese for a bold kick. This variation will have your taste buds dancing with vibrant flavors, a fiesta in every bite!
-
Hawaiian Vibes: Include juicy pineapple rings and brush with teriyaki glaze for a tropical twist on the classic. The sweetness of the pineapple beautifully balances the savory beef, transporting you to an island getaway!
-
Pizza Party: Use Italian sausage, mozzarella cheese, and serve with marinara for dipping. This twist transforms your quesadilla into a fun pizza creation that’s perfect for game day or a casual gathering.
-
Lighten Up: Substitute ground turkey or chicken, adding grated zucchini or spinach to amp up the veggie count without sacrificing flavor. This lighter option is just as satisfying and brings some healthy goodness to your meal!
-
Decadent Blue Cheese: Add crumbled blue cheese for a tangy twist and caramelized onions for richness. This variation elevates your quesadillas, giving them a gourmet touch that’s sure to impress.
-
Vegan Delight: Swap the beef for seasoned black beans or lentils, and use a dairy-free cheese for a hearty vegan option. It’s fulfilling and delicious, making it a hit with everyone at the table!
Finding the perfect variation can make mealtime even more exciting. For an extra flavor boost, consider serving with your favorite homemade dipping sauce, like a creamy ranch or zesty guacamole. Enjoy the adventure as you savor your customizable Smashburger Quesadillas!
Expert Tips for Smashburger Quesadillas
-
Mayo Magic: Brush tortillas with mayo instead of oil to achieve even browning and enhance the crispiness of your Smashburger Quesadillas.
-
Cast Iron Perfection: Opt for a cast iron skillet for the best results. It retains heat evenly, creating a perfectly crispy exterior.
-
Rest Time Matters: Allow your quesadillas to rest for 1-2 minutes post-cooking to prevent gooey cheese spillage when you slice them.
-
Avoid Low-Carb Troubles: Steer clear of low-carb tortillas as they may complicate the cooking process and disrupt the structural integrity of your quesadillas.
-
Season Generously: Don’t skimp on seasoning the beef! Proper seasoning is key to unlocking delicious flavor, making your Smashburger Quesadillas truly unforgettable.
Make Ahead Options
These Smashburger Quesadillas are perfect for meal prep enthusiasts! You can prepare the seasoned ground beef and cheese filling up to 3 days in advance, allowing the flavors to meld beautifully. Simply cook the beef with your preferred seasonings, cool it down, and store it in an airtight container in the refrigerator. When you’re ready to serve, assemble the quesadillas by placing the prepped filling between tortillas and grilling them for a quick reheat. This method ensures the quesadillas are just as delicious as when made fresh, while saving you precious time on busy weeknights. Enjoy a comforting meal without the fuss!
Smashburger Quesadillas Recipe FAQs
What type of ground beef should I use for Smashburger Quesadillas?
I recommend using 80/20 ground beef for your Smashburger Quesadillas. This fat content strikes the perfect balance between juiciness and flavor. If you’re looking for meat alternatives, seasoned black beans or Impossible Meat make excellent substitutions for a vegetarian twist!
How long can I store cooked Smashburger Quesadillas in the fridge?
You can store your cooked Smashburger Quesadillas in an airtight container in the fridge for up to 3 days. When you’re ready to enjoy them again, reheat in a skillet or air fryer to regain that lovely crispiness!
Can I freeze Smashburger Quesadillas? If so, how?
Absolutely! To freeze your Smashburger Quesadillas, let them cool completely first. Then, wrap each quesadilla tightly in plastic wrap or aluminum foil and place them in a freezer-safe container or bag. They will maintain their quality for up to 1 month. When you’re ready to eat, reheat in a preheated 375°F oven until heated through.
What should I do if my quesadillas are soggy?
If your Smashburger Quesadillas turn out soggy, it’s likely due to excess moisture. Make sure to let the cooked beef cool slightly before assembling and try to use less seasoning liquid. When cooking, ensure your skillet is hot enough to crisp the tortillas. Letting them rest for 1-2 minutes post-cooking can also help absorb moisture, leading to a crispier outcome.
Are there dietary considerations for Smashburger Quesadillas?
Yes, it’s important to consider dietary preferences. For those with gluten sensitivities, try using gluten-free tortillas. If you’re dairy-free, opt for suitable dairy-free cheese shreds. Always check for allergens in processed ingredients, as store-bought sauces and seasonings may contain hidden allergens.
What toppings can I add to customize my Smashburger Quesadillas?
The beauty of Smashburger Quesadillas is in their customization! You can elevate them with toppings like crunchy pickles, diced onions, or a drizzle of savory burger sauce. For a twist, try adding avocado slices, jalapeños, or even a sprinkle of fresh herbs. Get creative and have fun making them your own!
Smashburger Quesadillas: Cheesy Comfort in 20 Minutes
Ingredients
Equipment
Method
- Heat a large skillet or griddle over medium-high heat. Flick a drop of water onto the surface to check if it’s ready.
- Take your ground beef and place a small handful onto one half of each tortilla. Season with salt, pepper, and garlic powder.
- Place the tortilla with the beef side down onto the preheated skillet and cook for 2-3 minutes until browned and crispy.
- Carefully flip the tortilla, sprinkle shredded cheese on top, then fold the tortilla in half. Press down gently.
- Grill the folded quesadilla for another 2-3 minutes on each side until golden brown and crispy.
- Transfer cooked quesadillas to a cutting board, let them rest for 1-2 minutes, then slice into triangles.
Leave a Reply