
As I rolled out the dough, the aroma of garlic wafted through my kitchen, instantly transporting me to my favorite burger joint. These Garlic Butter Cheeseburger Rollups are my delicious solution to enjoying the best of both worlds: the classic comfort of a cheeseburger combined with the flaky goodness of buttery dough. Not only are these rollups incredibly quick to prepare—perfect for busy weeknights—but they also turn into a delightful crowd-pleaser at parties or game nights. You’ll love how easily they can be customized, whether you want to add some veggies or experiment with different cheeses. What’s your favorite twist on a classic burger?

Why You’ll Love These Rollups
Quick and Easy: Preparing these Garlic Butter Cheeseburger Rollups takes no time at all, allowing you to whip up delicious comfort food without the fuss.
Flavor Explosion: The combination of rich ground beef, melty cheddar, and aromatic garlic butter creates a savory taste that will have everyone reaching for more.
Customizable Delight: Feel free to switch up the fillings—try adding sautéed veggies or experimenting with different cheeses, like provolone or mozzarella, for a unique twist.
Ideal Party Food: Perfect for gatherings, game nights, or casual family dinners, these rollups are shareable and sure to be a hit.
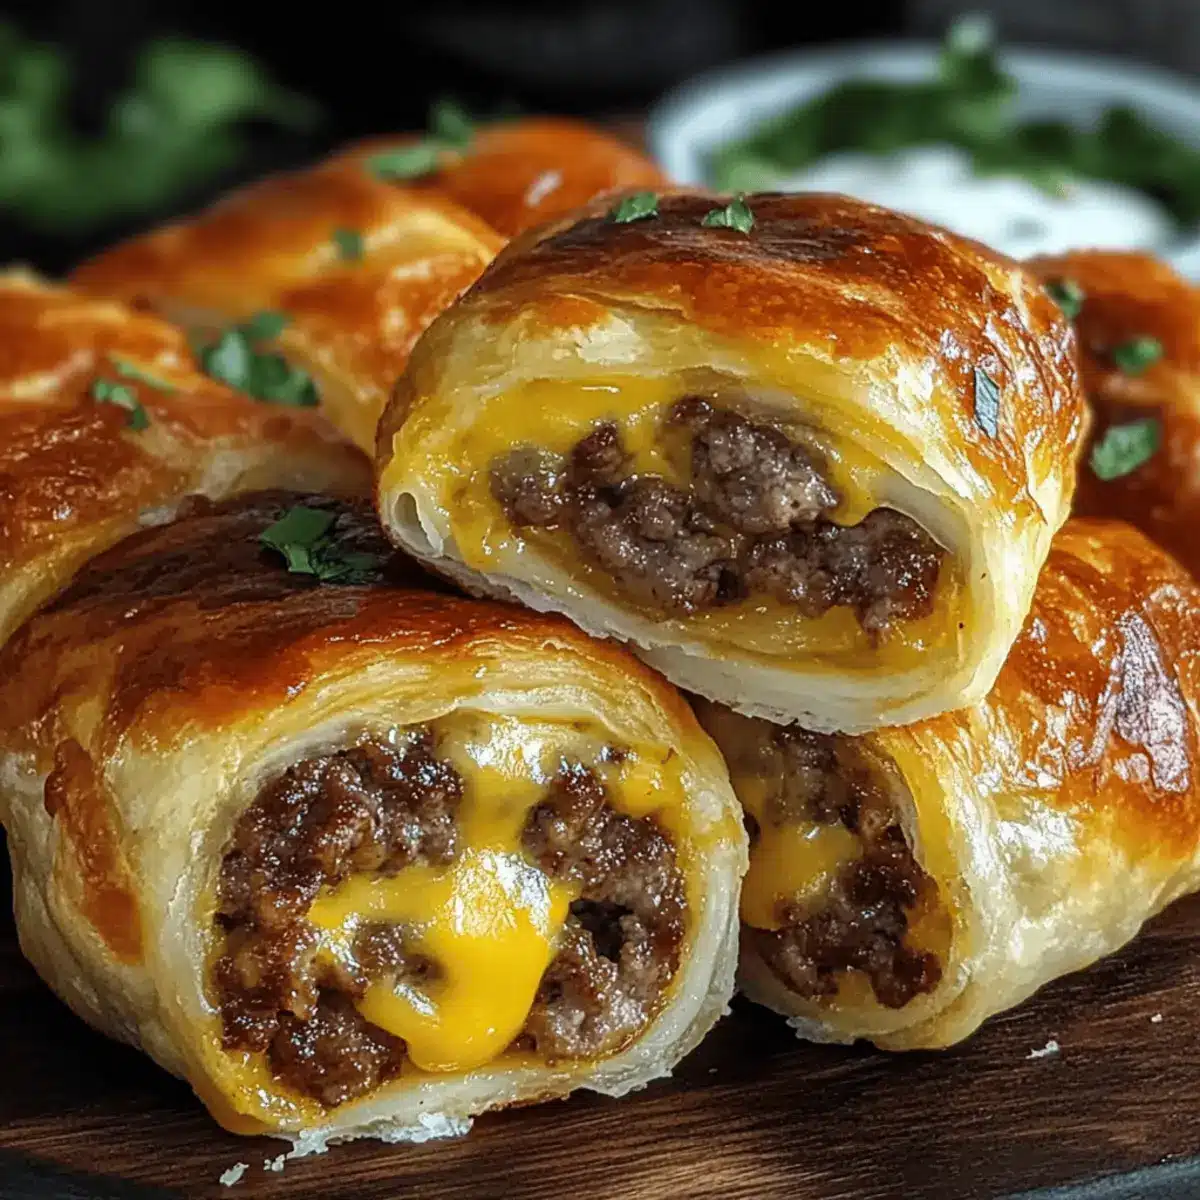
Crispy Texture: Baked to perfection, each bite boasts a golden, flaky crust that encases gooey cheese and flavorful beef, combining textures that everyone enjoys.
You can serve them alongside some classic condiments or even pair them with a refreshing side salad for a balanced meal!
Garlic Butter Cheeseburger Rollups Ingredients
For the Filling
- Ground Beef – Provides the primary protein and savory flavor; substitute with turkey or plant-based meat for a lighter option.
- Cheddar Cheese – Melts beautifully, contributing richness; swap for mozzarella or pepper jack for a different flavor profile.
- Garlic Butter – Adds aroma and flavor; can use vegan butter for a dairy-free alternative.
For the Roll
- Rolls (or dough) – The base that holds the filling; use store-bought crescent rolls or pizza dough for ease.
- Seasonings (salt, pepper) – Enhances overall taste; adjust based on your preference.
These Garlic Butter Cheeseburger Rollups are your ticket to a delightful, easy-to-make dish that brings the best of cheeseburgers and comfort food together in one flaky, delicious package!
Step‑by‑Step Instructions for Garlic Butter Cheeseburger Rollups
Step 1: Preheat the Oven
Begin by preheating your oven to 375°F (190°C). This temperature ensures your Garlic Butter Cheeseburger Rollups bake evenly and develop a beautifully golden crust. As the oven heats, gather your baking sheet and line it with parchment paper for easy cleanup, setting the stage for your delicious creation.
Step 2: Cook the Beef
In a skillet over medium heat, add your ground beef, cooking it thoroughly for about 5-7 minutes. As the beef browns, season it with salt, pepper, and minced garlic to enhance the flavor. Once it’s no longer pink, drain any excess fat, allowing the savory beef mixture to shine in your rollups.
Step 3: Prepare the Dough
While the beef cools slightly, roll out your dough on a floured surface. If using crescent rolls, separate the triangles carefully. Spread a generous layer of garlic butter evenly over the dough using a butter knife or spatula to infuse each bite of the Garlic Butter Cheeseburger Rollups with rich flavor right from the start.
Step 4: Assemble the Rollups
Place the cooked beef and shredded cheddar cheese evenly across the dough, ensuring you don’t overload it. Roll the dough tightly from one edge to the other, forming a log. Once rolled, slice the log into equally sized portions, about 1-2 inches thick, to create bite-sized Garlic Butter Cheeseburger Rollups that are perfect for sharing.
Step 5: Bake to Perfection
Transfer the sliced rollups onto your prepared baking sheet, spacing them evenly apart. Bake in the preheated oven for 15-20 minutes, or until they are puffed and golden brown. Keep an eye on them during the last few minutes to achieve that coveted flaky top, indicating your rollups are done.
Step 6: Serve with Style
Once baked, remove the Garlic Butter Cheeseburger Rollups from the oven and let them cool for a few minutes. This will help prevent any hot filling spills. Serve warm alongside your favorite dipping sauces like ketchup or ranch, and watch as everyone enjoys this delightful twist on a classic cheeseburger!

Make Ahead Options
These Garlic Butter Cheeseburger Rollups are fantastic for meal prep and can be made ahead of time for those busy weeknights or gatherings! You can prepare the rollups completely, cover them tightly with plastic wrap, and refrigerate them up to 24 hours before baking. This allows the flavors to meld while keeping the dough fresh. When you’re ready to serve, simply preheat your oven to 375°F (190°C) and bake them directly from the fridge for about 20-25 minutes until golden brown. This method ensures your rollups maintain their delightful flaky texture and savory taste, providing you with delicious home-cooked comfort food with minimal effort!
What to Serve with Garlic Butter Cheeseburger Rollups
Elevate your meal experience by pairing these delightful rollups with fresh sides and flavors that complement their savory richness.
- Crispy Side Salad: A light, crunchy salad with mixed greens and a tangy vinaigrette balances the richness of the rollups perfectly.
- Sweet Potato Fries: These offer a sweet, crispy contrast that pairs beautifully with the savory cheeseburger flavors.
- Coleslaw: The crunch and slight tang of coleslaw create a wonderful contrast, adding freshness to every bite.
- Spicy Pickles: A zesty side of pickles enhances the flavor, bringing a refreshing tang that cuts through the richness of the beef.
- Craft Beer: Pairing with an amber ale or a light lager elevates the experience, enhancing flavor notes in your rollups.
- Garlic Butter Dipping Sauce: For an extra indulgence, serve with a garlic butter sauce to enhance that buttery goodness in each bite.
Mix and match these delightful pairs to create your perfect meal!
Garlic Butter Cheeseburger Rollups Variations
Feel free to explore these exciting twists that will elevate your Garlic Butter Cheeseburger Rollups!
-
Turkey Swap: Replace ground beef with lean ground turkey for a lighter but equally delicious option. The turkey allows the flavorful garlic butter to shine through beautifully.
-
Cheese Varieties: Swap cheddar for creamy mozzarella or tangy pepper jack cheese to change the flavor game and spice up every delicious bite.
-
Veggie Boost: Add sautéed mushrooms, bell peppers, or onions to the beef mixture for added nutrition and burst of flavor—easy ways to sneak in some veggies!
-
Vegan Delight: Use plant-based ground meat and vegan butter as substitutes, making a delightful dairy-free and meat-free option that’s just as fulfilling.
-
Spicy Kick: Stir in some jalapeños or diced green chilies into the beef mixture for those who crave a bit of heat that perfectly complements the cheeseburger vibe.
-
Biscoff Inspiration: Try adding a drizzle of Biscoff Cookie Butter over your rollups after baking for a sweet-savory experience that surprises and delights.
-
Pasta Twist: Experiment by turning your rollups into a pasta dish by serving them alongside Decadent Brown Butter for that extra indulgent touch.
-
Bite-Sized Pleasures: Cut the rollups into smaller pieces and serve as bite-sized appetizers, perfect for dipping alongside your favorite sauces creating little moments of joy!
Customize away, and let your taste buds lead the way to your perfect Garlic Butter Cheeseburger Rollups experience!
Expert Tips for Garlic Butter Cheeseburger Rollups
-
Beef Quality: Choose lean ground beef to avoid greasiness. This helps your Garlic Butter Cheeseburger Rollups maintain a delicious texture without excess fat.
-
Cook Evenly: Make sure the beef is cooked thoroughly before adding it to the rolls. Undercooked beef can lead to uneven flavors and may not be safe to eat.
-
Dough Handling: Keep your dough cold while working with it. If it warms up, it can become sticky and difficult to roll, affecting the final presentation of your rollups.
-
Cool Before Serving: Allow the rollups to cool for a few minutes after baking. This ensures the cheese sets slightly and prevents messy spills when you cut into them.
-
Herb Boost: Experiment with fresh herbs like parsley or chives mixed into the garlic butter. This enhances the flavor profile of your Garlic Butter Cheeseburger Rollups with fresh aromas.
Storage Tips for Garlic Butter Cheeseburger Rollups
-
Room Temperature: Enjoy your Garlic Butter Cheeseburger Rollups fresh from the oven for the best flavor, but they can stay out for up to 2 hours if serving at room temperature.
-
Fridge: Store leftovers in an airtight container in the fridge for up to 3 days. Be sure they are completely cooled down before sealing to prevent moisture buildup.
-
Freezer: Freeze unbaked rollups wrapped tightly in plastic wrap and aluminum foil for up to 2 months. Bake them directly from the freezer; just add a few extra minutes to the baking time.
-
Reheating: For optimal texture, reheat leftover rollups in the oven at 350°F (175°C) for about 10-15 minutes until warm and crispy. Avoid the microwave, as this can make them soggy.

Garlic Butter Cheeseburger Rollups Recipe FAQs
How do I select the best ground beef for my rollups?
Absolutely! When choosing ground beef, look for lean cuts, ideally with 80% lean meat and 20% fat. This balance offers great flavor without being overly greasy. Freshly ground beef that’s bright red and firm is ideal. If you notice any dark spots or an off smell, it’s best to avoid it.
How should I store my leftover rollups, and how long will they last?
You can store your Garlic Butter Cheeseburger Rollups in an airtight container in the refrigerator for up to 3 days. Make sure they’re completely cooled down before sealing to prevent excess moisture. For best results, reheat them in the oven at 350°F (175°C) for 10-15 minutes to maintain their crispy texture.
Can I freeze the rollups, and what’s the best method?
Very! You can freeze unbaked Garlic Butter Cheeseburger Rollups for up to 2 months. Wrap them tightly in plastic wrap, followed by aluminum foil, to prevent freezer burn. When you’re ready to enjoy them, bake them straight from the freezer—just add a few extra minutes to the baking time to ensure they’re cooked through while remaining deliciously flaky.
What should I do if the rollups come out soggy?
If your Garlic Butter Cheeseburger Rollups turn out soggy, it may be due to excess moisture in the filling. To troubleshoot, ensure the beef is well-drained after cooking and let the rollups cool a little before serving. Additionally, reheat them in the oven rather than the microwave to restore that crispy texture!
Are there any dietary considerations I should be aware of?
Absolutely! If you have dietary restrictions, consider using ground turkey or plant-based meat for a lighter option. For those who are lactose intolerant or vegan, you can substitute regular cheese with dairy-free cheese and use vegan butter. Always check the labels to ensure the products meet your dietary needs.
Can these rollups be prepared in advance?
Yes! I often prepare my Garlic Butter Cheeseburger Rollups ahead of time. You can assemble them, then wrap them in plastic wrap and refrigerate for a few hours or overnight. When you’re ready to serve, just pop them in the oven for fresh and warm rollups that will wow your guests!
Garlic Butter Cheeseburger Rollups for Your Next Cozy Gathering
Ingredients
Equipment
Method
- Preheat your oven to 375°F (190°C) and line a baking sheet with parchment paper.
- In a skillet over medium heat, cook the ground beef thoroughly for about 5-7 minutes, seasoning with salt and pepper.
- Roll out the dough on a floured surface and spread a layer of garlic butter evenly over it.
- Place the cooked beef and shredded cheddar across the dough, roll tightly, and slice into 1-2 inch portions.
- Transfer the rollups onto the baking sheet and bake for 15-20 minutes until golden brown.
- Let cool for a few minutes and serve warm with dipping sauces.
Leave a Reply