
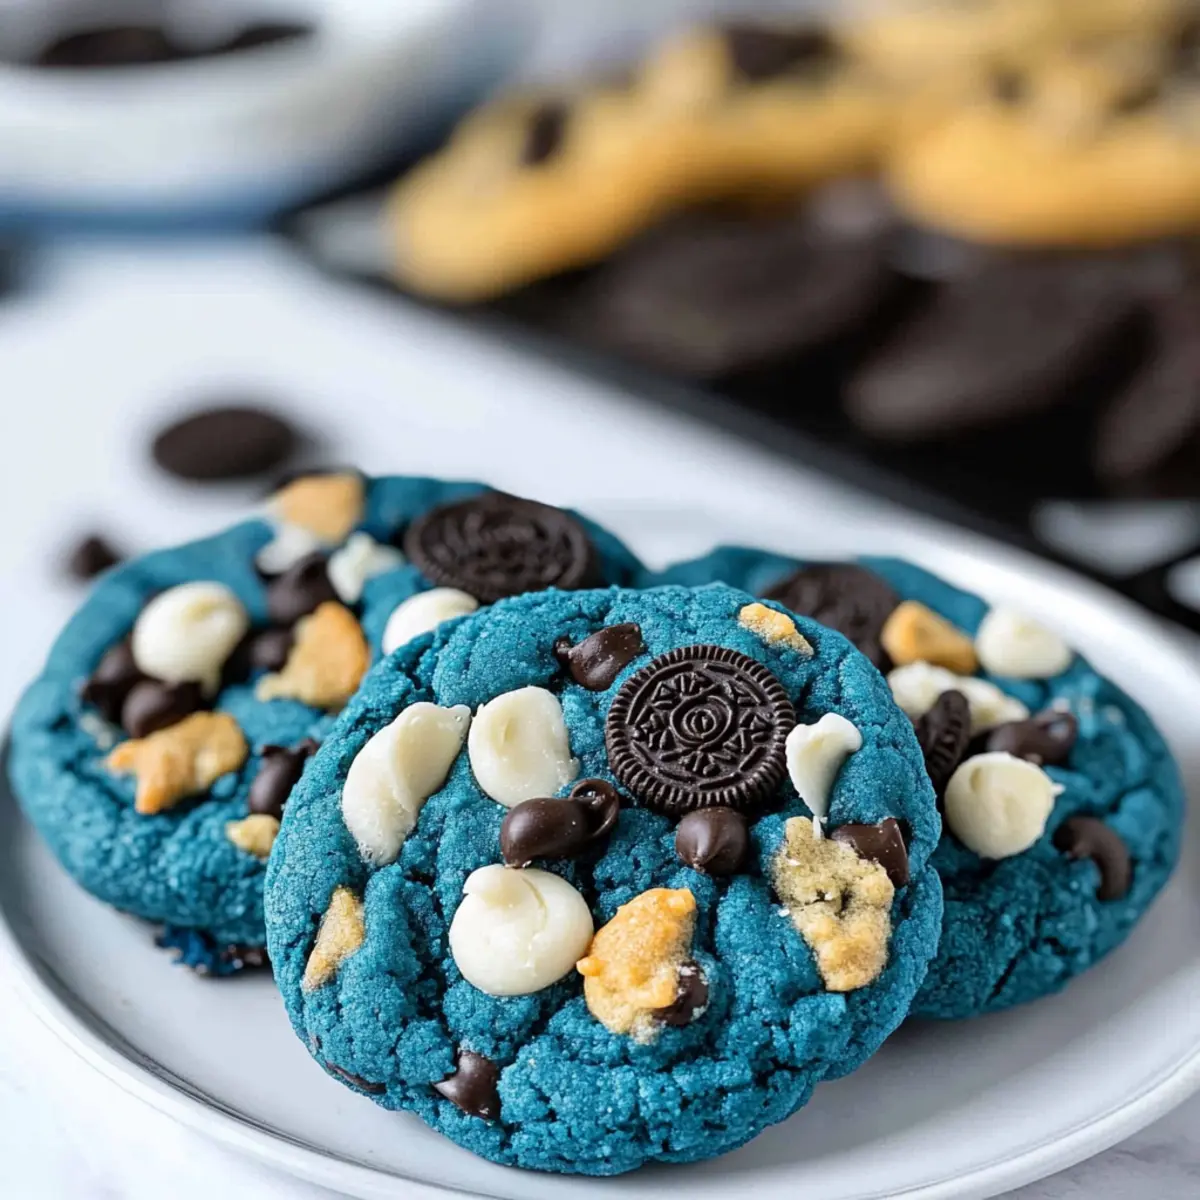
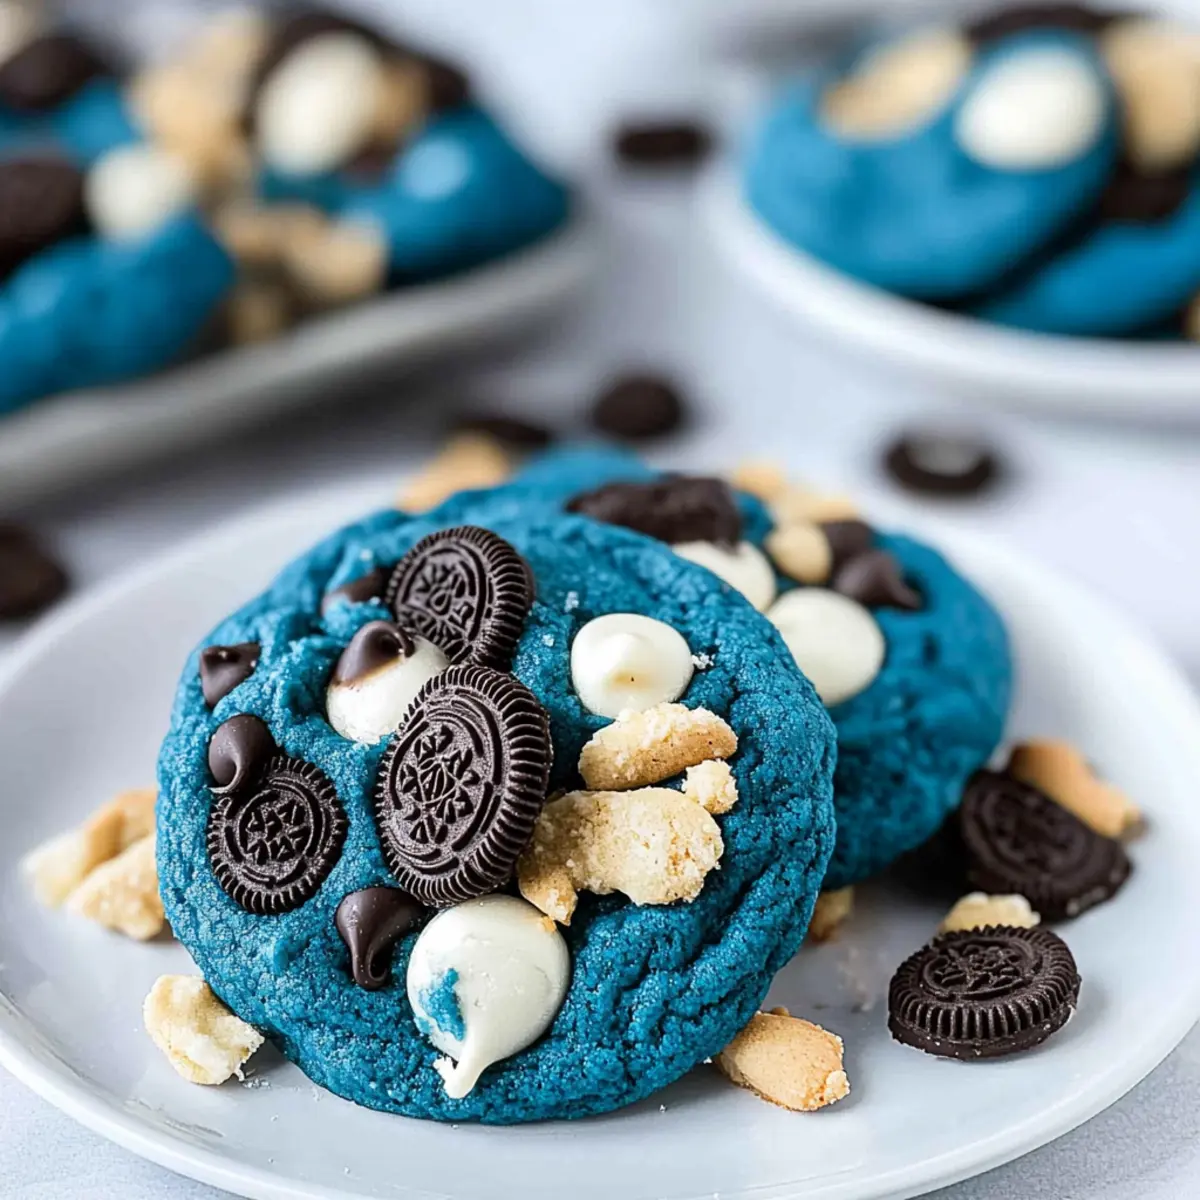
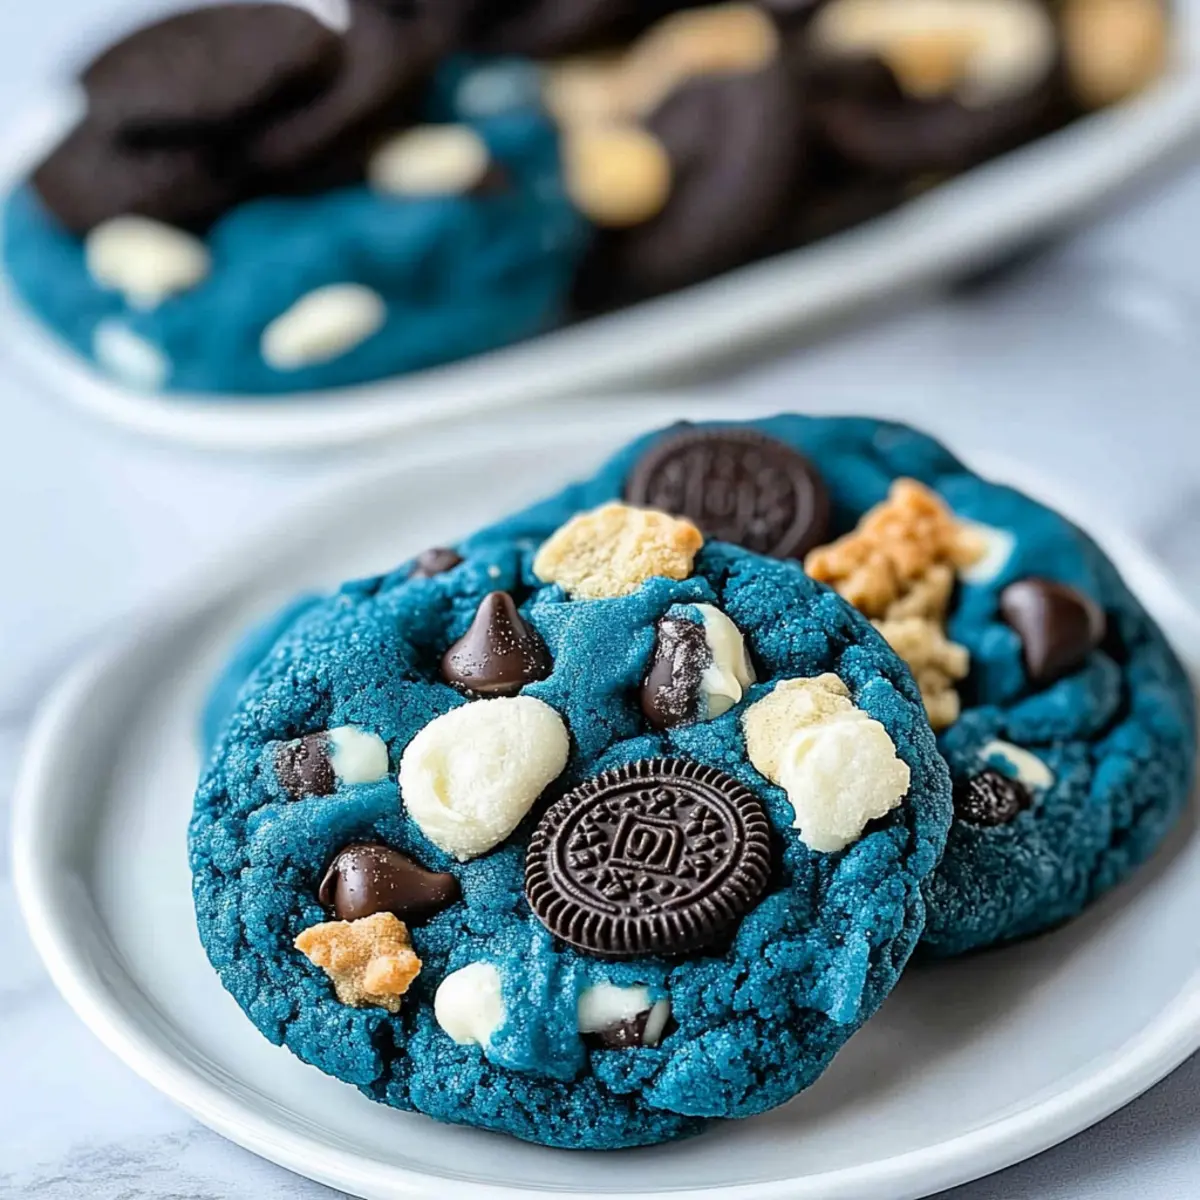
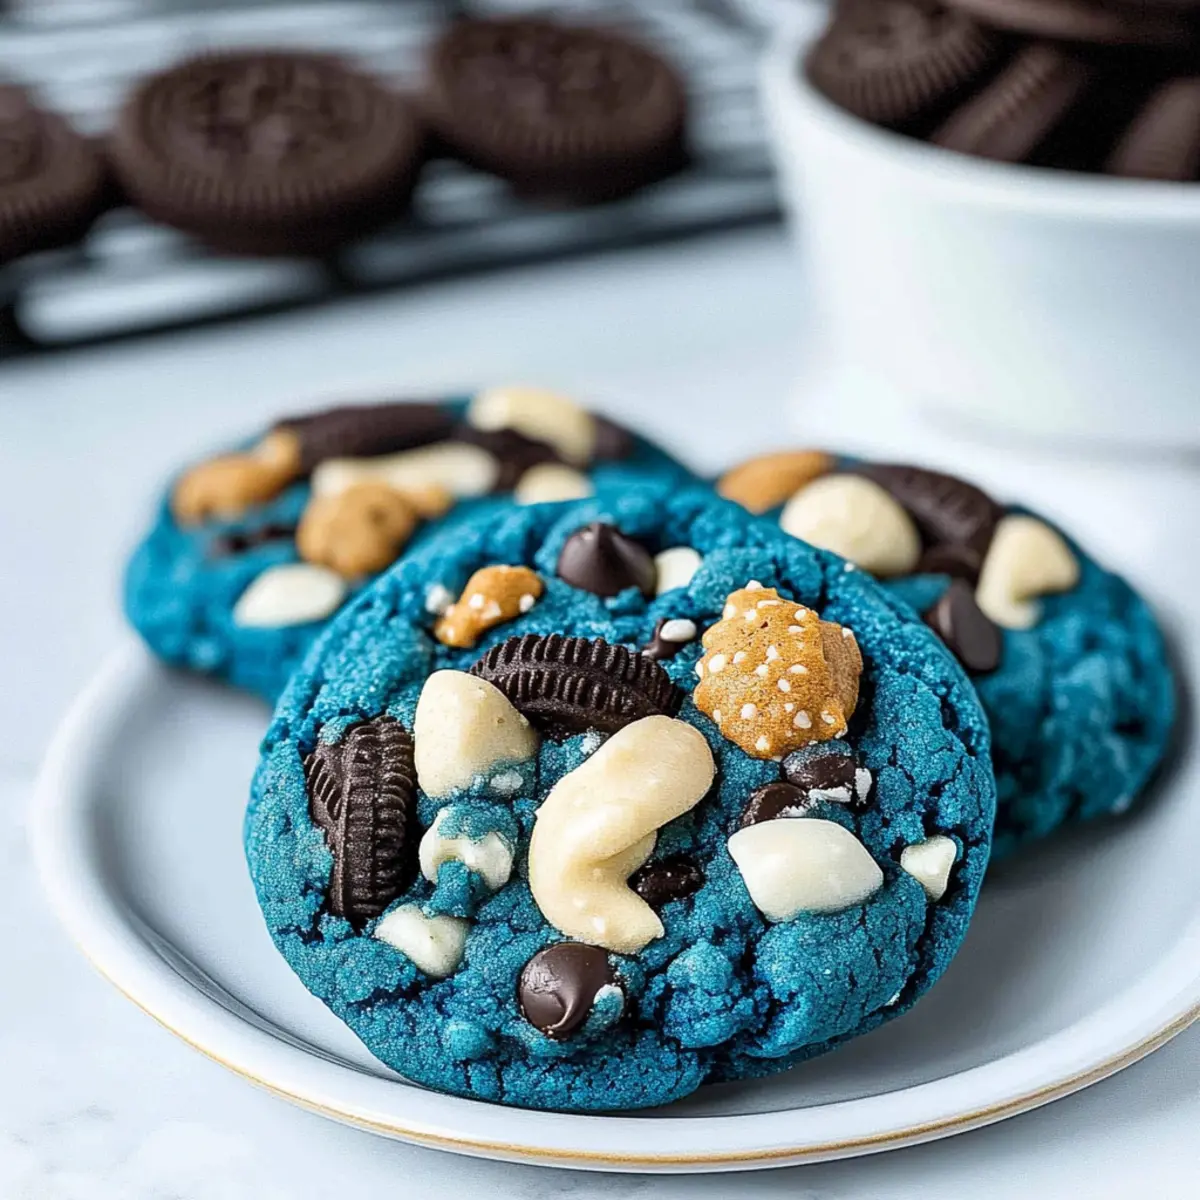
As I stared at the vibrant blue cookie dough, memories of childhood flooded back—the joy of baking with my family while giggling over the adventures of Cookie Monster. These Cookie Monster Cookies are more than just eye-catching treats; they’re a whimsical nod to those simpler times, combining soft, chewy textures with delightful surprises of white chocolate chips and crunchy cookie bits. Perfect for bringing smiles at birthday parties or as a fun after-school snack, these colorful cookies are a guaranteed crowd-pleaser that bridges the gap between kids and adults. Who wouldn’t want to indulge in a treat that’s not only delicious but also a feast for the eyes? Ready to bring a splash of fun into your kitchen? Let’s get baking!
Why Are Cookie Monster Cookies So Fun?
Irresistible, bright color: The vibrant blue hue instantly captures attention and sparks joy, making them perfect for celebrations.
Unique texture: Enjoy the delightful contrast of soft chewiness with crunchy surprises, elevating the classic cookie experience.
Versatile mix-ins: Feel free to customize your recipe with different chocolate types or favorite cookies, like adding in some crunchy Choco Cheesecake Cookie for an exciting twist.
Nostalgic appeal: Channel your inner child with a recipe that reminds you of beloved Sesame Street characters—fun for both young and old!
Simple process: Easy to follow, making this a family-friendly activity that everyone can enjoy—even little hands can help mix and scoop!
Cookie Monster Cookies Ingredients
For the Cookie Dough
• All-Purpose Flour – Essential for cookie structure; avoid alternatives for the best results.
• Cornstarch – Adds a chewy texture; no substitutes recommended for this purpose.
• Baking Soda – Ensures the cookies rise nicely; baking powder is an alternative but may need adjustment.
• Salt – Enhances sweetness; keeping it in is crucial for flavor balance.
• Unsalted Butter – Provides moisture and richness; ensure it’s at room temperature for easy blending—margarine works if needed.
• Brown Sugar – Contributes to moisture and chewiness; use light brown for a milder taste, or dark brown for a richer flavor.
• Granulated Sugar – Adds sweetness; switch to coconut sugar for a unique twist.
• Large Eggs – Binds the ingredients together; room temperature eggs yield the best results, so no substitutes here.
• Vanilla Extract – Boosts flavor; almond extract can be swapped in for a different profile.
• Gel Food Coloring (Royal Blue, Electric Blue, Violet) – Gives that signature Cookie Monster blue; skipping this detracts from the visual fun.
For the Mix-Ins
• White Chocolate Chips – Adds sweetness and creaminess; milk or semi-sweet chocolate is a tasty alternative.
• Chopped Chips Ahoy Cookies – Offers a delightful crunch; mini versions work best for texture, but any preferred cookie will do.
• Chopped Oreos – Infuses flavor and texture; feel free to use any Oreo variety you love for a personal touch.
Make your Cookie Monster Cookies a colorful and delightful part of your baking adventures!
Step‑by‑Step Instructions for Cookie Monster Cookies
Step 1: Preheat the Oven
Begin by preheating your oven to 350°F (175°C). While the oven warms up, line a baking sheet with parchment paper, creating a non-stick surface for your cookies. This preparation ensures that your Cookie Monster Cookies bake evenly and easily release once done.
Step 2: Mix the Dry Ingredients
In a medium bowl, whisk together 2 ½ cups of all-purpose flour, 1 tablespoon of cornstarch, 1 teaspoon of baking soda, and ½ teaspoon of salt. This mixture provides the structure and texture for your cookies. Set this dry mix aside, as you will incorporate it with the wet ingredients shortly.
Step 3: Cream the Butter and Sugars
In a large mixing bowl, beat together ¾ cup of unsalted butter, ¾ cup of packed brown sugar, and ½ cup of granulated sugar until the blend becomes light and fluffy, about 2-3 minutes. This step is crucial for creating a soft, chewy texture in your Cookie Monster Cookies, so ensure the mixture is well combined and airy.
Step 4: Add Wet Ingredients
To the creamed butter and sugars, add 2 large eggs and 1 teaspoon of vanilla extract. Mix until fully incorporated, ensuring the eggs are blended in smoothly. This addition will enhance the flavor of your cookies while binding the ingredients for a delightful dough.
Step 5: Combine Dry and Wet Mixtures
Gradually incorporate the prepared dry ingredients into the wet mixture, mixing until just combined. Do not over-mix; you want to see a soft dough forming. Ensure all flour pockets are gone but remain gentle to preserve the cookie’s airy texture.
Step 6: Add Color
Now, it’s time to inject that whimsical blue color! Add gel food coloring to the dough, starting with a few drops of royal blue. Mix until the desired vibrancy is achieved, blending it thoroughly to ensure the color is uniform throughout your Cookie Monster Cookies.
Step 7: Fold in Mix-Ins
Gently fold in 1 cup of white chocolate chips, 1 cup of chopped Chips Ahoy cookies, and 1 cup of chopped Oreos into the cookie dough. This is where the magic happens—those delightful crunchy surprises will add texture and flavor to your cookies, making them irresistibly fun.
Step 8: Form and Chill the Dough
Using a spoon or melon baller, scoop out dough balls and place them on the lined baking sheet, spacing them about 2 inches apart. For added flair, top each ball with more mix-ins. Chill the cookie dough in the fridge for about 30 minutes to help them maintain their shape while baking.
Step 9: Bake the Cookies
With your oven preheated and dough chilled, bake the cookies for 10-12 minutes. Keep an eye on them; you want the edges to be set, while the centers remain slightly underbaked to ensure a chewy texture in your Cookie Monster Cookies.
Step 10: Cool the Cookies
Once baked, remove the cookies from the oven and let them sit on the baking sheet for 15 minutes. This resting period allows them to firm up slightly before transferring to a wire rack to cool fully. Enjoy the enticing aroma while your Cookie Monster Cookies complete their transformation!
Expert Tips for Cookie Monster Cookies
-
Room Temperature Butter: Ensure your butter is at room temperature for easy mixing, promoting a fluffy cookie texture that melts in your mouth.
-
Gel Food Coloring: Add gel food coloring gradually to achieve the perfect vibrant blue without overdoing it. A little goes a long way!
-
Don’t Over-Bake: Keep an eye on the cookies as they bake; removing them when the edges are set ensures a chewy center, preventing dryness in your Cookie Monster Cookies.
-
Chill the Dough: Chilling the cookie dough for about 30 minutes before baking helps maintain their shape and improves the texture.
-
Mix-In Variations: Experiment with different mix-ins like various chocolate types or festive sprinkles to elevate your Cookie Monster Cookies and make each batch unique!
What to Serve with Cookie Monster Cookies?
Nothing brings a little more joy to your baking than delicious companions for your vibrant treats!
-
Glass of Milk: The classic pairing! Creamy milk perfectly complements the sweetness while enhancing that nostalgic cookie experience.
-
Vanilla Ice Cream: A scoop of vanilla ice cream atop a warm cookie creates a delightful melting sensation that’s simply irresistible.
-
Chocolate Milkshake: This thick, chocolatey shake adds a fun twist, making dessert feel like an exciting treat right out of childhood dreams.
-
Fresh Berries: A handful of juicy strawberries or raspberries introduces a fresh, tart contrast, balancing the sweetness of your colorful cookies.
-
Whipped Cream: A dollop of homemade whipped cream on the side adds a light, airy touch that pairs beautifully with each bite of the cookies.
-
Fruit Salad: A vibrant fruit salad not only brightens the table but also brings freshness and a touch of healthiness to your indulgent dessert spread.
-
Sugar Sprinkles: Just for fun! Sprinkle some colorful sugar on top of your cookies or the whipped cream for that extra pop of celebration.
-
Coconut Milk: For a dairy-free option, chilled coconut milk offers a creamy richness that complements the flavors perfectly.
Embrace your creativity with these pairings and let every bite of your Cookie Monster Cookies be a delightful adventure!
How to Store and Freeze Cookie Monster Cookies
Room Temperature: Keep your cookies in an airtight container at room temperature for up to 3 days to maintain their softness and freshness.
Fridge: For extended freshness, store the cookies in the fridge for up to a week; just ensure they’re in a sealed container to prevent them from drying out.
Freezer: Freeze the cookie dough balls for up to 3 months; simply scoop them onto a baking sheet and freeze until solid before transferring to a zip-top bag for easy baking later.
Reheating: Enjoy warm cookies by reheating them in the microwave for about 10-15 seconds; they’ll regain that delightful softness with each bite of your Cookie Monster Cookies!
Cookie Monster Cookies Variations & Substitutions
Feel free to explore these delightful twists on your Cookie Monster Cookies to make them even more exciting!
- Chocolate Fun: Swap white chocolate chips for semi-sweet or dark chocolate chunks for a richer flavor.
- Oreo Extravaganza: Experiment with different Oreo flavors, like mint or peanut butter, to add a unique taste to each batch.
- Nutty Addition: For a crunchy surprise, mix in chopped nuts like walnuts or pecans, enhancing texture and flavor.
- Dairy-Free Delight: Replace butter with vegan margarine and use dairy-free chocolate chips for a delicious dairy-free option.
- Texture Boost: Try adding in crushed pretzels for a salty, crunchy contrast to the sweetness of the cookies.
- Coconut Twist: Fold in shredded coconut for a tropical flair—this adds a chewy texture that complements the overall flavor.
- Cookie Dough Remix: Incorporate chunks of edible cookie dough right into the cookie batter for an extra indulgence.
- Candy Coating: After baking, drizzle some melted chocolate or sprinkle colorful candies on top to make these cookies pop!
Don’t forget, these playful variations can turn your cookies into an exciting treat for any occasion! For more cookie inspiration, check out these delicious Lemon Oatmeal Cookies or indulge in a sweet bite of Oreo Cheesecake Cookie. Happy baking!
Make Ahead Options
These Cookie Monster Cookies are perfect for busy home cooks looking to save time! You can prepare the cookie dough up to 24 hours in advance by shaping it into balls and refrigerating them in an airtight container. To maintain the vibrant color and chewy texture, make sure to chill the dough properly; this also helps the cookies keep their shape while baking. When you’re ready to indulge, simply preheat your oven and bake the chilled dough for 10-12 minutes until the edges are firm but the centers remain delightfully underbaked. Enjoy freshly baked, whimsical treats with minimal effort, bringing smiles to your table!
Cookie Monster Cookies Recipe FAQs
How do I choose the right ingredients for Cookie Monster Cookies?
Absolutely! For the best results, select all-purpose flour without any substitutes for structure. Use room temperature unsalted butter to achieve the desired texture, and opt for gel food coloring to achieve that iconic vibrant blue. When choosing chocolate chips or cookies for mix-ins, feel free to go with your favorites; variety keeps things exciting!
How should I store my Cookie Monster Cookies?
To keep your Cookie Monster Cookies fresh and tasty, store them in an airtight container at room temperature for up to 3 days. For longer storage, they last about a week in the fridge, but be sure to seal them well to prevent drying out.
Can I freeze the cookie dough for later use?
Yes! To freeze your Cookie Monster Cookies dough, scoop the dough into balls and place them on a baking sheet lined with parchment paper. Freeze until solid (about 1-2 hours), then transfer the dough balls to a zip-top bag. They will stay good for up to 3 months. When you’re ready to bake, just add a couple of minutes to the baking time!
What if my Cookie Monster Cookies turn out flat?
If your cookies spread too much, it could be due to a few factors. Ensure you’re using room temperature butter and that it’s properly creamed with the sugars—this process incorporates air, creating lift. Chilling the dough for about 30 minutes before baking can also help maintain their shape, so make sure to try that step for a perfect bake!
Are there any dietary considerations for Cookie Monster Cookies?
For those with allergies, be careful with the cookie mix-ins. The white chocolate and cookies contain dairy and gluten, so try using dairy-free chocolate chips and gluten-free cookies for a suitable alternative. If you have pets, remember chocolate is toxic to dogs and cats, so keep these delightful cookies out of their reach.
How long do Cookie Monster Cookies last?
When stored properly in an airtight container, Cookie Monster Cookies can last for up to 3 days at room temperature. If you prefer to keep them longer, store them in the fridge for up to a week or freeze the cookie dough for up to 3 months for future baking fun.
Cookie Monster Cookies - Colorful Treats for Every Sweet Tooth
Ingredients
Equipment
Method
- Preheat your oven to 350°F (175°C) and line a baking sheet with parchment paper.
- In a medium bowl, whisk together the all-purpose flour, cornstarch, baking soda, and salt.
- In a large mixing bowl, beat the unsalted butter, brown sugar, and granulated sugar until light and fluffy.
- Add the eggs and vanilla extract to the creamed mixture, mixing until fully incorporated.
- Gradually incorporate the dry mixture into the wet mixture until just combined.
- Add gel food coloring to achieve the desired blue color.
- Gently fold in the white chocolate chips, chopped Chips Ahoy cookies, and chopped Oreos.
- Scoop out dough balls onto the lined baking sheet, chilling the dough in the fridge for about 30 minutes.
- Bake the cookies for 10-12 minutes, ensuring the edges are set and the centers are slightly underbaked.
- Allow the cookies to cool on the baking sheet for 15 minutes before transferring them to a wire rack.
Leave a Reply