
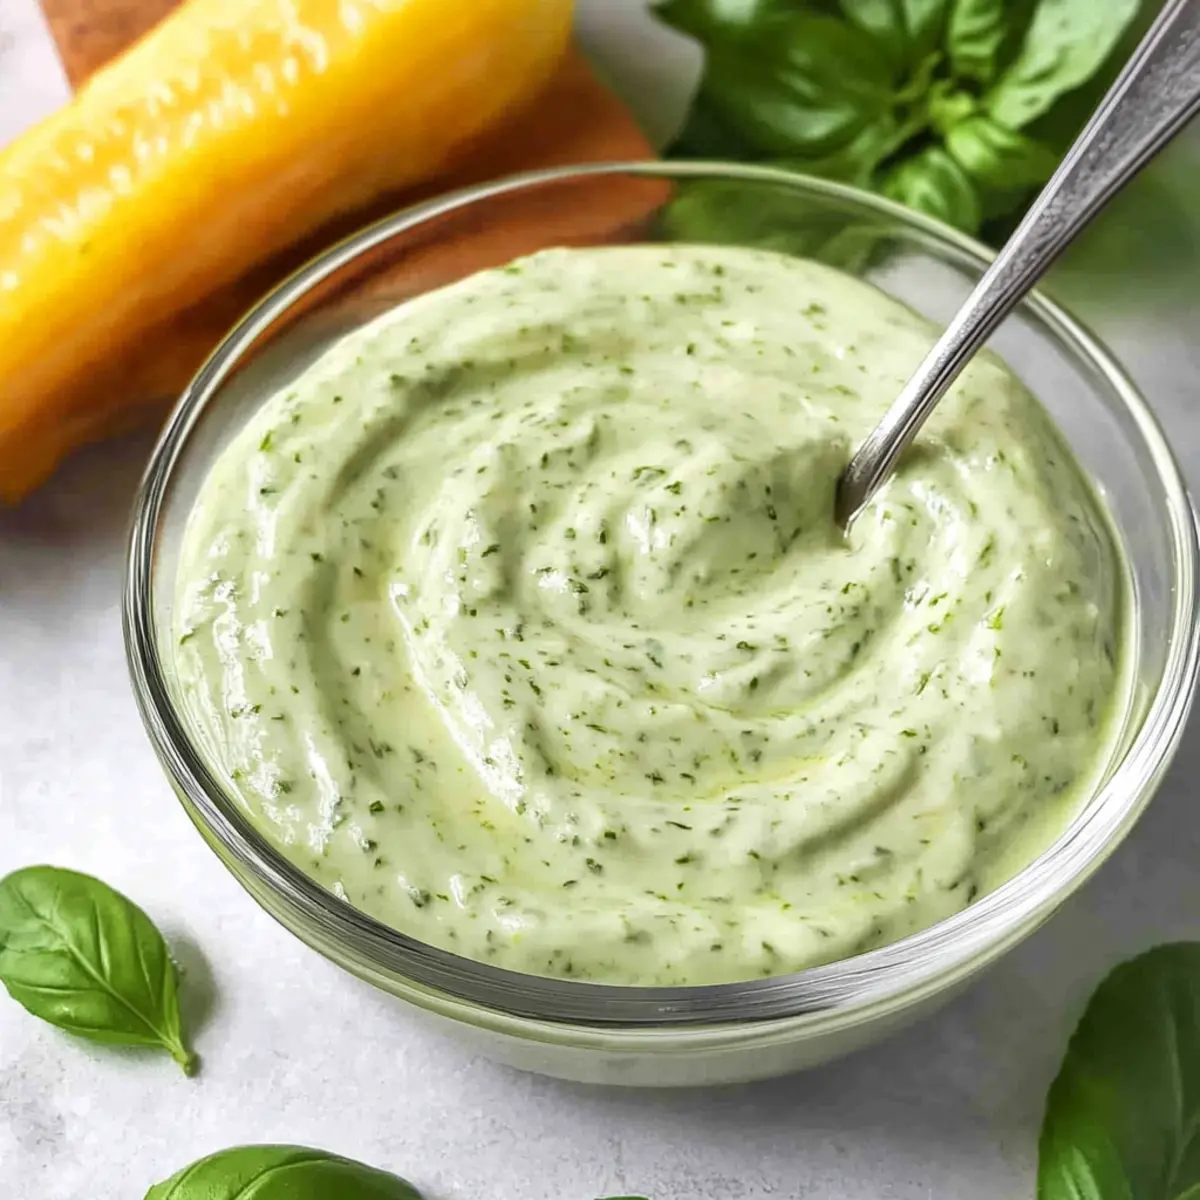
As I stood in my kitchen, the scent of fresh basil wafting through the air, I couldn’t help but smile at the prospect of summer meals ahead. This creamy basil aioli is my secret weapon for elevating any dish, transforming mundane snacks into gourmet delights. With just a handful of everyday ingredients, this quick recipe offers a flavorful twist on traditional sauces, making it perfect for sandwiches, fries, or as a dipping sauce for veggies. Plus, it’s completely adaptable; swap in your favorite herbs for a personal touch. Whether you’re hosting a summer barbecue or simply craving a refreshing dip, this basil aioli is your go-to. Ready to dive into a world of fresh flavors? Let’s whip up this delightful aioli together!
Why is Basil Aioli a Must-Try?
Simplicity: This aioli comes together in just minutes, making it an effortless addition to your summer cooking repertoire.
Fresh Flavors: The vibrant mix of basil, garlic, and lemon creates a burst of taste that livens up any dish.
Versatility: Use it as a delicious spread for sandwiches, a zesty dip for vegetable platters, or even as a topping for grilled meats.
Customized to You: Feel free to experiment with other fresh herbs like cilantro or dill for a unique twist, ensuring you can make it your own!
Crowd-Pleasing: Whether for a casual dinner or a festive barbecue, this creamy basil aioli is guaranteed to impress your guests! For a refreshing side, consider pairing it with this delicious Tortellini Pasta Salad for a complete summer feast.
Basil Aioli Ingredients
For the Aioli
- Mayonnaise – the creamy base of the aioli; substitute with Greek yogurt for a tangy twist.
- Basil Leaves – these provide fresh flavor and vibrant color; feel free to swap with herbs like cilantro, parsley, dill, or chives for an interesting variation.
- Garlic – adds a pungent kick; fresh garlic is preferred for an authentic taste, but roasted garlic offers a milder sweetness if desired.
- Lemon Juice – brings brightness and acidity; always opt for freshly squeezed juice for the best flavor.
- Salt – enhances the overall flavor of the aioli, making every bite deliciously memorable.
Quick Tip
This basil aioli is incredibly adaptable, allowing you to customize it with your favorite fresh herbs, making it a delightful addition to countless dishes!
Step‑by‑Step Instructions for Basil Aioli
Step 1: Prepare Ingredients
Start by washing 1 cup of fresh basil leaves thoroughly and patting them dry. Next, finely mince 2 cloves of garlic, ensuring you get a strong, aromatic flavor. Chopping both the basil and garlic finely is crucial for achieving a smooth basil aioli. Gather a bowl and measuring spoons to streamline your process!
Step 2: Combine Ingredients
In a mixing bowl, combine the minced basil and garlic with 1 cup of mayonnaise, the juice of half a lemon, and a pinch of salt. Stir the mixture well with a spoon or spatula until the ingredients are fully incorporated, achieving a creamy and cohesive texture. Alternatively, for a more uniform consistency, pulse everything in a food processor for about 15-20 seconds.
Step 3: Meld Flavors
After mixing, cover the bowl with plastic wrap or a lid and place it in the refrigerator. Allow the aioli to chill for at least 30 minutes. This chilling time is essential as it lets the flavors meld harmoniously, enhancing the overall taste of your basil aioli and creating a delightful burst of freshness.
Step 4: Serve and Enjoy
Once chilled, remove the basil aioli from the refrigerator and give it a quick stir. Transfer it to a serving bowl and use it as a wonderful condiment for sandwiches, burgers, or a zesty dip for crispy vegetables and fries. The creamy basil aioli is now ready to elevate your summer dishes!
Expert Tips for Basil Aioli
-
Fresh Ingredients Matter: Always use fresh basil and garlic for the best flavor. Dried herbs won’t provide the same vibrant taste and aroma.
-
Blend Smoothly: If using a food processor, ensure not to over-blend, as you want to maintain some texture for that delightful creaminess in your basil aioli.
-
Taste Before Serving: Adjust seasoning before serving. Sometimes, a pinch more salt or a splash of lemon juice can elevate the flavors significantly.
-
Chill Time: Don’t skip the refrigeration! Allowing the aioli to meld for at least 30 minutes enhances the flavors and ensures a delicious taste.
-
Storage Tip: For maximum freshness, store your basil aioli in an airtight container and consume it within 2 days for the best experience.
Basil Aioli Variations & Substitutions
Get ready to customize your homemade basil aioli and delight your taste buds with exciting twists!
-
Herb Swap: Replace fresh basil with cilantro, dill, or chives for a new flavor experience. Each herb brings its unique personality, making every batch a delightful surprise.
-
Greek Yogurt Base: Use Greek yogurt instead of mayonnaise for a lighter, tangy version. This swap not only reduces calories but also adds a refreshing zing that pairs well with crispy fries.
-
Spicy Kick: Add a pinch of cayenne pepper or a few dashes of hot sauce for heat. This simple addition transforms basil aioli into an exciting, fiery dip that will intrigue curry lovers.
-
Roasted Garlic: Swap fresh garlic with roasted garlic for a mellower sweetness. It adds depth and warmth, perfect for pairing with grilled sandwiches.
-
Citrus Twist: Experiment with lime juice instead of lemon for a zesty twist. This can brighten up the aioli, making it ideal for seafood dishes or tacos.
-
Nutty Flavor: Blend in some toasted pine nuts or walnuts for added texture and a rich, earthy taste. This not only enhances the flavor but offers another layer of creaminess to the aioli.
-
Pesto Boost: Mix in some prepared pesto for a vibrant green sauce packed with flavor. It’s a perfect way to use leftover pesto, plus it pairs beautifully with pasta salads or as a spread for bruschetta.
-
Creamy Avocado: Add mashed avocado for a lush, creamy version that curates a silky texture. This twist works wonders when served with grilled chicken or vegetable wraps.
Explore the endless possibilities with your basil aioli, and don’t forget to pair it with a delicious Tortellini Pasta Salad or as a condiment with sautéed veggies. The sky’s the limit when it comes to customization!
Make Ahead Options
Basil aioli is a fantastic choice for meal prep enthusiasts looking to save time during busy weeknights! You can prepare this creamy basil aioli up to 2 days in advance, allowing the flavors to deepen. To do this, simply follow the initial steps—combine minced basil, garlic, mayonnaise, lemon juice, and salt in a bowl, then cover and refrigerate. To maintain its vibrant flavor, store the aioli in an airtight container; this keeps it fresh while preventing oxidation. When you’re ready to serve, give it a quick stir and enjoy it as a zesty dip or spread, ensuring your summer dishes are both delicious and effortless!
What to Serve with Creamy Basil Aioli?
Enhance your summer meals with delightful pairings that elevate the fresh flavors of this creamy dip.
-
Crispy Sweet Potato Fries: Their naturally sweet flavor contrasts beautifully with the herbaceous aioli, creating a delectable balance.
-
Grilled Chicken Skewers: These savory bites are made even juicier and more flavorful when dipped in the zesty basil aioli. A refreshing complement for a summer cookout!
-
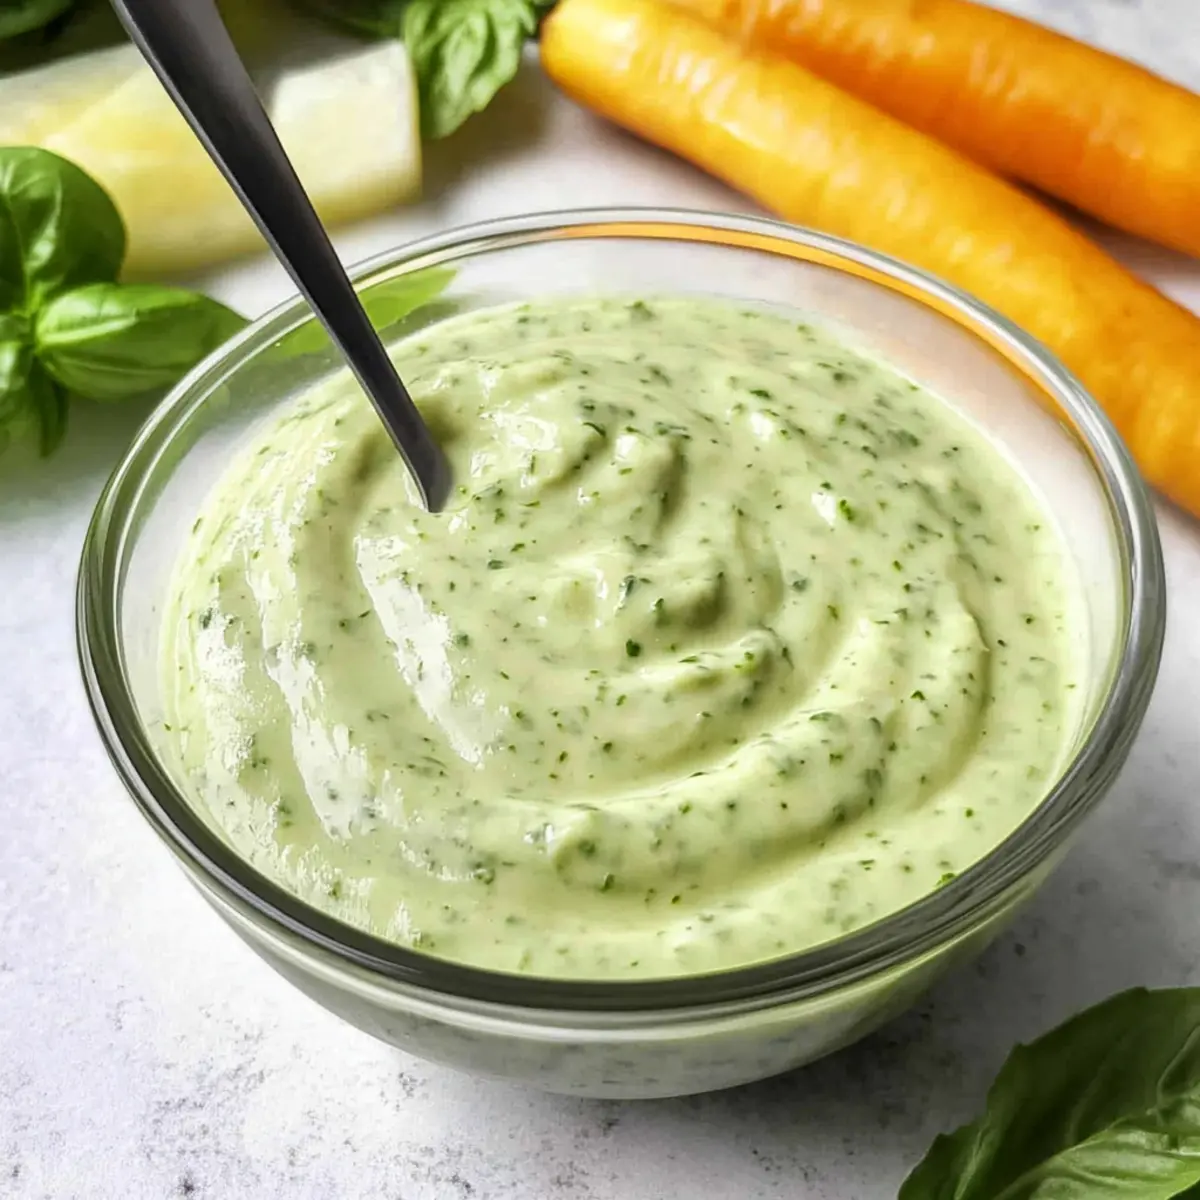
Veggie Platter: A colorful array of crunchy vegetables like carrots, cucumbers, and bell peppers provides a perfect crunchy texture that pairs wonderfully with the creaminess of the aioli.
-
Artisan Bread Slices: Freshly baked bread, with its crusty exterior and soft interior, serves as an ideal canvas for the rich basil dip, turning each bite into a gourmet experience.
-
Caprese Salad: The classic combination of tomatoes and mozzarella harmonizes with the fresh flavors of basil aioli, bringing a touch of summer to your plate.
-
Sparkling Lemonade: For a refreshing drink, consider a glass of sparkling lemonade. The acidity and fizz complement the aioli’s herbaceous notes while keeping the meal light and bright.
With these pairings, your creamy basil aioli will shine at any summer gathering, creating an unforgettable dining experience!
How to Store and Freeze Basil Aioli
Fridge: Store basil aioli in an airtight container in the refrigerator for up to 7 days. For the best flavor, it’s recommended to consume it within 1-2 days.
Room Temperature: Avoid leaving basil aioli out at room temperature for more than 2 hours to prevent spoilage and maintain freshness.
Freezer: Freezing basil aioli is not recommended, as the mayonnaise can separate, resulting in an undesirable texture when thawed.
Reheating: There’s no need to reheat basil aioli; simply give it a quick stir before serving. Enjoy it chilled as a dip or spread!
Basil Aioli Recipe FAQs
What kind of basil should I use for aioli?
Absolutely! Fresh basil is preferable as it offers a vibrant flavor and color. Look for basil leaves that are bright green and free from dark spots. If fresh isn’t available, you can substitute with other fresh herbs like cilantro or dill, but the flavor will change.
How should I store basil aioli, and how long does it last?
To keep your basil aioli fresh, store it in an airtight container in the refrigerator. It can last up to 7 days, but it’s best to enjoy it within 1-2 days for optimal flavor. If you forget to put it away, remember that it shouldn’t be left out at room temperature for more than 2 hours.
Can I freeze basil aioli?
While you might be tempted, I don’t recommend freezing your basil aioli. Mayonnaise-based sauces tend to separate and lose their creamy texture when thawed. For best results, make just enough to enjoy within a week!
What if my aioli is too runny?
If you find your aioli isn’t thickening properly, it could be due to the mayonnaise not being emulsified well. Be sure to mix thoroughly! If it remains too thin, you can add a bit more mayonnaise to enhance the creaminess until you achieve your desired consistency.
Is this recipe suitable for people with allergies?
Great question! This basil aioli contains mayonnaise, which is egg-based, so it’s not suitable for anyone with egg allergies. If you’re catering for someone with allergies, consider making an egg-free version using aquafaba (liquid from canned chickpeas) as a base, along with your herbs and seasoning.
How can I customize my basil aioli for different flavors?
The more, the merrier! You can easily navigate the flavor landscape by swapping in fresh herbs like parsley or chives for basil, or even adding roasted garlic for a sweeter touch. Start with the same base recipe, but feel free to experiment! Just remember to taste as you go, adjusting the salt and acidity to your liking.
Elevate Your Summer Dishes with Zesty Basil Aioli
Ingredients
Equipment
Method
- Wash 1 cup of fresh basil leaves thoroughly and pat them dry. Finely mince 2 cloves of garlic.
- In a mixing bowl, combine the minced basil and garlic with 1 cup of mayonnaise, juice of half a lemon, and a pinch of salt. Mix well.
- Cover with plastic wrap and refrigerate for at least 30 minutes to let flavors meld.
- Give it a stir and serve as a condiment or dip.
Leave a Reply