
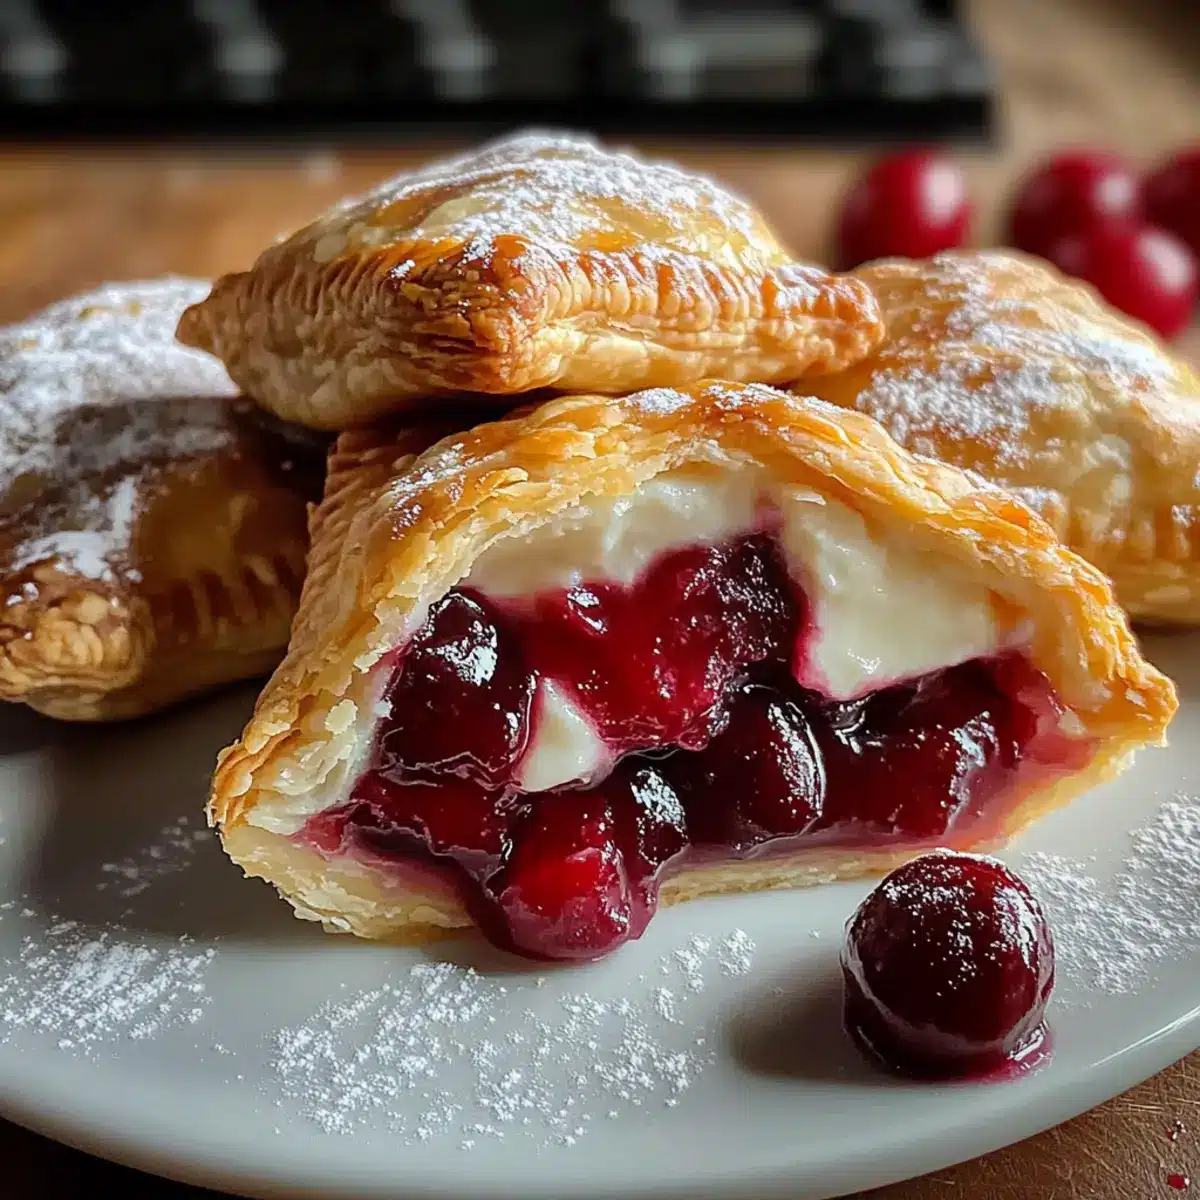
The other day, while drifting through a local market, I stumbled upon the juiciest cherries that seemed to call my name. I couldn’t resist imagining how they would shine in Cherry Cheesecake Hand Pies, combining creamy goodness with that sweet, tart punch. These delightful treats are not only incredibly quick to whip up but also customizable, allowing you to swap in your favorite fruits with ease. Whether you’re frying them for that golden, flaky crust or opting for a lighter baked version, they are a delightful addition to any gathering or solo sweet craving. Just thinking about the delicious scent filling my kitchen makes me want to dive right in—don’t you think it’s time to treat yourself?
Why Choose Cherry Cheesecake Hand Pies?
Quick and Easy: The beauty of these hand pies lies in their simplicity. With minimal prep time and basic ingredients, you can have delicious treats ready in no time!
Customizable Fillings: Want to switch up the flavors? Feel free to substitute cherry with your favorite fruit like blueberry or apple for a delightful twist.
Crowd-Pleaser: These little pies are perfect for any occasion, whether it’s a cozy family dessert or a festive gathering. Everyone will love them!
Versatile Cooking Methods: Fry for that irresistible crispy crust or bake for a lighter option. Either way, you’ll be satisfied!
Perfect Pairing: Enjoy these pies warm with a cup of coffee or tea—it’s the ultimate comfort food combo! Make sure to also try Lemon Cheesecake Refreshing for another perfect treat!
Cherry Cheesecake Hand Pies Ingredients
For the Filling
• Cream Cheese – Ensures a rich, creamy base; remember to soften for easy blending.
• Granulated Sugar – Balances the tartness of the cherries, offering just the right amount of sweetness.
• Cherry Pie Filling – Gives that sweet, fruity burst; feel free to substitute with blueberry or apple for variety.
For the Crust
• Refrigerated Pie Crust – Provides a flaky outer shell; a homemade version is also a great option if you’re feeling adventurous!
For Frying
• Vegetable Oil – Needed for frying; maintain the right frying temperature to achieve a crispy texture.
For the Glaze
• Powdered Sugar – Adds sweetness and a glossy finish when mixed with other glaze ingredients.
• Corn Syrup – Helps achieve a smooth glaze; can be omitted, but it’ll change the consistency slightly.
• Water – Adjusts glaze consistency depending on your preference; a little goes a long way!
Indulge in these irresistible Cherry Cheesecake Hand Pies that will surely become a favorite in your kitchen!
Step‑by‑Step Instructions for Cherry Cheesecake Hand Pies
Step 1: Prepare Oil
Begin by heating vegetable oil in a deep pot until it reaches 190°C (375°F). Use a thermometer to monitor the temperature for perfect frying. While the oil warms up, gather your tools and prepare the filling, ensuring everything is within reach for a smooth cooking process.
Step 2: Make Filling
In a large mixing bowl, beat together softened cream cheese and granulated sugar until the mixture is remarkably smooth and creamy. This dreamy filling is the heart of your Cherry Cheesecake Hand Pies! Set it aside while you prepare the crust to keep everything fresh and ready to assemble.
Step 3: Cut Dough
Roll out the refrigerated pie crust on a floured surface until it’s about 1/8 inch thick. Using a round cutter, cut out circles roughly 13–15 cm in diameter; you should aim for about six rounds. Looking for nice, even circles will ensure your hand pies are uniform and enjoyable, making the Cherry Cheesecake Hand Pies appealing.
Step 4: Assemble Hand Pies
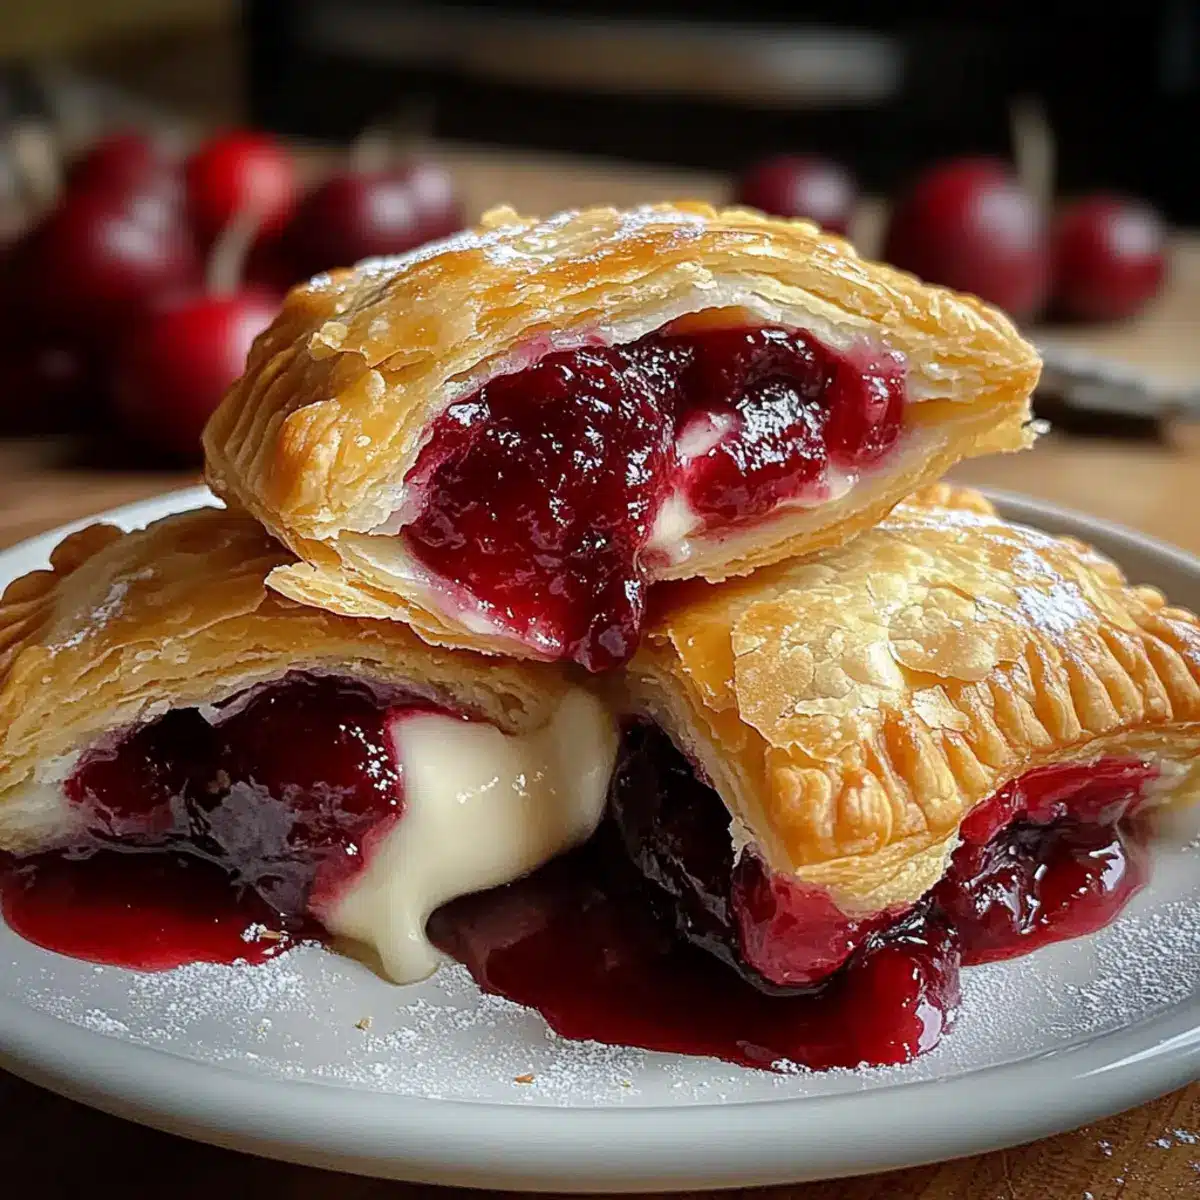
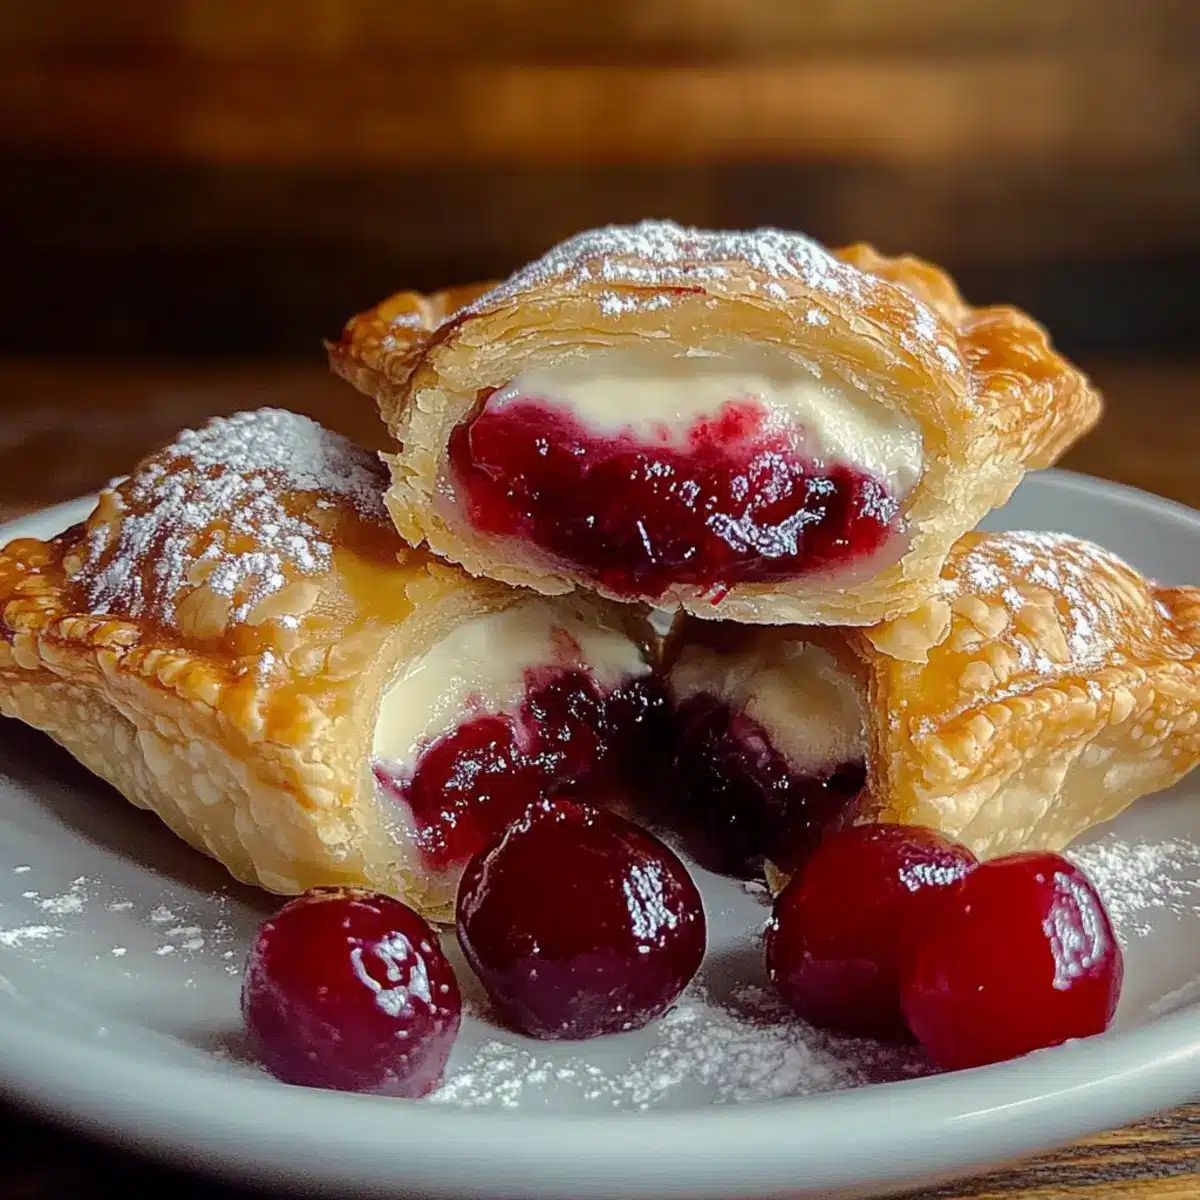
On each dough circle, place about a tablespoon of the creamy filling in the center, then add a spoonful of cherry pie filling on top for a burst of flavor. The contrast of the sweet cherries complements the creamy filling perfectly. Moisten the edges with water, fold the dough over the filling, and crimp the edges to seal tightly, ensuring no filling escapes while frying.
Step 5: Fry
Carefully lower each hand pie into the hot oil, frying in small batches to maintain the oil temperature. Allow them to cook for about 2–3 minutes on each side, or until they turn a beautiful golden brown. Turn them gently with tongs to ensure even cooking; the scent of the Cherry Cheesecake Hand Pies will fill your kitchen and make it hard to resist!
Step 6: Glaze
While the hand pies cool slightly on a wire rack, prepare the glaze by mixing powdered sugar, corn syrup, and a splash of water in a bowl. The glaze should be smooth and slightly runny. Brush this glossy mixture over the warm pies for an irresistible, sweet finish that enhances their charm and deliciousness.
Step 7: Rest
Allow the Cherry Cheesecake Hand Pies to sit on the wire rack for a few minutes, letting the glaze set before serving. This resting period helps the flavors meld together and ensures they are warm but not too hot to enjoy. Once they cool slightly, they’ll be ready to share (or savor all by yourself!).

Cherry Cheesecake Hand Pies Variations
Feel free to play around and get creative with these delightful treats! There are so many ways to customize your Cherry Cheesecake Hand Pies for a unique twist.
-
Fruity Options: Substitute cherry pie filling with alternatives like blueberry or apple for new flavor adventures. Just imagine the lusciousness of blueberry jam nestled in the creamy cheesecake base—yum!
-
Baking Instead of Frying: For a lighter version, try baking instead of frying. Brush with an egg wash and bake at 190°C (375°F) for 15-20 minutes until golden. You’ll adore the slightly different texture while keeping that scrumptious filling.
-
Spice It Up: Mix in spices like cinnamon or nutmeg into the cream cheese filling for a warm and inviting flavor profile. This subtle addition elevates your treats into something truly special!
-
Add Zest: Incorporate some lemon or orange zest into the filling for a bright, citrusy contrast. The zing will complement the cherries beautifully and refresh your palate.
-
Nutty Crunch: For an added texture twist, sprinkle chopped nuts (like pecans or almonds) into the filling before sealing the pies. This delightful crunch adds a wonderful layer of flavor.
-
Decadent Chocolate: Drizzle melted chocolate over your glazed pies for an extra indulgent treat. The richness of chocolate against the sweet and tart filling is a match made in heaven.
-
Mini Hand Pies: Make smaller versions for bite-sized treats that are perfect for parties or snacks. These mini Cherry Cheesecake Hand Pies will delight both kids and adults alike.
-
Savory Twist: Go unconventional by creating a savory filling with cream cheese and herbs for a unique appetizer twist. It’s different, delicious, and sure to surprise your guests!
For even more dessert inspiration, don’t forget to check out my Brownie Cheesecake Sweet or the delightful Coffee Cheesecake Luscious which are equally scrumptious!
Expert Tips for Cherry Cheesecake Hand Pies
-
Oil Temperature Matters: Ensure your frying oil is at 190°C (375°F); too hot burns the crust, while too cold leads to greasy hand pies.
-
Batch Frying: Fry the hand pies in small batches to maintain oil temperature, helping them cook evenly and avoid sogginess.
-
Sealing Technique: Seal edges well by crimping tightly; this prevents the filling from leaking out during frying, ensuring your Cherry Cheesecake Hand Pies stay deliciously intact.
-
Custom Flavor Infusions: Experiment with different fruit fillings so you can create variations; each change keeps the recipe fresh and exciting!
-
Glazing Tips: Apply the glaze while the pies are still warm for a beautiful, shiny finish that adds an extra layer of sweetness.
What to Serve with Cherry Cheesecake Hand Pies
These delightful treats deserve the perfect partners to create a complete and satisfying meal experience.
-
Vanilla Ice Cream: A scoop of smooth vanilla ice cream adds a sweet, creamy contrast that enhances the decadent flavors of the hand pies.
-
Fresh Berries: A medley of fresh strawberries and blueberries provides a burst of juicy freshness, balancing out the richness while adding vibrant color to your plate.
-
Whipped Cream: Light and airy, whipped cream complements the hand pies beautifully, making each bite feel extra indulgent. Consider adding a hint of vanilla for an added flavor dimension!
-
Dark Chocolate Drizzle: A drizzle of rich, dark chocolate elevates the sweet and tangy cherry flavors, adding a touch of sophistication that both kids and adults will love.
-
Coffee or Espresso: A warm cup of coffee or a shot of espresso makes the perfect pairing, enhancing the dessert experience and providing a delightful contrast to the sugary sweetness.
-
Lemonade or Iced Tea: A refreshing beverage like lemonade or sweet iced tea adds a bright, tangy note that cuts through the richness of the hand pies.
You’re not just serving dessert; you’re crafting an inviting moment that delights the senses, making every bite feel special!
Storage Tips for Cherry Cheesecake Hand Pies
Room Temperature: Keep leftover hand pies in an airtight container at room temperature for up to 2 days to maintain their delightful texture.
Fridge: If you’d like to extend their life, refrigerate the hand pies for up to 5 days in a sealed container, ensuring they stay fresh and tasty.
Freezer: For long-term storage, freeze un-fried hand pies individually wrapped in plastic wrap and placed in a freezer bag for up to 3 months. Fry them directly from frozen with a little extra cooking time.
Reheating: To enjoy them warm again, reheat in the oven at 180°C (350°F) for about 10 minutes, ensuring they regain their crispiness without losing that creamy cherry cheesecake filling.
Make Ahead Options
These Cherry Cheesecake Hand Pies are a fantastic choice for meal prep enthusiasts! You can prepare the filling (cream cheese and sugar) and assemble the hand pies up to 24 hours in advance, storing them in the refrigerator. Cover them with plastic wrap to keep them fresh and prevent drying. If you’re using a different fruit filling, be mindful to add it just before frying to ensure optimal flavor and texture. When you’re ready to enjoy your delightful treats, simply heat the oil and fry the hand pies directly from the fridge. They’ll be just as delicious, providing a satisfying, homemade option for your busy weeknights!
Cherry Cheesecake Hand Pies Recipe FAQs
What’s the best way to select ripe cherries for the filling?
Absolutely! Look for cherries that are deep red, firm, and have a shiny exterior. The stems should be green and fresh—if they’re brown or dried out, the cherries may be overripe. Avoid any with dark spots or wrinkles, as they won’t offer that sweet burst of flavor you want in your Cherry Cheesecake Hand Pies.
How should I store leftover Cherry Cheesecake Hand Pies?
You can keep your leftover hand pies in an airtight container at room temperature for up to 2 days. If you need to store them longer, refrigeration is best, allowing for up to 5 days while ensuring they stay fresh. Always seal them tightly to maintain their delightful texture!
Can I freeze the hand pies, and if so, how?
Yes, freezing is a great option! To freeze your Cherry Cheesecake Hand Pies, wrap each un-fried pie individually in plastic wrap and place them in a freezer bag. They will last up to 3 months in the freezer. When you’re ready to enjoy, you can fry them directly from frozen, just adding a minute or two to the frying time for perfect results.
What should I do if my filling leaks out during frying?
If your filling leaks out, it’s likely because the edges weren’t sealed tightly. To prevent this, make sure you moisten the edges with water before crimping them together. If they leak anyway, try frying at a slightly higher oil temperature, as a colder temperature can make the crust soggy and fail to hold the filling in place.
Are there any dietary considerations for making these hand pies?
Indeed! For those concerned about gluten, you can use gluten-free pie crusts. If you have a dairy allergy, consider using a dairy-free cream cheese alternative. Always check your cherry pie filling for allergens, as some brands may contain corn syrup or other additives that might not suit everyone.
How long can I keep the glaze, and how should I store it?
You can store any leftover glaze in an airtight container in the fridge for up to a week. If it thickens upon sitting, simply re-whisk with a splash of water until you reach your desired consistency. This glaze works beautifully on various desserts—it’s not just for your Cherry Cheesecake Hand Pies!
Cherry Cheesecake Hand Pies: Irresistibly Easy & Delicious
Ingredients
Equipment
Method
- Heat vegetable oil in a deep pot until it reaches 190°C (375°F).
- In a large mixing bowl, beat together softened cream cheese and granulated sugar until smooth.
- Roll out refrigerated pie crust and cut out circles.
- Place filling on each circle, moisten edges, fold and crimp.
- Carefully fry hand pies in small batches for 2-3 minutes on each side.
- Prepare glaze by mixing powdered sugar, corn syrup, and water.
- Brush glaze over warm hand pies and allow to rest for a few minutes.
Leave a Reply