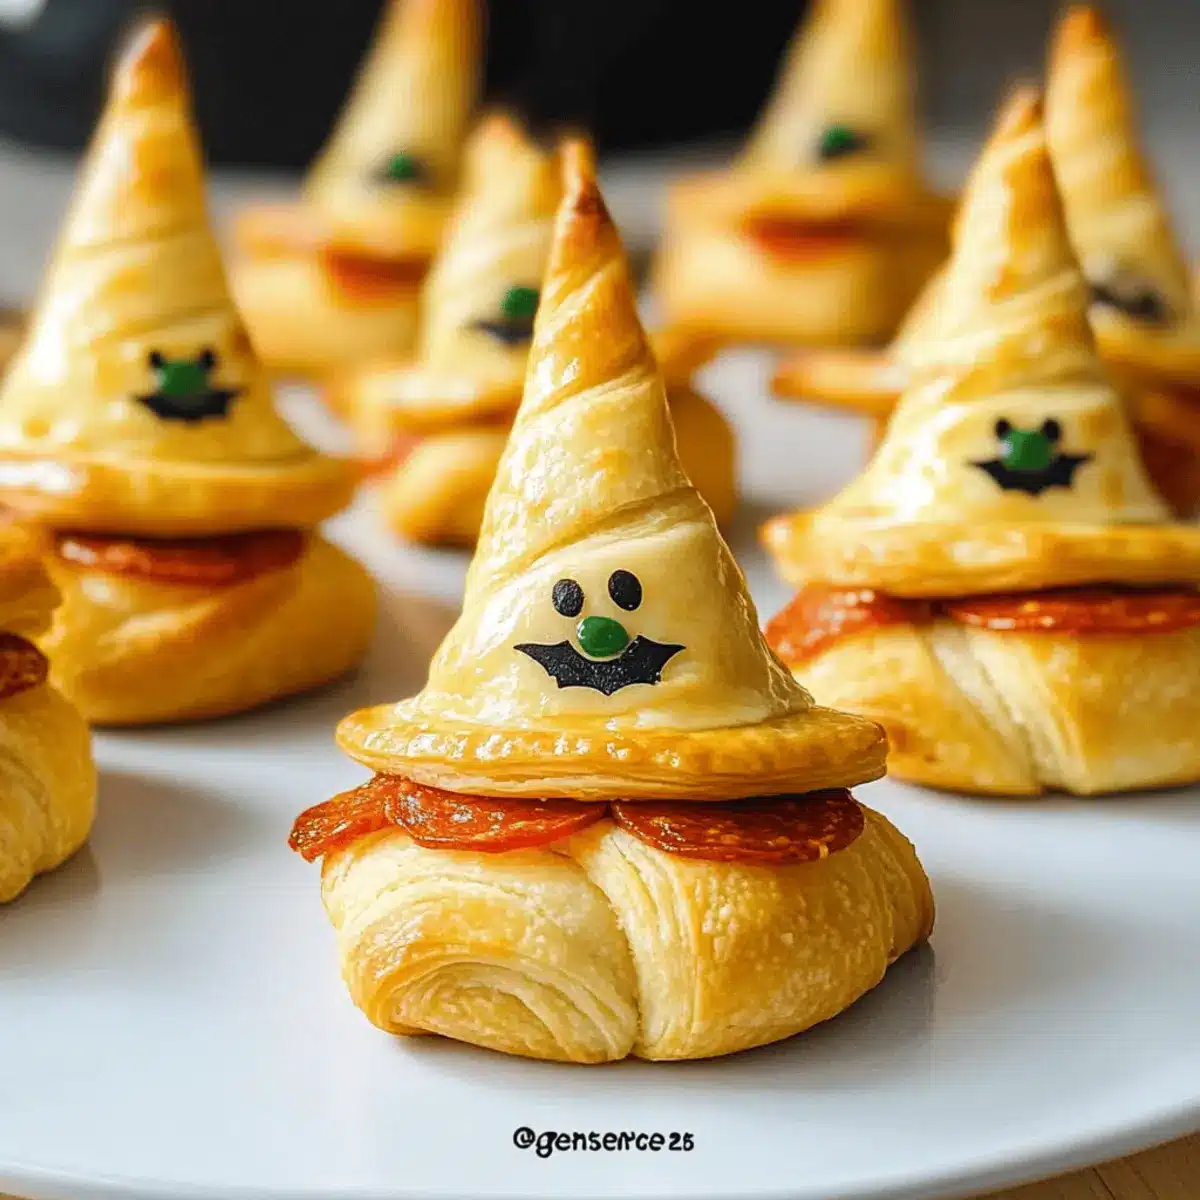
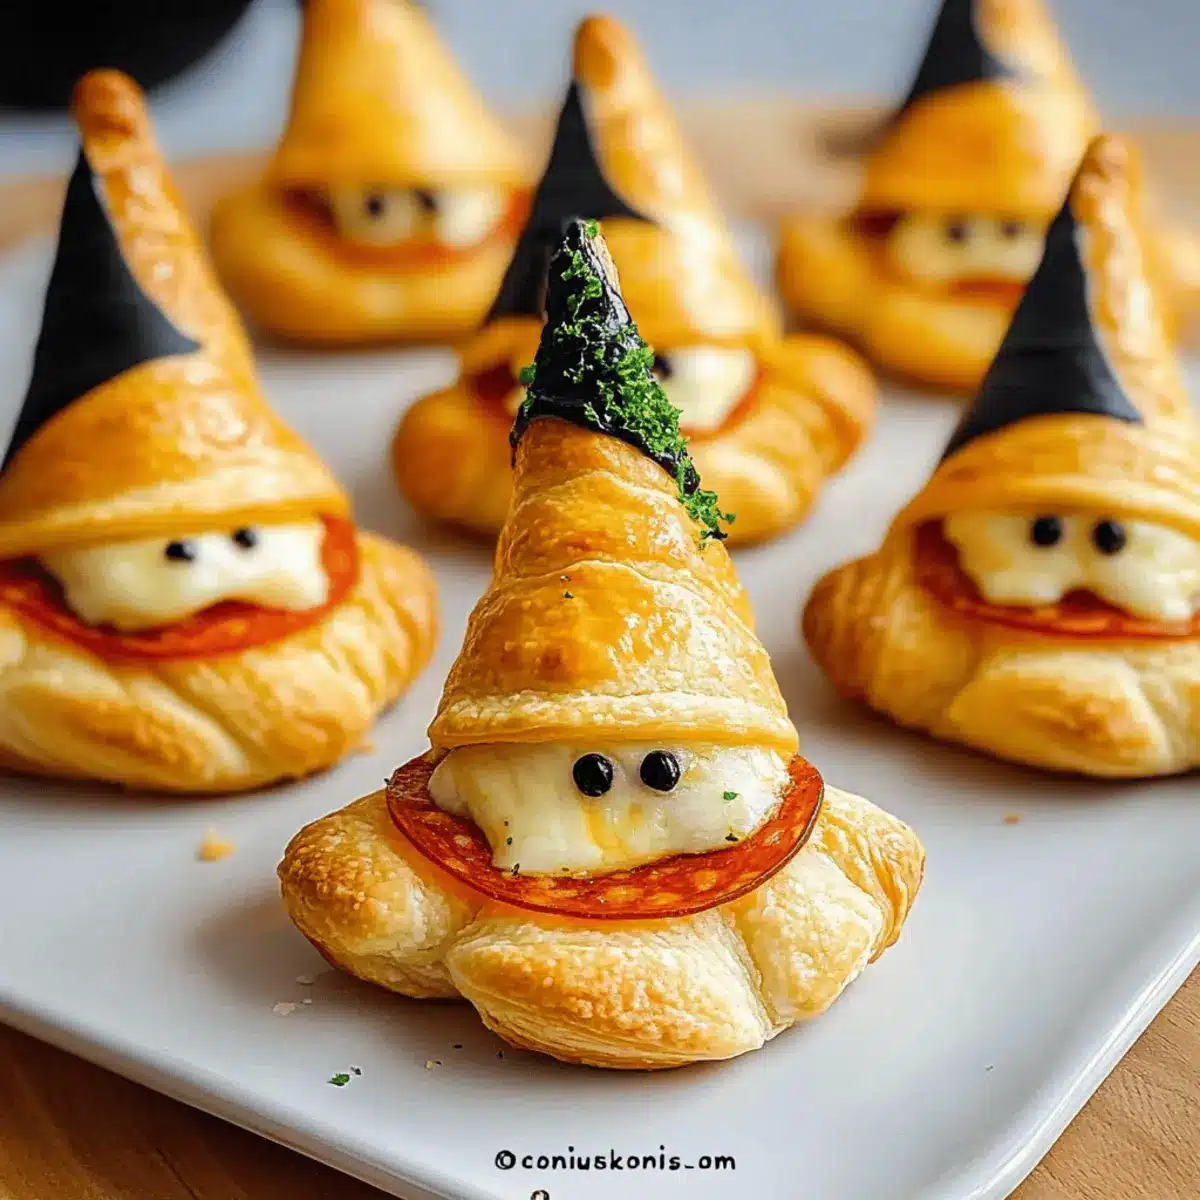
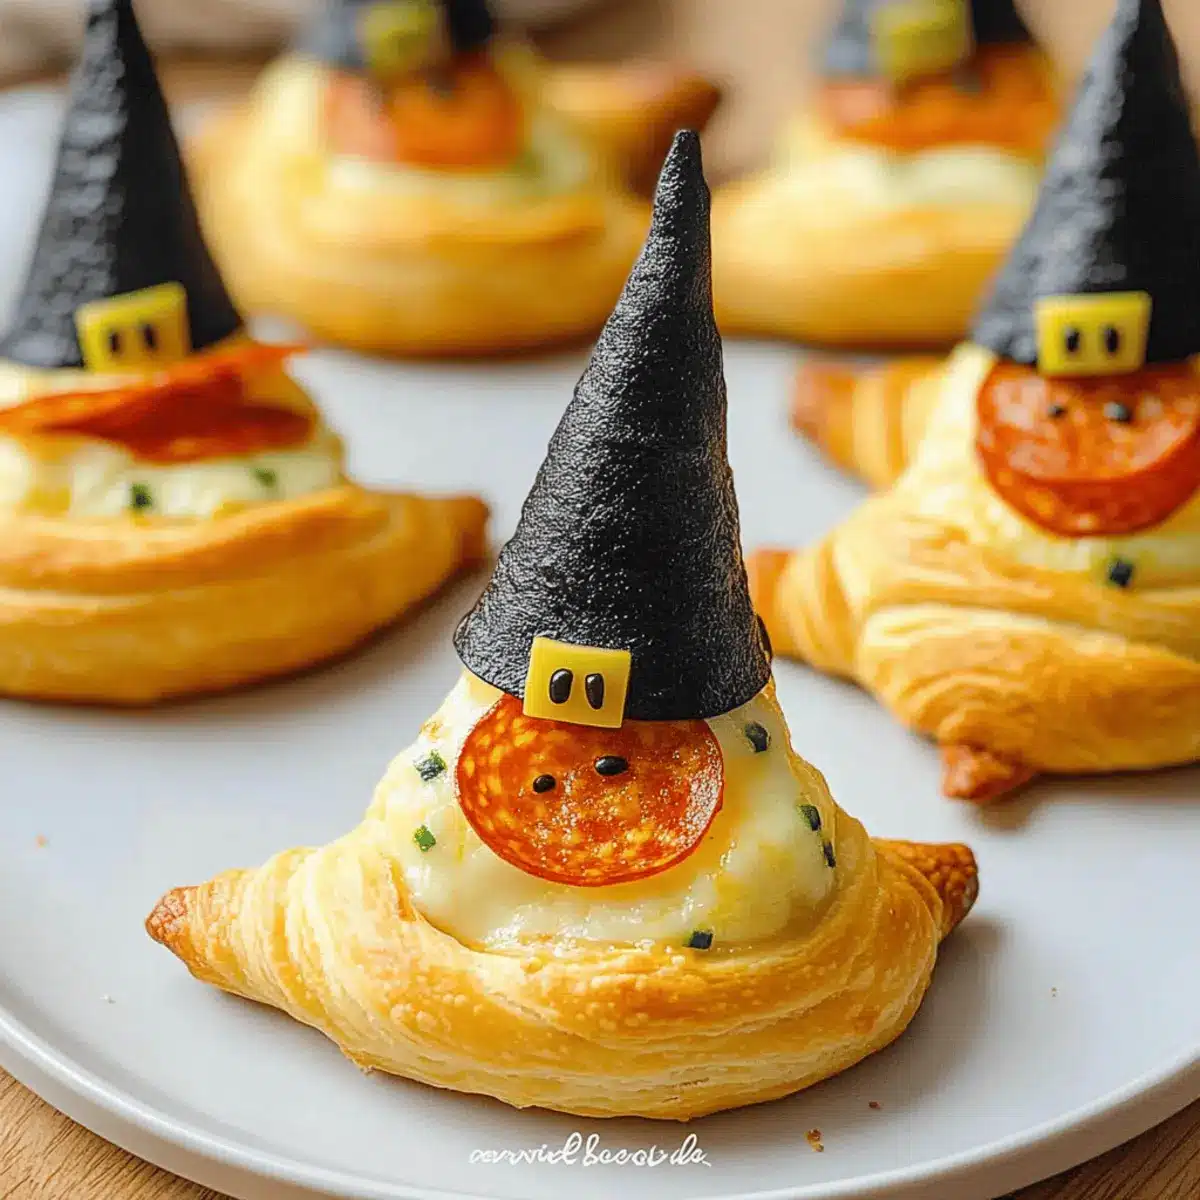
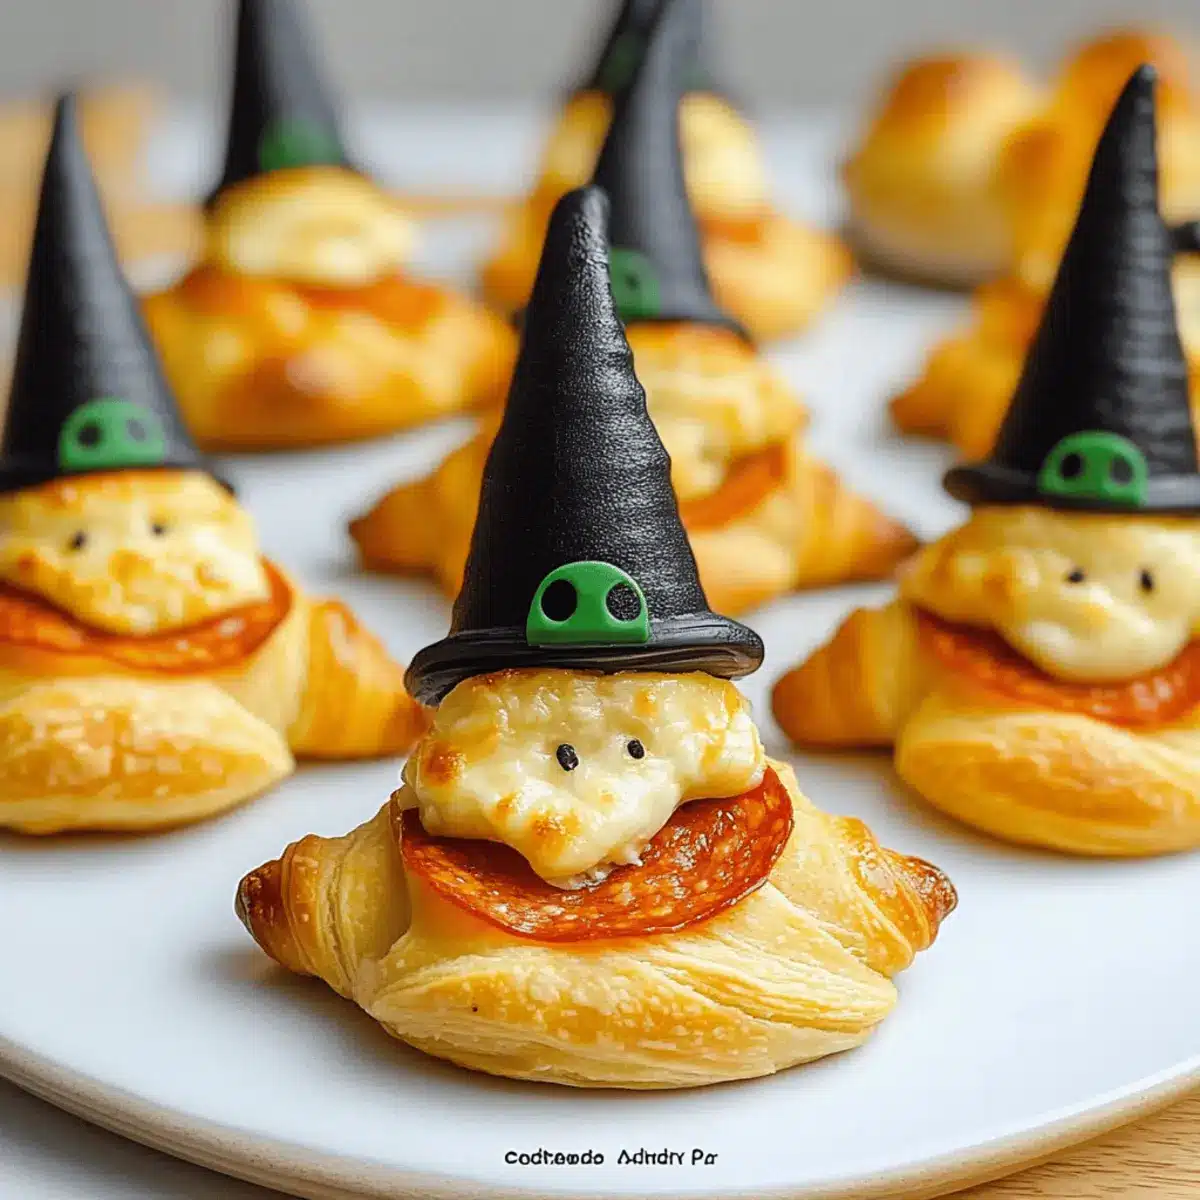
The aromatic scent of warm dough mingles with tomato sauce, instantly transporting me to cozy Halloween nights filled with laughter and creativity. These Cheesy Witch Hat Crescents are not just a delightful treat; they’re a magical way to engage your little ones in the kitchen. With an incredibly quick preparation time of just 10 minutes and a baking time of 15 minutes, these spooky rolls are a fantastic option for busy evenings as trick-or-treaters prepare to hit the streets. Ideal for gatherings or festive dinners, they’re easily customizable and perfect for little hands to assemble. Can you imagine the excitement on your kids’ faces as they create their own witch hats? Ready to transform your Halloween into a delicious adventure? Let’s dive into the recipe!

Why Are Witch Hat Crescents Perfect?
Quick and Easy: With just 10 minutes of prep and 15 minutes of baking, these crescent rolls fit perfectly into your busy Halloween schedule.
Kid-Friendly Fun: Engaging your kids in the kitchen is a treat in itself! They’ll love shaping their own witch hats and personalizing fillings.
Flavor Explosion: The combination of gooey mozzarella and savory pepperoni creates a mouthwatering experience that will have everyone asking for seconds.
Versatility: Customize with different sauces or toppings like olives and green chilies to satisfy all taste buds, similar to my Ooey Gooey Cheesy creations.
Party Ready: These spooky bites are an eye-catching addition to any Halloween gathering and pair wonderfully with themed dips, making them the star of the table!
Make-Ahead Magic: Prep these rolls a day in advance, so they’re ready to bake when you need a quick snack or appetizer before heading out for the night.
Cheesy Witch Hat Crescents Ingredients
• Get ready to make Halloween magical with these delightful spooky treats.
For the Crescent Rolls
- Crescent Roll Dough – The foundation of these rolls, providing a flaky and light texture; feel free to use any brand of refrigerated dough.
For the Filling
- Pizza Sauce – Adds the perfect moisture and flavor to your cheesy witch hats; marinara works just as well!
- Mozzarella Cheese – Creates a gooey, melty interior that kids adore; cheddar or vegan cheese can be substituted if needed.
- Pepperoni – Offers savory flavor and a fun look; any deli meat or even cooked vegetables can be a great alternative.
For Decoration
- Extra Pepperoni – A festive touch for the hats; consider using olives or sliced jalapeños for additional flair!
Dare to whip up these Cheesy Witch Hat Crescents and watch your Halloween bewitch everyone at the table!
Step‑by‑Step Instructions for Cheesy Witch Hat Crescents
Step 1: Preheat the Oven
Begin by preheating your oven to 375°F (190°C). While waiting, grab two baking trays and line them with parchment paper. This ensures the Cheesy Witch Hat Crescents won’t stick during baking, giving you the perfect golden-brown finish. Prepare your workspace so that all ingredients are within reach for a smooth assembly!
Step 2: Prepare the Crescent Rolls
Open the package of crescent roll dough and carefully separate it into rectangles along the perforated edges. Use a rolling pin to gently flatten each rectangle, ensuring there are no gaps in the dough. This step is key to ensuring that the cheesy filling stays perfectly wrapped in each roll, ready to transform into delightful witch hats.
Step 3: Add the Pizza Sauce
With your rectangles flattened, take 1-2 tablespoons of pizza sauce and spread it in a triangular shape at the wider end of each rectangle. Be sure to leave a small border around the edges for sealing later. The vibrant red sauce will not only add flavor but also enhance the visual appeal of your Cheesy Witch Hat Crescents.
Step 4: Sprinkle on the Cheese
Next, sprinkle 1-2 tablespoons of mozzarella cheese evenly over the sauce on each rectangle. Feel free to be generous with the cheese, as it will melt beautifully and create that gooey center everyone loves. Following the cheese, layer three overlapping slices of pepperoni to give your witch hats their signature spooky flair.
Step 5: Shape the Witch Hats
Now it’s time to assemble your Cheesy Witch Hat Crescents! Fold the top-right corner of each rectangle diagonally down to meet the bottom-left corner, fully encasing the filling. This creates the classic pointed shape of a witch’s hat. Pinch the seams well to ensure they hold together during baking.
Step 6: Create the Brim
Fold the top-left corner across to the right edge, forming the hat’s shape. Next, take the bottom of the roll and flip it up about 1 inch to create the brim. For an extra touch of spookiness, add a slice of pepperoni on top of the brim, making your crescent rolls even more festive and fun!
Step 7: Bake to Perfection
Place your assembled Cheesy Witch Hat Crescents on the prepared baking trays, ensuring they have some space between them to expand. Bake in the preheated oven for 15 minutes or until they turn a lovely golden brown. The melted cheese should be bubbly, and the aroma will fill your kitchen with delightful warmth.
Step 8: Serve and Enjoy
Once baked, remove the rolls from the oven and let them cool slightly before serving. These Cheesy Witch Hat Crescents are best enjoyed warm, preferably with extra pizza sauce for dipping. Set them out at your Halloween gathering and watch as everyone delights in these creepy yet delicious treats!

Expert Tips for Cheesy Witch Hat Crescents
-
Seal Carefully: Ensure all seams are tightly pinched to prevent any filling from leaking during baking. This will keep your Cheesy Witch Hat Crescents intact and delicious!
-
Customize Ingredients: Don’t hesitate to swap in different sauces or cheeses to suit your family’s taste. Be creative and make these rolls your own!
-
Bake in Batches: If making a large quantity, bake them in smaller batches for evenly cooked and perfectly golden crescents. This way, everyone can enjoy them fresh out of the oven!
-
Serve Warm: These rolls are best served warm and gooey. For the ultimate Halloween treat, pair them with extra pizza sauce for dipping.
-
Make Ahead: Assemble the rolls in advance and refrigerate them for up to 24 hours before baking. It’s a great way to save time on busy Halloween nights!
How to Store and Freeze Cheesy Witch Hat Crescents
Airtight Container: Store cooked Cheesy Witch Hat Crescents in an airtight container for up to 3 days to maintain their flaky texture and delightful flavors.
Refrigeration: If you have leftover rolls, keep them refrigerated to prolong freshness. For the best experience, reheat in an oven at 300°F for 5-7 minutes, rather than using a microwave.
Freezer: You can freeze uncooked Cheesy Witch Hat Crescents by wrapping them tightly in plastic wrap and aluminum foil. They can be kept in the freezer for up to 2 months.
Baking From Frozen: When ready to enjoy, bake directly from the freezer at 375°F (190°C) for around 20-25 minutes, adding a few extra minutes if needed to ensure they’re golden brown.
Cheesy Witch Hat Crescents Variations
Feel free to let your creativity shine by customizing these festive rolls with these delightful ideas!
-
Veggie-Packed: Incorporate diced bell peppers, mushrooms, or spinach for an added veggie boost inside your witch hats. It’s a great way to make them healthier while keeping the fun.
-
Spicy Kick: Add sliced jalapeños or crushed red pepper flakes to the cheese layer, bringing an exciting heat that adults will love. Adjust the spice level to match your family’s taste!
-
Sweet Surprise: Swap pepperoni for sweet options like thinly sliced apples and brie cheese for a scrumptious dessert twist. Who said crescent rolls have to be savory?
-
Dairy-Free Delight: Use dairy-free mozzarella and a pizza sauce without cheese or dairy to create delicious vegan witch hats that everyone can enjoy. Flavor is never sacrificed on this journey to inclusivity!
-
Herbed Infusion: Mix in dried Italian herbs like oregano or basil into your cheese layer for an aromatic kick that complements the cheesy goodness. This easy twist can elevate your flavor profile!
-
Creative Dips: Serve with a variety of themed dips, like a spooky guacamole or a pumpkin-flavored cream cheese blend. These add extra fun and flavor to the experience that matches the Halloween spirit!
-
Marinara Madness: Consider using a zesty marinara sauce instead of pizza sauce for a tangy transformation. This simple swap brings a bright flavor burst that everyone will enjoy.
-
Bold and Cheesy: For an extra cheesy experience, try mixing different kinds of cheese like cheddar, gouda, or pepper jack to create an ultimate cheesy feast reminiscent of my Cheesy Taco Potatoes.
These variations are not just ideas, but invitations to play in the kitchen! So, gather your little witches and wizards, and let the culinary magic begin!
What to Serve with Cheesy Witch Hat Crescents
The crispy, cheesy goodness of these spooky rolls sets the perfect stage for a festive Halloween feast that delights all ages!
-
Pumpkin Soup: Warm and comforting, this creamy soup adds a lovely fall flavor that pairs beautifully with the cheesy crescents. Serve it in hollowed-out mini pumpkins for a fun twist!
-
Spooky Vegetable Platter: A colorful array of seasonal veggies, like carrot sticks and celery ghosts, encourages healthy snacking amidst the sweets. Pair with a ranch dip, and watch the kids enjoy their greens!
-
Chilled Apple Cider: This sweet, refreshing drink enhances the autumn atmosphere with its spiced notes. It’s not only hydrating but a perfect balance to the richness of the crescents.
-
Garlic Breadsticks: Soft, buttery, and loaded with garlic flavor, these breadsticks complement the cheesy goodness while adding a delightful chewiness to the meal.
-
Candy Corn Cupcakes: End your spooky feast on a sweet note. These festive cupcakes capture the essence of Halloween, delighting the little ones with fun flavors and vibrant colors.
-
Witch’s Brew Punch: A fun blend of green fruit juices and soda gives a mystical sparkle to your gathering. Dress it up with gummy worms and floating eyeballs for added excitement!
Make Ahead Options
These Cheesy Witch Hat Crescents are perfect for meal prep enthusiasts! You can assemble the uncooked rolls** up to 24 hours** in advance and refrigerate them, saving crucial time on Halloween night. Simply follow the initial assembly steps, then place the unbaked rolls on a baking tray lined with parchment, cover tightly with plastic wrap, and keep them chilled. When it’s time to enjoy, preheat your oven and bake them directly from the refrigerator for about 15 minutes until golden brown. This method ensures they come out just as delicious and crispy as if you had baked them fresh, allowing you to focus on your little ones’ costume excitement!

Cheesy Witch Hat Crescents Recipe FAQs
How do I select the best crescent roll dough?
Absolutely! When choosing crescent roll dough, look for packages that have a fresh expiration date and a consistent, smooth texture. The dough should feel soft and pliable, without dark spots or tears in the packaging. If you find refrigerated options from several brands, choose one that’s in a sturdy tube. This ensures you have the best base for your Cheesy Witch Hat Crescents.
What’s the best way to store leftover Cheesy Witch Hat Crescents?
Very! Store any cooked Cheesy Witch Hat Crescents in an airtight container in the refrigerator for up to 3 days. If you want to maintain their delightful texture, make sure they are completely cooled before sealing. For best results when reheating, place them in the oven at 300°F for 5-7 minutes to restore that crispy outer layer.
Can I freeze my Cheesy Witch Hat Crescents?
Absolutely! To freeze, first assemble the uncooked crescent rolls but avoid baking them. Wrap each roll tightly in plastic wrap, and then in aluminum foil, ensuring no air is trapped inside. You can store them in the freezer for up to 2 months. When you’re ready to bake, simply remove from the freezer, place on a baking tray, and bake at 375°F for 20-25 minutes until golden brown.
What if my crescent rolls spread out too much while baking?
Very! If your Cheesy Witch Hat Crescents spread too much during baking, double-check that you’ve tightly sealed all seams before placing them in the oven. Additionally, ensure you flatten the rectangles adequately, as thinner dough can help them hold their shape better. For any leftover dough, shape it into small, festive shapes to bake alongside if you worry about waste!
Can I make Cheesy Witch Hat Crescents gluten-free?
Absolutely! To make these spooky treats gluten-free, simply use gluten-free crescent roll dough available in many grocery stores. Since gluten-free products can sometimes have a different texture, ensure to follow the package instructions carefully! You can customize your fillings with gluten-free pizza sauce and cheese for a delicious, worry-free Halloween snack suitable for all.

Cheesy Witch Hat Crescents: Spooky Fun for Halloween Treats
Ingredients
Equipment
Method
- Preheat your oven to 375°F (190°C) and line two baking trays with parchment paper.
- Open the package of crescent roll dough and separate it into rectangles along the perforated edges.
- Spread 1-2 tablespoons of pizza sauce in a triangular shape at the wider end of each rectangle.
- Sprinkle 1-2 tablespoons of mozzarella cheese over the sauce on each rectangle, then layer three slices of pepperoni on top.
- Fold the top-right corner down to meet the bottom-left corner and pinch the seams to encase the filling.
- Fold the top-left corner over to the right edge and flip up the bottom to create a brim. Add a slice of pepperoni on top.
- Place the assembled crescents on the prepared trays and bake for 15 minutes until golden brown.
- Let them cool slightly before serving warm with extra pizza sauce for dipping.

Leave a Reply