
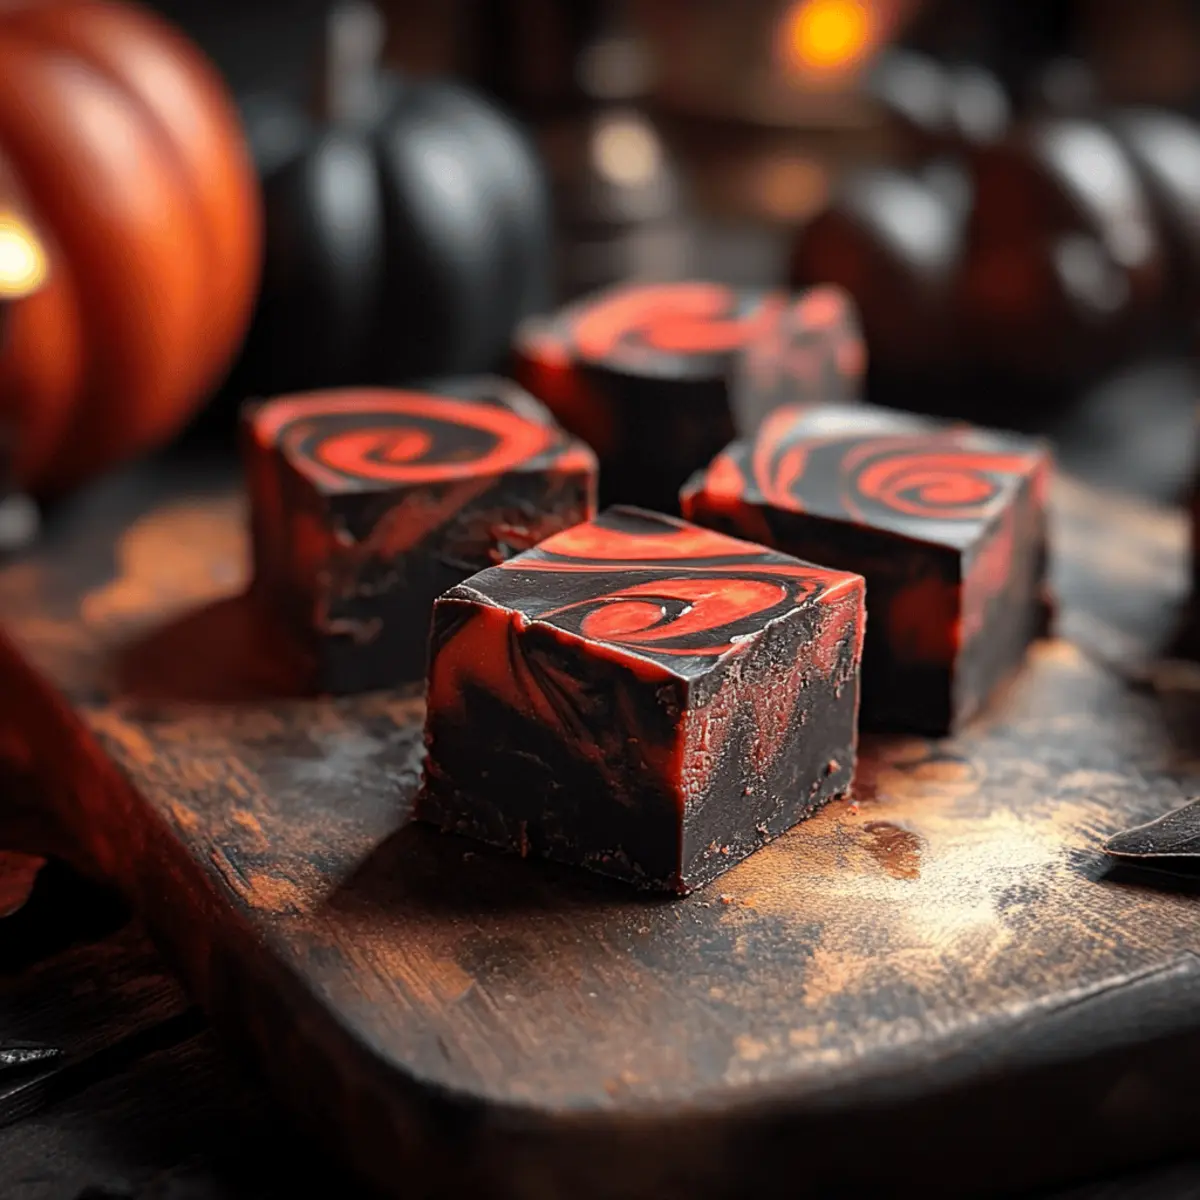
Under the shadow of flickering jack-o’-lanterns, I found myself in a mini crisis—visitors were soon arriving, and I had nothing but a handful of candy melts stashed away. That’s when I remembered this Vampire Fudge Recipe. With its ghostly black and blood-red hues, this treat not only brings a thrilling flair to your Halloween table but also requires minimal prep time. It’s a delightful, no-bake option that’s both vegetarian and gluten-free, making it perfect for various dietary needs. Plus, the creamy texture and rich flavors are sure to enchant both kids and adults alike. So, are you ready to whip up this ghoulishly good dessert that will leave your guests begging for more? Let’s dive in!
Why is this Vampire Fudge a must-try?
Ease of Preparation: This no-bake recipe is incredibly straightforward, making it accessible even for novice cooks.
Festive Appeal: The stunning black and red layers make it a showstopper at any Halloween gathering, perfect for impressing guests.
Crowd-Pleasing Flavor: Creamy and sweet, this fudge is a delightful treat sure to satisfy both kids’ and adults’ sweet tooth.
Diet-Friendly: Being vegetarian and gluten-free, it accommodates various dietary preferences, allowing everyone to enjoy a slice of the spooky fun.
Creative Variations: Feel free to play around with colors and toppings, like adding Halloween sprinkles or crumbled cookies, to customize it to your theme! Want something equally scrumptious? Check out this Sticky Toffee Pudding for another crowd favorite.
Vampire Fudge Recipe Ingredients
For the Base
• Cream Cheese Frosting – Provides creaminess and sweetness; can substitute with thick vanilla or buttercream frosting.
• Black Candy Melts – Essential for rich, dark color; ensure package is fresh for optimal melting.
• Red Candy Melts – Adds vibrant color to the fudge; use high-quality melts for the best results.
For Creative Toppings
• Halloween Sprinkles – Perfect for extra festive flair; add them right before the fudge sets for maximum impact.
• Crushed Cookies – For an added crunch; mix in or sprinkle on top after pouring the fudge into the pan.
• Drizzle of Chocolate or Caramel – For an indulgent twist; drizzle over the top once the fudge has set.
This Vampire Fudge Recipe is not only a treat for the eyes but a simple and delectable delight that fits any Halloween theme!
Step‑by‑Step Instructions for Vampire Fudge Recipe
Step 1: Prepare the Pan
Start by greasing an 8″ x 8″ cake pan thoroughly, ensuring the base and sides are well-coated to prevent sticking. Then, line the pan with parchment paper, allowing some overhang for easy removal later. This step ensures your delicious Vampire Fudge comes out smoothly and retains its beautiful shape.
Step 2: Melt the Black Candy Melts
In a microwave-safe bowl, place the black candy melts and heat them in the microwave at medium power for about 2 minutes. Stir every 30 seconds to help the melts soften evenly and reach a smooth, glossy consistency. The perfect melted chocolate should flow easily when stirred, creating a rich black mixture for your fudge.
Step 3: Melt the Red Candy Melts
While the black melts cool slightly, repeat the melting process with the red candy melts in another microwave-safe bowl. Use the same technique, heating in 30-second intervals until the melts are completely smooth. This vibrant red will blend beautifully with the black, creating the spooky effect of your delightful Vampire Fudge.
Step 4: Warm the Cream Cheese Frosting
Take your cream cheese frosting and place it in a separate microwave-safe bowl. Warm the frosting in 45-second intervals until it becomes slightly heated and easier to mix. Be careful not to overheat—you’re looking for a pourable consistency that will combine well with the melted candy melts.
Step 5: Combine Frosting with Candy Melts
Divide the warmed cream cheese frosting evenly between the bowls of melted black and red candy melts. Stir each mixture gently until fully combined, creating two distinct and vibrant colors. This step is key for achieving a creamy texture in your Vampire Fudge while maintaining those eye-catching layers.
Step 6: Layer the Mixtures
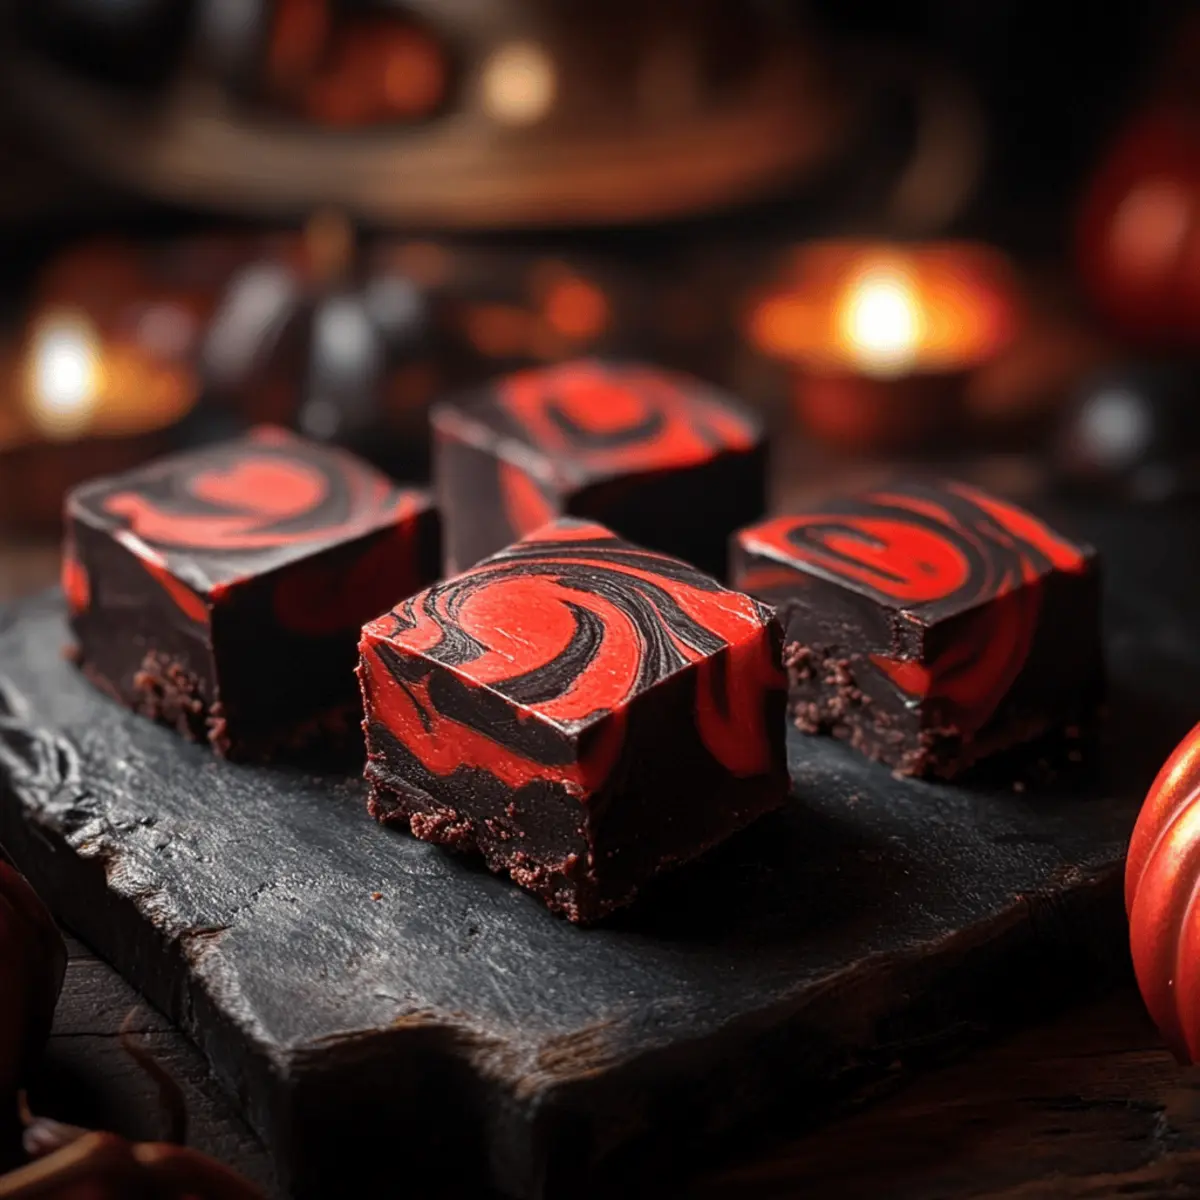
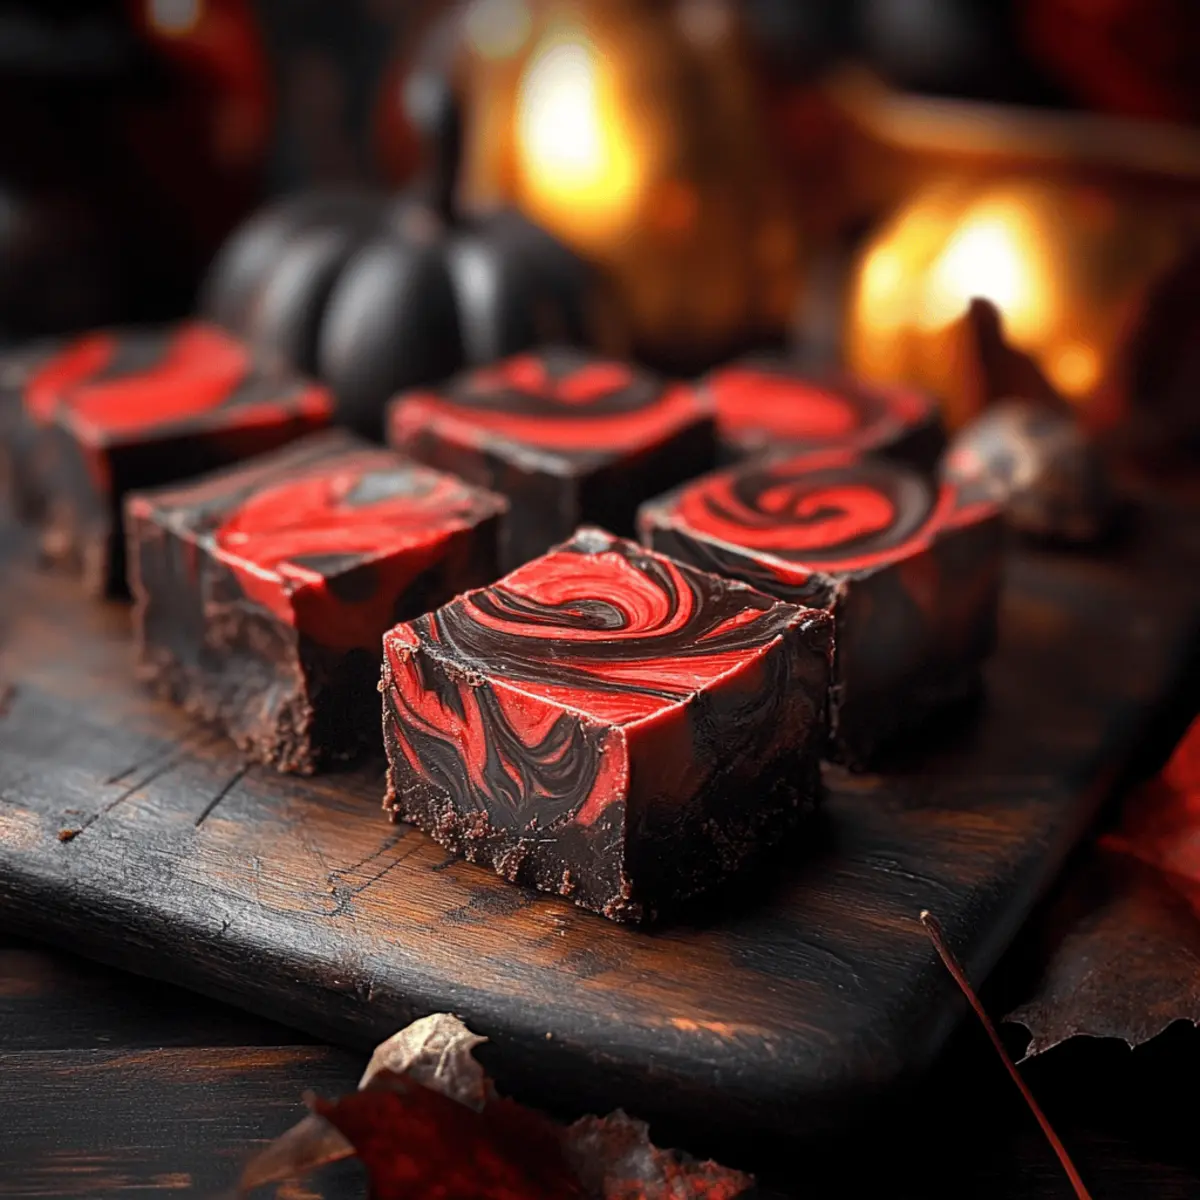
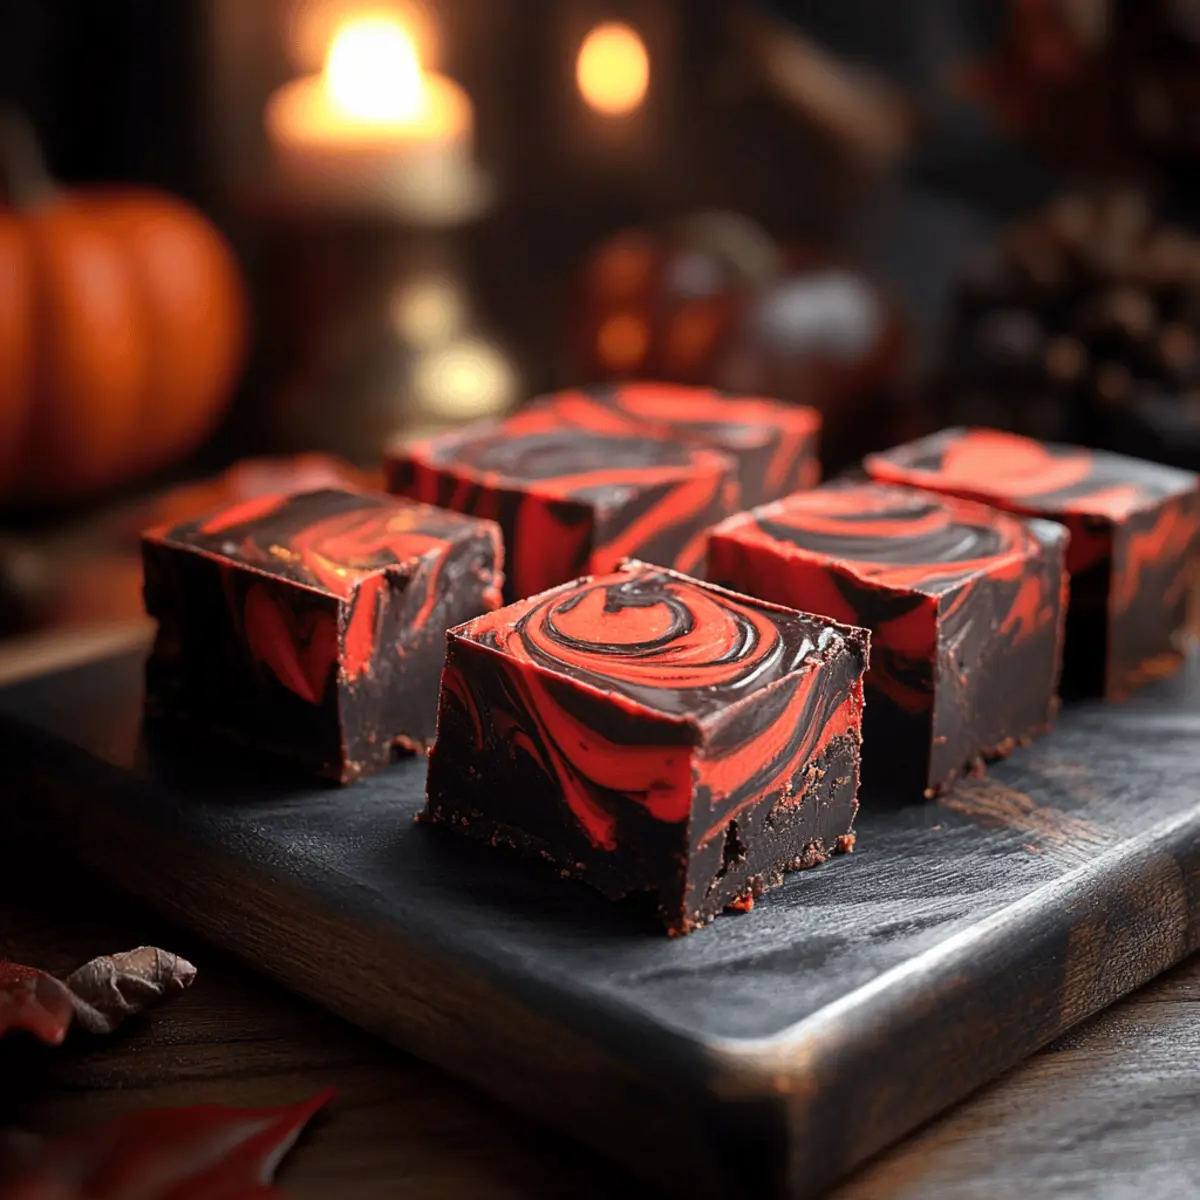
Begin pouring alternating layers of the black and red mixtures into the prepared pan. Create swirls by drizzling one color after the other, ensuring a visually striking pattern. The layers should be fairly thick but not overflowing, allowing for a beautiful marbled effect that defines your tasty Halloween treat.
Step 7: Level the Mixture
Once you have poured both mixtures into the pan, gently tap the pan on your countertop to level the fudge. This will release any air bubbles and ensure an even surface throughout. After leveling, place the pan in the refrigerator and allow the Vampire Fudge to set for at least 4 hours.
Step 8: Cut and Serve the Fudge
After the fudge has completely chilled and set, remove it from the pan by pulling on the parchment paper overhang. Place it on a cutting board and use a sharp knife to slice it into bite-sized squares. Each piece will reveal the delightful, creamy layers of your spooky Vampire Fudge, perfect for sharing at your Halloween celebration!
Make Ahead Options
These Vampire Fudge squares are perfect for busy home cooks looking to save time on Halloween festivities! You can prepare the fudge mixture up to 24 hours in advance by melting the black and red candy melts and mixing them with the warmed cream cheese frosting. After layering the mixtures in the pan, cover it tightly with plastic wrap and refrigerate to maintain their freshness. When you’re ready to serve, simply take the fudge out, let it sit for a few minutes at room temperature, then cut it into squares. This approach ensures your Vampire Fudge remains just as delicious, fluffy, and festive!
Vampire Fudge Recipe Variations
Feel free to let your creativity soar with these fun twists to personalize your Vampire Fudge!
-
Color Variations: Change up the black and red for purple and green for a fun witch-themed fudge. Think about how captivating a mix of eerie colors can be at your Halloween gathering!
-
Crunchy Surprise: Add crushed nuts or chocolate cookies to the fudge for a delightful texture. This twist will give each bite a surprising crunch, making your treat even more enjoyable.
-
Seasonal Toppings: Top your fudge with Halloween sprinkles or drizzle with salted caramel for some extra glam. A simple topping can elevate the look and flavor, making your fudge the star of the dessert table.
-
Gooey Ganache: Transform your fudge by drizzling melted chocolate or caramel on top after it sets. This rich layer adds a luxurious touch, perfect for satisfying your sweet cravings.
-
Spiced Delight: For an autumn-inspired twist, incorporate pumpkin spice into the cream cheese frosting. This warm flavor note could really highlight the seasonal spirit of Halloween celebrations!
-
Fruit Fusion: Blend in some dried cranberries or cherries for a fruity punch. The natural tartness will balance the sweetness beautifully, creating a well-rounded treat for everyone.
-
Heat it Up: If you’re feeling adventurous, add a sprinkle of cayenne or chili powder to the black melting chocolate for a spicy kick! That unexpected heat could be the talk of the party—if you dare!
These variations are sure to make your Vampire Fudge an absolute crowd-pleaser. And while you’re in the spirit of Halloween desserts, don’t forget to check out my delicious Lemon Oatmeal Cookies for another delightful treat!
How to Store and Freeze Vampire Fudge
Fridge: Store your Vampire Fudge in an airtight container and keep it in the refrigerator for up to 1 week. This will help maintain its fabulous creamy texture.
Freezer: For longer storage, wrap the fudge tightly in plastic wrap or foil, then place it in a freezer-safe container. It can be frozen for up to 3 months, keeping all its delicious flavor intact.
Thawing: When you’re ready to enjoy your Vampire Fudge, transfer it from the freezer to the refrigerator. Allow it to thaw slowly for several hours before serving.
Reheating: There’s no need to reheat since this fudge is enjoyed cold; just slice and serve.
Expert Tips for Vampire Fudge Recipe
-
Short Melting Intervals: Always melt candy melts in 30-second bursts to avoid scorching them; frequent stirring will keep the mixture smooth and glossy.
-
Chill Properly: Allow the Vampire Fudge to chill for a full 4 hours or overnight for the best texture; rushing this step can lead to a gooey fudge instead of a firm treat.
-
Layering Technique: Pour the black and red mixtures slowly and alternately to create beautiful swirls; tap the pan gently to release air bubbles for an even finish.
-
Creative Toppings: Consider adding seasonal sprinkles or a dash of cinnamon for an extra flavor twist; toppings should be added before the fudge sets to ensure they stick.
-
Storage Tips: Keep your fudge in an airtight container in the fridge for up to 1 week; for longer storage, freeze it to enjoy later.
What to Serve with Ghoulishly Good Vampire Fudge
There’s nothing quite like a table full of festive delights to enhance the hauntingly sweet experience of your spooky fudge.
-
Ghostly Meringues: These light and airy treats add an ethereal touch and balance the rich fudge with their melt-in-your-mouth texture.
-
Chocolate-Covered Pretzels: The salty crunch of pretzels dipped in chocolate offers a delightful contrast, satisfying both sweet and salty cravings.
-
Pumpkin Spice Lattes: Pairing this decadent dessert with a warm, spiced beverage creates a cozy atmosphere, wrapping you in autumnal flavors.
-
Creepy Cupcakes: Decorated with Halloween-themed frosting, these cupcakes can bring more color and creativity to your dessert table.
-
Caramel Apple Slices: The crisp and juicy apples, drizzled with caramel, lead to a refreshing, sweet balance alongside the rich Vampire Fudge.
-
Chilled Apple Cider: This seasonal drink complements the fudge wonderfully, providing a refreshing contrast while celebrating fall vibes.
-
Meringue Bones: These spooky meringues add an unsettling yet delicious touch, perfect for those who love immersive Halloween themes.
-
Halloween Sprinkles: Enhance your dessert display with various spooky sprinkles that match your fudge colors, encouraging a fun, festive look.
Each of these pairing ideas invites your guests into a whimsical Halloween world, creating a memorable experience they won’t soon forget!
Vampire Fudge Recipe FAQs
How can I tell if my candy melts are fresh enough to use?
Absolutely! When checking your candy melts, look for a smooth texture and consistent color. If you notice any dark spots or clumping, it may indicate they’ve gone stale. To ensure optimal melting, always store candy melts in a cool, dry place, and check the expiration date on the package before using them.
What’s the best way to store leftover Vampire Fudge?
Very! To keep your Vampire Fudge fresh, store it in an airtight container in the refrigerator for up to 1 week. This helps retain its delightful creaminess and flavor. If you have a larger batch that you want to preserve longer, consider wrapping it tightly in plastic wrap or foil and freeze it. Properly stored, it can last for up to 3 months!
Can I freeze Vampire Fudge for later use?
Of course! Freezing is an excellent way to extend the shelf life of your Vampire Fudge. To do this, wrap the fudge tightly in plastic wrap or foil and place it in a freezer-safe container. When you’re ready to enjoy it, just move it to the refrigerator and allow it to thaw for several hours. This keeps the texture intact, and you’re all set for a spooky treat!
What if my fudge didn’t set properly?
Don’t worry; that can happen! If your Vampire Fudge is still gooey after the chilling time, it likely needs a bit more time in the refrigerator. I recommend letting it sit for an additional 1 to 2 hours. If it still isn’t setting, consider adding a bit more melted candy melts or powdered sugar to help firm it up. Make sure each color layer is sufficiently thick when you pour it into the pan, too.
Are there any dietary considerations for my Vampire Fudge?
Absolutely! This Vampire Fudge Recipe is vegetarian and gluten-free, making it suitable for various dietary preferences. However, always double-check the ingredient labels, especially for the candy melts and frosting, as some brands may have cross-contamination warnings. If you’re making this for someone with allergies, feel free to adapt the recipe by substituting ingredients that meet their needs.
Can I customize the colors of the fudge for different themes?
Very! This recipe is wonderfully versatile. You can swap the black and red candy melts for any colors you desire! For a witch-themed fudge, try using purple and green melts. The possibilities are endless—let your creativity shine, and align the colors with your Halloween celebrations or any fun theme you have in mind!
Vampire Fudge Recipe: Easy No-Bake Halloween Treat with a Twist
Ingredients
Equipment
Method
- Prepare the Pan: Grease an 8" x 8" cake pan thoroughly and line it with parchment paper.
- Melt the Black Candy Melts: Heat black candy melts in a microwave-safe bowl for about 2 minutes, stirring every 30 seconds until smooth.
- Melt the Red Candy Melts: Repeat the melting process with the red candy melts in another bowl until completely smooth.
- Warm the Cream Cheese Frosting: Microwave in 45-second intervals until slightly heated and pourable.
- Combine Frosting with Candy Melts: Divide the frosting between the two bowls of melted candy, stirring each until fully combined.
- Layer the Mixtures: Pour alternating layers of black and red mixtures into the prepared pan, creating swirls.
- Level the Mixture: Tap the pan on the countertop to level the fudge, then refrigerate for at least 4 hours.
- Cut and Serve the Fudge: Remove the fudge from the pan and slice it into bite-sized squares.
Leave a Reply