
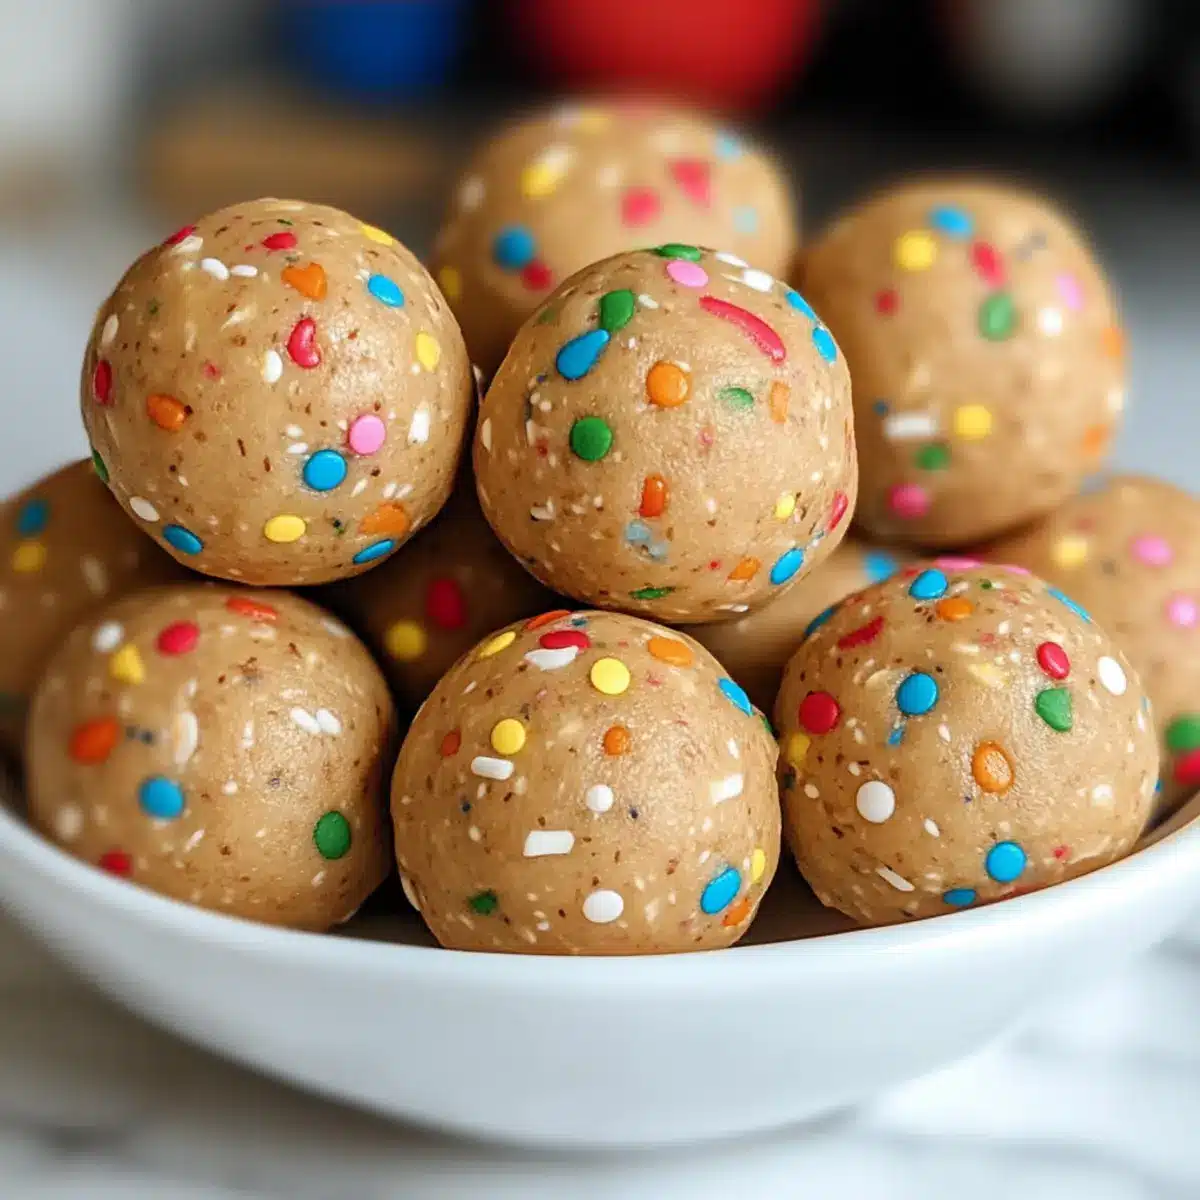
When I first stumbled across the idea of No Bake Cake Batter Protein Balls, I couldn’t help but feel a wave of nostalgia wash over me. This delightful recipe captures the essence of cake batter that we all adore but wraps it in a protein-packed, guilt-free snack. They’re an absolute breeze to whip up—perfect for busy days when you want something sweet yet nutritious. And the best part? These little bites can be customized for dietary needs like gluten-free or vegan options, making them a versatile treat for everyone. Whether you’re in need of a quick energy boost before a workout or looking to satisfy a sweet tooth, you won’t want to miss out on trying these. Curious to learn how to make these deliciously healthy snacks? Let’s get started!
Why are No Bake Cake Batter Protein Balls a Must-Try?
Easy and Quick: With only a handful of ingredients, you’ll whip these up in no time.
Healthy Indulgence: Enjoy your sweet cravings guilt-free, as each ball is packed with protein and wholesome ingredients.
Customizable Options: Whether you’re vegan or need gluten-free choices, these protein balls adapt to fit your dietary preferences.
Crowd-Pleasing Treat: Perfect for kids’ snacks or post-workout refuels that everyone will love, similar to the joy of Oreo Balls Bake.
No Oven Needed: Save time and energy for other fun activities—snacking has never been this simple!
No Bake Cake Batter Protein Balls Ingredients
For the Base
• Almond Flour – Provides structure and a nutty flavor. Substitution: Use oat flour if nut-free.
• Rolled Oats – Adds texture and fiber. Substitution: Pulsed oats for a finer texture or replace with puffed quinoa for a crunchier bite.
• Protein Powder – Offers essential protein content. Note: Use plant-based for vegan options.
For the Binding
• Almond Butter – Adds creaminess and healthy fats. Substitution: Use sunflower seed butter for a nut-free version.
• Maple Syrup – Provides natural sweetness. Substitution: Reduce to 2 tablespoons for less sugar or use agave syrup.
• Vanilla Extract – Enhances flavor beautifully. Substitution: Choose high-quality pure vanilla for best results.
• Milk (or plant-based alternative) – Binds the ingredients together. Substitution: Adjust as needed for desired dough consistency.
For the Fun
• Sprinkles – Adds a festive touch and delightful texture. Optional: Use sugar-free varieties for a healthier choice.
These No Bake Cake Batter Protein Balls promise to be a hit not just for their delicious taste but also for how easily they can be customized to meet dietary needs!
Step‑by‑Step Instructions for No Bake Cake Batter Protein Balls
Step 1: Gather Ingredients
Start by laying out all the ingredients on your countertop for the No Bake Cake Batter Protein Balls. You’ll need almond flour, rolled oats, protein powder, almond butter, maple syrup, vanilla extract, milk, and sprinkles. This prep will streamline your cooking process, making it easier to grab each ingredient as you go.
Step 2: Mix Dry Ingredients
In a large mixing bowl, combine 1 cup of almond flour, 1 cup of rolled oats, and 1 scoop of protein powder. Stir these dry ingredients together using a spatula until they’re well mixed and you don’t see any clumps. This will create a solid base for your protein balls, ensuring they’re packed with nutrients.
Step 3: Combine Wet Ingredients
Next, add ½ cup of almond butter, ¼ cup of maple syrup, 1 teaspoon of vanilla extract, and 2-4 tablespoons of milk to the dry mixture. Mix everything together until a dough starts to form. You want a cohesive texture that sticks together; if too dry, add milk gradually, ensuring it doesn’t become too sticky.
Step 4: Adjust Consistency
Check the dough consistency for your No Bake Cake Batter Protein Balls. If it feels too dry, gently add more milk, one tablespoon at a time. If the mixture is sticky, fold in a bit more rolled oats until you achieve a dough that’s easily moldable, resembling traditional cake batter.
Step 5: Fold in Sprinkles
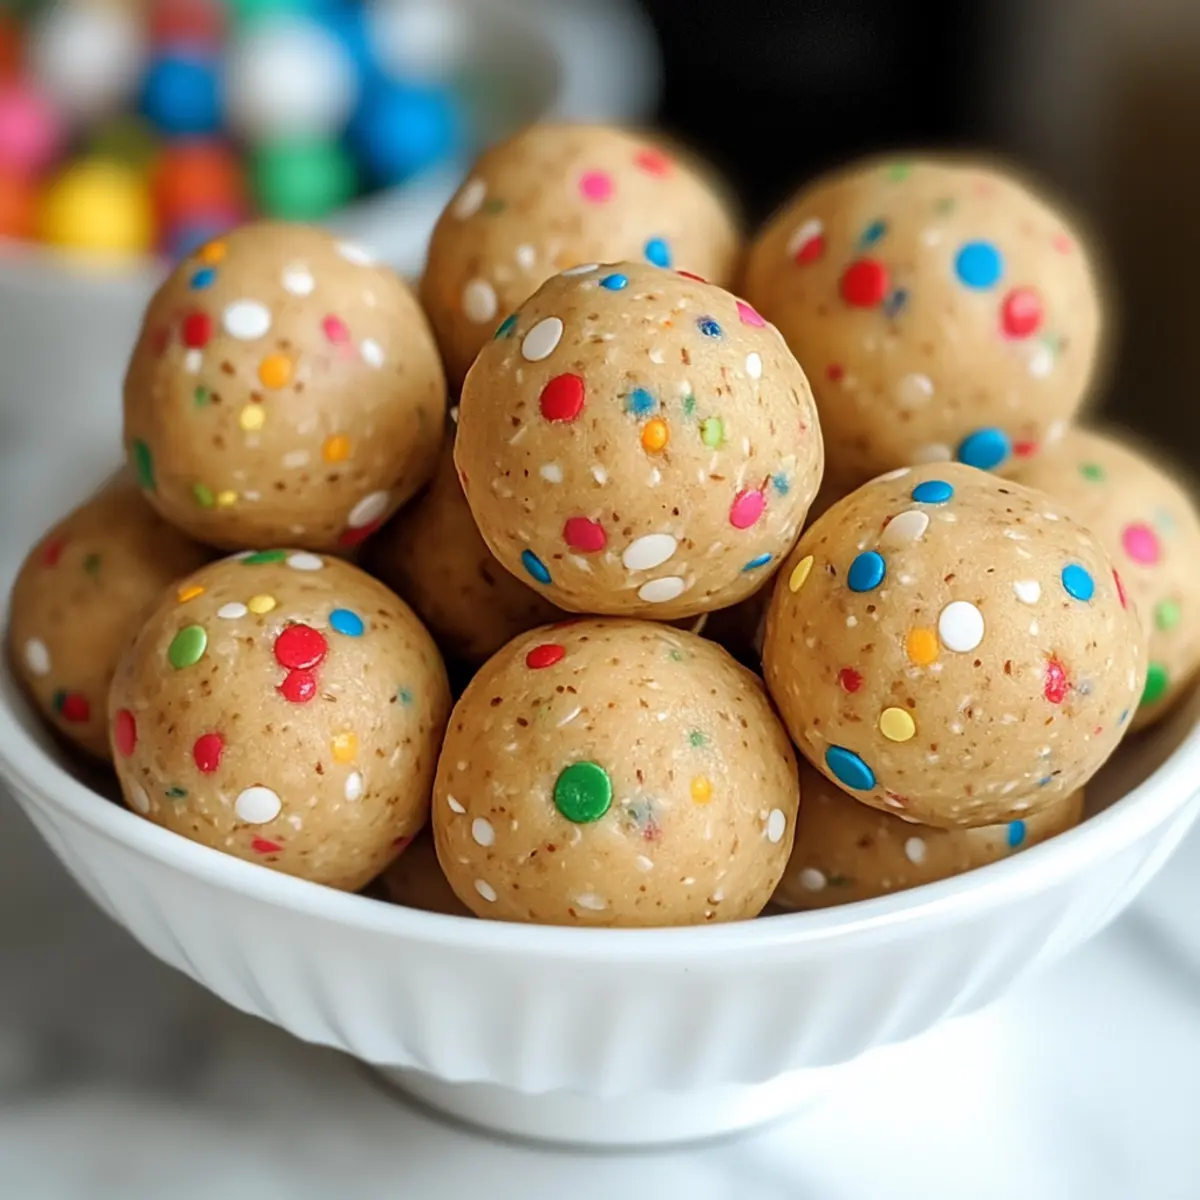
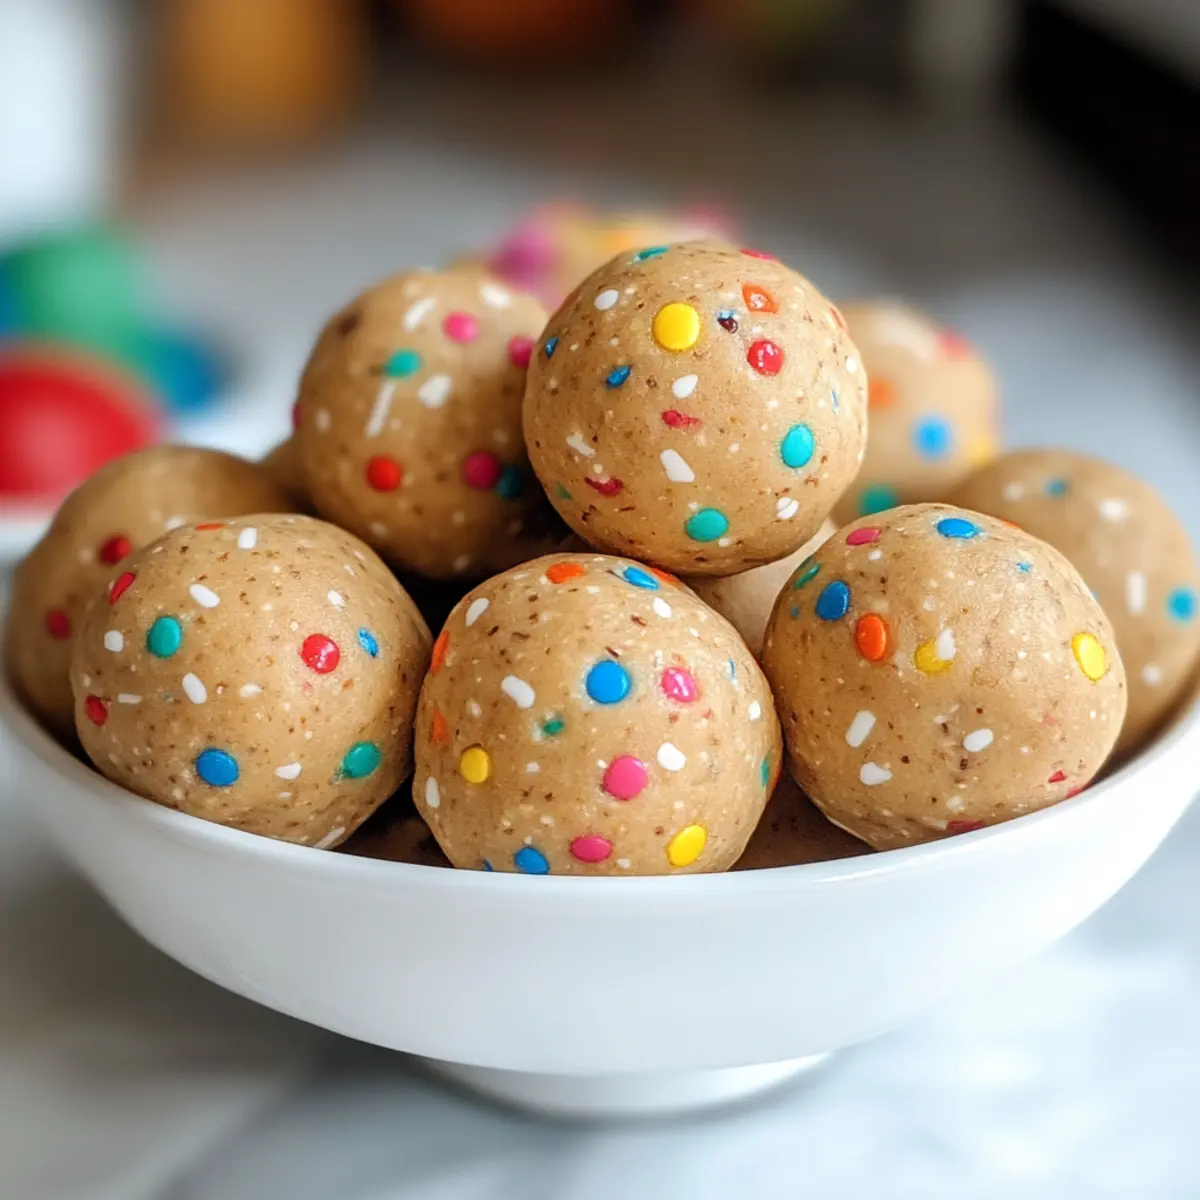
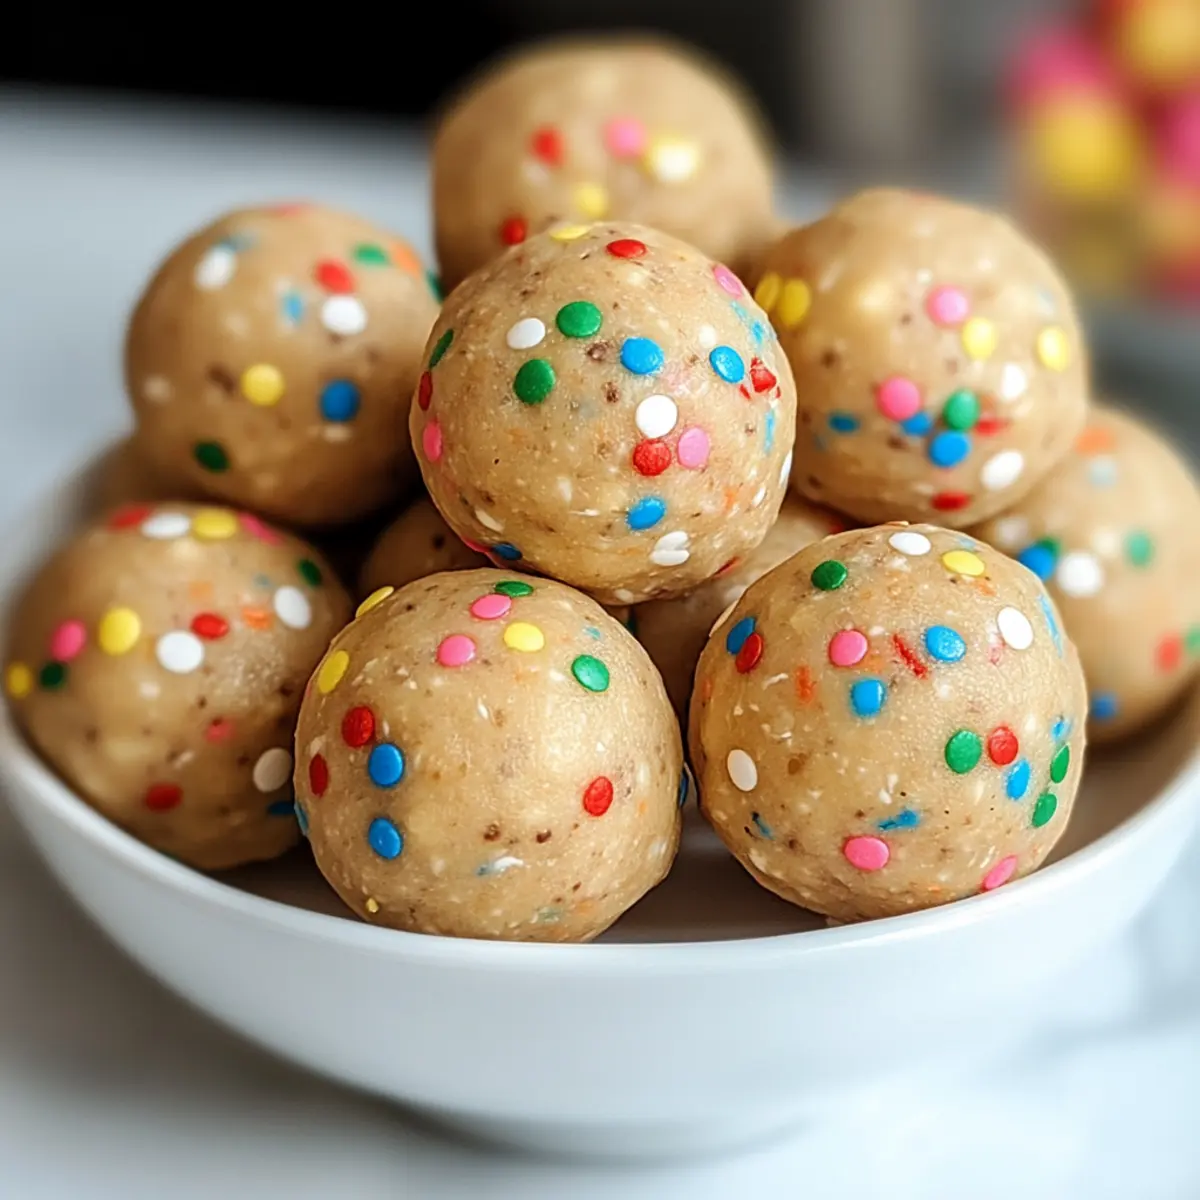
Carefully fold in a handful of sprinkles into the dough, making sure not to break the sprinkles. This step adds a festive touch and texture to your protein balls. Aim to distribute them evenly for a colorful and fun appearance that echoes the joy of cake batter.
Step 6: Scoop and Shape
Using a tablespoon or a small cookie scoop, portion out the dough and roll it into balls about 1 to 1.25 inches in diameter. Place each ball onto a parchment-lined baking tray, leaving space between them. This method ensures all your No Bake Cake Batter Protein Balls are uniform in size and shape for even chilling.
Step 7: Chill and Set
Transfer the tray of shaped protein balls to the refrigerator and chill for at least 20 minutes. This step is essential for firming them up, allowing them to hold their shape when you’re ready to enjoy these delicious snacks. You’ll know they’re ready when they feel firm but still slightly soft to the touch.
Step 8: Store Properly
Once chilled, transfer the No Bake Cake Batter Protein Balls to an airtight container. They can be stored in the refrigerator for up to 10 days for convenient snacking or frozen for up to 2 months. Enjoy these delightful treats whenever you crave a sweet yet healthy indulgence!
Make Ahead Options
These No Bake Cake Batter Protein Balls are perfect for busy cooks looking to save time during the week! You can prepare the mixture up to 24 hours in advance by following the initial steps and storing it in the fridge. Just make sure to keep the dough in an airtight container to maintain its quality. When you’re ready to enjoy, simply scoop out the dough, roll it into balls, and chill them in the refrigerator for at least 20 minutes before serving. This way, you’ll have delicious snacks ready to go, offering a sweet, protein-packed treat that feels fresh and indulgent.
No Bake Cake Batter Protein Balls Variations
Feel free to get creative with these No Bake Cake Batter Protein Balls—they’re just waiting for your personal touch!
-
Nut-Free: Substitute almond flour with sunflower seed flour for a nut-free option, ensuring everyone can enjoy these delights.
-
Vegan Twist: Use plant-based protein powder and substitute almond butter with coconut yogurt for a delicious vegan-friendly treat.
-
Gluten-Free: Swap rolled oats with certified gluten-free oats or puffed quinoa to keep these snacks gluten-free without sacrificing texture.
-
Flavor Burst: Toss in mini chocolate chips or dried fruit for a flavor explosion; chocolate adds a rich indulgence, while dried fruit offers a sweet chewiness.
-
Chocolate Delight: Create a chocolate version by adding cocoa powder to the dry mix. Adjust the milk slightly to maintain consistency, creating a delightful chocolaty twist.
-
Coconut My Way: Incorporate shredded coconut for a tropical flair; the chewy texture is reminiscent of cake batter with a sunny twist.
-
Protein Power-up: For an extra protein boost, increase the protein powder by a tablespoon, keeping your snack even more nutritious while still delicious!
-
Extra Crunch: Fold in chopped nuts or seeds for added crunch; they not only enhance texture but also contribute a satisfying nutty flavor that pairs beautifully with the sweetness.
Get inspired with these variations, and if you’re looking for more indulgent treats, consider whipping up a batch of Oreo Icebox Cake or some delicious Coconut Cloud Cake. Let your imagination run wild!
Tips for the Best No Bake Cake Batter Protein Balls
-
Ingredient Quality: Choose high-quality almond butter and vanilla extract; this enhances the overall flavor and ensures a wholesome taste in your No Bake Cake Batter Protein Balls.
-
Correct Consistency: Monitor the consistency closely; avoid adding too much milk at once. It’s better to start with less and gradually add more until you reach a doughy texture.
-
Chilling Time: Don’t skip the chilling step! Allowing the balls to set in the fridge for at least 20 minutes is crucial for achieving the right firmness.
-
Storing Properly: Keep your No Bake Cake Batter Protein Balls in an airtight container to maintain freshness; they can last in the fridge for up to 10 days or can be frozen for longer storage.
-
Adjust Sprinkles: Feel free to modify the amount or type of sprinkles based on dietary preferences; using sugar-free options can help reduce sugar content without sacrificing fun!
What to Serve with No Bake Cake Batter Protein Balls
When indulging in these guilt-free bites, it’s delightful to think about pairing them with complementary snacks or drinks to create a satisfying spread.
-
Fresh Fruit Bowl: A vibrant medley of seasonal fruits provides a refreshing contrast to the sweet protein balls, delighting your taste buds. Think juicy berries, crunchy apples, or sweet mangoes for a refreshing balance.
-
Greek Yogurt Parfait: Creamy Greek yogurt layered with granola and honey offers a luscious, protein-rich pairing to enjoy alongside your protein balls. The smoothness of the yogurt juxtaposes the chewiness of the balls, creating a wonderful texture experience.
-
Nutty Trail Mix: A homemade trail mix of crunchy nuts, seeds, and dried fruits complements the protein-packed nature of the No Bake Cake Batter Protein Balls. The varied textures of the mix add an exciting crunch that contrasts beautifully with the chewy protein balls.
-
Nut Milk Smoothie: Blend almond milk, banana, and a scoop of cacao powder into a smoothie that is both delicious and nutritious. This creamy drink enhances your healthy snack and feels indulgent without the guilt.
-
Dark Chocolate Dipped Rice Cakes: Dress up plain rice cakes with a drizzle of melted dark chocolate, creating a crispy, sweet treat. The crispiness of the rice cakes adds another fun texture that pairs wonderfully with the softness of the protein balls.
-
Herbal Iced Tea: A refreshing glass of lightly sweetened herbal iced tea provides a soothing drink option that balances the sweetness of the protein balls. Consider mint or chamomile flavors for a relaxing twist.
-
Oatmeal Cookies: Enjoy a batch of chewy, wholesome oatmeal cookies as a semi-sweet treat to accompany your protein balls. They share similar flavors, making them a nostalgic and comforting addition to your snack lineup.
These pairings elevate your snack time and ensure you enjoy your No Bake Cake Batter Protein Balls in a fun, flavorful way!
How to Store and Freeze No Bake Cake Batter Protein Balls
Fridge: Store in an airtight container in the refrigerator for up to 10 days. This keeps your No Bake Cake Batter Protein Balls fresh and ready for snacking whenever the craving strikes.
Freezer: For longer storage, freeze the protein balls in a single layer on a baking sheet, then transfer to an airtight container. They can last in the freezer for up to 2 months.
Thawing: To enjoy, simply remove the desired number of protein balls from the freezer and let them thaw in the fridge for a few hours before indulging.
Reheating: These protein balls are best enjoyed cold; however, if you prefer a softer texture, you can microwave them for about 10-15 seconds for a slightly warm treat.
No Bake Cake Batter Protein Balls Recipe FAQs
What type of almond flour should I use?
Absolutely! Use blanched almond flour for a lighter texture, which works best in this No Bake Cake Batter Protein Balls recipe. If you prefer a nuttier flavor, you can use natural almond flour; just keep in mind it may alter the texture slightly.
How should I store these protein balls?
Ensure you store them in an airtight container in the refrigerator. They will stay fresh for up to 10 days. If you plan to keep them longer, it’s best to freeze them to maintain their texture and flavor!
Can I freeze the No Bake Cake Batter Protein Balls?
Yes, you can freeze these delightful treats! Lay them out in a single layer on a parchment-lined baking sheet until they are firm, then transfer them to an airtight container. They can be frozen for up to 2 months. Just let them thaw in the fridge before enjoying!
What if my protein ball mixture is too dry or too sticky?
No worries! If your mix is too dry, gradually add milk, one tablespoon at a time, until you achieve the desired dough consistency. If it’s too sticky, incorporate more rolled oats a little at a time until it’s moldable. It might take a bit of adjusting, but you’ll get there!
Are there any allergenic ingredients in this recipe?
This recipe does include almond flour and almond butter, which are not suitable for those with nut allergies. If you’re preparing these No Bake Cake Batter Protein Balls for someone with allergies, I recommend using oat flour and sunflower seed butter as wonderful alternatives.
Can I add other ingredients for extra flavor or crunch?
Very! Feel free to customize your protein balls. Mini chocolate chips, dried fruits, or even a bit of cocoa powder can elevate the flavor profile. Just be sure not to exceed the balance of wet to dry ingredients to maintain the right consistency!
No Bake Cake Batter Protein Balls for Guilt-Free Indulgence
Ingredients
Equipment
Method
- Gather all the ingredients on your countertop for an efficient cooking process.
- In a large mixing bowl, combine almond flour, rolled oats, and protein powder. Mix until well combined.
- Add almond butter, maple syrup, vanilla extract, and milk to the dry mixture. Mix until a dough starts to form.
- Check the dough consistency and adjust with more milk or oats as needed.
- Fold in sprinkles carefully to distribute evenly.
- Scoop and roll the dough into balls about 1 to 1.25 inches in diameter and place on a parchment-lined baking tray.
- Chill the protein balls in the refrigerator for at least 20 minutes until firm.
- Store in an airtight container in the refrigerator for up to 10 days or freeze for up to 2 months.
Leave a Reply