
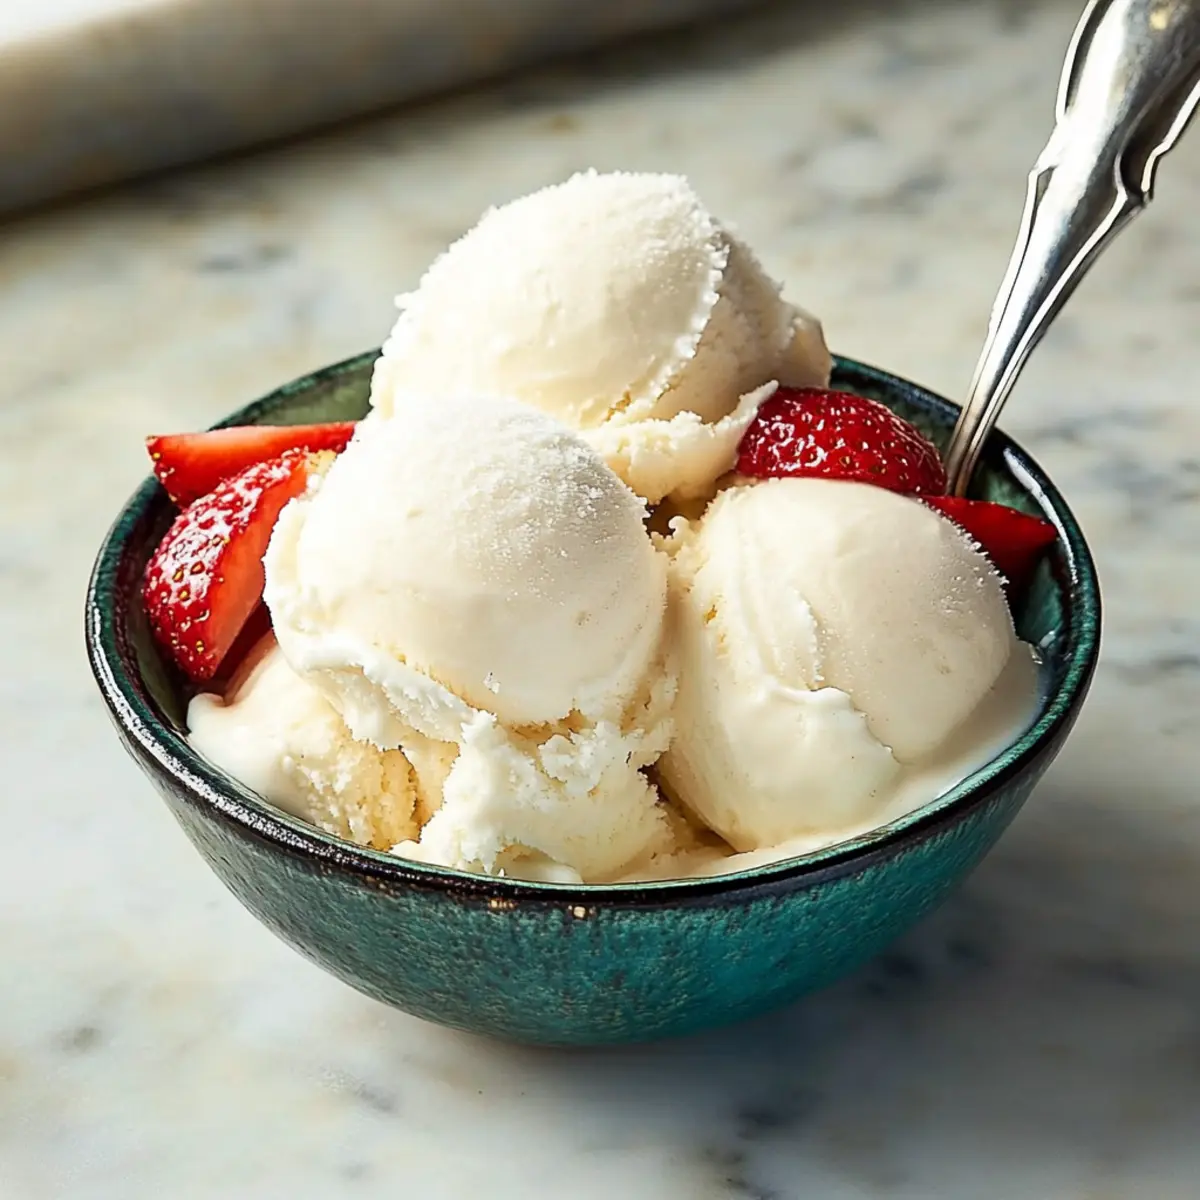
As the summer sun casts its golden glow, there’s nothing quite like the thrill of homemade treats. This 5-Ingredient Homemade Vanilla Ice Cream captures that blissful vibe, transforming a few simple staples into a creamy delight that will become the star of your warm-weather gatherings. What I love most about this recipe is how easy it is—no eggs or complex methods to fuss over—making it a breeze for even the busiest home chef. Plus, it’s completely customizable; you can elevate the classic vanilla flavor with your favorite mix-ins or toppings. Whether you’re hosting a backyard barbecue or simply craving a cool dessert on a hot afternoon, this ice cream promises to make any moment feel special. Ready to join me in creating a scoop of summer joy? Let’s dive in!
Why is Homemade Vanilla Ice Cream Amazing?
Pure Simplicity: This recipe requires just five ingredients, making it a hassle-free treat that’s perfect for any home cook.
Unmatched Flavor: The combination of quality vanilla extract and rich cream creates a delightful, indulgent taste that’s far superior to store-bought options.
Customizable Delight: Feel free to experiment with mix-ins; add chocolate chips, fresh fruit, or even cookie crumbles! This versatility makes it a blank canvas for your creativity.
Family-Friendly: Everyone will love this creamy treat—it’s a hit with kids and adults alike! Pair it with your favorite desserts for a spectacular summer celebration, just like with Lemon Cream Puffs or Decadent Boston Cream.
Time-Saving: With minimal prep and chilling time, you can whip this up quickly for impromptu gatherings or a delightful weeknight dessert.
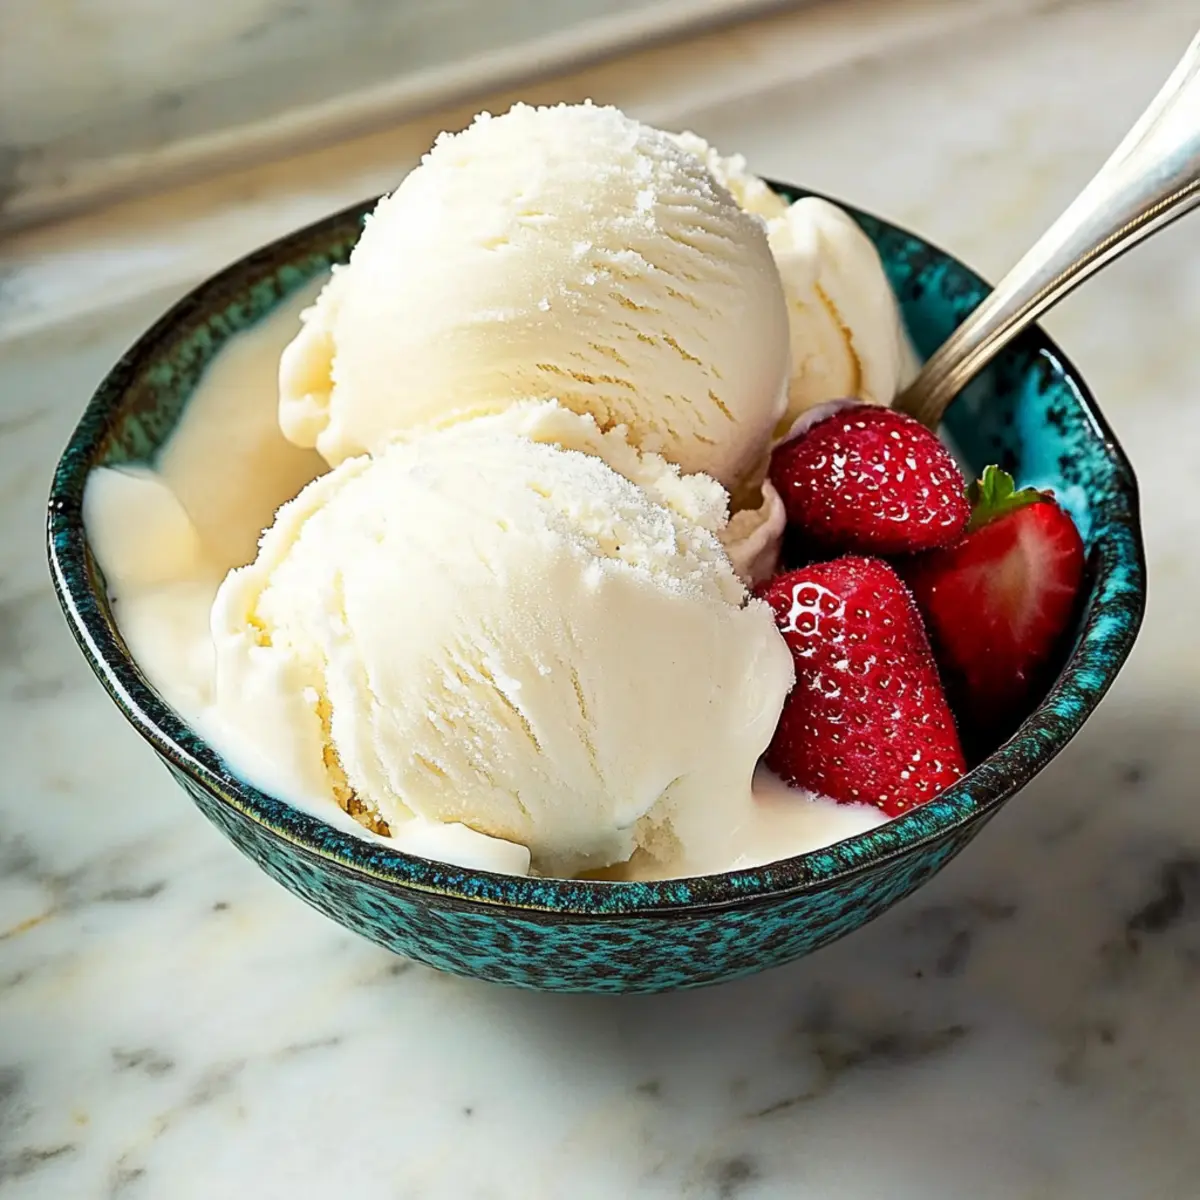
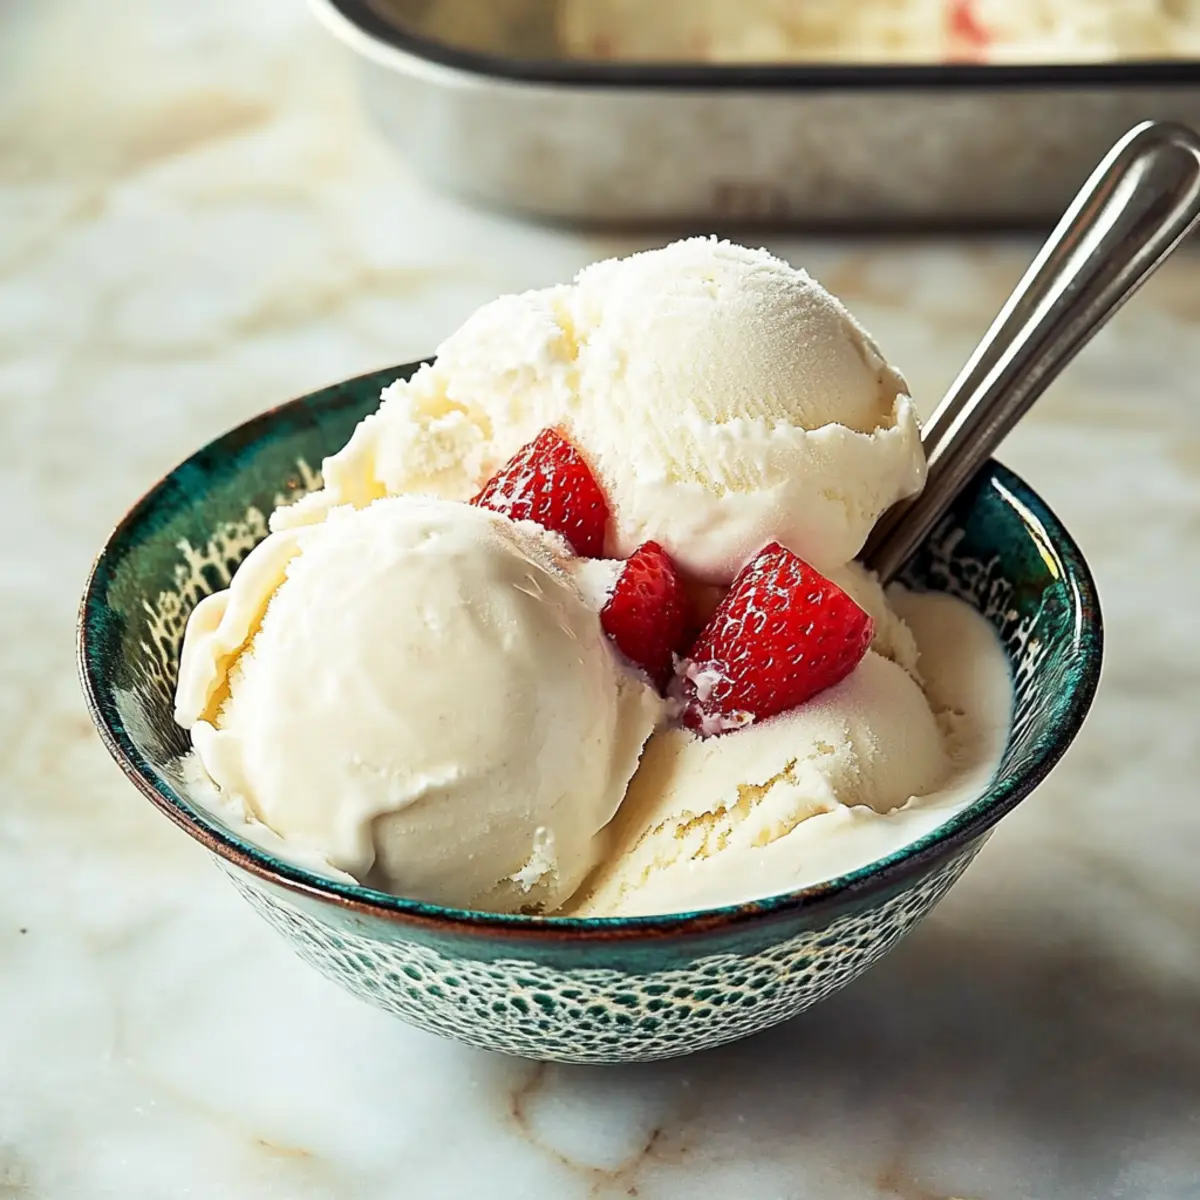
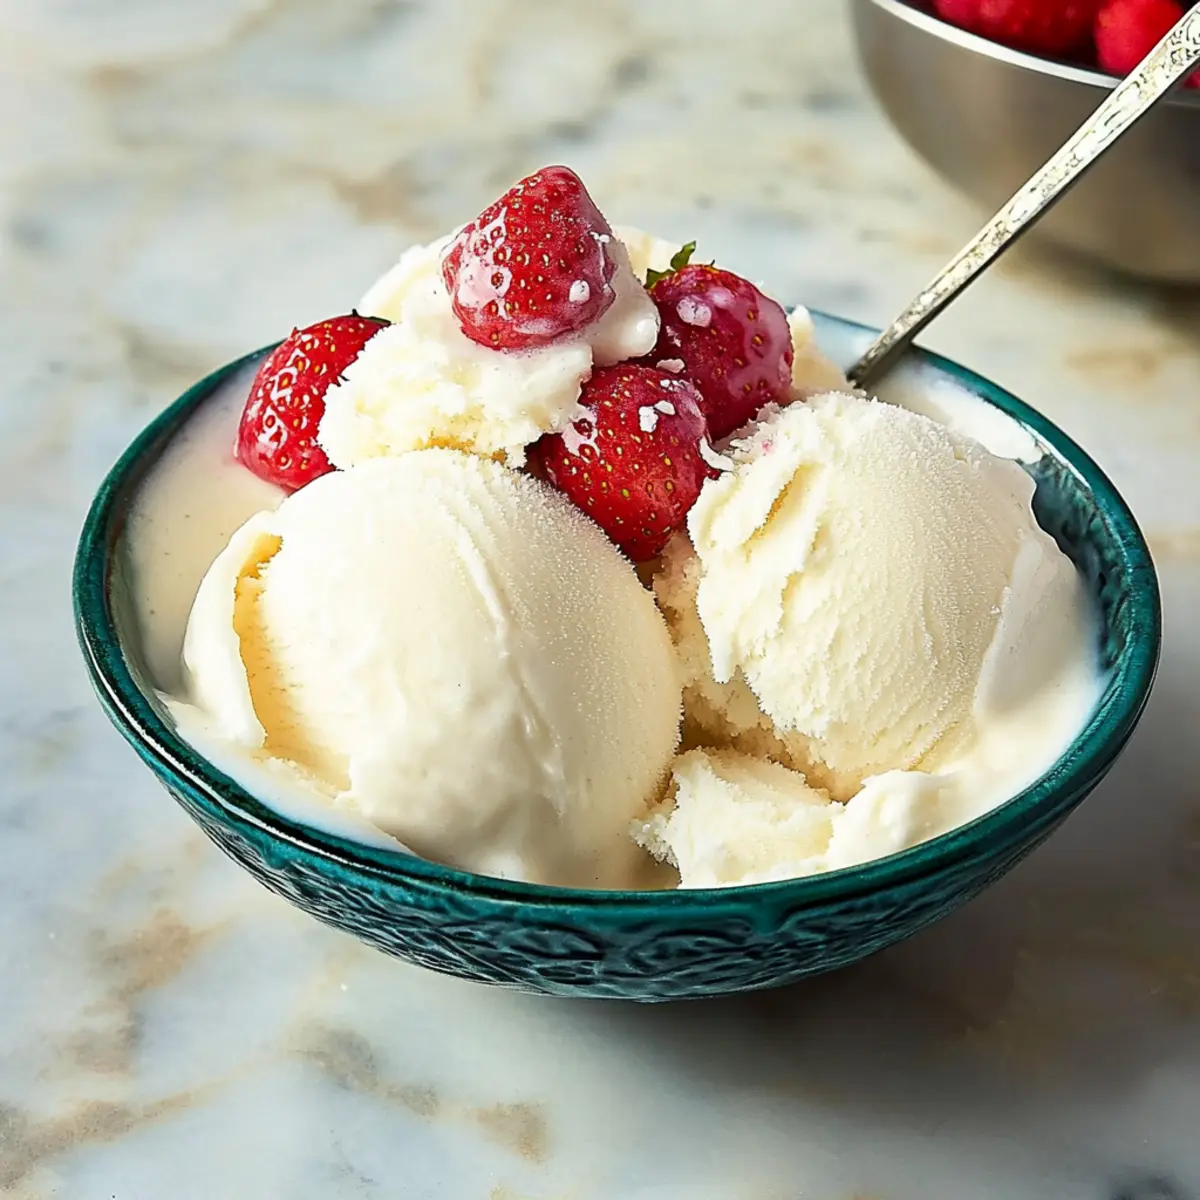
Scoops of Happiness: The final result is creamy and smooth, perfect for enjoying alone or on top of warm brownies or fruit desserts!
Homemade Vanilla Ice Cream Ingredients
• Dive into the sweet flavors with just five ingredients!
For the Ice Cream Base
- Heavy Cream – Provides a rich and creamy texture that gives this homemade vanilla ice cream its luxurious mouthfeel.
- Whole Milk – Adds lightness without compromising on creaminess; for a lighter version, you can use half-and-half.
- Cane Sugar – Sweetens the ice cream beautifully; feel free to try coconut sugar for a unique flavor twist.
- Vanilla Extract – This essential ingredient delivers a deep vanilla flavor; consider using vanilla bean paste for a gourmet touch.
- Sea Salt – Enhances the sweetness and balances the flavors; a pinch goes a long way in elevating your ice cream.
Let the simple pleasure of this homemade vanilla ice cream bring joy to your summer days!
Step‑by‑Step Instructions for Homemade Vanilla Ice Cream
Step 1: Prepare Ice Cream Maker
Start by ensuring the bowl of your ice cream maker is completely frozen. To do this, place it in the freezer for at least 12 hours before you begin making your homemade vanilla ice cream. This step is crucial for achieving that perfect creamy texture during churning.
Step 2: Make Ice Cream Base
In a medium saucepan, combine heavy cream, whole milk, cane sugar, vanilla extract, and a pinch of sea salt. Heat the mixture over medium-low heat for about 5 minutes, whisking gently until the sugar has fully dissolved. You’ll start to see small bubbles forming on the edges when it’s ready, signifying the right temperature.
Step 3: Chill Base
Once the sugar is dissolved, carefully transfer the warm mixture to a heatproof bowl. Cover it with plastic wrap or a lid and place it in the refrigerator to chill. Allow it to refrigerate for at least 2 hours, or ideally overnight, to deepen the flavor of your homemade vanilla ice cream and ensure it’s thoroughly cooled.
Step 4: Churn Ice Cream
When you’re ready to churn, give the chilled mixture a quick whisk to combine. Pour it into the ice cream maker and churn according to the manufacturer’s instructions, typically for about 20 to 30 minutes. The ice cream will transform into a soft-serve-like consistency, vibrant and ready for the next step.
Step 5: Freeze for Texture
For a firmer ice cream, carefully transfer the soft ice cream into an airtight container. Smooth the top with a spatula and seal tightly. Place it in the freezer for an additional 2 to 4 hours. This freezing period is essential for achieving a scoopable texture that’s perfect for indulging after a summer meal.
Make Ahead Options
These homemade vanilla ice cream preparations are perfect for busy home cooks looking to save time without sacrificing flavor! You can prepare the ice cream base (heavy cream, whole milk, sugar, vanilla extract, and sea salt) up to 24 hours in advance by chilling it in the refrigerator overnight. This not only deepens the flavor but ensures that the mixture is perfectly cooled for churning. When you’re ready to enjoy, simply churn the prepared ice cream base in your ice cream maker. For optimal texture, freeze the churned ice cream in an airtight container for an additional 2 to 4 hours before serving. This thoughtful prep keeps the ice cream just as delicious and ready to impress your family or guests!
How to Store and Freeze Homemade Vanilla Ice Cream
Airtight Container: Store your homemade vanilla ice cream in an airtight container to prevent freezer burn, ensuring it stays delicious for up to one month.
Freezing Instructions: For a firmer texture, make sure to freeze the ice cream after churning for an additional 2 to 4 hours before serving.
Softening Tips: If stored for a while, allow the ice cream to sit at room temperature for 5–10 minutes before scooping to achieve that perfect creamy consistency.
Best Served Fresh: Although it can be kept in the freezer, homemade vanilla ice cream tastes best when freshly churned and enjoyed right away!
Homemade Vanilla Ice Cream Variations
Feel free to unleash your creativity and make this homemade vanilla ice cream uniquely yours—your taste buds will thank you!
- Dairy-Free: Swap the heavy cream and whole milk for full-fat coconut milk, adding a tropical twist to your ice cream.
- Sugar-Free: Use a sugar alternative like erythritol or monk fruit sweetener to create a guilt-free treat that everyone can enjoy.
- Fruit-Infused: Fold in 2 cups of finely chopped fruits like mango or raspberries after churning for a burst of fruity flavor.
- Chocolate Lovers: Mix in 1/2 cup of cocoa powder with your ice cream base for a rich chocolate variation that’s sure to please.
- Nutty Delight: Add 1/2 cup of crushed nuts, such as pistachios or almonds, during the last few minutes of churning for added crunch and flavor.
- Flavor Boost: Experiment with extracts! Substitute vanilla with almond or hazelnut extract for a whole new flavor profile.
- Cookies & Cream: Crush your favorite chocolate sandwich cookies and fold in during churning for a delightful cookies and cream twist.
- Spicy Touch: For an exciting heat kick, add a pinch of cayenne pepper or cinnamon for an unexpected but delightful flavor boost.
You can also serve this ice cream alongside festive treats like Lemon Cream Puffs or drizzle with a wonderful homemade caramel sauce for an indulgent dessert experience. Enjoy your ice cream adventure!
What to Serve with Homemade Vanilla Ice Cream
Savor the bliss of summer with the perfect companions for your creamy homemade treat, designed to create unforgettable moments.
-
Warm Brownies: Indulge in the contrast of rich, fudgy brownies with the cool creaminess of vanilla ice cream for a classic pairing.
-
Fresh Berries: Bright, juicy strawberries or raspberries add a refreshing burst of flavor that beautifully complements the sweet ice cream.
-
Chocolate Sauce: Drizzling warm chocolate sauce over your scoops creates a delightful melty experience that satisfies any sweet tooth.
-
Fruit Pies: Serve alongside a slice of apple or peach pie; the warm dessert pairs wonderfully with cold, creamy vanilla.
-
Waffle Cones: Scoop the ice cream into freshly made waffle cones for a fun, crunchy twist that enhances the overall texture.
-
Caramel Drizzle: The buttery sweetness of caramel sauce elevates the experience, creating a delicious synergy with the vanilla flavor.
-
Minty Iced Tea: Refreshing iced tea with a hint of mint balances the richness of the ice cream, making for a delightful summer drink pairing.
-
Ginger Snap Cookies: These spicy-sweet cookies bring a crunch that contrasts beautifully with the smooth, creamy ice cream.
-
Coconut Macaroons: The chewy, slightly toasted flavors of coconut macaroons add a tropical flair, making your dessert table sing with harmony.
Expert Tips for Homemade Vanilla Ice Cream
-
Freeze Bowl Properly: Make sure your ice cream maker’s bowl is fully frozen for at least 12 hours—this step is crucial to achieving that creamy consistency.
-
Sugar Adjustments: If you prefer, you can substitute cane sugar with coconut or granulated sugar, but remember to taste and adjust accordingly.
-
Mix-Ins Process: Fold in any mix-ins like fruits or chocolate chips immediately after churning. This ensures even distribution throughout your homemade vanilla ice cream.
-
Chill Time Matters: For the best flavor, chill your ice cream base in the refrigerator overnight. The longer it chills, the richer the vanilla flavor will be!
-
Softening Before Scooping: If your ice cream is too hard to scoop, let it sit at room temperature for a few minutes before serving. This helps achieve the perfect scoopable texture.
Homemade Vanilla Ice Cream Recipe FAQs
How do I choose the right ripeness of vanilla extract?
Absolutely! When selecting vanilla extract, look for pure vanilla extract with a rich brown color; it should smell fragrant and not overly sweet. Avoid artificial vanilla flavorings, as they lack the depth of flavor you want in your homemade vanilla ice cream.
How should I store homemade vanilla ice cream?
I recommend storing your homemade vanilla ice cream in an airtight container to avoid freezer burn. It can last up to one month in the freezer, but for the best flavor, try to enjoy it within two weeks!
Can I freeze homemade vanilla ice cream for longer?
Yes, you can freeze it for up to 3 months! Just ensure to store it in an airtight container. To maintain the best texture and flavor, place a piece of parchment paper or wax paper directly on the surface of the ice cream before sealing the container.
What should I do if my homemade ice cream is too hard to scoop?
Very common! If your homemade vanilla ice cream is too hard to scoop, let it sit at room temperature for about 5 to 10 minutes before trying to serve. If it’s still too solid, you can score the surface with a knife or spatula to help it soften faster.
Are there any dietary considerations I should keep in mind for this ice cream?
Definitely! If making this homemade vanilla ice cream for someone with dairy allergies, consider using almond or coconut milk instead of whole milk and heavy cream. Be sure to check if the brand of sugar you use is suitable for their dietary restrictions!
Can I add in mix-ins, and how should I do it?
Of course! You can fold in mix-ins like chocolate chips or fresh fruit immediately after the churning process. Simply stir gently until they are evenly distributed in the ice cream. This will ensure that every scoop is a delightful surprise!
Creamy Homemade Vanilla Ice Cream That Will Change Your Summer
Ingredients
Equipment
Method
- Start by ensuring the bowl of your ice cream maker is completely frozen for at least 12 hours.
- In a medium saucepan, combine heavy cream, whole milk, cane sugar, vanilla extract, and sea salt. Heat over medium-low for about 5 minutes, whisking gently until the sugar has dissolved.
- Once the sugar is dissolved, transfer the mixture to a heatproof bowl. Cover and refrigerate for at least 2 hours, or ideally overnight.
- Whisk the chilled mixture briefly before pouring it into the ice cream maker. Churn according to manufacturer’s instructions for about 20 to 30 minutes.
- For a firmer texture, transfer the ice cream to an airtight container, smooth the top, seal tightly, and freeze for an additional 2 to 4 hours.
Leave a Reply