
As I sorted through my pantry the other day, I stumbled upon a bag of panko breadcrumbs and couldn’t help but smile at the culinary magic they promise. That’s when I knew I had to make my Crunchy Chicken Tenders! These crispy delights are a fantastic way to enjoy a classic favorite without the guilt of frying. Oven-baked to perfection, they’re a quick-prep option that transforms any weeknight dinner into something extra special. Plus, they’re versatile—serve them as a star main course, tuck them into sandwiches, or offer them up as irresistible party snacks. Whether you’re cooking for the family or a gathering of friends, making these crunchy chicken tenders will surely impress. Ready to bring the crunch home? Let’s dive into the details!

Why Are These Chicken Tenders a Must-Try?
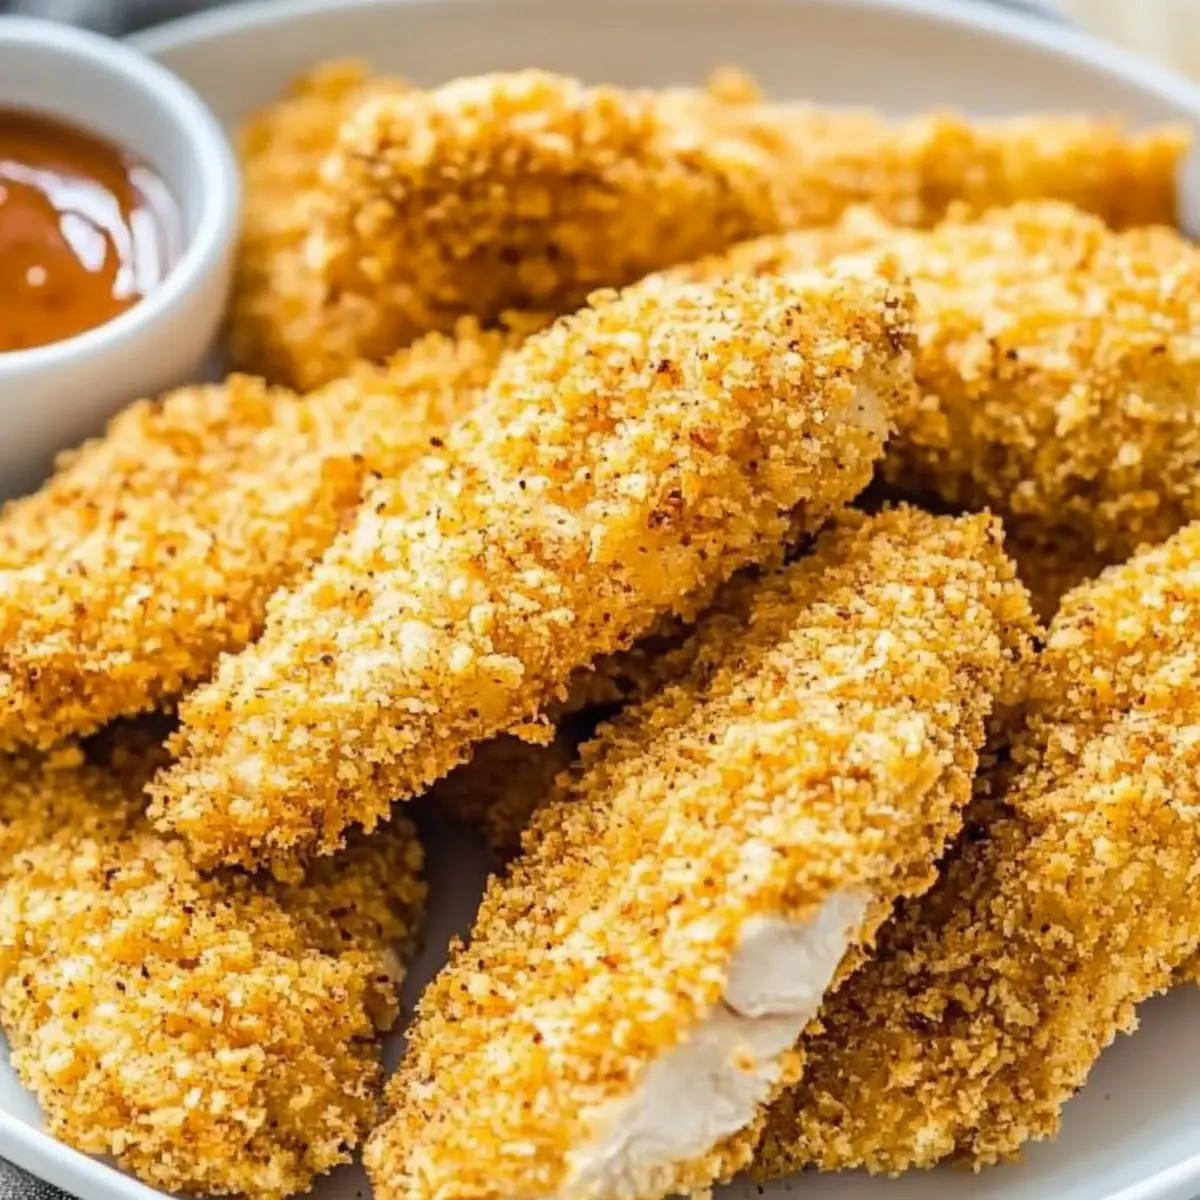
Flavorful Layers: Each tender boasts a golden crust thanks to crispy panko, providing a satisfying crunch with every bite.
Healthier Choice: Oven-baked means no frying, making these tenders a guilt-free indulgence perfect for anyone watching their diet.
Quick to Make: With minimal prep and just 10-12 minutes of baking, you’ll have a delicious meal in no time—ideal for busy weeknights.
Versatile Delight: Serve them as a standalone dish, in sandwiches, or as party snacks that everyone will enjoy. For more inspiration, check out Chicken Alfredo Tater for another irresistible dish.
Family-Friendly: Kids love chicken tenders, and this recipe allows you to serve them a homemade version that appeals to both young and old alike!
Crunchy Chicken Tender Ingredients
For the Batter
• Chicken Tenderloins – Tender, juicy, and perfect for coating; substitute with boneless chicken breasts for a variation, but remember to brine for moisture.
• Salt – Enhances flavor during the brining process; adjust to taste based on how long you brined your chicken.
• Plain Flour (All-Purpose) – Creates a batter around the chicken; essential for ensuring that the coating sticks well.
• Eggs – Acts as a binding agent to help hold the crunchy coating together.
• Water – Thin out the batter for smooth coating consistency.
For Crunchy Coating
• Panko Breadcrumbs – Adds that sought-after crazy crunch; toasting them beforehand boosts flavor and crunchiness!
• Oil (Vegetable or Olive) – Helps in browning the breadcrumbs to achieve a rich golden color.
For Seasoning
• Onion Powder – Adds depth and enhances overall flavor profile.
• Garlic Powder – A classic complement to chicken, enriching the taste with warmth and aroma.
• Ground Black Pepper – For a touch of spice; elevates the dish without overpowering the flavors.
These Crunchy Chicken Tenders are not just delicious; they’re a game-changer for any meal! Ready to make mouthwatering memories? Let’s get cooking!
Step‑by‑Step Instructions for Crunchy Chicken Tenders
Step 1: Brine the Chicken
Begin by combining the chicken tenderloins with salt in a bowl. Ensure they are evenly coated, then cover and let them brine in the fridge for 30-40 minutes. This simple step enhances juiciness and flavor, making your Crunchy Chicken Tenders incredibly tender and delicious.
Step 2: Toast the Breadcrumbs
Preheat your oven to 350°F (175°C). Spread the panko breadcrumbs on a baking sheet and drizzle with a bit of oil, mixing well to coat. Toast in the oven for 8-10 minutes, stirring halfway through, until they turn a lovely golden brown. This adds a rich flavor and extra crunch to your chicken tenders.
Step 3: Prepare the Batter
In a medium-sized bowl, whisk together the eggs, water, and flour until smooth. Add in the onion powder, garlic powder, and ground black pepper, blending well. This batter will help your Crunchy Chicken Tenders stick to the chicken, creating that irresistible crunchy coating when baked.
Step 4: Coat the Chicken
Once the chicken has finished brining, remove it from the fridge and let it drain for a moment. Dip each tenderloin into the prepared batter, ensuring it’s fully covered, then roll it in the toasted panko breadcrumbs. Press down gently to achieve an even coating for that perfect crunch.
Step 5: Bake the Tenders
Arrange the coated chicken tenders in a single layer on a lined baking sheet. Place them in your preheated oven and bake for 10-12 minutes, or until golden brown and cooked through. Make sure to check that the internal temperature reaches 165°F (74°C) for safe and delicious Crunchy Chicken Tenders.
Step 6: Serve and Enjoy
Once baked, remove the chicken tenders from the oven and allow them to cool slightly. Serve your crunchy masterpieces with fun dipping sauces like ranch or sweet chili for a delightful meal. Perfect for sharing and enjoying with family and friends, these tenders bring flavor home!
Crunchy Chicken Tenders: Variations & Substitutions
Unleash your creativity in the kitchen by customizing your Crunchy Chicken Tenders to suit your taste buds!
- Gluten-Free: Substitute panko breadcrumbs with gluten-free breadcrumbs to enjoy the same irresistible crunch.
- Spicy Kick: Mix cayenne pepper or your favorite hot sauce into the batter for a flavorful heat that will spice things up!
- Herbed Twist: Add dried Italian herbs like oregano or basil to the breadcrumb mix for an aromatic, savory enhancement.
- Cheesy Goodness: Incorporate grated Parmesan cheese into the panko for even richer flavor, creating a delightful cheesy crust.
- Zesty Citrus: Squeeze some lemon juice over the finished tenders for a refreshing, tangy lift that complements the crunchy exterior perfectly.
- Baked Parmesan Garlic Potatoes: Pair these tenders with Garlic Chicken Roasted for a wonderfully complementary side.
- Savory BBQ: Brush with your favorite barbecue sauce before baking for a sweet and smoky flavor that elevates these tenders to new heights.
- Air Fryer Option: Cook your chicken tenders in an air fryer for a quick, crispy finish that remains guilt-free and delicious.
Feel free to mix and match these ideas to create your ideal version of scrumptious Crunchy Chicken Tenders!
Expert Tips for Crunchy Chicken Tenders
- Brining Time: Keep your brining under 40 minutes to prevent excessive saltiness; shorter is better for a perfect flavor balance.
- Check Doneness: Always probe the thickest part of the chicken to ensure it’s fully cooked; look for no pinkness and an internal temperature of 165°F (74°C).
- Spacing is Key: Place tenders evenly on the baking sheet, ensuring they’re not touching; this prevents steaming and guarantees that delightful crunch.
- Extra Flavor: Consider adding your favorite herbs or spices to the panko breadcrumb mixture for a personal twist on these crunchy chicken tenders.
- Batch Cooking: Make extra and freeze unbaked tenders; they can be easily popped into the oven for a quick meal later.
How to Store and Freeze Crunchy Chicken Tenders
Fridge: Store leftover Crunchy Chicken Tenders in an airtight container for up to 3 days to keep them fresh and maintain their flavor.
Freezer: Unbaked tenders can be frozen for up to 3 months. Layer them with parchment paper on a baking sheet to prevent sticking before placing them in a freezer-safe bag.
Reheating: To reheat, bake in a preheated oven at 375°F (190°C) for about 10-15 minutes until heated through and crisp. Alternatively, use an air fryer for extra crunch!
Make-Ahead: Prep the chicken tenders ahead of time and store in the fridge covered for 2-3 days until you’re ready to bake them!
What to Serve with Crunchy Chicken Tenders
Brightening up your dinner table is a breeze when you pair these irresistible tenders with delightful sides and sauces.
- Creamy Mashed Potatoes: The velvety texture of mashed potatoes balances the crunchiness of the tenders, creating a fulfilling plate.
- Fresh Garden Salad: A crisp salad adds a refreshing contrast, bringing vibrant colors and a healthy crunch to your meal.
- Sweet Potato Fries: For a modern twist, these sweet, crispy fries offer a delightful flavor that echoes the tender’s homey essence.
- Coleslaw: Creamy or vinegar-based, coleslaw introduces a tangy crunch that complements the savory notes of the chicken.
- Honey Mustard Dipping Sauce: A sweet and tangy dip enhances each bite, delighting your taste buds with layered flavors.
- Roasted Vegetables: Caramelized carrots, zucchini, and bell peppers add warmth and nutrients, rounding out your meal with color and taste.
- Corn on the Cob: Grilled or boiled, corn adds a sweet pop that pairs magically with the crunchy texture of the tenders.
- Garlic Bread: Crispy buttered bread adds a comforting touch, perfect for gushing over with dipping sauce or savoring on its own.
- Sparkling Lemonade: A refreshing drink that spruces up the dining experience, offering a zesty complement to the meal.
- Homemade Chocolate Chip Cookies: End your meal on a sweet note with warm cookies, capturing the heart of any family gathering.
Make Ahead Options
These Crunchy Chicken Tenders are perfect for meal prep! You can brine the chicken tenderloins and coat them in the batter up to 24 hours in advance—just keep them covered in the refrigerator to maintain freshness. The panko breadcrumbs can also be prepared and toasted ahead of time; simply store them in an airtight container. When you’re ready to bake, all you have to do is coat the brined chicken tenderloins in the toasted breadcrumbs and pop them in the oven for 10-12 minutes until they’re golden brown and cooked through. With these make-ahead tips, you’ll have an effortless meal option on busy weeknights, ensuring your Crunchy Chicken Tenders are just as delicious!

Crunchy Chicken Tenders Recipe FAQs
How do I select the best chicken for my tenders?
Absolutely! When choosing chicken tenderloins, look for those that are pale pink and plump, indicating freshness. Avoid any pieces with dark spots or a slimy texture. If you’re considering using boneless chicken breasts, brining for at least 30 minutes is crucial to keep them juicy and flavorful.
How should I store leftover Crunchy Chicken Tenders?
Very easy! Simply place any leftover Crunchy Chicken Tenders in an airtight container in the fridge. They will stay fresh for up to 3 days. For optimal taste, reheat them in the oven at 375°F (190°C) for about 10-15 minutes before serving again.
Can I freeze my chicken tenders?
Yes, you can! Unbaked chicken tenders can be frozen for up to 3 months. To do this, layer them on a baking sheet with parchment paper between each layer to prevent sticking. Once frozen, transfer them to a freezer-safe bag. When you’re ready to cook, bake them straight from the freezer, adding a few extra minutes to the cooking time.
What if my chicken tenders come out soggy?
Great question! If your tenders are soggy, it might be due to overcrowding on the baking sheet, which traps steam. Always space the chicken tenders evenly on the sheet. Additionally, make sure your oven is fully preheated before baking to ensure they cook evenly and get that perfect crunch.
Are these tenders suitable for gluten-free diets?
Absolutely! To make these Crunchy Chicken Tenders gluten-free, simply swap out regular panko breadcrumbs for gluten-free breadcrumbs. Ensure all the other ingredients, like sauces or seasonings, are also gluten-free to maintain a safe dining experience for those with gluten sensitivities.

Crispy Crunchy Chicken Tenders That Bring Flavor Home
Ingredients
Equipment
Method
- Brine the Chicken: Combine chicken tenderloins with salt in a bowl, cover, and let brine in the fridge for 30-40 minutes.
- Toast the Breadcrumbs: Preheat oven to 350°F (175°C), spread panko breadcrumbs on baking sheet, drizzle with oil, and toast for 8-10 minutes.
- Prepare the Batter: Whisk together eggs, water, and flour until smooth, then blend in onion powder, garlic powder, and black pepper.
- Coat the Chicken: Dip each tenderloin in batter, then roll in toasted panko breadcrumbs, pressing down for even coating.
- Bake the Tenders: Bake chicken tenders on a lined baking sheet for 10-12 minutes, until golden brown and internal temperature reaches 165°F (74°C).
- Serve and Enjoy: Allow to cool slightly and serve with dipping sauces.
Leave a Reply