
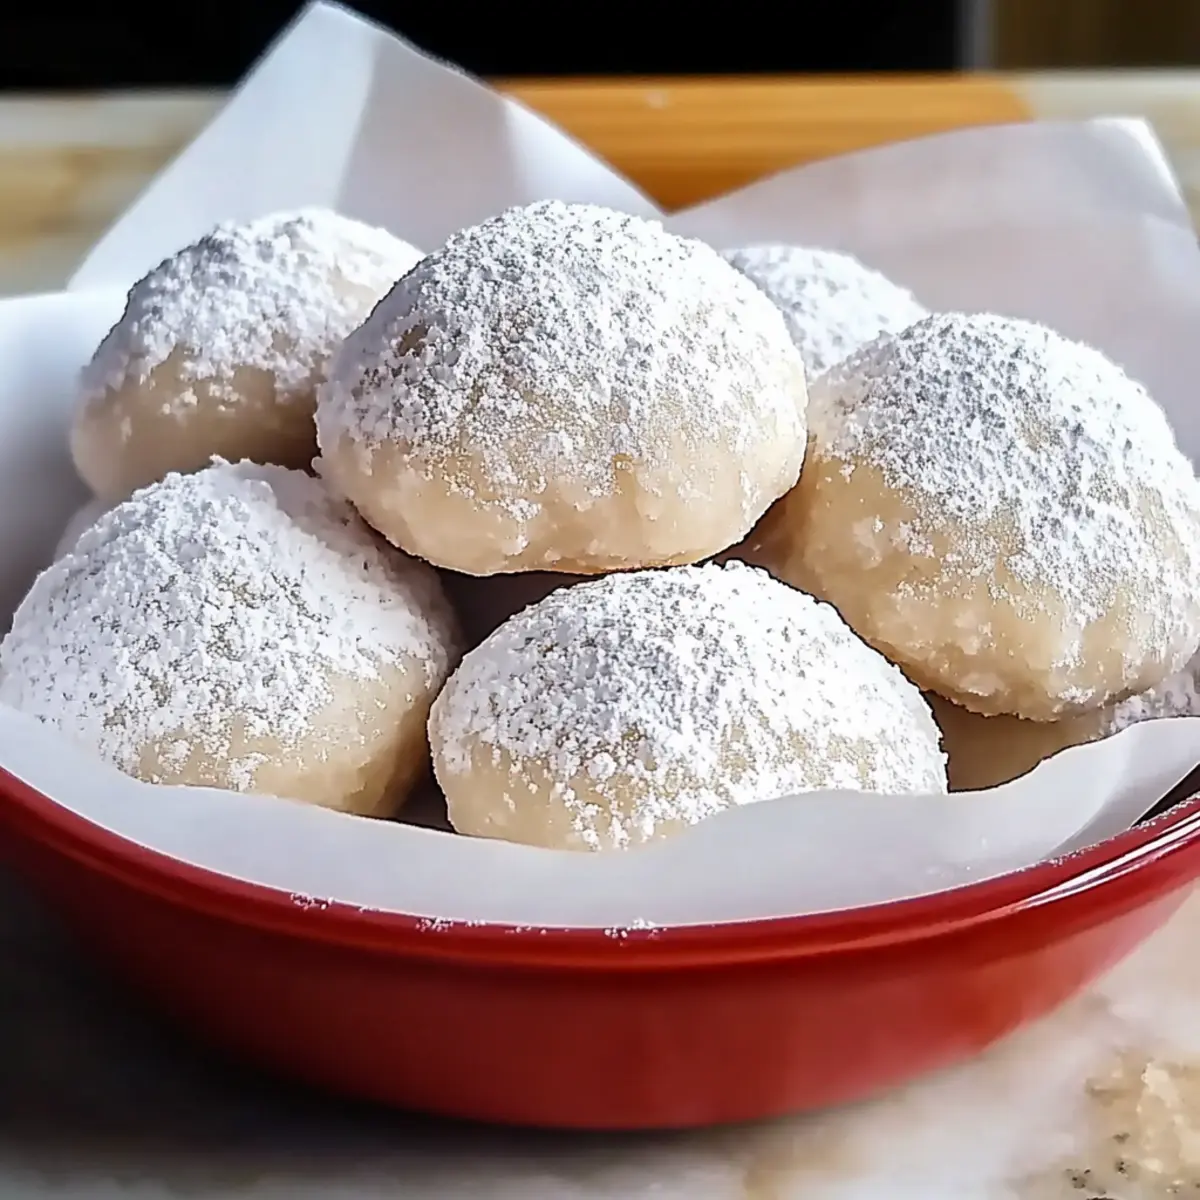
As I stood in my kitchen, the delightful scent of baking cookies wafted through the air, instantly transporting me back to cherished holiday moments. Enter Traditional Snowball Cookies, those delightful little orbs of sweetness that melt on your tongue, bringing warmth and joy. What I adore about these 4-ingredient gems is not just their simplicity but also how they easily accommodate different diets—think gluten-free or vegan—so everyone can join in the treat-sharing bliss. With a quick prep time and a reputation as a crowd-pleaser, these cookies are perfect for holiday gatherings or any time you’re baking at home. Ready to learn how to bake up a batch of magic? Let’s get started!
Why are Snowball Cookies So Special?
Melt-in-Your-Mouth Delight: These snowball cookies boast a light, buttery texture that simply melts on your tongue, evoking cozy memories.
Effortless Preparation: With just four ingredients, they’re incredibly easy to whip up, making them perfect for amateur bakers and busy chefs alike.
Diet-Friendly Options: Whether you’re vegan, gluten-free, or nut-free, you can easily adapt this recipe to meet dietary needs, ensuring no one is left out during dessert time.
Customization Awaits: Feeling adventurous? Add flavors like chocolate chips or festive spices to tailor them to your taste! Check out my Lemon Oatmeal Cookies for another easy treat idea.
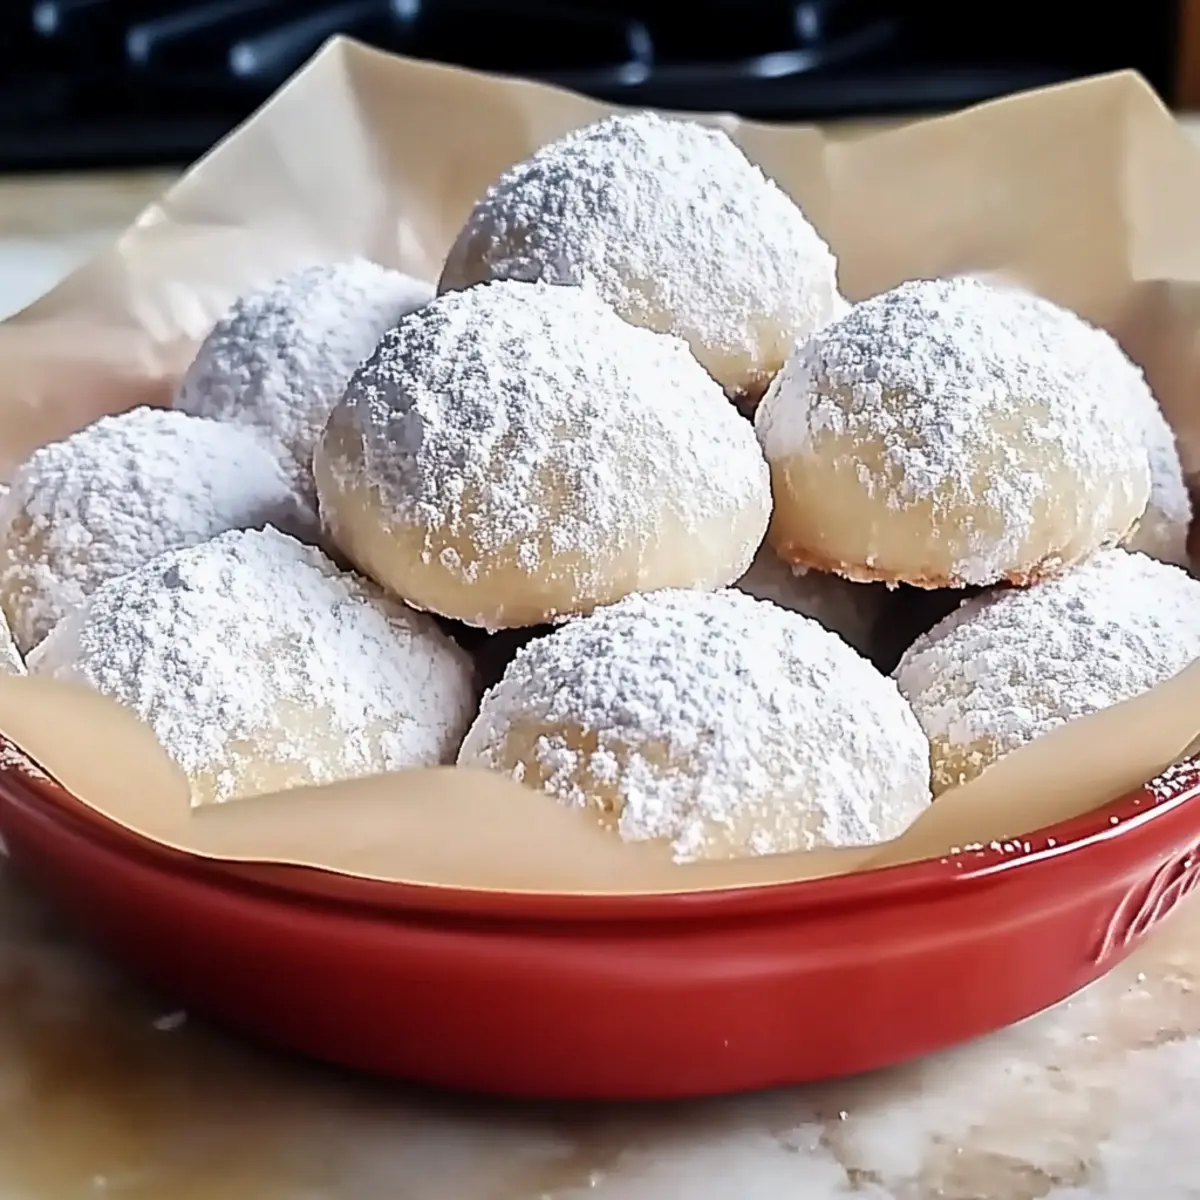
Perfect for Sharing: Their charming snowy appearance and delectable taste make these cookies a showstopper at any gathering, ensuring you’ll always have happy guests!
Traditional Snowball Cookies Ingredients
For those delectable traditional snowball cookies, gather these simple ingredients!
For the Dough
- All-Purpose Flour (or Gluten-Free Flour) – Provides structure to the cookies; swap with gluten-free flour to accommodate dietary needs.
- Unsalted Butter (or Coconut Oil) – Adds richness and moisture; use softened coconut oil for a vegan twist.
- Powdered Sugar – Sweetens the cookies and creates that signature snowy look; consider sugar-free powdered sugar for a lower-sugar option.
- Chopped Nuts (optional) – Enhance flavor and texture; for nut-free options, substitute with crunchy seeds like sunflower or pumpkin seeds.
Step‑by‑Step Instructions for Traditional Snowball Cookies
Step 1: Preheat the Oven
Begin by preheating your oven to 325°F (163°C). While the oven warms up, line two baking sheets with parchment paper, ensuring that your workspace is ready for these delightful Traditional Snowball Cookies. The parchment will prevent sticking and aid in even baking, setting the stage for success.
Step 2: Cream Butter and Sugar
In a large mixing bowl, combine the softened unsalted butter with powdered sugar. Using an electric mixer, beat the mixture on medium speed for about 2-3 minutes until it becomes creamy and light in color. This step is crucial for achieving that melt-in-your-mouth texture these snowball cookies are known for.
Step 3: Combine Dry Ingredients
Sift together the all-purpose flour (or gluten-free flour) and any optional chopped nuts in a separate bowl. Gradually add this dry mixture to the creamed butter and sugar. Mix on low speed until the dough comes together; you should see a slightly crumbly texture forming, indicating it’s ready for shaping.
Step 4: Shape Cookies
Once the dough is well-combined, use your hands to roll small portions of it into 1-inch balls. Place these cookie balls on the prepared baking sheets, spacing them about 2 inches apart. They will spread slightly while baking, so this spacing is important for your Traditional Snowball Cookies to bake evenly.
Step 5: Bake Cookies
Slide the baking sheets into your preheated oven and bake the cookies for 20-25 minutes. Keep an eye on them—you want the edges to just start turning a light golden color, while the centers remain soft. These visual cues are key indicators that your snowball cookies are on track.
Step 6: Coat in Sugar
After removing the cookies from the oven, let them cool on the baking sheets for about 5 minutes. While they are still warm, roll each cookie in powdered sugar until fully coated. This not only enhances their sweetness but also adds to the classic snowy appearance of your Traditional Snowball Cookies.
Step 7: Cool Completely
Finally, transfer the cookies to a wire rack to cool completely. This step is essential for ensuring that they firm up nicely while retaining that tender, melt-in-your-mouth quality. Allow them to cool for at least 20 minutes before serving or storing to achieve the perfect texture.
How to Store and Freeze Traditional Snowball Cookies
-
Room Temperature: Store your traditional snowball cookies in an airtight container at room temperature for up to 3-5 days to maintain their delightful texture and flavor.
-
Fridge: For a firmer texture, you can refrigerate the cookies in an airtight container for up to a week. Just remember to allow them to come to room temperature before serving!
-
Freezer: Freeze the cookies in a freezer-safe container for up to 3 months. It’s helpful to layer them with parchment paper to prevent sticking, ensuring each snowy treat is intact.
-
Reheating: To refresh your cookies, simply let them sit at room temperature for a few minutes before enjoying, or warm them briefly in the microwave for a soft bite that feels freshly baked!
Traditional Snowball Cookies Variations
Feel free to get creative with your cookie baking adventure! The beauty of these snowball cookies is that they’re incredibly adaptable, allowing for delightful twists and tasty substitutions.
- Vegan: Substitute unsalted butter with softened coconut oil for a delicious dairy-free treat. Your vegan friends will thank you for this treat!
- Gluten-Free: Use gluten-free all-purpose flour to ensure everyone can enjoy these cookies without missing out on the classic flavor and texture. Perfect for gatherings with diverse dietary needs.
- Nut-Free: Omit chopped nuts entirely or replace them with crispy sunflower or pumpkin seeds, allowing those with nut allergies to enjoy a safe and scrumptious version.
- Chocolate Variation: Incorporate cocoa powder into the dry ingredients or fold in mini chocolate chips for an indulgent chocolatey twist that pairs beautifully with the sugar coating.
- Festive Flavors: Add a splash of peppermint extract or stir in citrus zest for a seasonal touch that will evoke memories of joyous holiday gatherings.
- Spiced Version: Sprinkle in cinnamon or nutmeg to sprinkle a warm, cozy aroma throughout your kitchen, enhancing the cookies with a hint of spice.
- Fruity Twist: Mix in freeze-dried berries for a burst of fruity flavors while brightening up the cookies’ appearance—delicious and visually stunning!
- Heavenly Crunch: For a delightful crunch, fold in crushed pretzels or tiny pieces of toffee—texture will enhance the blissful experience of every bite!
For more delightful cookie recipes, check out my Ingredient Chewy Cookies or consider bringing home the zesty flavors from my Lemon Oatmeal Cookies. Each variation is a new celebration waiting to happen!
Make Ahead Options
These Traditional Snowball Cookies are perfect for meal prep enthusiasts! You can prepare the cookie dough up to 24 hours in advance. Simply mix the ingredients, shape the dough into 1-inch balls, and place them on a lined baking sheet. Cover the baking sheet tightly with plastic wrap and refrigerate until you’re ready to bake. This advance prep not only saves you time but also enhances the flavors as they meld overnight. When you’re ready to serve, simply bake the cookies straight from the fridge, adding an extra minute or two to the baking time to ensure they are perfectly golden. Enjoy delicious, melt-in-your-mouth results with minimal effort!
Expert Tips for Traditional Snowball Cookies
- Chill the Dough: Refrigerate the cookie dough for about 30 minutes before shaping. This makes it easier to handle and prevents spreading, ensuring your traditional snowball cookies keep their lovely round shape.
- Room Temperature Ingredients: Make sure your butter is softened to room temperature for a smooth creaming process. Cold butter can lead to a dense texture, robbing you of that melt-in-your-mouth experience.
- Watch the Bake Time: Keep a close eye on the cookies as they bake; they should be very light golden at the edges and soft in the center. Overbaking can lead to dry cookies instead of the ideal softness.
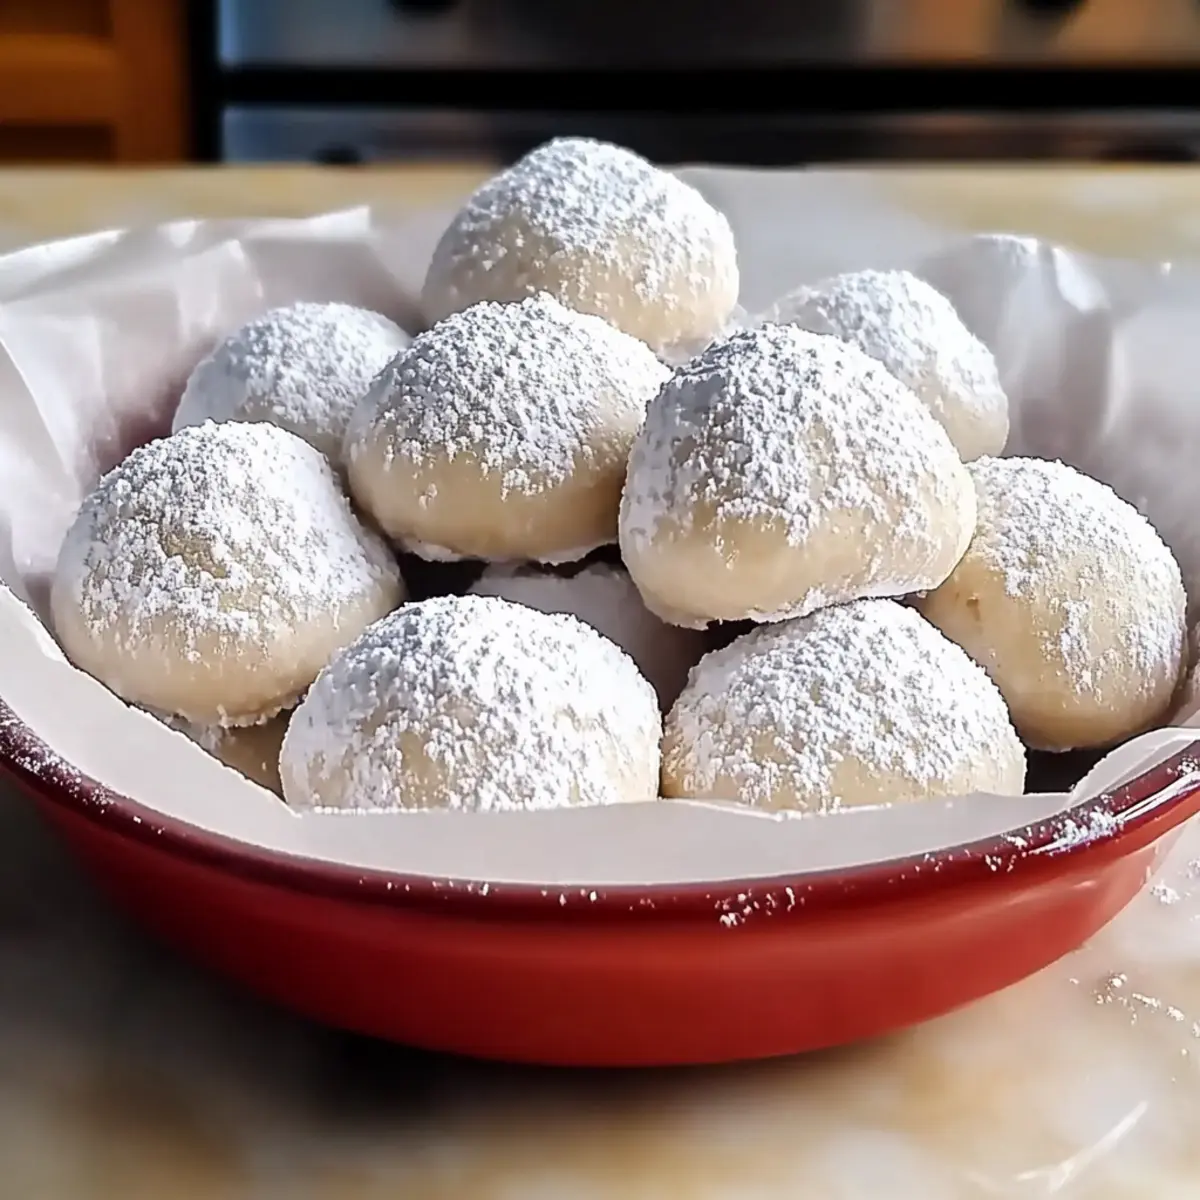
- Double Coat in Sugar: For an extra sweet touch, roll the cookies in powdered sugar after they cool down. This creates a delightful sweetness and enhances the snowy appearance, making your traditional snowball cookies even more inviting.
- Nut Substitutions: If you’re making a nut-free version, consider using seeds like sunflower or pumpkin seeds for a crunchy texture without the allergens. This way, everyone can enjoy your cookies!
What to Serve with Traditional Snowball Cookies
These delightful snowball cookies are the perfect sweet treat to enjoy, especially when you create a whole meal around them.
-
Rich Hot Chocolate: The creamy, warm cocoa pairs beautifully with the buttery sweetness of the cookies, enhancing their melt-in-your-mouth texture.
-
Fresh Fruit Salad: Bright, juicy fruits balance the richness of the cookies and add a refreshing burst of flavor. Think strawberries, oranges, and kiwis for a colorful contrast.
-
Vanilla Ice Cream: A scoop of smooth vanilla ice cream alongside your cookies can elevate the dessert experience, blending creamy and sweet notes in every bite.
-
Chai Latte: The warm and spiced aromas of a chai latte complement the subtle flavors of the cookies while inviting a cozy atmosphere that pulls you in.
-
Gingerbread Cake: Serve these soft cookies with a slice of lightly spiced gingerbread cake. The two desserts harmonize beautifully and add festive cheer to your table.
-
Coffee or Espresso: A rich cup of coffee can enhance the buttery aspects of the snowball cookies, making your afternoon treat feel indulgent and comforting.
-
Creamy Cheesecake: Pairing with a slice of cheesecake offers a luscious contrast. The creamy, tangy notes will bring a delightful balance to the sweetness of the cookies.
-
Chocolate Mint Cupcakes: For a whimsical twist, serve them alongside chocolate mint cupcakes. The minty flavor resonates well with the lighter cookies.
-
Mulled Wine: The warm spices in mulled wine nicely complement the flavors in the snowball cookies and create a cozy ambiance, perfect for gatherings.
Traditional Snowball Cookies Recipe FAQs
How do I choose the right flour for snowball cookies?
Absolutely! To achieve the best texture in your traditional snowball cookies, select a flour that suits your dietary needs. All-purpose flour is ideal for a classic version, while gluten-free all-purpose flour is perfect for those avoiding gluten. Look for a blend that contains xanthan gum for added structure if you’re going gluten-free!
What’s the best way to store leftover snowball cookies?
Very! Store your traditional snowball cookies in an airtight container at room temperature for about 3-5 days. If you want to keep them longer and maintain their soft texture, refrigerate them for up to a week. Just make sure to bring them to room temperature before enjoying!
Can I freeze snowball cookies, and if so, how?
Absolutely! To freeze your traditional snowball cookies, first, let them cool completely. Then, layer the cookies between sheets of parchment paper in a freezer-safe container. This helps prevent them from sticking to each other. Seal tightly, and they can be enjoyed for up to 3 months. When you’re ready, simply thaw them in the fridge or at room temperature.
What if my cookie dough is too crumbly?
No worries! If you find your traditional snowball cookie dough is crumbly, it may need a bit more moisture. Try adding a teaspoon of softened butter or even a few drops of water to the dough and mix gently until it holds together. Ensure that the ingredients, especially butter, are at room temperature for the best results.
Are snowball cookies safe for my pet?
Very! It’s best to avoid giving traditional snowball cookies to pets. The powdered sugar and butter can be hard on their digestion, and certain nuts can be toxic to some animals. Always stick to pet-friendly treats to keep your furry friends safe.
How can I customize the flavors of my snowball cookies?
Absolutely! The beauty of traditional snowball cookies lies in their adaptability. You can add different extracts like almond or peppermint for added flavor, mix in chocolate chips, or even fold in spices like cinnamon or nutmeg for a warm twist. Have fun experimenting to make them your own!

Traditional Snowball Cookies That Melt in Your Mouth
Ingredients
Equipment
Method
- Preheat your oven to 325°F (163°C) and line two baking sheets with parchment paper.
- Cream softened butter with powdered sugar for 2-3 minutes until creamy.
- Sift together flour and chopped nuts, then mix with creamed butter and sugar until a crumbly dough forms.
- Roll small portions of dough into 1-inch balls and place on the baking sheets.
- Bake in preheated oven for 20-25 minutes until edges are light golden and centers remain soft.
- Cool on baking sheets for 5 minutes, then roll in powdered sugar while warm.
- Transfer cookies to a wire rack to cool completely for about 20 minutes.
Leave a Reply