
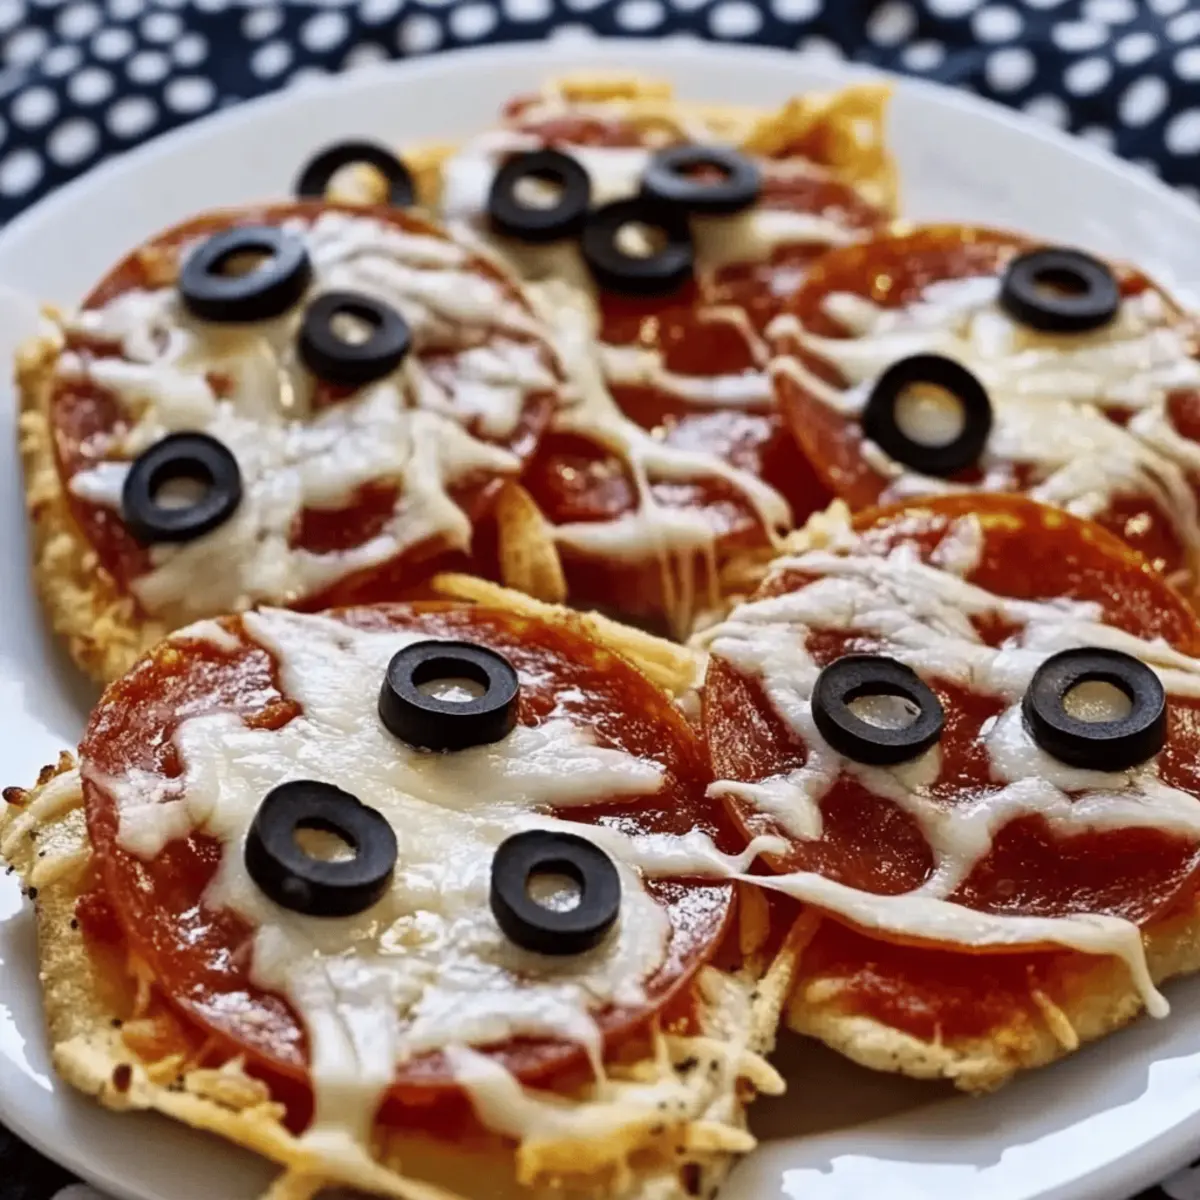
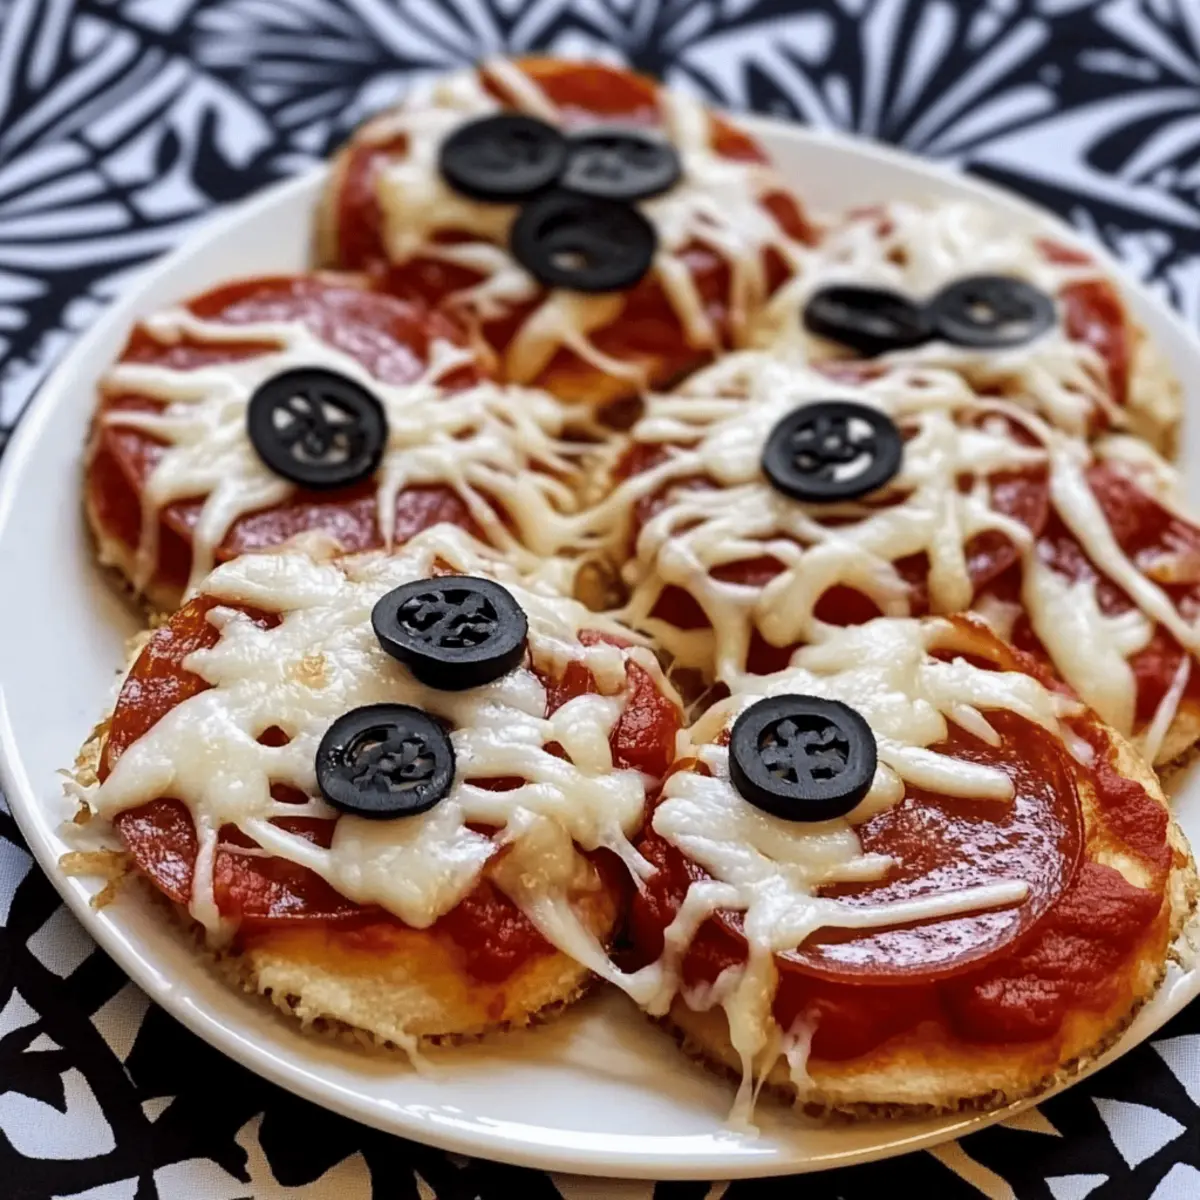
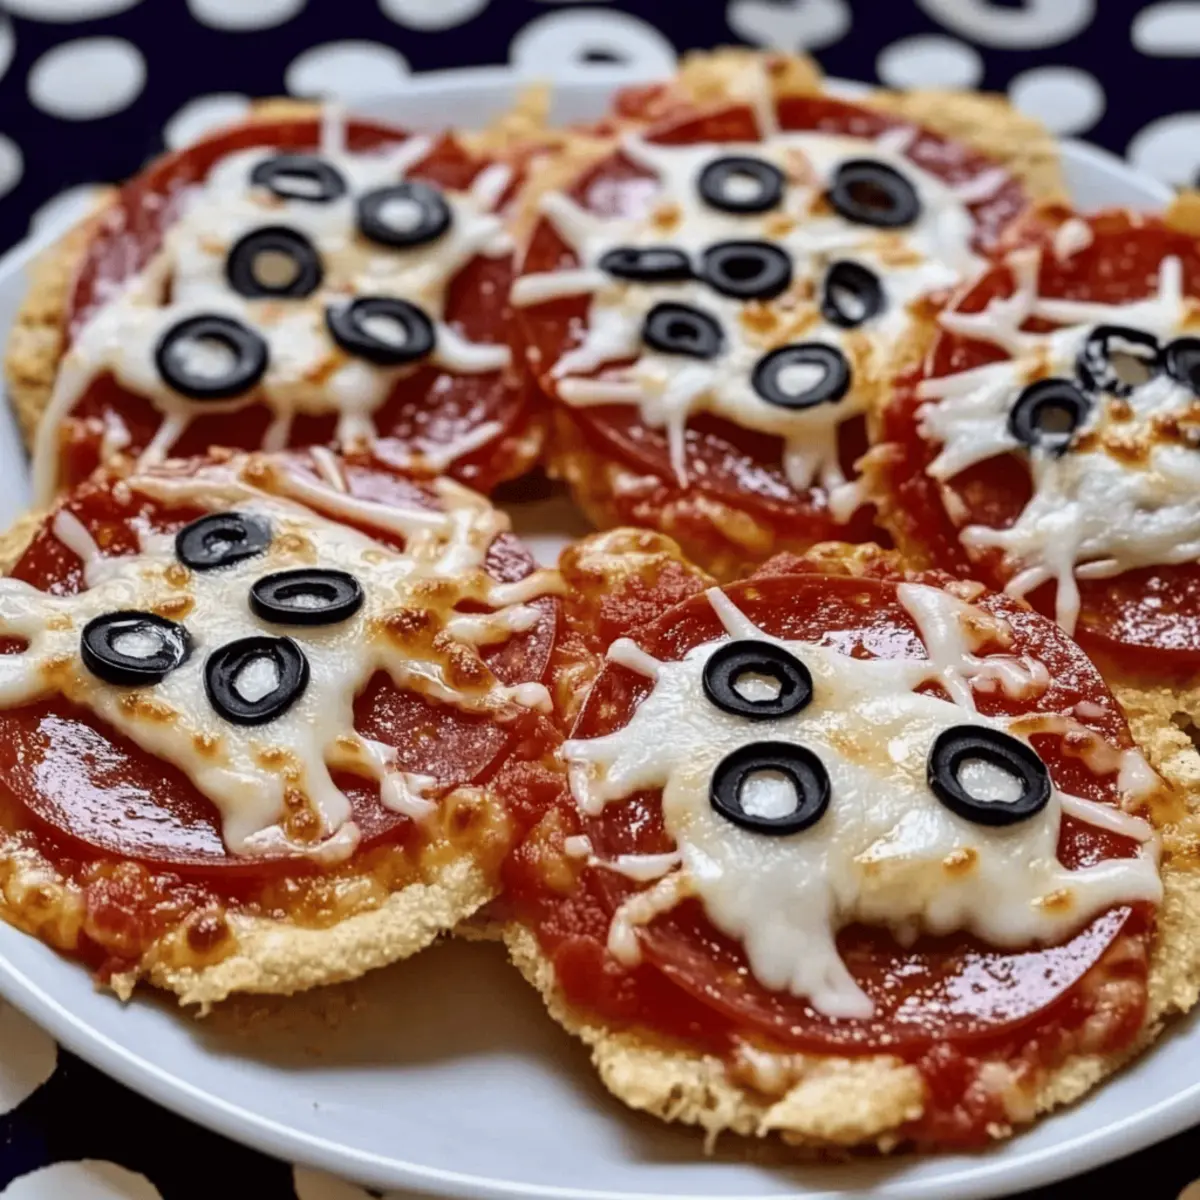
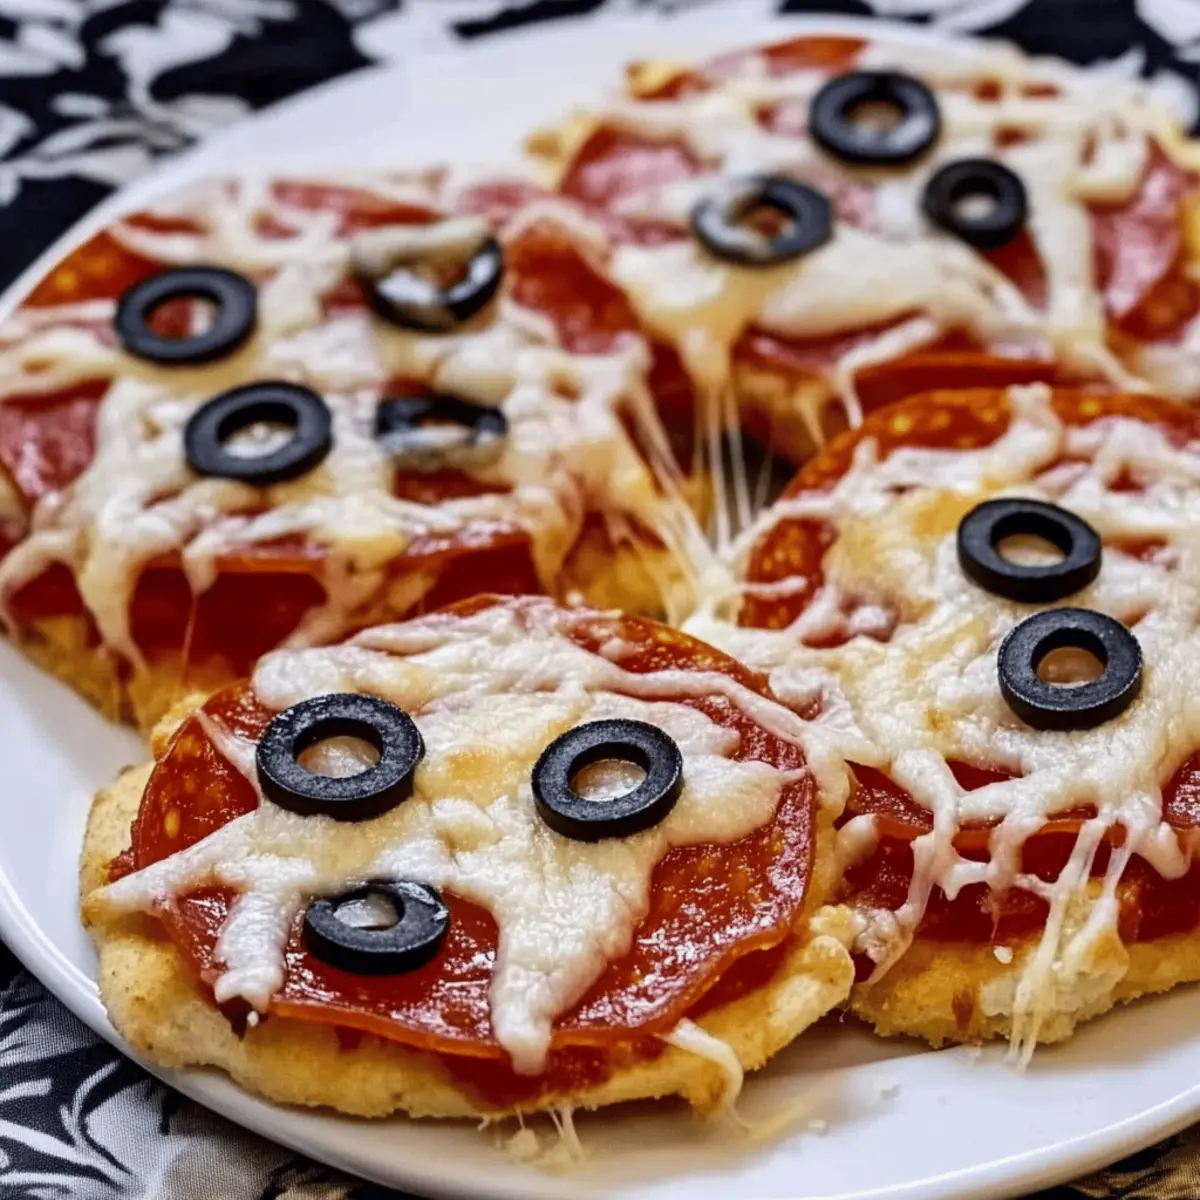
The air is crisp, and the excitement of Halloween is nearly palpable—it’s the perfect time to whip up something memorable. Enter the Spider Web Pizza Snacks, an easy and delightful treat designed to bring family and friends together. These savory bites feature melty mozzarella cheese draped over crispy bagel crisps, transforming simple ingredients into a fun and edible masterpiece. Not only are they quick to prepare—a bonus for busy weeknights or festive gatherings—but they’re customizable too, making them perfect for picky eaters or creative cooks alike. Plus, with gluten-free and vegan options readily available, no one needs to miss out on the spooky fun! So, are you ready to dive into a hauntingly good culinary adventure? Let’s get started!
Why are Spiderweb Pizza Bites a must-try?
Kid-Friendly Fun: Involving your little chefs in making these Spider Web Pizza Snacks is an absolute joy, fostering creativity and bonding.
Quick & Easy: With just a handful of ingredients and a quick bake, you can whip these up in no time—perfect for last-minute gatherings or Halloween parties!
Customizable Delights: Mix and match toppings to cater to every palate. From spicy pepperoni to vibrant bell peppers, there’s a blend for everyone!
Gluten-Free & Vegan Options: With easy substitutions available, everyone can enjoy this tasty snack without worry. Check out our Cheese Cake Cookie Bites for a gluten-free sweet treat!
Crispy Meets Gooey: Enjoy the delightful contrast of the crispy bagel base and the stretchy, melty cheese, creating a satisfying texture in every bite.
Make-Ahead Magic: Prepare them ahead of time, freeze, and pop them in the oven when guests arrive. It’s the ultimate time-saver!
Spiderweb Pizza Bites Ingredients
For the Base
• Mini Bagel Crisps – These crispy delights serve as the perfect base; opt for gluten-free bagels for a gluten-free treat.
For the Cheese
• Mozzarella Cheese – The classic choice for a gooey and stretchy web effect; experiment with cheddar for a tangier flavor.
• Vegan Cheese (optional) – For a dairy-free version; Daiya brand is recommended for its great melting quality.
• Gluten-Free Cheese (optional) – Ensure your cheese adheres to gluten-free standards for everyone to enjoy.
For Toppings
• Pepperoni (optional) – Adds a spicy kick; can be swapped with diced vegetables for a vegetarian version.
• Garlic-Infused Olive Oil (optional) – Enhances the flavor, adding a delightful touch; drizzle it on top just before serving.
For Creativity
• Alternative Toppings – Mix in black olives, bell peppers, or a sprinkle of crushed red pepper to spice things up!
• Food Coloring for Cheese (optional) – Add a festive twist by coloring your melted cheese for a more visually stunning presentation.
These Spiderweb Pizza Bites are not just snacks—they’re a chance to create unforgettable moments in the kitchen. Enjoy!
Step‑by‑Step Instructions for Spiderweb Pizza Bites
Step 1: Preheat the Oven
Begin by preheating your oven to 375°F (190°C). This ensures a hot environment for the Spiderweb Pizza Bites to cook evenly and melt the cheese perfectly. While the oven heats up, take a moment to gather your ingredients and baking tray for a streamlined process.
Step 2: Arrange Bagel Crisps
Place the mini bagel crisps in a single layer on a baking tray lined with parchment paper for easy cleanup. Make sure there’s some space between each crisp to allow hot air to circulate, guaranteeing a crispy base for your delightful pizza bites.
Step 3: Add Cheese Topping
Sprinkle a generous layer of shredded mozzarella cheese over each bagel crisp, allowing the cheese to resemble a spider web with its gooey texture. If you prefer a twist, feel free to experiment with cheddar or vegan cheese alternatives. The more cheese, the merrier!
Step 4: Bake Until Melty
Carefully place the tray in the preheated oven and bake for about 5-7 minutes. Keep an eye on your Spiderweb Pizza Bites as the cheese melts and becomes bubbly; you want it golden but not overly browned—this ensures that perfect gooey stretch.
Step 5: Optional Garnishing
Once the cheese is melted and looking delicious, remove the tray from the oven. If desired, drizzle a bit of garlic-infused olive oil on top for an extra flavor boost. You can also add slices of pepperoni or your chosen toppings for a delightful finishing touch.
Step 6: Cool and Serve
Allow the Spiderweb Pizza Bites to cool for a minute or two before serving. This brief cool-down helps prevent burns while still keeping the flavors intact. Gather your family or friends, and get ready to enjoy these spooky, scrumptious snacks!
Spiderweb Pizza Bites Variations & Substitutions
Feel free to play around with these delicious ideas to make your Spiderweb Pizza Bites even more exciting!
-
Gluten-Free: Use gluten-free mini bagel crisps to cater to gluten-sensitive friends or family. You won’t sacrifice flavor, and everyone can enjoy the treat!
-
Vegan Option: Substitute mozzarella with a dairy-free cheese like Daiya. This keeps the cheesy goodness while making it a crowd-pleaser for vegans!
-
Hot & Spicy: Add jalapeño slices or a sprinkle of red pepper flakes on top for a zesty kick. Spicy lovers will appreciate the added heat!
-
Colorful Cheeses: Use a mix of mozzarella, cheddar, and even pepper jack to create a vibrant look. The blend not only looks festive but also packs a flavor punch!
-
Unique Bases: Experiment with different bases—using tortillas or pita chips can provide a fun twist while still delivering that satisfying crunch.
-
Gourmet Toppings: Try toppings like fresh basil or sun-dried tomatoes for a gourmet twist on the original recipe. Elevate your treats to impress guests at your Halloween gathering!
-
Nutty Crunch: Add a sprinkle of crushed nuts or seeds before baking for added texture. This variation adds a delightful crunch to each bite!
-
Cheesy Dips: Serve your Spiderweb Pizza Bites with flavorful dips like marinara or ranch dressing. It makes the experience more interactive and fun!
By mixing and matching these ideas, you’ll have endless possibilities to create the ultimate Spiderweb Pizza Bites tailored to everyone’s tastes. For more fun twists, consider our delightful Cherry Cheesecake Bites to extend your Halloween celebration with sweets!
Make Ahead Options
These Spider Web Pizza Snacks are a spectacular choice for meal prep! You can prepare and assemble all the components—mini bagel crisps, shredded cheese, and toppings—up to 24 hours in advance. Simply layer the cheese on the bagel crisps and store them in an airtight container in the refrigerator to keep them fresh and flavorful. When you’re ready to serve, pop them in the oven at 375°F (190°C) for about 5-7 minutes until the cheese melts and bubbles. This way, you’ll have delicious, homemade snacks at your fingertips with minimal day-of effort, making your Halloween party prep a breeze!
What to Serve with Spider Web Pizza Snacks
Get ready to create a festive and captivating meal that completes your Halloween celebration with delightful flavors and appealing textures.
-
Crispy Veggie Platter: Fresh, crunchy veggies like carrots and celery provide a refreshing contrast to the cheesy goodness, adding color and nutrition to your spread.
-
Spooky Halloween Punch: A fruity, fizzy beverage garnished with gummy worms or floating eyeballs encourages fun and whimsy, making it a perfect drink for both kids and adults alike.
-
Garlic Breadsticks: Soft and warm, these garlicky delights offer an extra layer of indulgence, perfectly pairing with the gooey pizza bites for a satisfying experience.
-
Mini Pumpkin Muffins: Offering a sweet touch amidst the savory snacks, these muffins capture the essence of fall with their pumpkin spice flavor and festive presentation.
-
Popcorn with a Twist: Drizzle with melted chocolate or sprinkle festive candies, making a fun, crunchy side that’s sure to delight as a shareable snack for movie night.
-
Apple Slices with Caramel Dip: The crispness of the apples coupled with sweet caramel creates a symphony of flavors, rounding out your meal with a seasonal dessert that entertains the senses.
Dive into these pairing ideas and elevate your Spider Web Pizza Snacks into a hauntingly delicious feast!
How to Store and Freeze Spiderweb Pizza Bites
-
Fridge: Store leftover Spiderweb Pizza Bites in an airtight container for up to 2 days. Reheat in the oven for a few minutes to restore that delightful crunch.
-
Freezer: For longer storage, freeze assembled snacks before baking. Wrap them tightly in plastic wrap and place in a freezer bag for up to 2 months.
-
Reheating: To reheat frozen Spiderweb Pizza Bites, preheat your oven to 375°F (190°C) and bake for 10-12 minutes or until melted and hot throughout.
-
Wrap Tips: For added freshness, wrap individual bites in parchment paper before storing. They’ll stay tasty and ready for your next spooky gathering!
Tips for the Best Spiderweb Pizza Bites
-
Cheese Selection: Use fresh cheese for optimal meltability. Avoid pre-shredded types, as they often contain anti-caking agents that hinder the gooey texture.
-
Watch the Bake Time: Keep an eye on your snacks in the oven. Baking for too long can lead to over-browning rather than that perfect, stretchy cheese.
-
Perfect Toppings: If using toppings, add them after the cheese melts for extra crunch. Vegetables can be placed beneath the cheese for a tender texture.
-
Keep it Spooky: For an extra Halloween twist, experiment with food coloring in the cheese. Create vibrant, spooky hues that delight both kids and adults!
-
Serving Suggestions: Pair these Spiderweb Pizza Bites with a fun dip or sauce for added flavor. This keeps everyone engaged and ready for a snack attack!
-
Storage Wisdom: If you have leftovers (unlikely!), store them in an airtight container in the fridge for up to 2 days. They’re also easily reheatable in the oven.
Spiderweb Pizza Bites Recipe FAQs
What kind of bagel crisps should I use?
I recommend using mini bagel crisps as the base for these Spiderweb Pizza Bites. For a gluten-free option, look for gluten-free bagel crisps available in most grocery stores. Their crunchiness provides a delightful contrast to the gooey cheese, ensuring every bite is scrumptious!
How do I store leftover Spiderweb Pizza Bites?
Store any leftover Spiderweb Pizza Bites in an airtight container in the fridge for up to 2 days. When you’re ready to enjoy them again, simply reheat in the oven at 375°F (190°C) for about 5 minutes, until they regain their crispy texture!
Can I freeze Spiderweb Pizza Bites?
Absolutely! You can assemble the Spiderweb Pizza Bites and freeze them before baking. Wrap them tightly in plastic wrap, then place them in a freezer bag. They can be stored for up to 2 months. When you’re ready to bake, preheat your oven to 375°F (190°C) and bake for 10-12 minutes or until they’re hot and melty.
What are some common problems when making these pizza bites?
A common issue is the cheese not melting properly, often due to using pre-shredded cheese that contains anti-caking agents. Use fresh shredded cheese for the best stretch! Additionally, keep an eye on the bake time—overbaking can lead to burnt cheese instead of that perfect gooeyness.
Are there any dietary considerations for my pets or allergies?
Definitely! If you’re making these snacks for a gathering, be mindful of potential allergens. Avoid using pepperoni or any meat if there are vegetarians or those with dietary restrictions among your guests. For pets, it’s best to keep these savory snacks out of reach as the toppings may not be suitable for them. Always double-check labels for cheese if allergies are a concern.
How can I make these Spiderweb Pizza Bites vegan?
To make these delicious treats vegan, simply substitute mozzarella cheese with vegan cheese, like Daiya, which melts well. Additionally, ensure that any toppings you use are also vegan-friendly. The result will be a tasty snack that everyone can enjoy!
Spiderweb Pizza Bites - Fun & Easy Halloween Snacks
Ingredients
Equipment
Method
- Preheat your oven to 375°F (190°C). Gather your ingredients and baking tray.
- Arrange mini bagel crisps in a single layer on a lined baking tray.
- Sprinkle mozzarella cheese over each bagel crisp, allowing a web effect to form.
- Bake for about 5-7 minutes until the cheese is melted and bubbly.
- Drizzle garlic-infused olive oil and add optional toppings before serving.
- Allow to cool for a minute before serving.
Leave a Reply