
Have you ever tried making dessert that feels like a hug? When I first tasted these Easy Oreo Cheesecake Cookie Cups, it was a delightful moment of sweet revelation. The combination of crunchy, chocolatey cookie and creamy cheesecake filling is not just a treat but a celebration of comfort in every bite. This recipe is perfect for those of us who want to impress at gatherings without spending hours in the kitchen. With minimal prep time and an irresistible flavor profile, these little cups will swiftly become a favorite for any Oreo lover. Ready to dive into the mix and create a dessert that feels like a warm embrace? Let’s get started!
Why will you crave these cookie cups?
Irresistible, your taste buds will dance with joy as the creamy cheesecake melds perfectly with the crunchy Oreo base. Effortlessly easy, this no-fuss recipe requires only a handful of ingredients, ensuring a stress-free baking experience. Perfectly portioned, these cookie cups are ideal for sharing at potlucks or parties, making them a guaranteed crowd-pleaser. Flavor-packed, each bite delivers a mouthwatering punch that will keep everyone coming back for more. Make-ahead friendly, prepare these delightful treats in advance and save time when hosting. You’ll absolutely adore this delightful dessert that’s sure to satisfy your sweet cravings!
Oreo Cheesecake Cookie Cups Ingredients
• Get ready to bake a treat that’s sure to impress!
For the Cookie Cups
- All-purpose flour – Provides structure to the cookie cups; substitute with gluten-free flour for a gluten-free version.
- Dutch-processed cocoa powder – Adds a rich chocolate flavor; you can use regular cocoa powder if needed.
- Black cocoa powder – Enhances the Oreo flavor and gives depth; replace with extra Dutch-processed cocoa for a milder taste.
- Baking soda – Acts as a leavening agent for fluffy cookie cups.
- Salt – Balances sweetness and elevates overall flavor.
- Unsalted butter – Adds necessary moisture and richness; make sure it’s at room temperature for easy mixing.
- Granulated sugar – Sweetens the cookie batter perfectly.
- Light brown sugar – Contributes moisture and a slight caramel touch to the cookies.
- Eggs – Helps bind the ingredients together; use room temperature eggs for better blending.
- Vanilla extract – Adds a lovely depth to the cookie flavor.
For the Cheesecake Filling
- Heavy whipping cream – Provides rich creaminess and stability to the filling; chill it for optimal whipping results.
- Cream cheese (full-fat) – Serves as the base for the cheesecake filling, delivering a creamy texture; make sure it’s softened before mixing.
- Granulated sugar (for filling) – Sweetens the cheesecake mixture beautifully.
- Oreo cookie crumbs – Adds that delightful Oreo flavor to the filling; if unavailable, crush regular Oreos as an alternative.
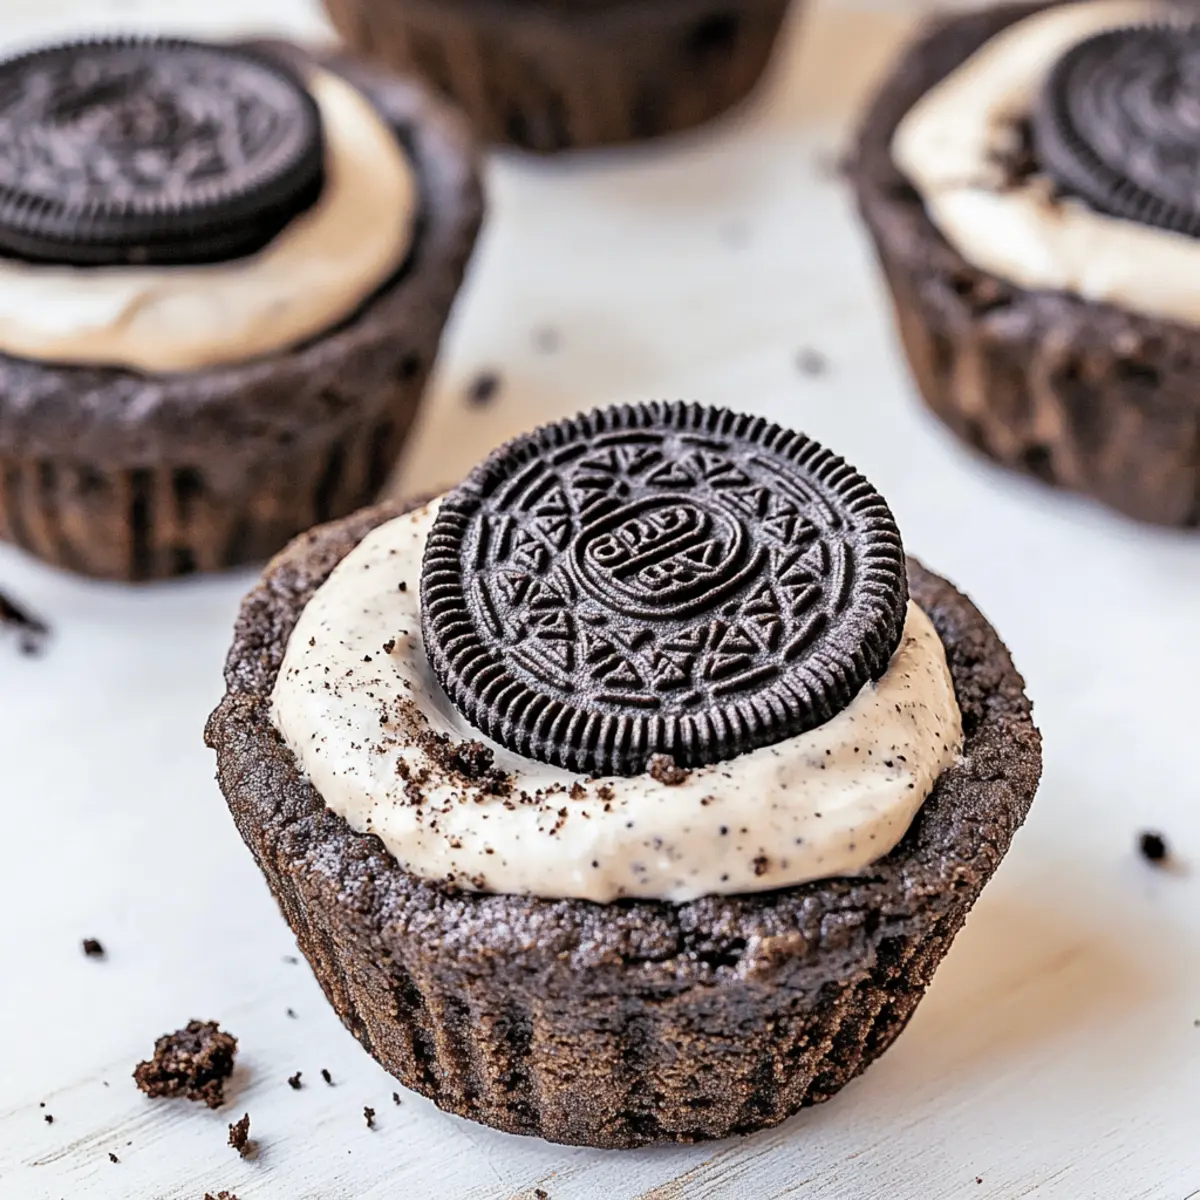
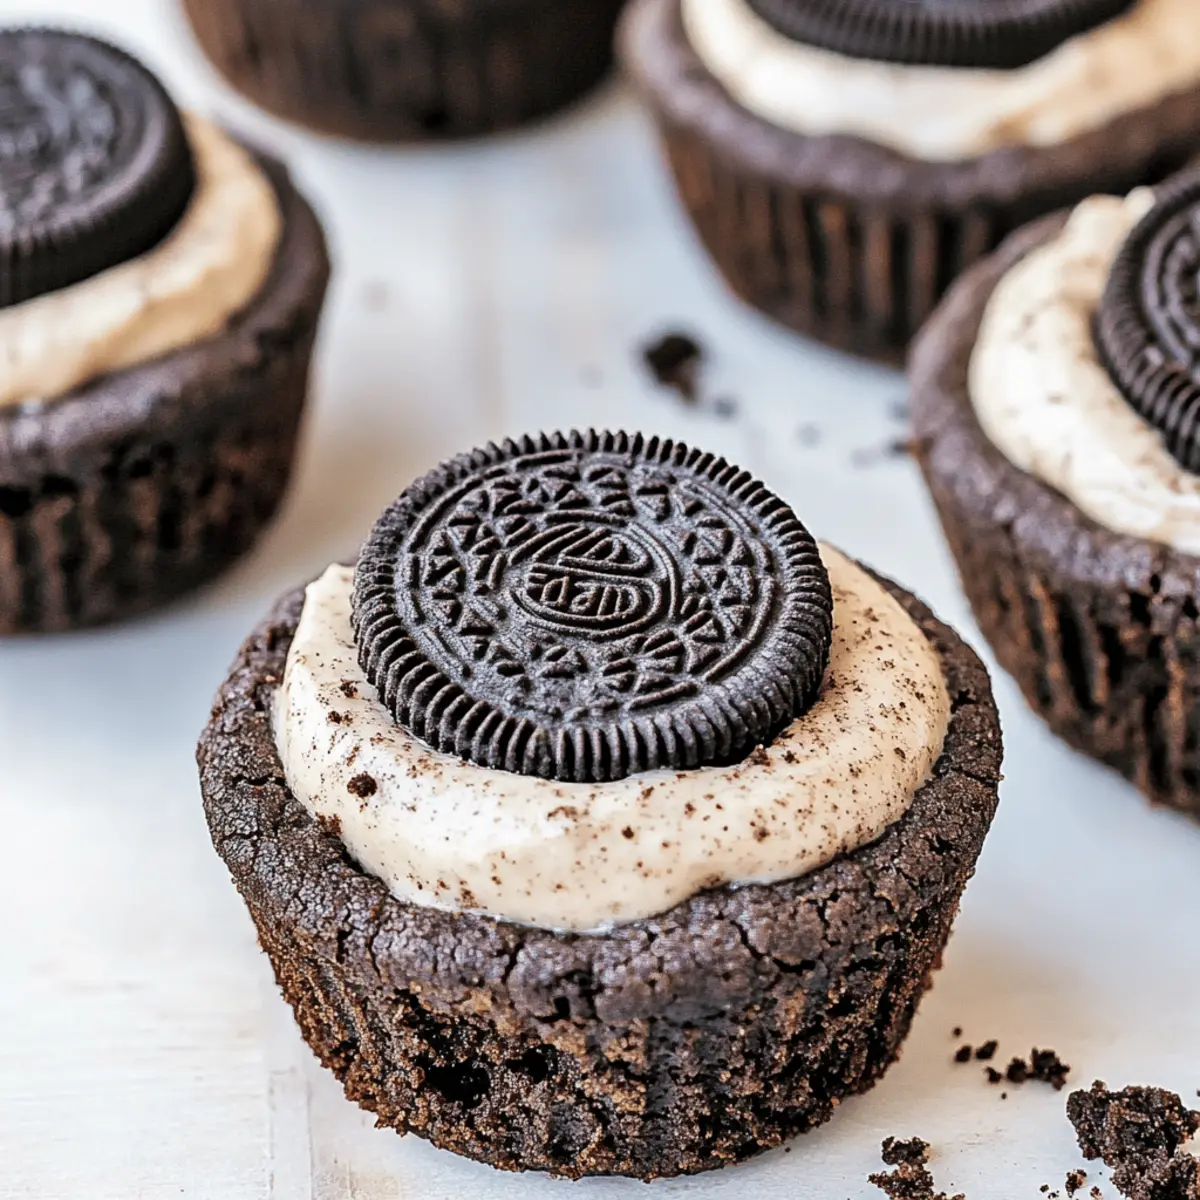
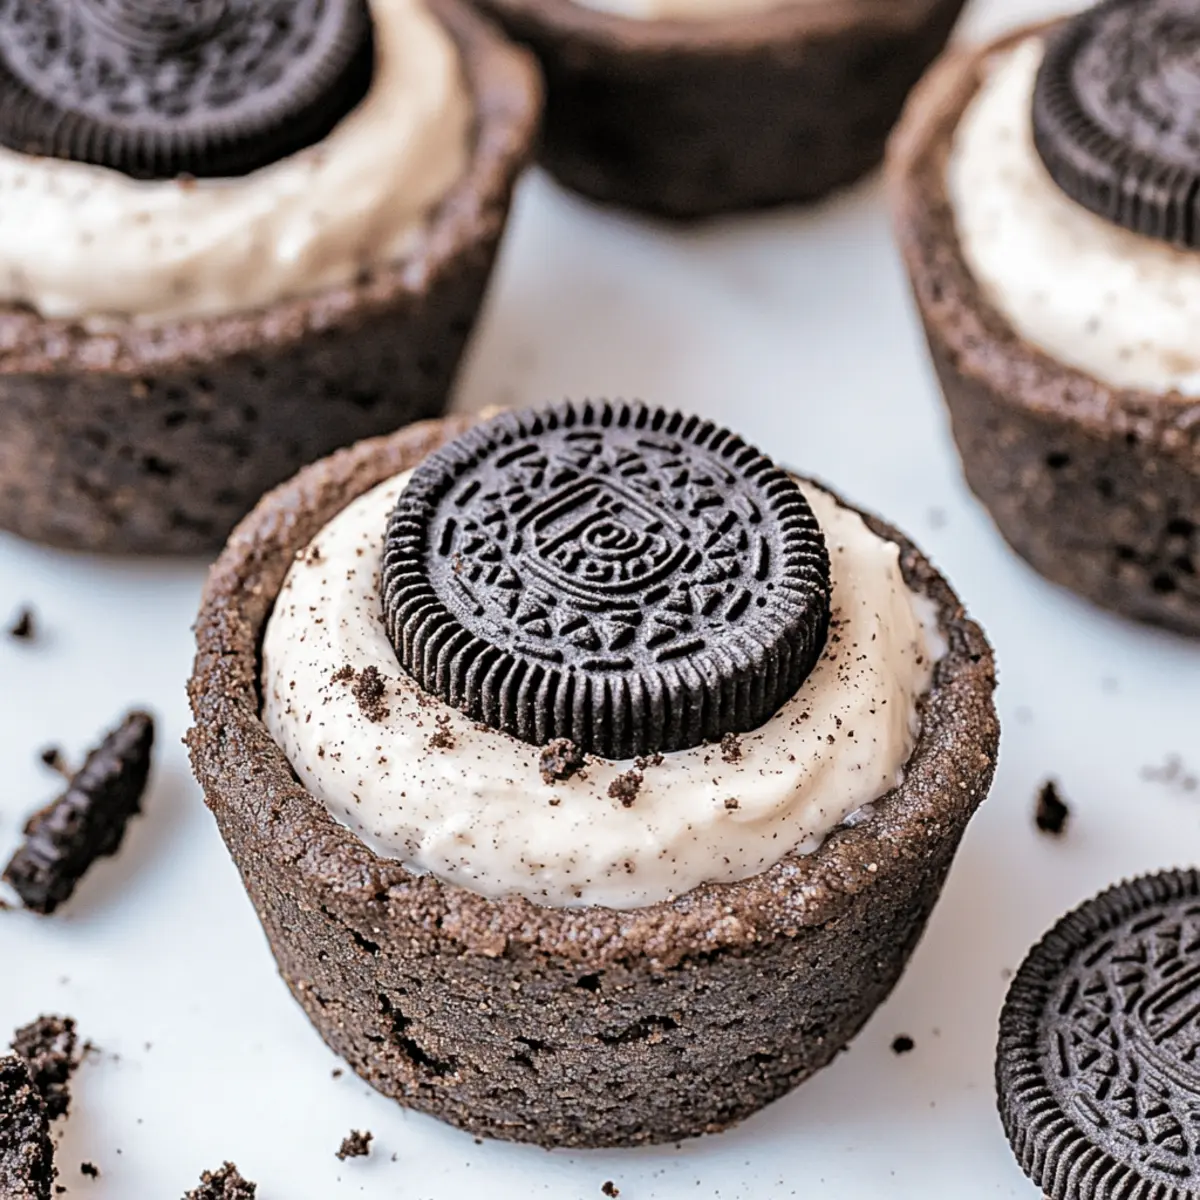
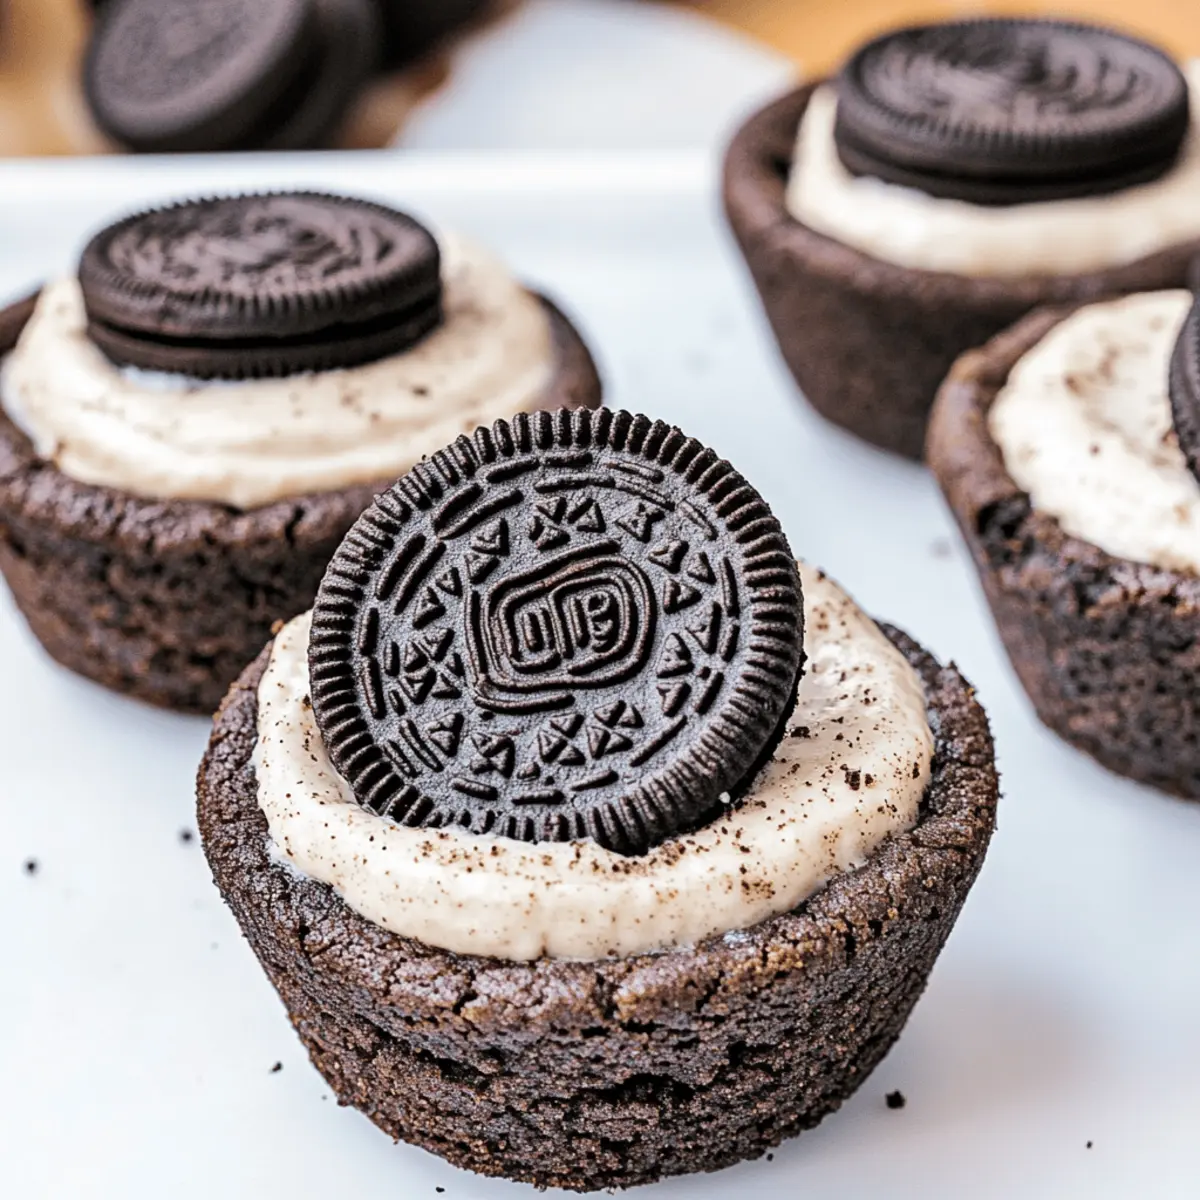
These Oreo Cheesecake Cookie Cups are not only delicious but will also bring a smile to your loved ones’ faces!
Step‑by‑Step Instructions for Oreo Cheesecake Cookie Cups
Step 1: Preheat Your Oven
Begin by preheating your oven to 350°F (175°C). While it heats up, prepare your muffin tin by lightly spraying it with cooking spray, ensuring that each cup is well-coated to prevent sticking. This will create the perfect cooking environment for your Oreo Cheesecake Cookie Cups, resulting in a delightful texture.
Step 2: Make the Cookie Dough
In a medium bowl, whisk together all-purpose flour, Dutch-processed cocoa powder, black cocoa powder, baking soda, and salt until well combined. In another large bowl, cream unsalted butter, granulated sugar, and light brown sugar until fluffy, usually about 2-3 minutes. Next, beat in room temperature eggs and vanilla extract before gradually adding the dry mixture until just combined, creating a smooth, rich dough.
Step 3: Form the Cookie Cups
Using a cookie scoop, portion out the cookie dough into the prepared muffin tins, placing one scoop in each cup. Gently press down on each portion to flatten it slightly, ensuring even thickness. The goal is to create a small well in the center for your cheesecake filling later on. This step is crucial for the Oreo Cheesecake Cookie Cups’ delightful shape!
Step 4: Bake the Cookie Cups
Slide the muffin tin into your preheated oven and bake for 10-13 minutes. The edges should look set, while the centers might still feel soft. As soon as you take them out of the oven, press down in the center of each cookie cup using a spoon or your fingers to create a well for the cheesecake filling.
Step 5: Cool the Cookie Cups
Let the cookie cups cool in the pan for about 15 minutes. After the initial cooling, gently transfer them to a wire rack. Allow them to cool completely before you add the cheesecake filling; this will prevent the filling from melting and keeps your Oreo Cheesecake Cookie Cups beautifully intact.
Step 6: Prepare the Cheesecake Filling
While the cookie cups are cooling, prepare the cheesecake filling. In a chilled bowl, whip the heavy whipping cream until it forms stiff peaks—this will take about 2-3 minutes. In another bowl, beat the softened cream cheese and granulated sugar until smooth and homogenous, then mix in the Oreo cookie crumbs. Finally, gently fold in the whipped cream to keep it light and airy.
Step 7: Fill the Cookie Cups
Once the cookie cups are completely cool, it’s time to fill them. Using a piping bag or a spoon, generously fill each cookie cup with the creamy cheesecake mixture, creating a lovely mound on top. Make sure to leave a little space at the top to prevent overflow when they set.
Step 8: Refrigerate and Serve
Place the filled Oreo Cheesecake Cookie Cups in the refrigerator for at least 1-2 hours, allowing the filling to set. When you’re ready to serve, you may sprinkle some additional Oreo crumbs on top for a beautiful finishing touch. Remember, these delightful treats can be enjoyed within 2-3 days or frozen for up to 4 weeks for an extra special occasion!
How to Store and Freeze Oreo Cheesecake Cookie Cups
Fridge: Store leftovers in an airtight container for up to 3 days. This keeps the creamy filling fresh and the cookie cups deliciously moist.
Freezer: For extended storage, place filled cookie cups in a freezer-safe container, separating layers with parchment paper. They can be frozen for up to 4 weeks.
Thawing: When ready to enjoy, thaw the Oreo Cheesecake Cookie Cups in the fridge overnight before serving to regain their delightful texture.
Reheating: These treats are best enjoyed chilled, but if you prefer a warm version, gently heat the cookie cups in a microwave for 10-15 seconds—just enough to soften the cookie base.
What to Serve with Oreo Cheesecake Cookie Cups?
Delightful treats like these cookie cups deserve a well-rounded meal to accompany their sweet charm, enhancing your dessert experience.
- Fresh Berries: The tartness of strawberries, raspberries, or blueberries offers a refreshing contrast to the rich cheesecake and chocolate flavors.
- Vanilla Ice Cream: A scoop of creamy vanilla ice cream will add a luscious, velvety touch, complementing the cookie cups’ crunch and richness. Perfect for those who enjoy a classic pairing!
- Chocolate Drizzle: A warm drizzle of chocolate sauce not only enhances flavor but also takes presentation to new heights, making your dessert irresistible.
- Coffee or Espresso: The bitterness of coffee or a shot of espresso balances the sweetness of the cookie cups, providing a comforting finish to your meal. A match made in heaven for coffee lovers!
- Mint Chocolate Chip Milkshake: This cool and creamy shake adds a playful texture while echoing the chocolatey goodness of the cookie cups. The mint infusion brings a refreshing twist.
- Fruit Salad: A light fruit salad with citrus elements brightens the palate, creating a wonderful contrast and serving as a colorful accompaniment for an enjoyable bite.
- White Chocolate Mousse: Silky and sweet, white chocolate mousse can be spooned alongside the cookie cups for a rich yet airy texture that enhances the entire dessert experience.
- Sparkling Water with Lime: For those looking for a refreshing drink, this bubbly option cleanses the palate beautifully without overshadowing the sweetness of the cookie cups.
These delicious pairings will elevate your Oreo Cheesecake Cookie Cups, transforming them into an unforgettable dessert experience!
Make Ahead Options
These Oreo Cheesecake Cookie Cups are perfect for busy home cooks! You can prepare the cookie cups and store them in the refrigerator for up to 3 days before filling them. Simply bake the cookie cups and let them cool completely, then cover them tightly with plastic wrap to maintain their texture. The cheesecake filling can be made in advance as well; just whip the cream and mix with the cream cheese and Oreo crumbs, then refrigerate for up to 24 hours. When you’re ready to serve, fill the cooled cookie cups with the cheesecake mixture, refrigerate briefly to set, and enjoy these delightful treats without any last-minute stress!
Expert Tips for Oreo Cheesecake Cookie Cups
- Chill Ingredients: Ensure that your heavy cream and mixing utensils are cold for perfectly whipped cheesecake filling. This step is key to achieving the right texture.
- Avoid Overbaking: Keep an eye on your cookie cups. They should be set around the edges but still slightly soft in the center; overbaking can lead to a dry texture.
- Use Room Temperature Ingredients: Remember to bring your eggs and cream cheese to room temperature before mixing; this ensures a smoother batter that combines beautifully.
- Adjust Bake Time for Mini Tins: If using mini muffin tins, reduce the baking time to about 8 minutes to prevent overbaking and keep them soft.
- Optimal Filling Technique: When filling your cookie cups, pipe the cheesecake mixture for a cleaner presentation, making each cup look as delightful as it tastes.
These tips will elevate your Oreo Cheesecake Cookie Cups into a true indulgence!
Oreo Cheesecake Cookie Cups Variations
Feel free to play with flavors and textures; these delectable cookie cups are your canvas for creativity!
- Gluten-Free: Swap all-purpose flour with a 1:1 gluten-free baking blend for delicious cookie cups that everyone can enjoy.
- Chocolate Chip Delight: Replace Oreo cookie crumbs in the filling with chocolate chips for a delightful chocolatey twist. You’ll capture the hearts of those who crave classic flavors!
- Nutty Undertones: Add chopped pecans or walnuts to the cookie dough for a delicious crunch and nutty flavor. This simple addition creates a more complex dessert experience.
- Fruity Surprise: Fold in fresh raspberries or strawberries into the cheesecake mixture for a refreshing burst of fruity goodness that perfectly complements the rich creaminess.
- Minty Freshness: Mix in a few drops of peppermint extract into the cheesecake filling for a refreshing mint twist; great for those who adore mint and chocolate combinations.
- Dairy-Free: Substitute cream cheese and heavy cream with vegan counterparts for a dairy-free version that keeps all the indulgent flavors intact. It’s an inclusive treat!
- Spicy Kick: Stir in a pinch of cayenne pepper or cinnamon into the cookie dough for a warm, surprising depth that balances the sweetness beautifully.
- Frozen Treats: Transform these cookie cups into frozen bites—just freeze after filling them, and enjoy a cool dessert during hot summer days!
These ideas not only add flair but boost excitement for your Oreo Cheesecake Cookie Cups! Consider pairing them with a refreshing side like a fruity sorbet or serving alongside a slice of Lemon Cheesecake Refreshing to elevate your dessert table. Enjoy exploring these tempting variations!
Oreo Cheesecake Cookie Cups Recipe FAQs
What is the best way to select ripe ingredients for the cheesecake filling?
Absolutely! For the best cheesecake filling, opt for cream cheese that’s full-fat and softened to room temperature. This ensures that it blends smoothly without lumps. For the heavy whipping cream, choose one with at least 36% fat for better whipping power.
How should I store Oreo Cheesecake Cookie Cups, and how long do they last?
Store any leftover Oreo Cheesecake Cookie Cups in an airtight container in the refrigerator for up to 3 days. This helps maintain the freshness of the creamy filling while keeping the cookie base pleasantly moist. It’s ideal to enjoy them within this timeframe for the best texture and flavor.
Can I freeze Oreo Cheesecake Cookie Cups and how?
Definitely! To freeze your delightful cookie cups, place them in a freezer-safe container, ensuring to layer them with parchment paper to prevent sticking. They can be frozen for up to 4 weeks. When you’re ready to enjoy, simply thaw them in the refrigerator overnight to get that lovely texture back before serving!
What if my cookie cups don’t hold their shape after baking?
If your cookie cups don’t hold their shape, it might be due to overbaking. Make sure to bake them just until the edges are set but the centers remain soft. If they collapse after baking, press down gently in the center while they are still warm to create that well for your cheesecake filling.
Are Oreo Cheesecake Cookie Cups safe for pets?
While they are delicious for us, be mindful that these cookie cups contain ingredients like chocolate and sugar that are not safe for pets, especially dogs. It’s always best to keep human treats out of reach from your furry friends to ensure their health and safety.
Can I substitute ingredients for dietary restrictions?
Of course! To make these Oreo Cheesecake Cookie Cups gluten-free, swap out the all-purpose flour for a gluten-free blend. Additionally, using mascarpone instead of cream cheese can alter the flavor profile delightfully, making it lighter. If you prefer a dairy-free option, look for vegan cream cheese and nut-based whipped creams to keep the indulgence going!
Oreo Cheesecake Cookie Cups: Your New Favorite Indulgence
Ingredients
Equipment
Method
- Preheat your oven to 350°F (175°C) and prepare your muffin tin by lightly spraying it with cooking spray.
- In a medium bowl, whisk flour, cocoa powders, baking soda, and salt. In a large bowl, cream butter, granulated sugar, and brown sugar until fluffy. Beat in eggs and vanilla, then add dry mixture until combined.
- Using a cookie scoop, portion cookie dough into muffin tins, pressing down to create a small well for cheesecake filling.
- Bake for 10-13 minutes. The edges should look set while the centers might still feel soft. Press down the centers to create a well.
- Cool cookie cups in the pan for 15 minutes before transferring to a wire rack to cool completely.
- In a chilled bowl, whip the heavy cream until stiff peaks form. In another bowl, beat cream cheese and sugar until smooth, then mix in the Oreo crumbs. Fold in whipped cream until light and airy.
- Fill each cooled cookie cup with cheesecake mixture using a piping bag or spoon, leaving space at the top.
- Refrigerate filled cookie cups for at least 1-2 hours to allow the filling to set.
Leave a Reply