
The other day, as I rummaged through my pantry in search of a quick snack, I stumbled upon the delightful combination of peanut butter and oats calling out to me. This is when I remembered my go-to recipe for Easy No-Bake Peanut Butter Protein Balls. In just a few minutes, you can whip up a batch that not only satisfies your cravings but also boosts your energy—perfect for those hectic afternoons when you need a lift. These no-bake protein balls are effortlessly customizable, allowing you to churn out a healthy snack that feels indulgent, thanks to a touch of chocolate chips. Plus, no food processor is required! If you’re looking for a way to ditch unhealthy snacks and enjoy something homemade, you’re in the right spot. Ready to discover how simple it is to create your own power-packed bites? Let’s get started!
Why are No-Bake Protein Balls a must-try?
Convenience at Its Best: Prepare your no-bake protein balls in just minutes with no complicated steps required.
Nutritious Boost: Packed with wholesome ingredients like oats, peanut butter, and protein powder, they keep you energized throughout the day.
Customizable: Feel free to swap ingredients like honey for maple syrup or peanut butter for almond butter, tailoring these treats to your preferences and dietary needs.
Crowd-Pleaser: These bite-sized snacks are perfect for sharing—great for parties or afternoon gatherings. If you need more easy sweet snacks, try out these delightful Oreo Balls Bake or the refreshing Lemon Oatmeal Cookies for variety.
Guilt-Free Indulgence: With every bite, you enjoy the rich flavor of chocolate chips and the heartiness of oats, all without the guilt of processed snacks!
No-Bake Protein Balls Ingredients
For the Base:
- Whole Rolled Oats – Adds bulk and fiber; quick oats can be used, but may alter texture slightly.
- Creamy Natural Peanut Butter – Provides creaminess and rich flavor; almond butter or sunflower seed butter works for nut-free alternatives.
- Ground Flaxseed – Increases fiber and omega-3 fatty acids; chia seeds can replace flaxseed at a 1-to-1 ratio.
- Honey – Naturally sweetens and binds the ingredients; use maple syrup for a vegan option.
For the Flavor Boost:
- Protein Powder – Boosts protein content; unflavored pea protein is recommended, but any protein powder of choice can work.
- Vanilla Extract – Enhances flavor; can be omitted or replaced with almond extract for a different note.
- Mini Chocolate Chips – Adds sweetness and indulgence; substitute with dried fruit or omit for a lower sugar option.
Step‑by‑Step Instructions for Easy No-Bake Peanut Butter Protein Balls
Step 1: Combine the Ingredients
In a large mixing bowl, combine whole rolled oats, creamy peanut butter, ground flaxseed, honey, protein powder, vanilla extract, and mini chocolate chips. Use a sturdy spatula or spoon to mix these ingredients thoroughly for about 2–3 minutes. The mixture should be thick and well combined; it may take some effort to incorporate everything, but this is what creates delicious no-bake protein balls!
Step 2: Portion the Mixture
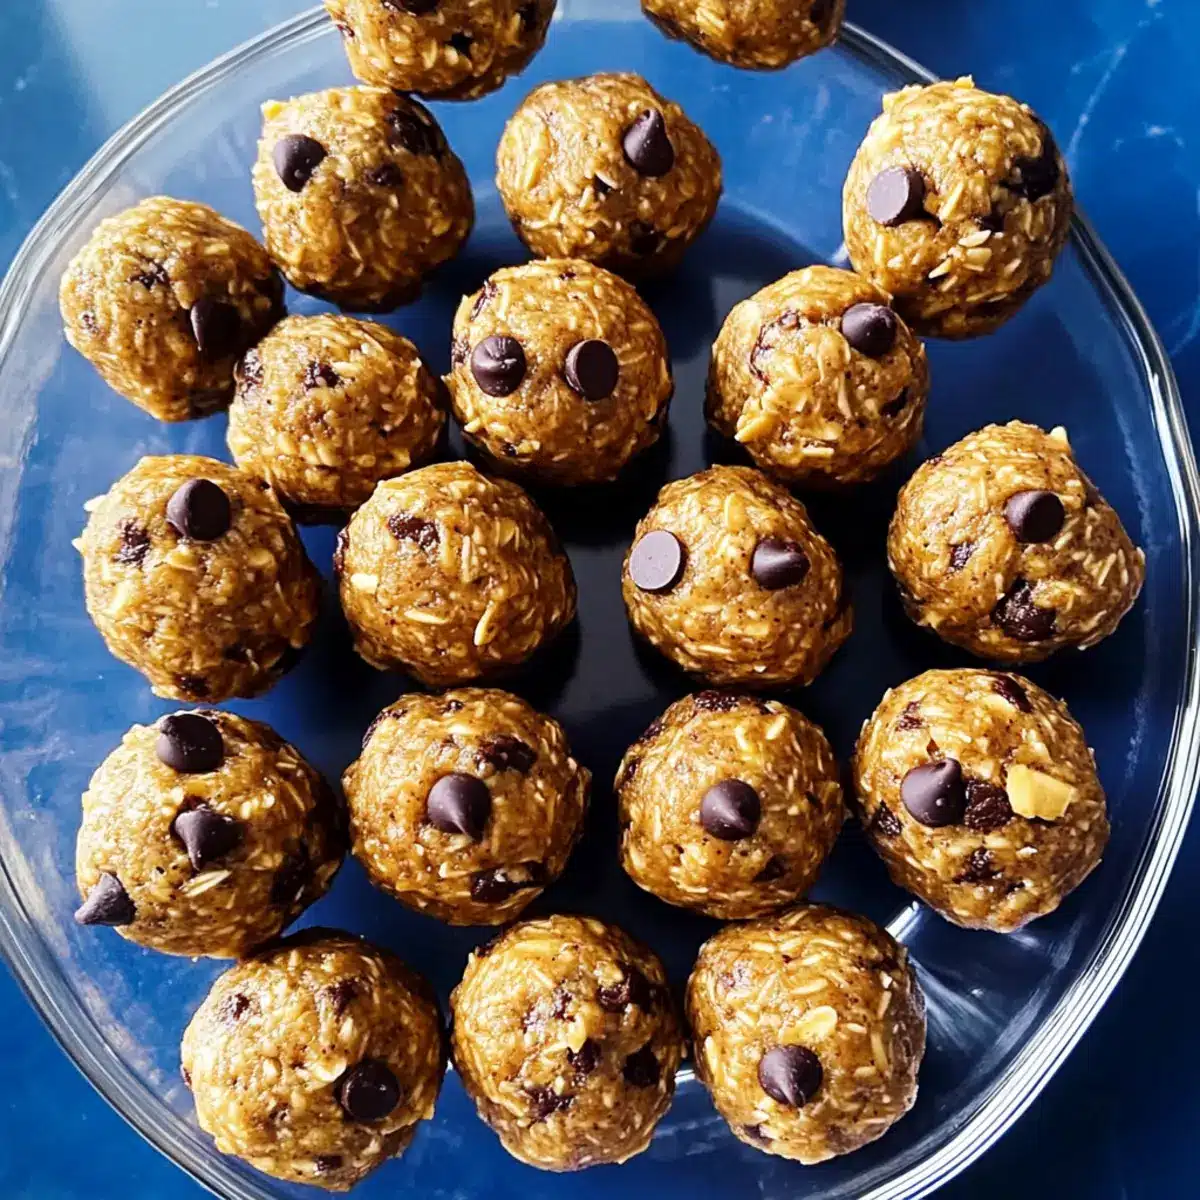
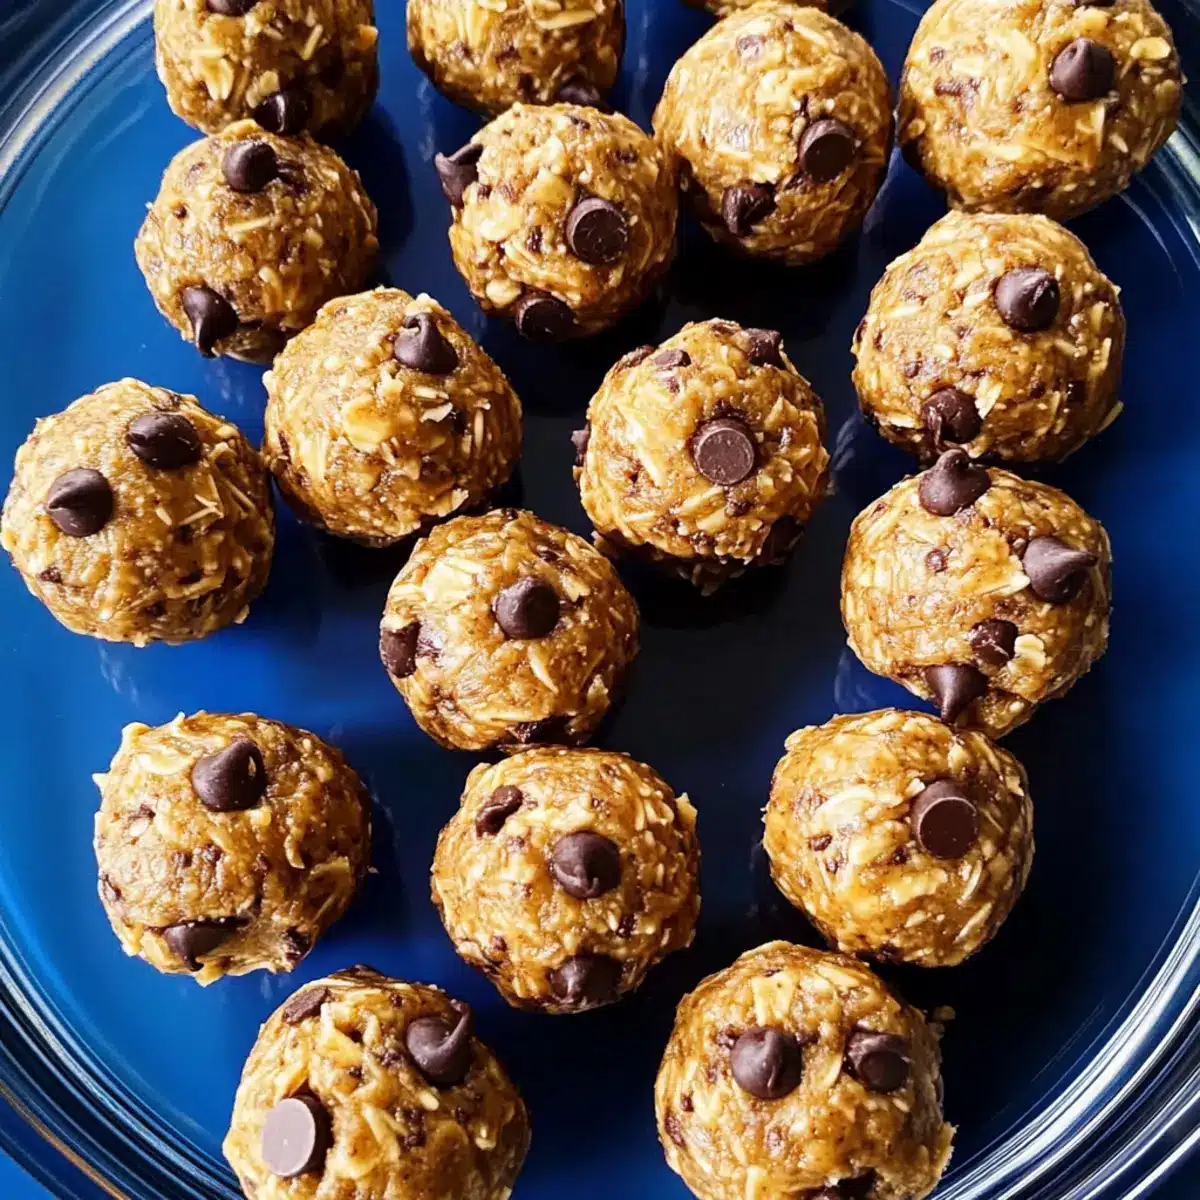
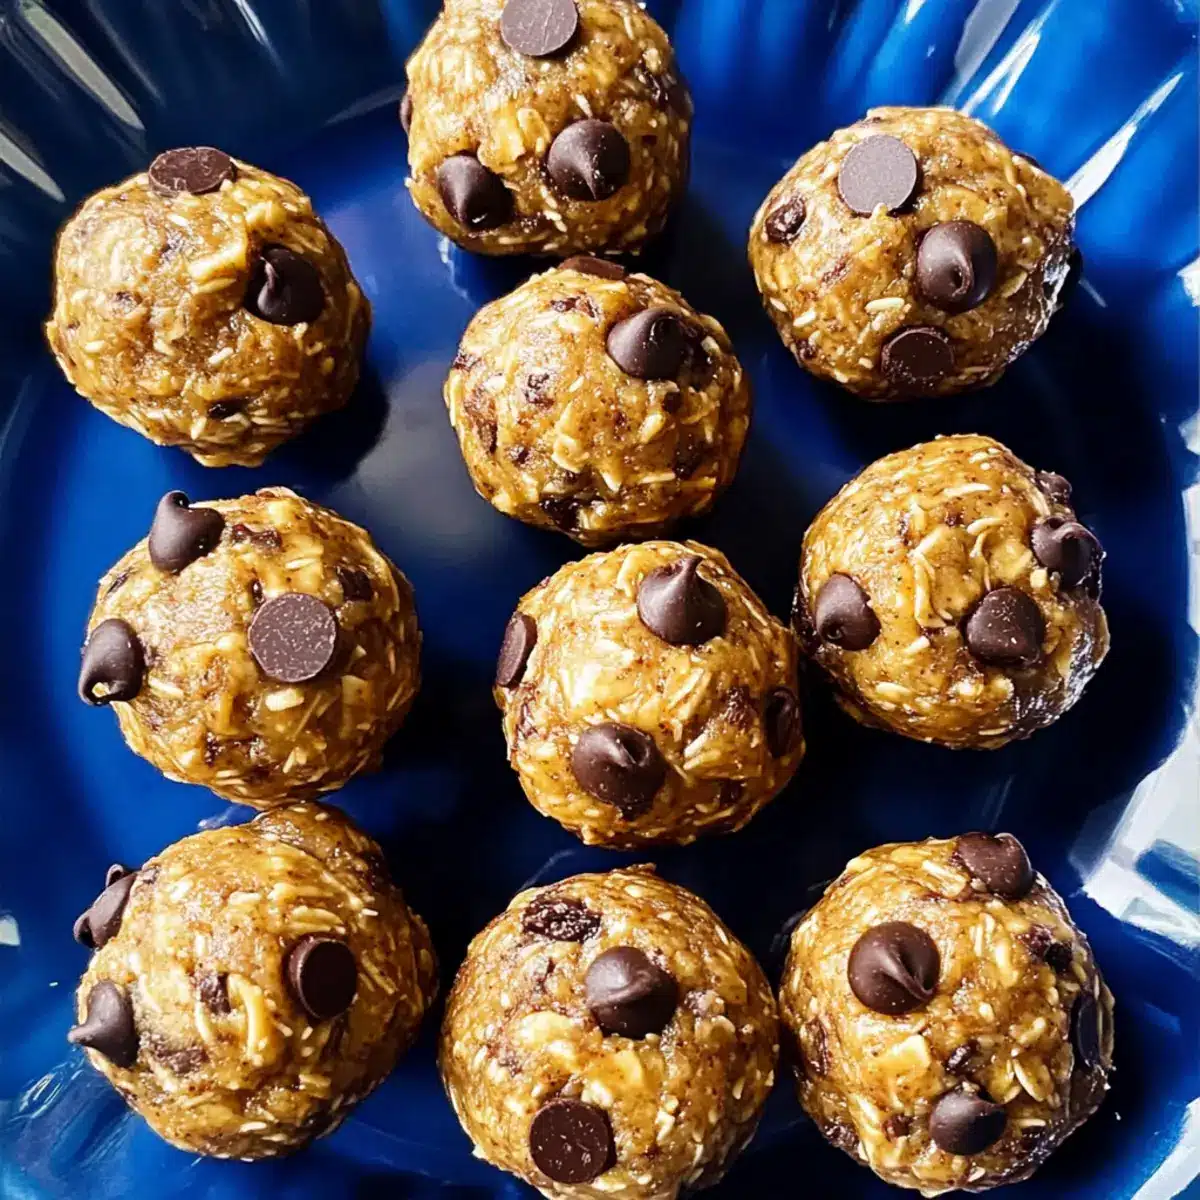
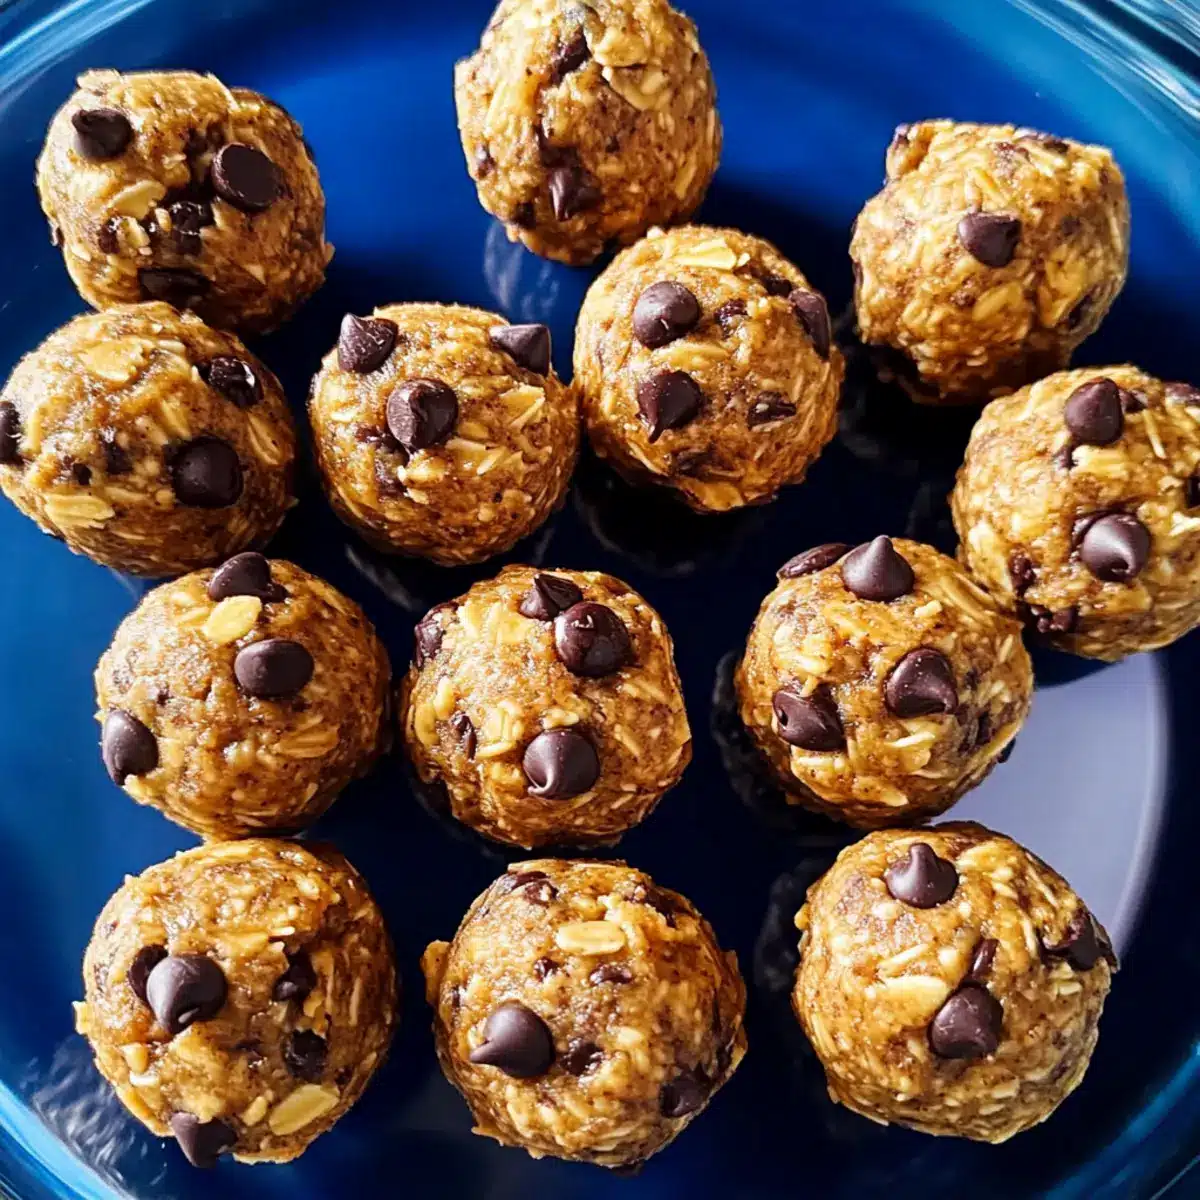
Once your mixture is fully combined, it’s time to shape your protein balls. Using a 2-tablespoon cookie scoop, portion out the mixture and place it in the palm of your hand. Roll each portion between your hands to form smooth balls, making sure they hold together nicely. This step will yield about 12-15 hearty no-bake protein balls, perfect for snacking!
Step 3: Chill for Firmness
After rolling out all the protein balls, place them on a parchment-lined baking sheet or a plate. Now, pop them into the refrigerator and chill for 1 to 2 hours. This step is crucial, as it helps the no-bake protein balls firm up, making them easier to handle and enhancing their chewy texture.
Step 4: Store for Enjoyment
Once your no-bake protein balls are firm, transfer them to an airtight container. You can store them in the refrigerator for up to a week, or if you want them to last longer, freeze them for up to 3 months. Having these healthy snacks on hand will make it easy to enjoy a quick boost of energy anytime you need!
Expert Tips for No-Bake Protein Balls
- Mix Thoroughly: Ensure all ingredients are well combined to achieve a thick, pliable mixture—this is key to making successful no-bake protein balls.
- Chill Time Matters: Allow the protein balls to chill for 1 to 2 hours; this firms them up and enhances flavor. Don’t skip this step!
- Uniform Sizing: Use a cookie scoop for even portions. This not only makes rolling easier but also ensures consistent sizes for all your no-bake protein balls.
- Storage Savvy: Store in an airtight container for freshness; freezing extends their shelf life for up to 3 months—ideal for pre-planning snacks!
- Ingredient Swaps: Feel free to experiment with substitutions, like using almond butter instead of peanut butter. Keep dietary preferences in mind when customizing!
Make Ahead Options
These No-Bake Protein Balls are perfect for meal prep enthusiasts! You can prepare the mixture up to 24 hours in advance, combining all ingredients in a bowl and chilling the mixture in the refrigerator. By doing this, you not only save time which is essential for busy weeknights but also keep the flavor intact. Once you’re ready to enjoy, simply scoop the chilled mixture into balls and give them about 1-2 hours in the fridge to firm up. For longer storage, these delightful protein balls can also be frozen for up to 3 months. When stored in an airtight container, they’ll remain just as delicious, providing you with an energizing snack whenever you need it!
Storage Tips for No-Bake Protein Balls
Fridge: Store your no-bake protein balls in an airtight container in the refrigerator for up to 1 week. This keeps them fresh and maintains their firmness.
Freezer: For longer storage, freeze the protein balls for up to 3 months. Place them in a freezer-safe container or bag, separating layers with parchment paper to prevent sticking.
Thawing: When you’re ready to enjoy, simply transfer frozen protein balls to the fridge for a few hours to thaw. They’re ready to snack on when firm yet chewy!
Serving Tip: Keep your no-bake protein balls handy for a quick energy boost—great for busy days or post-workout refueling!
What to Serve with Easy No-Bake Peanut Butter Protein Balls
Elevate your snacking experience with delicious accompaniments that perfectly complement these protein-packed bites.
-
Creamy Greek Yogurt: A dollop of Greek yogurt adds a tangy creaminess that balances the sweetness of the protein balls. Enjoy as a dip for a hearty snack experience.
-
Fresh Fruit Skewers: Bright and juicy fruit, like strawberries and bananas, bring a refreshing contrast to the chewy texture of the protein balls, making for a wholesome plate.
-
Nutty Granola: Serve a side of crunchy granola to add a delightful texture and extra nuttiness that harmonizes beautifully with the flavor profile of the protein balls.
-
Celery Sticks with Hummus: Enjoy the crispy crunch of celery paired with smooth hummus. The contrasting flavors provide a nutritious counterpoint to the sweet and creamy protein ball.
-
Dark Chocolate Dipped Pretzels: The combination of salty and sweet is irresistible. The rich, bittersweet chocolate complements the natural sweetness of the protein balls.
-
Chilled Almond Milk: A glass of chilled almond milk serves as an ideal refreshing drink; its subtle nuttiness enhances the peanut butter flavor perfectly.
With these pairings, you can create a delightful, wholesome snack spread to satisfy cravings and fuel your day!
No-Bake Protein Balls Variations
Feel free to let your creative juices flow and personalize these delicious protein balls just the way you like them!
-
Nut-Free: Substitute creamy peanut butter with sunflower seed butter for a nut-free option that still delivers creamy goodness.
-
Vegan Delight: Swap honey for maple syrup to make these protein balls completely vegan, maintaining that natural sweetness.
-
Spice It Up: Add a dash of cinnamon or nutmeg to introduce warm, fragrant notes that complement the peanut butter beautifully.
-
Crunch Factor: Toss in chopped nuts or seeds for a delightful crunch, adding extra texture and nutrition to each bite.
-
Fruity Twist: Incorporate dried fruits like cranberries or raisins in place of mini chocolate chips for a chewy, fruity twist.
-
Protein Boost: Try including flavored protein powder, such as chocolate or vanilla, to elevate the flavor profile further and enhance the protein content.
-
Choco-Mint: Consider adding a few drops of peppermint extract alongside the vanilla for a refreshing mint-chocolate experience that’s simply irresistible.
If you’re ever in need of more sweet indulgences, don’t miss trying these delightful Mini Blackberry Mousse for something light and creamy or check out the simple and refreshing Lemon Oatmeal Cookies for a zesty treat!
No-Bake Protein Balls Recipe FAQs
How do I select ripe ingredients for my no-bake protein balls?
Absolutely! When choosing peanut butter, opt for a creamy natural brand with minimal additives for the best flavor and texture. Similarly, ensure your oats are fresh without any signs of odor or discoloration. Check the honey for quality—raw or local honey will often provide the best taste.
How should I store my no-bake protein balls, and for how long do they last?
Very! Store your no-bake protein balls in an airtight container in the refrigerator for up to 1 week to maintain their freshness and firmness. If you’re planning to keep them longer, consider freezing them. Properly stored in a freezer-safe container or bag, they can stay good for up to 3 months.
What’s the best way to freeze my no-bake protein balls?
I often make a batch and find freezing keeps them perfect for later! To freeze, first, roll your protein balls and then place them on a parchment-lined baking sheet, ensuring they aren’t touching. Freeze them for about 1–2 hours until firm, then transfer them to a freezer-safe container or bag, separating layers with parchment paper. This prevents sticking and ensures easy access!
What should I do if my mixture is too dry or crumbly?
If you find that your no-bake protein ball mixture is too dry and crumbly, don’t worry! Simply add a teaspoon of honey or a splash of nut milk to help it bind. Mix well, and if needed, incorporate a bit more peanut butter for extra moisture. Remember, the mixture should be thick but pliable; achieving that perfect balance is key!
Can I make these no-bake protein balls allergy-friendly?
Absolutely! If you have nut allergies, you can replace peanut butter with sunflower seed butter or soy nut butter. Additionally, make sure your protein powder is dairy-free if you’re avoiding animal products. Always double-check ingredient labels for potential allergens, and feel free to swap in alternative ingredients that suit your dietary needs.
What can I do with leftover ingredients?
The more the merrier! If you have extra oats, protein powder, or nut butter, consider making oatmeal cookies or energy bars using a similar base. Mixing leftover oats with yogurt and fresh fruit creates a nutritious breakfast, while leftover nut butter can be drizzled over toast or added to smoothies!
Irresistible No-Bake Protein Balls: Fuel Your Day Naturally
Ingredients
Equipment
Method
- In a large mixing bowl, combine whole rolled oats, creamy peanut butter, ground flaxseed, honey, protein powder, vanilla extract, and mini chocolate chips. Use a sturdy spatula or spoon to mix these ingredients thoroughly for about 2–3 minutes.
- Using a 2-tablespoon cookie scoop, portion out the mixture and roll each portion between your hands to form smooth balls. This step will yield about 12-15 hearty no-bake protein balls.
- Place the protein balls on a parchment-lined baking sheet or a plate, then chill them in the refrigerator for 1 to 2 hours to firm up.
- Once firm, transfer the protein balls to an airtight container and store them in the refrigerator for up to a week or freeze for up to 3 months.
Leave a Reply