
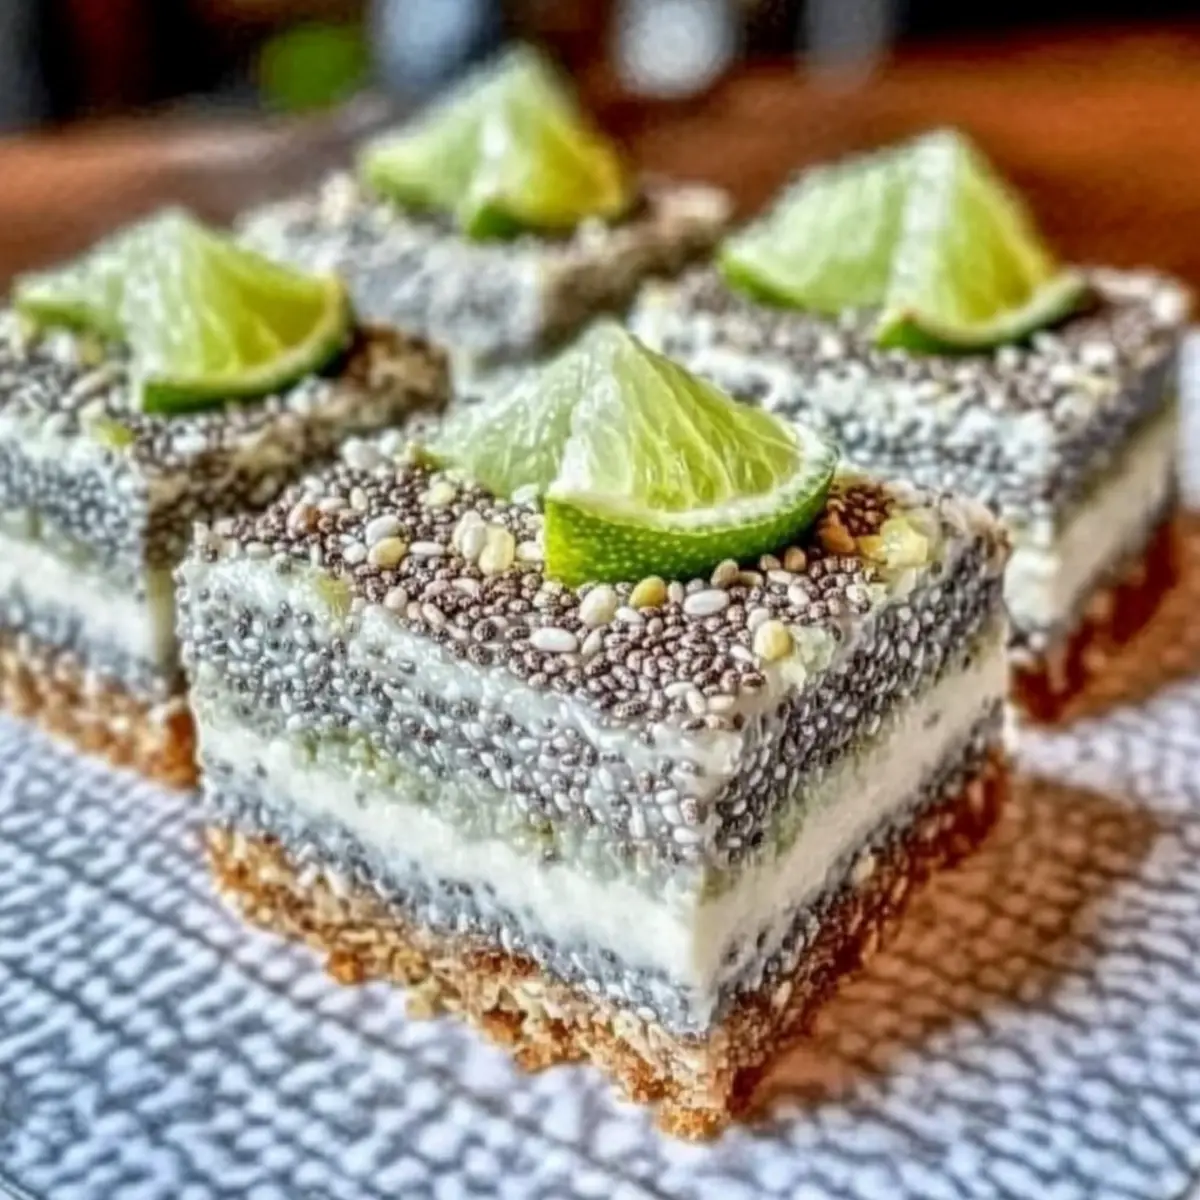
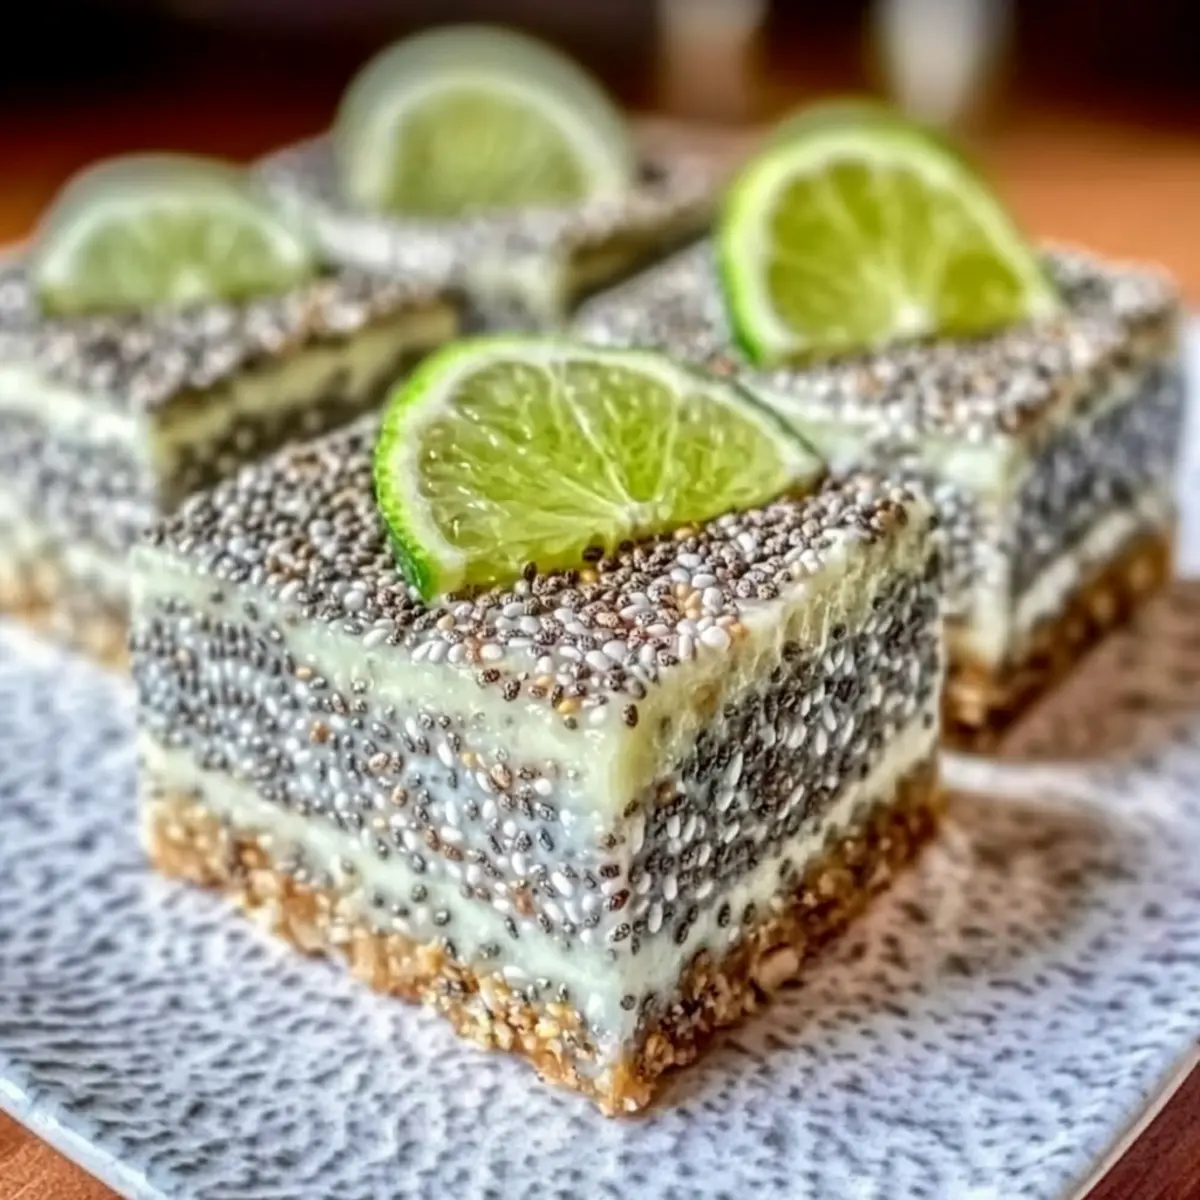
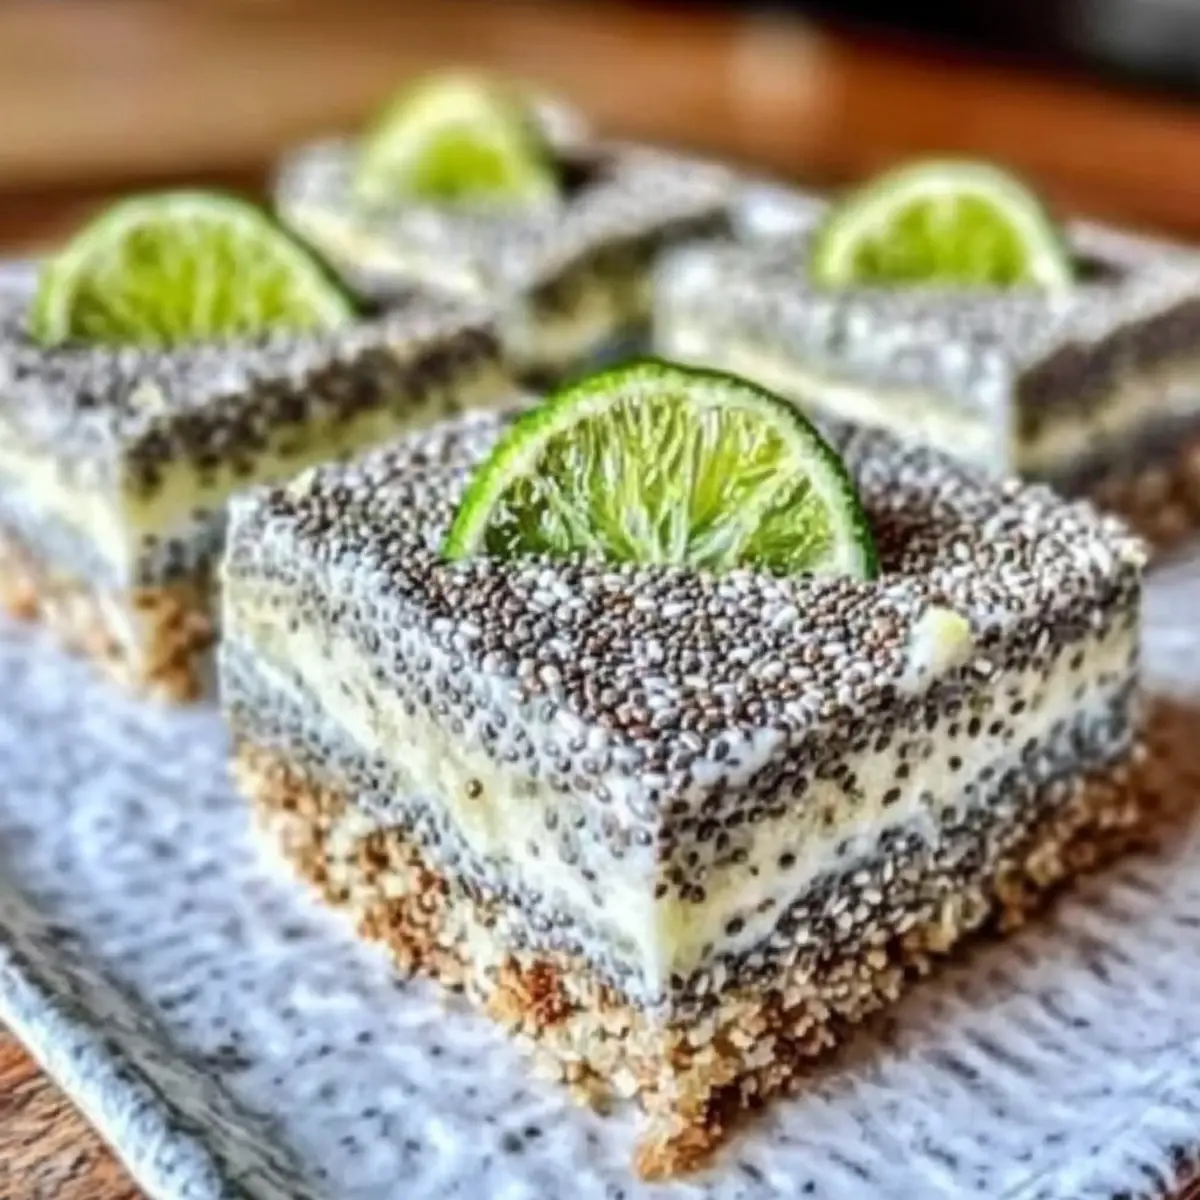
As I sifted through a pile of summertime recipes, a vibrant idea struck me: why not bring the sunshine indoors with these Refreshing No-Bake Chia Pudding Bars? With the zesty flavor of coconut lime dancing on your taste buds, these bars are the epitome of tropical bliss. Not only are they a guilt-free, vegan treat, but they also come together in just 15 minutes—making them the perfect quick dessert for busy days or an impromptu gathering. Whether you serve them as a revitalizing snack, a fancy dessert, or even a nutritious breakfast, these No-Bake Chia Pudding Bars are sure to impress your family and friends. How do you feel about turning your kitchen into a sunny tropical retreat?
Why Choose No-Bake Chia Pudding Bars?
Quick Prep Time: Whip up these bars in just 15 minutes, fitting perfectly into your busy lifestyle.
Tropical Flavor Burst: The zesty coconut lime flavor offers a refreshing escape with every bite, making your taste buds dance!
Healthy Ingredients: Packed with nutrients, these bars are a guilt-free dessert, combining chia seeds for omega-3s and coconut for healthy fats.
Vegan Delight: Share these bars with all—no dairy required! They’re perfect for vegan friends or anyone looking to enjoy a lighter dessert.
Endless Variations: Customize with your favorite nuts and fruits; swap lime for lemon for a different twist! Try adding berry flavors for even more deliciousness, just like in our Oreo Balls Bake.
Transform your kitchen into a tropical haven today with these No-Bake Chia Pudding Bars!
No-Bake Chia Pudding Bars Ingredients
For the Crust (Optional)
• Almonds or Cashews – Add structure and crunch; walnuts or pecans can be delightful alternatives.
• Shredded Coconut – Contributes coconut flavor and texture; opt for unsweetened for a healthier treat.
• Medjool Dates – Provide natural sweetness and bind the crust; dried figs can be a sweet substitute.
• Melted Coconut Oil – Acts as a binding agent while enhancing coconut flavor; vegetable oil is a viable alternative.
For the Pudding Filling
• Chia Seeds – The star ingredient providing texture and nutrition; can be replaced with flaxseeds for similar effects.
• Full-Fat Coconut Milk – Creates a rich, creamy texture; consider almond or soy milk, but be aware they may change the texture.
• Maple Syrup or Agave – Sweetens the pudding; honey can be a substitute for non-vegans.
• Lime Zest and Juice – Offers a vibrant zesty kick; lemon can be used for a different but equally delightful flavor.
• Vanilla Extract – Enhances the flavor profile; can be omitted if you’re out.
Transform your days with these delicious No-Bake Chia Pudding Bars!
Step‑by‑Step Instructions for No-Bake Chia Pudding Bars
Step 1: Prepare the Crust (Optional)
In a food processor, blend together 1 cup of almonds or cashews, 1 cup of shredded coconut, 5 Medjool dates, and 2 tablespoons of melted coconut oil. Process until the mixture is clumped but not overly smooth. Then, line an 8×8 inch pan with parchment paper, and firmly press the mixture into the base. Chill in the refrigerator for about 15 minutes while you prepare the pudding filling.
Step 2: Make the Chia Pudding Filling
In a mixing bowl, combine 1 can of full-fat coconut milk, 1/2 cup of chia seeds, 1/4 cup of maple syrup or agave, 2 tablespoons of lime zest, and the juice of 2 limes. Whisk thoroughly for about 2 minutes until all ingredients are fully incorporated. Let this mixture sit for 5-10 minutes at room temperature to thicken, stirring occasionally to ensure an even texture without clumping.
Step 3: Combine and Chill
Once the chia pudding has thickened, pour the mixture over the chilled crust—or directly into the lined pan if you skipped the crust. Use a spatula to smooth out the top evenly. Cover the pan with plastic wrap or a lid, and refrigerate for at least 4 hours or overnight to allow the chia pudding to fully set and develop its creamy texture.
Step 4: Add Finishing Touches
When the No-Bake Chia Pudding Bars are set, carefully lift them out of the pan using the parchment paper. Transfer them to a cutting board. Before slicing, sprinkle toasted coconut flakes and additional lime zest on top for added flavor and decoration. Cut into squares and prepare to delight in the tropical goodness of these chia pudding bars!
What to Serve with Refreshing No-Bake Chia Pudding Bars?
These tropical treats are a delightful way to elevate your next meal or snack, making every bite feel like a mini vacation.
- Fresh Tropical Fruit Salad: A mix of mango, pineapple, and kiwi adds vibrant color and a refreshing sweetness that complements the zesty coconut lime bars perfectly.
- Coconut Whipped Cream: Light and fluffy, this creamy topping enhances the tropical vibe while offering a luscious contrast in texture.
- Granola Parfait: Layer your chia pudding bars with yogurt and granola for a wholesome breakfast or snack, providing crunch and creaminess together.
- Mint-Infused Iced Tea: A refreshing mint tea adds a cooling effect alongside the creamy bars, making for a perfect summer thirst-quencher.
- Cacao Nib Trail Mix: Sprinkle some chocolatey crunch over the bars for an indulgent twist that balances the sweetness of the chia pudding.
- Zesty Lime Sorbet: This chilled dessert echoes the lime in the bars and offers a palate-cleansing finish that’s ideal for hot days.
Serving any of these alongside your No-Bake Chia Pudding Bars transforms a simple treat into a full culinary experience!
Make Ahead Options
These No-Bake Chia Pudding Bars are a fantastic choice for meal prep enthusiasts! You can easily prepare the crust up to 24 hours in advance; simply follow the crust steps and store it in the refrigerator. The chia pudding filling can also be made ahead—just mix and refrigerate for up to 3 days before serving. To maintain that delicious creamy texture, whisk the ingredients well and let them thicken before pouring over the crust or directly into the pan. When you’re ready to enjoy, allow the bars to chill for at least 4 hours (or overnight) to set perfectly, then finish with coconut flakes and lime zest for a delightful presentation!
How to Store and Freeze No-Bake Chia Pudding Bars
Fridge: Keep your No-Bake Chia Pudding Bars in an airtight container for up to 4-5 days. This ensures they maintain their freshness and delightful flavor.
Freezer: For longer storage, wrap individual bars in plastic wrap and place them in a freezer-safe container. They will stay fresh for up to 2 months.
Thawing: To enjoy frozen bars, simply transfer them to the fridge to thaw overnight or let them sit at room temperature for about 30 minutes.
Serving Suggestions: Enjoy the bars chilled, topped with extra lime zest or fresh fruit for a refreshing treat anytime you crave a sweet snack!
Expert Tips for No-Bake Chia Pudding Bars
-
Even Distribution: Ensure chia seeds are evenly distributed in the mixture to prevent clumps; whisk thoroughly before letting it sit.
-
Optimal Chilling Time: For the best flavor and texture, allow the bars to chill overnight. This ensures they firm up beautifully!
-
Custom Crust: Don’t hesitate to experiment! If you don’t have almonds or cashews, walnuts or pecans can elevate your No-Bake Chia Pudding Bars.
-
Substitutions Allowed: If you’re out of coconut milk, non-dairy alternatives can work, but be mindful they might slightly alter the texture.
-
Storage Tips: Store any leftovers in an airtight container in the refrigerator for up to 4-5 days for a quick treat whenever you crave a refreshing snack!
No-Bake Chia Pudding Bars Variations
Feel free to get creative and make these No-Bake Chia Pudding Bars your own with these delightful substitutions and twists!
- Nut-Free: Substitute the almonds or cashews with sunflower seeds, creating a kid-friendly version that everyone can enjoy!
- Flavored Coconut Cream: Use flavored coconut cream instead of plain coconut milk for an extra boost of creamy delight. Vanilla or mango flavors can elevate your bars beautifully.
- Berry Bliss: Add fresh or frozen berries like blueberries or strawberries into the chia pudding mixture for a pop of color and flavor that pairs perfectly with the lime.
- Granola Topping: Sprinkle some homemade or store-bought granola on top before chilling, for a crunchy texture that adds a lovely contrast to the creamy base.
- Dairy Options: If you don’t need the bars to be vegan, feel free to swap the coconut milk for regular dairy milk for a similar outcome.
- Citrus Medley: Replace the lime juice and zest with a mix of lemon and orange juice for a citrus explosion that’s both refreshing and unique.
- Chocolate Drizzle: Melt some dark chocolate and drizzle it over the top of the chilled bars for an indulgent treat that chocolate lovers will adore.
- Spicy Kick: Stir in a pinch of cayenne or cinnamon into the chia pudding for a surprising flavor twist that warms the soul.
Each variation brings something new to the table—much like our delectable Sticky Toffee Pudding, you’re sure to find a blend you love! Enjoy experimenting!
No-Bake Chia Pudding Bars Recipe FAQs
What type of chia seeds should I use for the best results?
Absolutely, I recommend using whole black or white chia seeds as they offer the best texture and nutrition. They absorb liquid well, creating that delightful pudding-like consistency. If you’re looking for an alternative, flaxseeds can work similarly, but keep in mind that they won’t thicken in the same way.
How should I store my No-Bake Chia Pudding Bars?
To maintain freshness, store your bars in an airtight container in the refrigerator. They’ll stay delicious for about 4 to 5 days. Make sure to keep them covered to prevent any drying out. If you have leftovers, you’re in luck!
Can I freeze No-Bake Chia Pudding Bars?
Yes, you can freeze these tasty bars! Wrap them individually in plastic wrap and place them in a freezer-safe container. They will keep well for up to 2 months! When you’re ready to eat, simply thaw them in the refrigerator overnight or leave them at room temperature for about 30 minutes.
What can I do if my chia pudding mixture is too runny?
Not to worry! If you find the mixture is too runny, allow it to sit for a bit longer—up to 15 minutes—to hydra the chia seeds fully. Stir it occasionally to check for even consistency. Alternatively, you can add a bit more chia seeds; for every additional tablespoon of chia, let it sit for another 10 minutes to ensure it thickens up nicely.
Are there any dietary considerations I should be aware of?
Very! Since this recipe is vegan, it’s friendly to most dietary preferences. Nonetheless, if you’re concerned about nut allergies, you can substitute the nuts in the crust with seeds like sunflower or pumpkin seeds for a safe alternative. Always double-check any sweeteners for vegan compliance if that’s important for your dietary choices!

No-Bake Chia Pudding Bars: Your Quick Tropical Treat
Ingredients
Equipment
Method
- In a food processor, blend together the crust ingredients until clumped but not overly smooth. Press into a lined 8x8 inch pan and chill for 15 minutes.
- In a mixing bowl, combine the pudding filling ingredients and whisk thoroughly for about 2 minutes. Let sit for 5-10 minutes to thicken.
- Pour the thickened chia pudding over the crust. Smooth out the top, cover, and refrigerate for at least 4 hours or overnight.
- Once set, lift from the pan, sprinkle with toasted coconut and lime zest, slice into squares, and serve.
Leave a Reply