
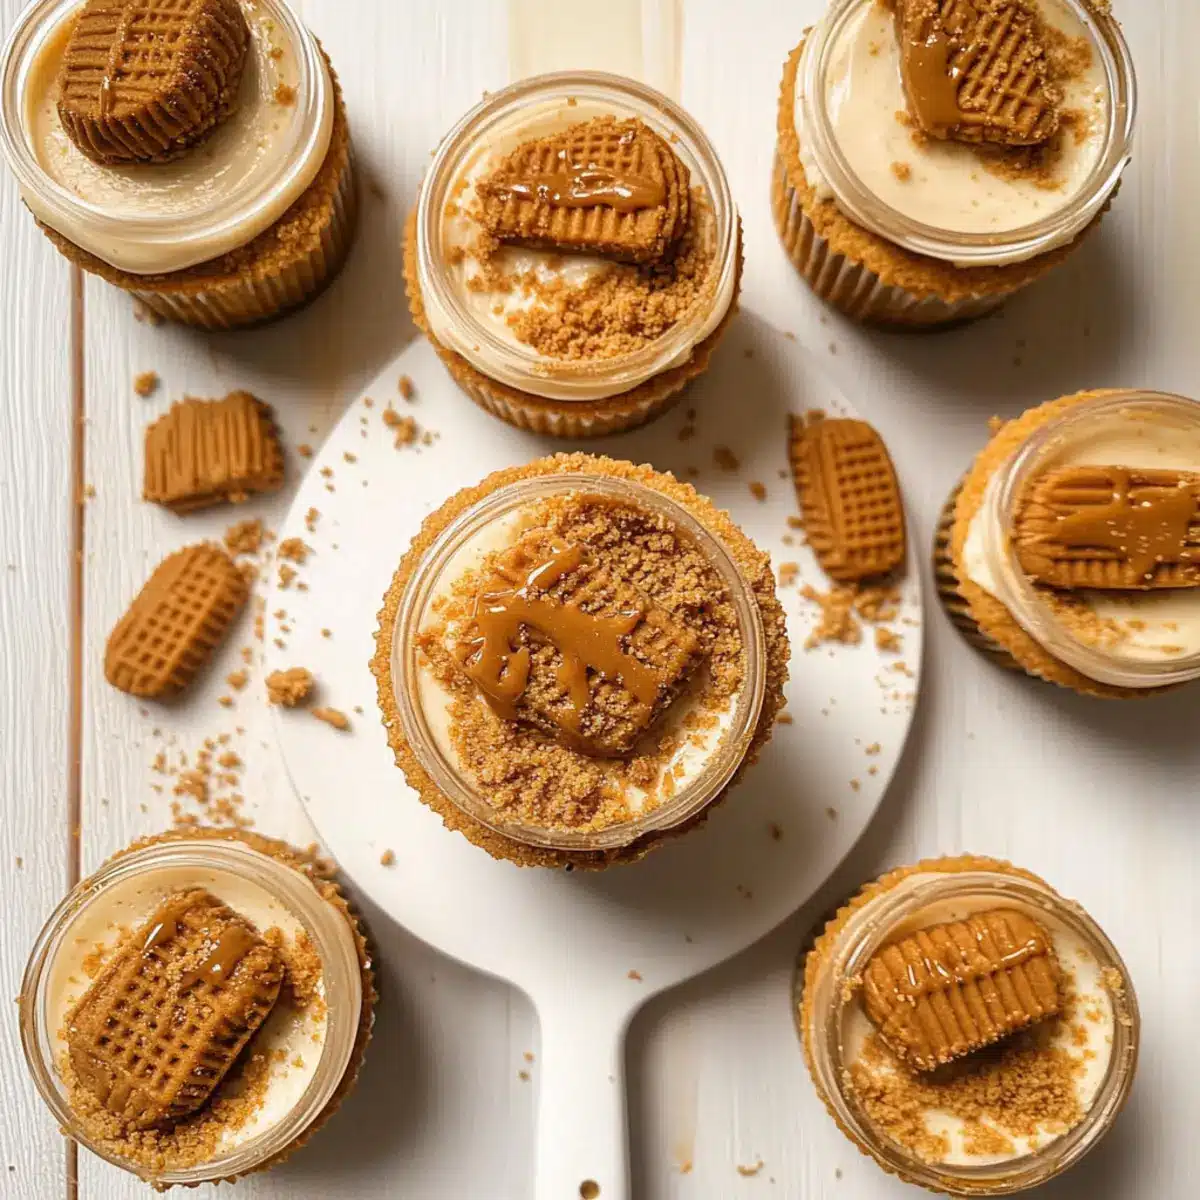
As I stood in my kitchen, the delicious aroma of warm caramel filled the air, reminiscent of my favorite café treat. This inspiration led me to create No-Bake Biscoff Cheesecake Cups, a dessert that effortlessly combines rich, velvety cheesecake with the delightful crunch of Biscoff cookies. With just five simple ingredients, making this easy dessert is not only satisfying but also a quick triumph for any occasion. Whether you’re hosting a gathering or craving a sweet at the end of a long day, these cups provide a creamy, luxurious indulgence without the need for baking. Ready to impress your friends and family with a delightful dessert that’ll have everyone asking for the recipe? Let’s dive deeper into these irresistible No-Bake Biscoff Cheesecake Cups!
Why are No-Bake Biscoff Cheesecake Cups a must-try?
Effortless Preparation: With just five ingredients, these dessert cups are incredibly easy to whip up, making them perfect for those busy days when you crave something sweet without the hassle.
Decadent Indulgence: The rich and creamy filling pairs beautifully with the crunchy Biscoff cookie base, creating a delightful contrast that will leave your taste buds dancing.
Crowd-Pleasing Delight: Whether it’s a family dinner or a friendly get-together, these cheesecake cups are sure to impress your guests, leaving them asking for seconds!
Versatile Options: Feel free to switch up the flavors by using different cookies or spreads. If you love cheesecake, you might also enjoy my delightful Cheesecake Cookie Cups.
Visual Appeal: Served in individual cups, they are not only tasty but also look stunning on any dessert table, making them an eye-catching addition to your gathering.
Get ready to indulge in a dessert that’s both easy and utterly delicious!
No-Bake Biscoff Cheesecake Cups Ingredients
• Get ready for a tasty treat!
For the Crust
- Lotus Biscoff Biscuits – Provides a buttery crumb base; feel free to use any similar crunchy cookies if Biscoff isn’t available.
- Unsalted Butter – Helps bind the crumb mixture; you can substitute with salted butter for a flavor boost.
For the Cheesecake Filling
- Heavy Cream – Whips into stiff peaks, adding richness; consider using coconut cream if you’re looking for a dairy-free option.
- Cream Cheese – The key ingredient for tangy filling and structure; softened mascarpone is a great swap for a creamier texture.
- Powdered Sugar – Sweetens the filling for a smooth texture; granulated sugar works too but might create a grainier finish.
- Biscoff Spread – Infuses the cheesecake with that signature flavor; opt for any flavored spread or chocolate if you desire a twist.
- Vanilla Extract – Enhances the overall flavor profile; you can skip it if you’re out, but the taste will be less intense.
For Garnish
- Garnish Biscoff Spread and Cookies – Adds finishing touches and a decorative flair to these cups; optional, but highly recommended for extra cuteness!
With these simple ingredients, you can create your own batch of No-Bake Biscoff Cheesecake Cups that’ll be a hit at any gathering! Enjoy indulging!
Step‑by‑Step Instructions for No-Bake Biscoff Cheesecake Cups
Step 1: Prepare the Base
Begin by crushing approximately 16 Lotus Biscoff biscuits into fine crumbs using a food processor or a ziplock bag and a rolling pin. Melt about 4 tablespoons of unsalted butter in a microwave-safe bowl for 30 seconds. Combine the crumbs and melted butter in a medium bowl, mixing until you reach a damp, sandy texture, and set aside a small amount of crumbs for garnish later.
Step 2: Assemble Base
Divide the crumb mixture evenly among your dessert cups, pressing it firmly into the bottom with the back of a spoon or your fingers. Make sure the base is compact and even to provide a sturdy foundation for your No-Bake Biscoff Cheesecake Cups. Once prepared, set the cups in the refrigerator to chill for about 10 minutes while you move to the next step.
Step 3: Make Cheesecake Filling
In a large mixing bowl, whip 1 cup of heavy cream with an electric mixer on high speed for about 3–4 minutes or until stiff peaks form. In another bowl, combine 8 ounces of softened cream cheese, ½ cup of powdered sugar, ½ cup of Biscoff spread, and 1 teaspoon of vanilla extract. Mix until it’s smooth and creamy, then gently fold in the whipped cream until fully incorporated, maintaining the airy texture.
Step 4: Pipe Filling
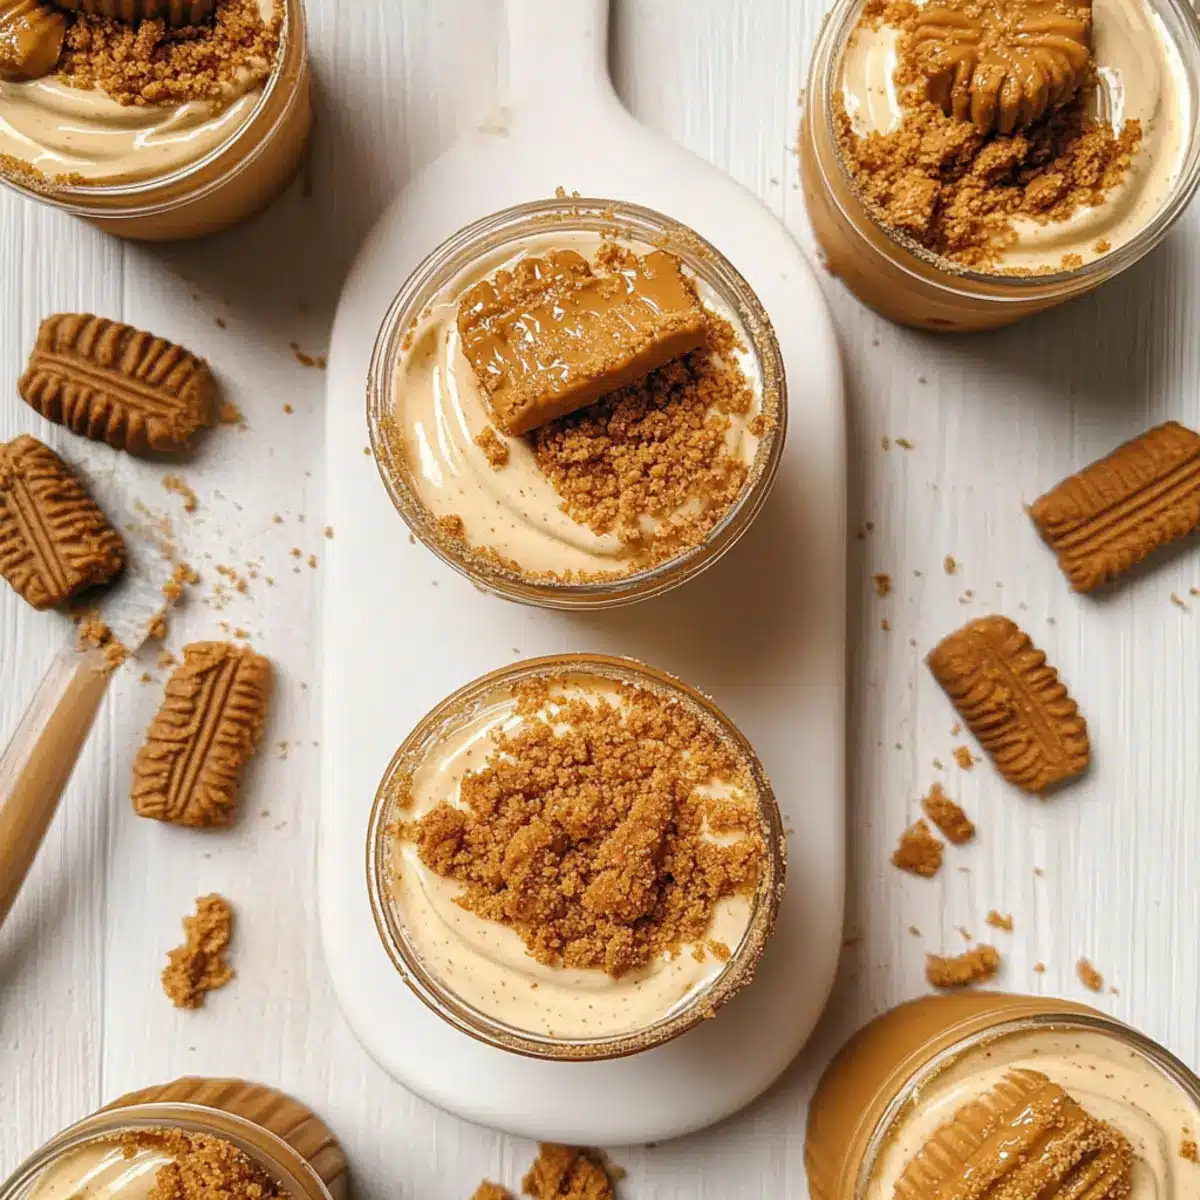
Using a piping bag or a ziplock bag with the corner snipped off, transfer the creamy cheesecake filling into your dessert cups. Fill each cup generously to showcase the delicious filling, making sure to smooth the tops as you go. This step allows you to create beautiful layers that highlight the contrast between the creamy cheesecake and crumb base in your No-Bake Biscoff Cheesecake Cups.
Step 5: Garnish
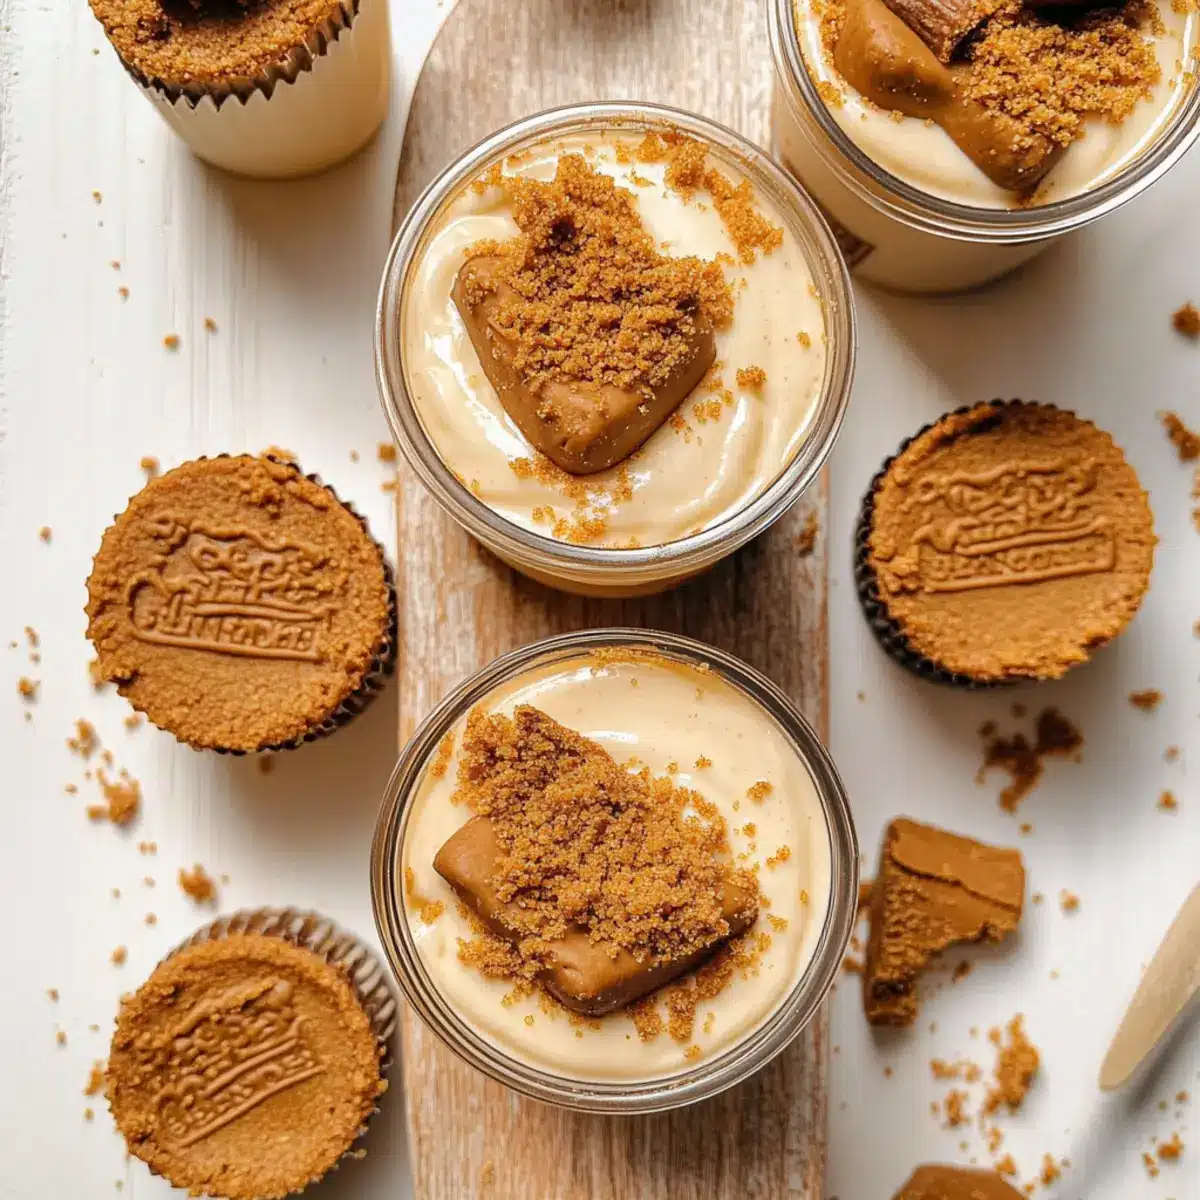
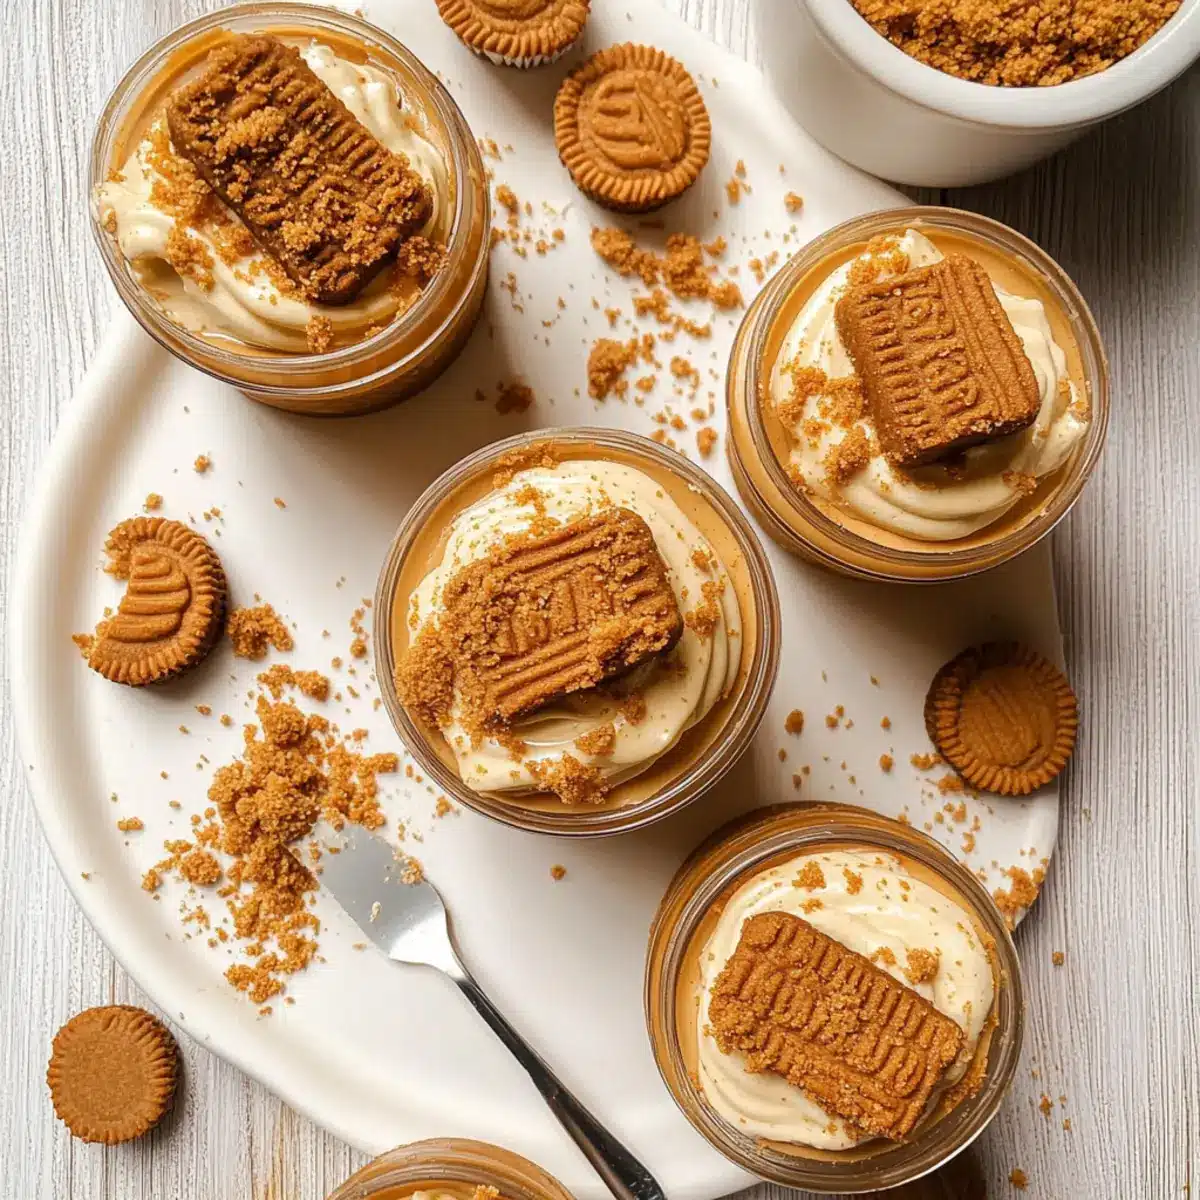
Melt a couple of tablespoons of Biscoff spread in the microwave for about 20 seconds, then drizzle it artfully over the tops of each cheesecake cup. Top each cup with half of a Biscoff cookie and sprinkle with the reserved crumb mixture for added texture and flair. This will not only enhance the flavor but also provide an appealing presentation.
Step 6: Chill
Finally, cover the dessert cups with plastic wrap to avoid absorbing any odors from the fridge. Refrigerate them for at least 4 hours, or overnight if possible, to ensure the filling sets perfectly. Your No-Bake Biscoff Cheesecake Cups will be ready once they firm up, delivering the ideal creamy texture and flavor when served chilled.
Expert Tips for No-Bake Biscoff Cheesecake Cups
• Chill Your Ingredients: Ensure your heavy cream and cream cheese are chilled before use to achieve the best whip and texture.
• Mix Carefully: When folding in the whipped cream, do so gently to maintain the light and airy texture of the cheesecake filling.
• Don’t Skip the Refrigeration: Allow these No-Bake Biscoff Cheesecake Cups to chill for at least 4 hours; this step is crucial for the filling to set properly.
• Use Quality Ingredients: Opt for high-quality Biscoff spread and cookies for that authentic flavor, which will elevate your dessert experience.
• Presentation Matters: For a gorgeous finish, drizzle melted Biscoff spread artfully and use cookie crumbs as a decorative touch on top.
What to Serve with No-Bake Biscoff Cheesecake Cups
As you prepare these indulgent little cups, think about pairing them with delightful dishes that complement their creamy sweetness.
-
Fresh Berries: Juicy strawberries or raspberries add a pop of color and a tart balance to the rich cheesecake, enhancing the overall flavor experience.
-
Chocolate Drizzle: A drizzle of melted dark chocolate not only elevates the dessert’s aesthetic but adds a velvety contrast that delights the palate.
-
Caramel Sauce: Sweet, buttery caramel drizzled over the cheesecake cups amplifies the Biscoff flavor, creating an irresistible combination that will have guests raving.
-
Coconut Whipped Cream: Light and airy coconut cream provides a tropical twist and a refreshing taste that complements the richness of the cheesecake.
-
Coffee: A hot cup of freshly brewed coffee pairs wonderfully with the sweet spiciness of Biscoff, providing a comforting finale to your dessert experience.
-
Mint Sprigs: Garnish your dessert with fresh mint; its vibrant flavor cuts through the richness while adding a fresh note that rounds out the indulgence.
Embrace these pairings to turn your No-Bake Biscoff Cheesecake Cups into a memorable dessert experience worthy of any gathering!
Storage Tips for No-Bake Biscoff Cheesecake Cups
Fridge: Keep your No-Bake Biscoff Cheesecake Cups in an airtight container in the refrigerator for up to 3 days to maintain their creamy texture and flavor.
Make-Ahead: If you’re planning a gathering, these cheesecake cups can be prepared a day in advance. This not only saves time but also enhances flavor as they sit.
Reheating: These dessert cups are best enjoyed chilled, so there’s no reheating necessary. Just grab a cup directly from the fridge when you’re ready to indulge!
Freezer: Avoid freezing, as thawing can alter the creamy texture into a grainy finish. Enjoy them fresh for the best experience!
Make Ahead Options
These No-Bake Biscoff Cheesecake Cups are perfect for meal prep enthusiasts looking to save time on busy weeknights! You can prepare the crumb base up to 24 hours in advance by mixing the crushed Biscoff cookies with melted butter and storing it in an airtight container. The cheesecake filling can also be made ahead, refrigerating it for up to 3 days before serving. When you’re ready to indulge, simply pipe the filling into the cups, garnish with melted Biscoff spread and cookie halves, then chill for at least 4 hours to set. This way, you’ll enjoy the rich flavors just as deliciously fresh—without the last-minute rush!
No-Bake Biscoff Cheesecake Cups Variations
Get ready to customize your delicious dessert experience with these fun variations!
-
Gluten-Free: Use gluten-free cookies such as almond or rice-based options instead of Biscoff for a safe yet tasty dessert.
-
Dairy-Free: Swap heavy cream with coconut cream and cream cheese with cashew cream for a luscious, creamy alternative.
-
Chocolate Lovers: Replace Biscoff spread with Nutella or chocolate hazelnut spread for an indulgently rich twist.
-
Seasonal Flavors: Add pumpkin spice or cinnamon to the filling for a cozy autumn touch that will warm your heart.
-
Fruit-Filled: Incorporate fresh fruits like strawberries or raspberries in the cheesecake filling for a refreshing burst of flavor. Blend them in just before piping!
-
Nutty Addition: Fold in crushed nuts, such as pecans or hazelnuts, into the cheesecake mixture for added crunch and depth.
-
Mini Cheesecakes: Instead of cups, use a muffin tin to create bite-sized mini cheesecakes that are perfect for sharing or portion control.
-
Decadent Toppings: Enhance your garnish with whipped cream, chocolate shavings, or a drizzle of caramel sauce for an irresistible presentation akin to gourmet desserts.
Whichever twist you choose, these No-Bake Biscoff Cheesecake Cups are sure to please! For more delightful cheesecakes, try my Brownie Cheesecake Sweet for its rich, indulgent vibes, or the refreshing Lemon Cheesecake that brings bright flavors to the table.
No-Bake Biscoff Cheesecake Cups Recipe FAQs
What type of Biscoff biscuits should I use?
Absolutely! I recommend using Lotus Biscoff biscuits for the crust as they provide that signature buttery, caramel flavor. If you can’t find them, any similar crunchy cookies like speculoos, Graham crackers, or even Oreos can make a delightful alternative.
How should I store No-Bake Biscoff Cheesecake Cups?
To keep your cheesecake cups fresh, store them in an airtight container in the refrigerator. They’ll stay delicious for up to 3 days! Just make sure to consume them within this timeframe to enjoy their creamy texture at its best.
Can I freeze No-Bake Biscoff Cheesecake Cups?
I’d advise against freezing your cheesecake cups. Thawing them can lead to a grainy texture, which you definitely want to avoid. If you need to prepare them ahead of time, it’s best to keep them in the fridge, where they’ll develop even more flavor after a day!
What if my cheesecake filling is too runny?
If your filling isn’t thickening as you’d like, make sure your heavy cream is very cold before whipping, as this helps form stiff peaks. Also, when folding in the whipped cream, do so gently to maintain that airy texture. If all else fails, you can chill the filling for an additional 30 minutes before piping it into the cups.
Can I make these cheesecake cups gluten-free?
Certainly! To make No-Bake Biscoff Cheesecake Cups gluten-free, simply substitute Biscoff biscuits with gluten-free cookies or even almond flour crust. The filling remains naturally gluten-free, but double-check your cream cheese and any other pre-packaged ingredients to ensure they don’t contain gluten.
Are there any diary-free alternatives for this recipe?
Very! You can use coconut cream instead of heavy cream for the filling, and opt for a dairy-free cream cheese alternative. Look for vegan Biscoff spreads, and you’ll still achieve that rich flavor and creamy texture while keeping it dairy-free. Enjoy experimenting!
Delicious No-Bake Biscoff Cheesecake Cups
Ingredients
Equipment
Method
- Crush approximately 16 Lotus Biscoff biscuits into fine crumbs. Melt 4 tablespoons of unsalted butter for 30 seconds. Combine crumbs and melted butter, mixing until damp, and reserve some crumbs for garnish.
- Divide the mixture into dessert cups, pressing it firmly. Chill in the refrigerator for about 10 minutes.
- Whip 1 cup of heavy cream until stiff peaks form. In another bowl, mix 8 ounces of cream cheese, ½ cup of powdered sugar, ½ cup of Biscoff spread, and 1 teaspoon of vanilla extract until smooth.
- Gently fold in the whipped cream until fully incorporated, keeping the mixture airy.
- Transfer the cheesecake filling into dessert cups using a piping bag, generously filling them.
- Melt a couple of tablespoons of Biscoff spread and drizzle it over the tops. Top with half a Biscoff cookie and sprinkle with reserved crumbs.
- Cover with plastic wrap and refrigerate for at least 4 hours or overnight.
Leave a Reply