
As I savored the chewy texture of my latest creation, I couldn’t help but marvel at how this Easy Homemade Oreo Mochi seamlessly blends the worlds of Japanese tradition and American indulgence. If you’re a fan of unique desserts that everyone will rave about, you’re in for a treat! This recipe is not just simple to prepare; it’s also wonderfully versatile, allowing you to customize flavors to match your cravings—from vegan adaptations to fruity fillings. Each bite delivers a satisfying contrast of textures, combining a glossy, stretchy exterior with a creamy, cookie-filled heart. Imagine impressing your family or friends with a dessert that looks as stunning as it tastes! Ready to discover how to create this delightful twist on a classic? Let’s dive into the world of mochi magic together!
Why Choose Easy Homemade Oreo Mochi?
Unique Fusion: Experience the best of both worlds, combining traditional mochi with the beloved taste of Oreos for a truly delightful treat.
Endless Variations: Whether you opt for a vegan delight or a chocolate chip twist, this recipe allows you to cater to everyone’s preferences.
Quick & Simple: Enjoy the ease of preparation—this delightful dessert can be ready in under an hour, making it perfect for any occasion.
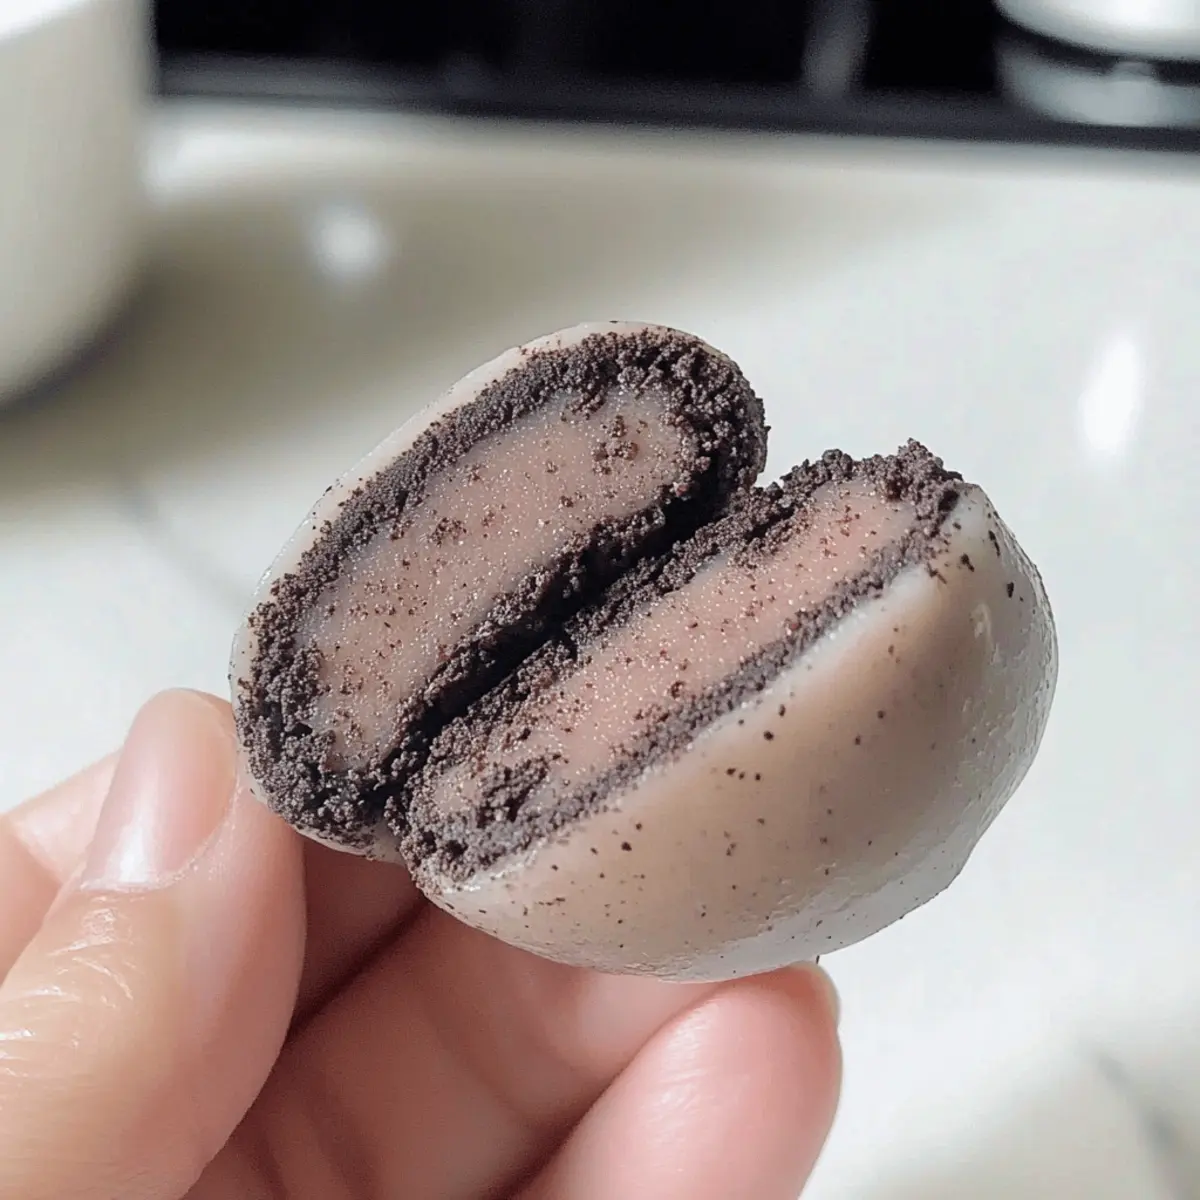
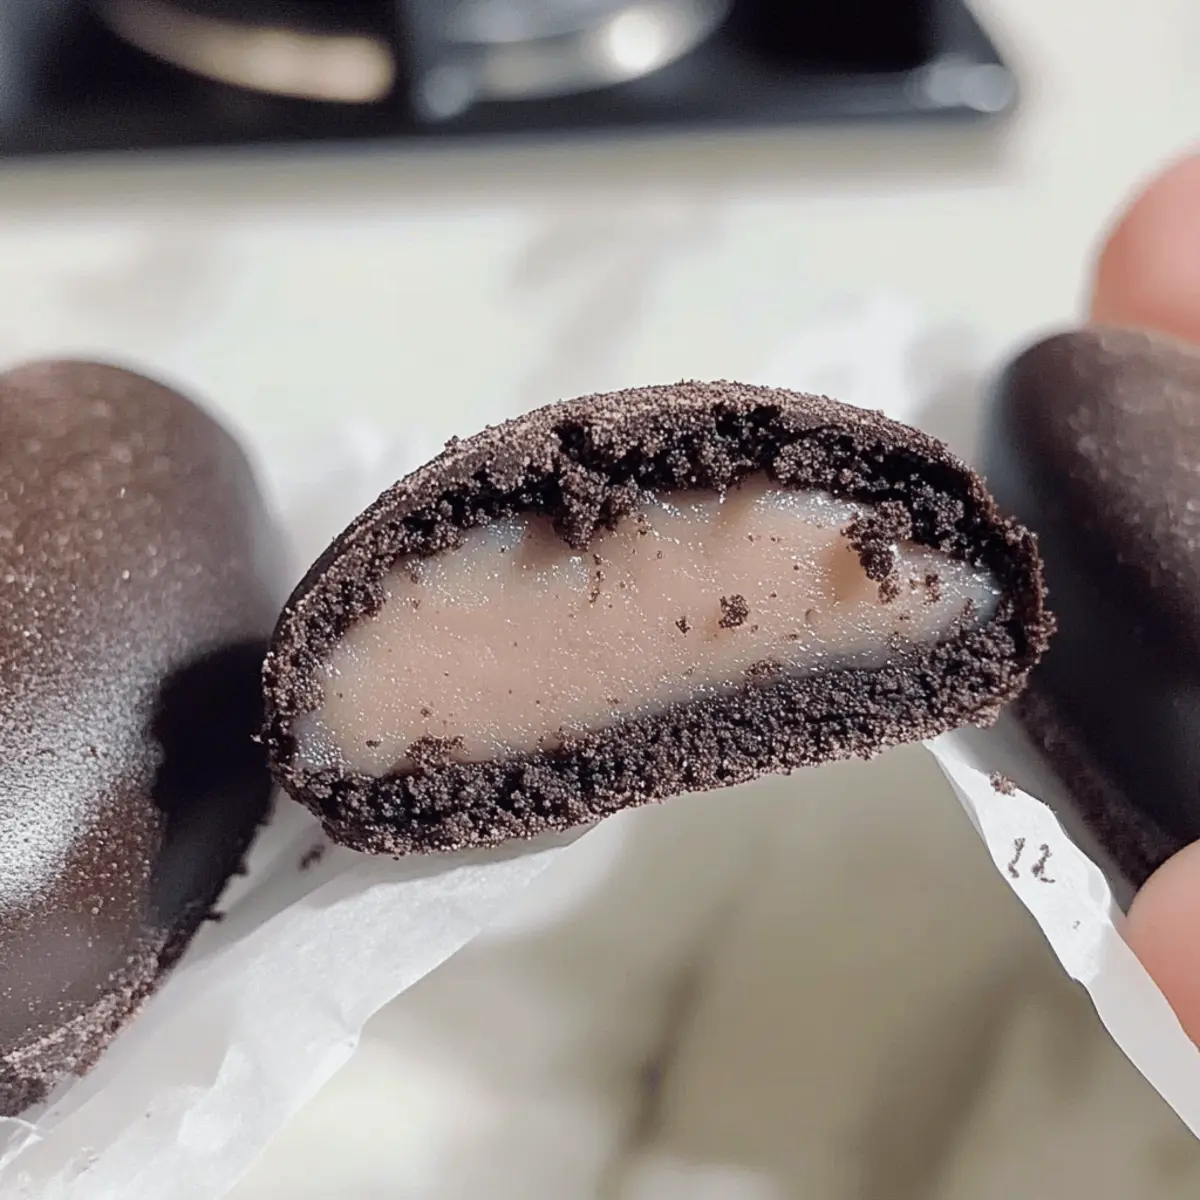
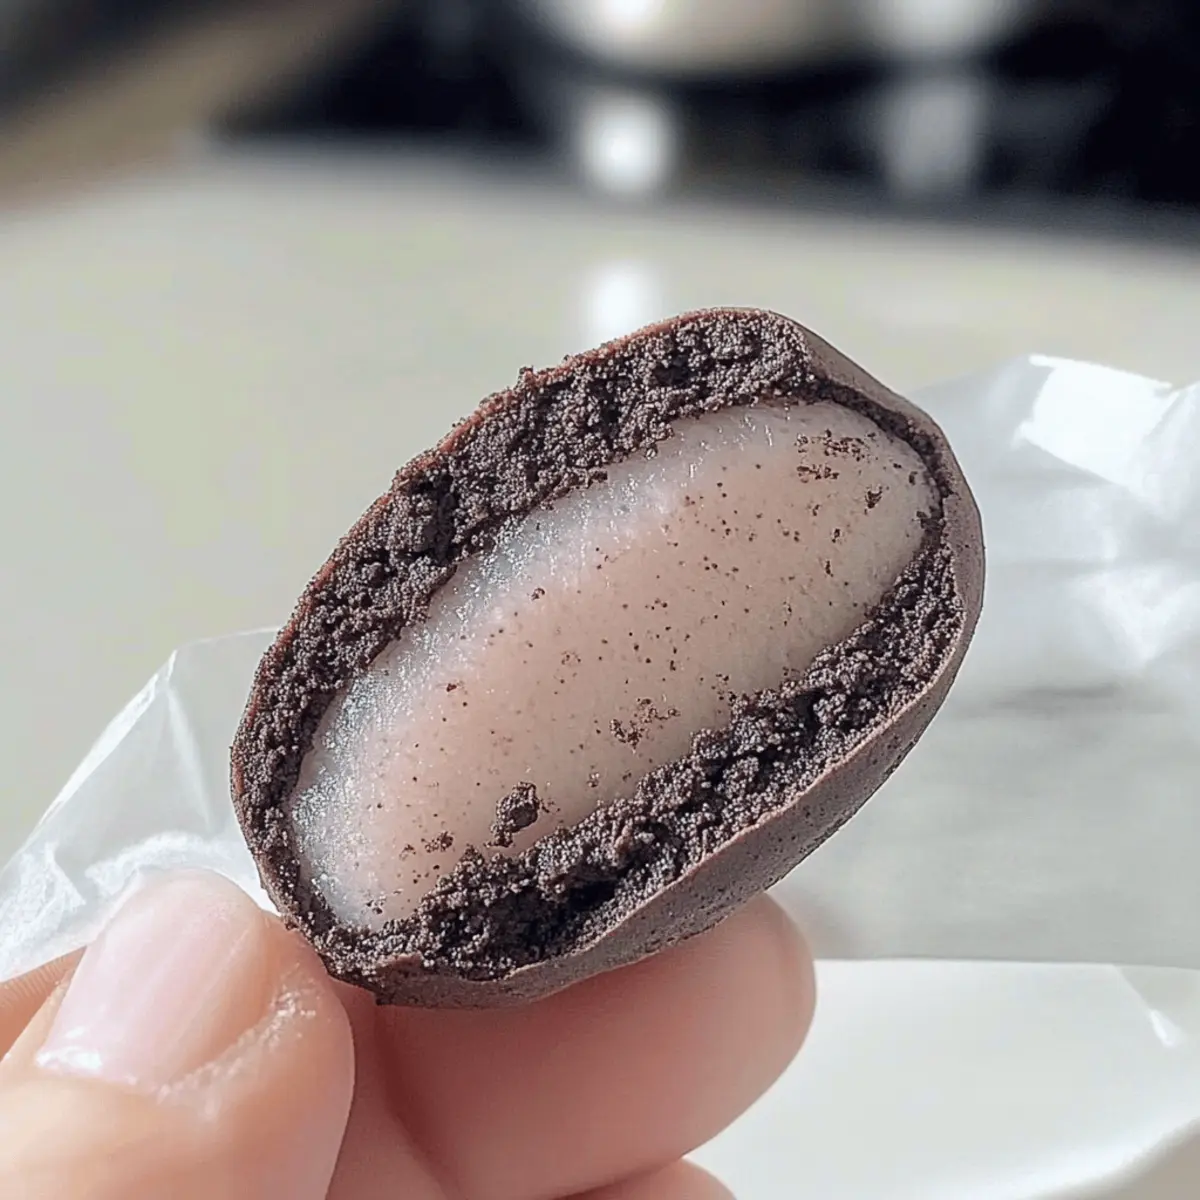
Visually Stunning: With its glossy exterior and creamy filling, each piece of Oreo Mochi is a feast for the eyes as much as it is for the palate.
Crowd-Pleaser: This is a dessert everyone can rave about! Pair it with matcha tea or drizzle with melted chocolate for a truly indulgent experience.
Easy Homemade Oreo Mochi Ingredients
For the Mochi Dough
• Mochiko (Sweet Rice Flour) – Essential for achieving the signature chewy texture of Easy Homemade Oreo Mochi; do not substitute.
• Sugar – Provides sweetness to balance the Oreo flavor; can be replaced with plant-based sweeteners in vegan versions.
• Water – Necessary for the dough consistency; no substitutes needed.
• Vanilla Extract – Adds depth to the flavor; almond extract can substitute for variation.
For the Filling
• Oreos (6, crushed) – The main flavor ingredient providing that irresistible chocolate crunch; explore other cookie flavors for fun variations.
For Dusting
• Cornstarch – Prevents the mochi from sticking together; tapioca starch is a suitable alternative in a pinch.
Step‑by‑Step Instructions for Easy Homemade Oreo Mochi
Step 1: Prepare the Mochi Mixture
In a mixing bowl, combine 1 cup of mochiko (sweet rice flour) with ½ cup of sugar. Gradually add ¾ cup of water to the dry ingredients, whisking until smooth and free of lumps. The mixture should have a thick, batter-like consistency. After mixing, let it sit for about 5 minutes to help the ingredients blend well together.
Step 2: Microwave the Dough
Transfer your mochi mixture into a microwave-safe bowl and cover it loosely with plastic wrap. Microwave on high for 1 minute, then take it out, stir it well, and return it to the microwave for another minute. Repeat this process for a total of 4-5 minutes, until the dough thickens and turns slightly translucent. This visual cue shows that the mochi is ready to handle.
Step 3: Add Flavor
Once the dough reaches the right consistency, carefully remove it from the microwave—be cautious of the steam! Stir in 1 teaspoon of vanilla extract, mixing well until fully incorporated. The vanilla will enhance the flavor of your Easy Homemade Oreo Mochi, making it even more delightful. Set the mixture aside to cool slightly before handling.
Step 4: Prepare the Work Surface
Dust a clean workspace generously with cornstarch to prevent sticking. Pour the warm mochi dough onto the prepared surface. Use a spatula or your hands dusted with cornstarch to help spread the dough into a rectangle, ensuring an even thickness of about ½ inch. Allow it to cool until it’s comfortable to touch, roughly 10-15 minutes.
Step 5: Shape the Mochi
Once the dough is manageable, divide it into 6 equal pieces using a knife or dough scraper. Flatten each piece into a small disc, making sure they are thin enough to hold the filling but thick enough to form. Spoon a generous amount of crushed Oreos (about 1 tablespoon) into the center of each disc.
Step 6: Seal and Roll
Carefully fold the edges of each mochi piece over the filling, pinching to seal and shape them into a ball. Dust your hands and the mochi with cornstarch as needed to prevent stickiness. Repeat this process until all pieces are filled and shaped, ensuring that each one retains its round form.
Step 7: Chill the Mochi
Place each shaped mochi ball into an airtight container, dusting each one with additional cornstarch to keep them from sticking together. Refrigerate them for at least 30 minutes, allowing the mochi to firm up for optimal chewiness. This chilling step enhances the texture, making your Easy Homemade Oreo Mochi even more enjoyable.
Step 8: Serve and Savor
After chilling, your Easy Homemade Oreo Mochi is ready to serve! Optionally, drizzle melted chocolate over the mochi for a decadent touch or serve them alongside matcha tea for a delightful combination. Take a moment to appreciate the glossy exterior and the delicious filled center before indulging in these delightful treats!

What to Serve with Easy Homemade Oreo Mochi
Treat your taste buds by exploring delightful pairings that elevate this chewy dessert experience.
-
Matcha Tea: A warm cup of matcha tea brings a comforting contrast, enhancing the mochi’s sweet flavors with its earthy tones. The balance of sweetness and bitterness perfectly complements the creamy filling.
-
Vanilla Ice Cream: Creamy vanilla ice cream adds a rich, velvety texture that pairs beautifully with the chewy mochi. Drizzle with chocolate sauce for an extra indulgent touch—your dessert plate will shine!
-
Fresh Strawberries: Bright, juicy strawberries cut through the sweetness of the mochi, adding a refreshing element. Their natural tartness is a delightful contrast to the rich Oreo interior.
-
Crushed Nuts: A sprinkle of crushed almonds or hazelnuts introduces a satisfying crunch and nutty flavor, elevating the overall experience. These nuts not only add texture but enhance the dessert’s appeal with a gourmet flair.
-
Coconut Milk: Serve your mochi with a side of chilled coconut milk to create a tropical twist. The creamy sweetness beautifully complements the chocolatey goodness of the mochi.
-
Melted Chocolate Drizzle: For the ultimate indulgence, drizzle some melted chocolate over the mochi before serving. This adds an extra layer of richness while making each bite an exquisitely delightful experience.
How to Store and Freeze Easy Homemade Oreo Mochi
Refrigerator: Store your Easy Homemade Oreo Mochi in an airtight container for up to 2-3 days to maintain freshness and moisture.
Freezer: For longer storage, wrap each mochi individually in plastic wrap and place them in a freezer-safe bag—these can last up to a month.
Thawing: When ready to enjoy, simply thaw the mochi overnight in the refrigerator for the best texture, ensuring each bite remains delightfully chewy.
Reheating: If desired, gently microwave each mochi for a few seconds to warm them up; this can enhance the flavors and texture.
Make Ahead Options
These Easy Homemade Oreo Mochi are perfect for busy weeknights when you want to save time without sacrificing flavor! You can prepare the mochi dough up to 24 hours in advance by following the initial steps and refrigerating it in an airtight container. Once you’re ready to shape them, simply let the dough sit at room temperature for a few minutes to soften, then continue with the filling and shaping process. You can also fill the mochi with crushed Oreos and chill them in the fridge for up to 3 days—just make sure to dust them with cornstarch to prevent sticking. When it’s time to serve, all you need to do is drizzle with melted chocolate or enjoy them plain, delivering delightful results with minimal effort!
Easy Homemade Oreo Mochi Variations
Feel free to let your creativity shine by customizing your Easy Homemade Oreo Mochi with these fun and flavorful ideas!
-
Vegan Delight: Use coconut or maple syrup instead of sugar and almond milk instead of water for a plant-based version. Your friends will never guess they’re vegan!
-
Chocolate Chip Twist: Swap out the Oreos for chocolate chip cookies for a melty, gooey filling. These sweet surprises are perfect for chocolate lovers!
-
Green Tea Elegance: Stir in matcha powder to the mochi dough for an earthy flavor boost. This option not only tastes amazing but looks gorgeous too!
-
Fruity Fusion: Instead of crushed Oreos, fill the mochi with fruit preserves or fresh berries. This refreshing twist adds a burst of flavor that’s sure to please.
-
Nutty Surprise: Incorporate chopped almonds or hazelnuts into the mochi mixture for added crunch. The combination of textures creates a delightful, satisfying bite.
-
Cookie Butter Bliss: Replace Oreos with a generous spoonful of cookie butter for an indulgent, creamy interior. Each bite is like a warm hug of hazelnut praline sweetness!
-
Coconut Dream: Mix shredded coconut into the dough and use or coconut-flavored Oreos for a tropical twist. These little delights will transport you to a sunny beach!
-
Spicy Kick: Add a dash of chili powder or cayenne pepper to the mochi dough for an unexpected spicy kick. The heat beautifully contrasts with the sweetness!
As you experiment, consider pairing your creations with a cup of hot tea or even drizzling them with melted chocolate for extra indulgence! And if you’re looking for more recipe inspiration, don’t forget to check out these delightful treats: Oreo Ice Cream and Oreo Balls Bake.
Expert Tips for Easy Homemade Oreo Mochi
-
Use Mochiko Only: Ensure you use mochiko (sweet rice flour) for the perfect chewy texture; other flours cannot replicate this unique experience.
-
Cornstarch Dusting: Keep your hands and work surface well-dusted with cornstarch while shaping the mochi to prevent sticking, ensuring each treat holds its shape beautifully.
-
Chill for Chewiness: Never skip the chilling step—allowing the mochi to cool enhances its chewiness, making every bite of your Easy Homemade Oreo Mochi truly pleasurable.
-
Microwave Caution: Be careful when microwaving the dough; steam can be hot. Avoid burns by using a kitchen towel or pot holders when handling the bowl.
-
Experiment with Fillings: Feel free to explore various fillings beyond Oreos for your mochi—think fruity or nutty options to create exciting flavor twists!
Easy Homemade Oreo Mochi Recipe FAQs
How should I select my ingredients for Easy Homemade Oreo Mochi?
Absolutely! For the best results, use Mochiko (sweet rice flour), as it is essential for achieving that signature chewy texture. When choosing Oreos, feel free to experiment with different flavors, but ensure they’re fresh without any dark spots. For sugar, you can opt for granulated sugar or plant-based alternatives in vegan versions.
How do I store my Easy Homemade Oreo Mochi?
You can store your mochi in an airtight container in the refrigerator for up to 2-3 days to keep it fresh. It’s best enjoyed chilled! Be sure to check for moisture and stickiness before serving; if they feel tacky, dust them lightly with cornstarch.
Can I freeze Easy Homemade Oreo Mochi?
Absolutely! To freeze, wrap each mochi individually in plastic wrap and place them into a freezer-safe bag. They can last up to 1 month in the freezer. When you’re ready to enjoy, thaw them overnight in the refrigerator for a delightful texture.
What should I do if my mochi dough is too sticky?
If your dough is too sticky while shaping, don’t worry! Simply add more cornstarch—dust your hands, the work surface, and the dough itself. This will give you better control while molding your mochi into those perfect little balls filled with Oreo goodness!
Are there any dietary considerations for Easy Homemade Oreo Mochi?
Very much! This recipe can easily accommodate various dietary needs. For a vegan version, swap out sugar for coconut or maple syrup and use almond milk instead of water. If allergies are a concern, you can replace Oreos with nut-free cookies or explore gluten-free options using specific brands of rice flour. Always check the labels for safety!
Easy Homemade Oreo Mochi: Chewy Bliss in Every Bite
Ingredients
Equipment
Method
- In a mixing bowl, combine mochiko (sweet rice flour) with sugar. Gradually add water, whisking until smooth, and let it sit for 5 minutes.
- Transfer the mochi mixture into a microwave-safe bowl, cover loosely with plastic wrap. Microwave for 1 minute, stir, and repeat for a total of 4-5 minutes until thick and slightly translucent.
- Carefully remove dough and stir in vanilla extract. Set aside to cool slightly.
- Dust a workspace with cornstarch, pour dough onto it, and spread into a rectangle, cooling for 10-15 minutes.
- Divide the cooled dough into 6 pieces, flatten each, and spoon crushed Oreos into the center.
- Fold edges over filling, pinch to seal, and dust with cornstarch to prevent stickiness.
- Place filled mochi into an airtight container, dusting with cornstarch, and refrigerate for at least 30 minutes.
- Serve and optionally drizzle with melted chocolate or pair with matcha tea.
Leave a Reply