
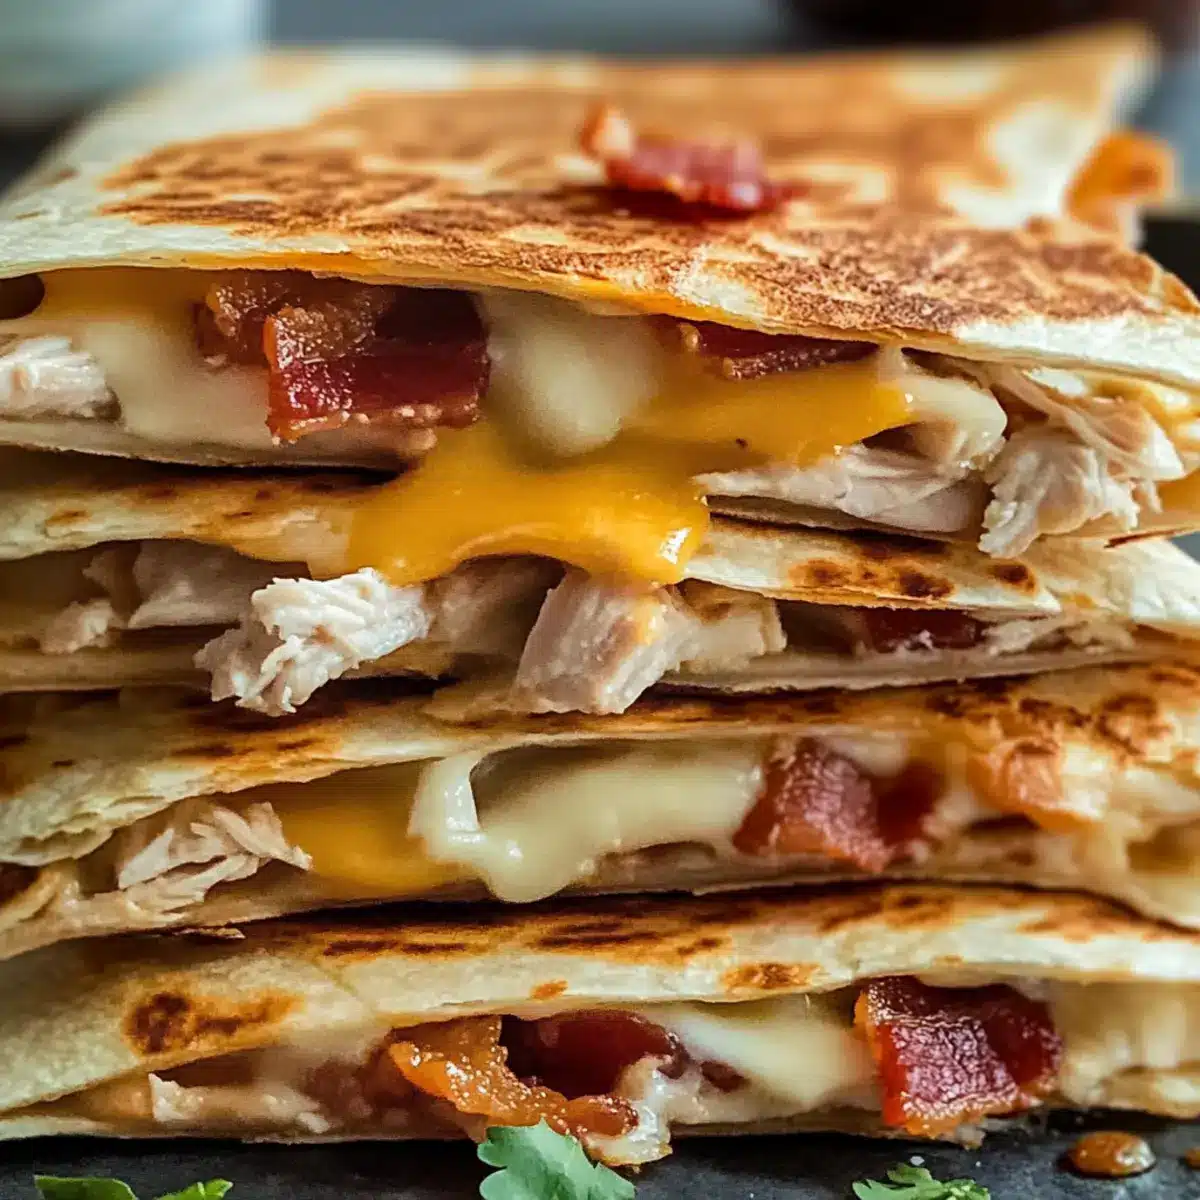
As I flipped through my favorite recipe book, the smell of crispy bacon wafted through the air, instantly luring me to the kitchen. There’s something about a Chicken Bacon Ranch Quesadilla that feels like a warm hug after a long day—especially when you’re in need of a quick meal that doesn’t compromise on flavor. This comforting Tex-Mex delight is packed with smoky, crunchy bacon, juicy chicken, and a zing of creamy ranch dressing, all nestled within a perfectly toasted tortilla. In just 20 minutes, you can whip up this family-friendly meal that will satisfy even the pickiest of eaters. Plus, customizable to your taste really ups the excitement—think spicy jalapeños or a fresh avocado twist. Ready to dive into this scrumptious creation? Let’s get cooking!
Why is this quesadilla a must-try?
Ultimate Convenience: This Chicken Bacon Ranch Quesadilla is ready in just 20 minutes, making it an ideal meal for busy weeknights.
Flavor Explosion: With a mouthwatering blend of smoky bacon, juicy chicken, and creamy ranch, every bite is a burst of indulgent flavor.
Versatile Options: Feel free to customize! Add spicy jalapeños for a kick or creamy avocado slices for an extra touch.
Family-Friendly: Even picky eaters will love this dish—it’s comfort food that satisfies everyone at the table.
Perfect for Leftovers: Not only is it quick, but it also stores well. Enjoy the deliciousness within two days for another easy meal!
Try pairing it with sides like guacamole or your favorite salsa for a complete dinner experience!
Chicken Bacon Ranch Quesadilla Ingredients
For the Quesadilla
• Large flour tortillas – The sturdy base for your quesadilla; swap for corn tortillas for a gluten-free option.
• Cooked chicken, shredded (2 cups) – Adds satisfying protein; rotisserie chicken is perfect for quick prep!
• Cooked bacon, crumbled (8 slices) – Infuses a smoky flavor and crunch; turkey bacon can be used for a lighter choice.
• Mexican cheese blend, shredded (2 cups) – Melts beautifully to create that gooey goodness; Monterey Jack or Cheddar work well too.
• Ranch dressing (½ cup) – Brings creaminess and tang; consider blue cheese dressing for a tangier twist.
• Diced tomatoes (1 cup) – Contributes freshness and acidity; can be skipped or substituted with zesty salsa.
• Red onion, finely chopped (¼ cup) – Adds sharpness to the filling; swap for green onions for a milder flavor.
• Fresh cilantro, chopped (2 tablespoons) – Brightens up the dish; feel free to omit if you’re not a fan.
• Butter (2 tablespoons) – Ensures a golden, crispy finish; olive oil is a great dairy-free alternative.
Enjoy crafting this delicious Chicken Bacon Ranch Quesadilla with these fresh ingredients!
Step‑by‑Step Instructions for Chicken Bacon Ranch Quesadilla
Step 1: Mix Chicken and Dressing
In a mixing bowl, combine 2 cups of shredded cooked chicken with ½ cup of ranch dressing, ensuring every piece of chicken is well-coated. This mixture should be creamy and flavorful, setting the tone for your Chicken Bacon Ranch Quesadilla. Allow the flavors to meld while you prepare the other ingredients.
Step 2: Add Fillings
To the chicken and ranch mixture, gently fold in 8 slices of crumbled cooked bacon, 1 cup of diced tomatoes, ¼ cup of finely chopped red onion, and 2 tablespoons of fresh cilantro. Mix until all ingredients are evenly distributed, creating a delicious and colorful filling. The combination of textures and flavors will elevate your quesadilla experience.
Step 3: Layer Tortilla
Take a large flour tortilla and place it on a clean surface. On one half of the tortilla, sprinkle a generous layer of 1 cup of shredded Mexican cheese blend, followed by a hearty portion of the chicken mixture. Top with another layer of cheese to ensure a beautifully melted center. This layering process is key for that gooey, delightful melt in your Chicken Bacon Ranch Quesadilla.
Step 4: Fold Tortilla
Carefully fold the tortilla in half, enclosing the delicious fillings. Press gently to secure the contents, making sure the quesadilla maintains its shape. This step is crucial to prevent any filling from spilling out while cooking, allowing for an easy flip in the skillet.
Step 5: Cook Quesadilla
Heat 2 tablespoons of butter in a skillet over medium heat until melted and bubbling. Gently place the folded quesadilla into the skillet and cook for about 2-3 minutes until the bottom is golden brown and crispy. Flip the quesadilla carefully using a spatula and cook the other side for another 2-3 minutes until the cheese is melted and the tortilla is nicely browned.
Step 6: Slice and Serve
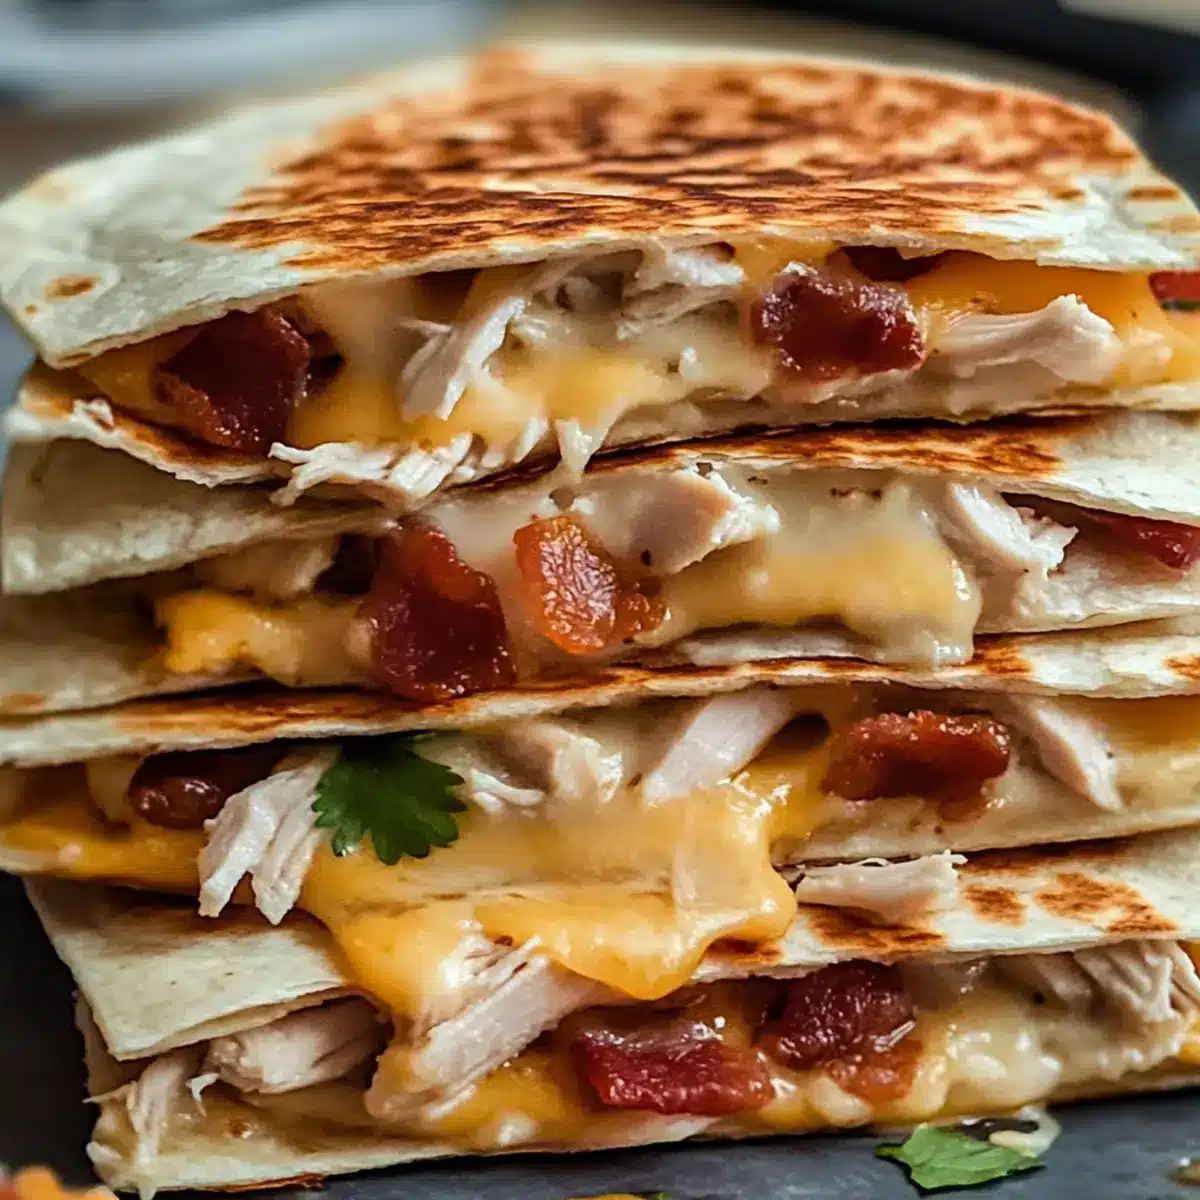
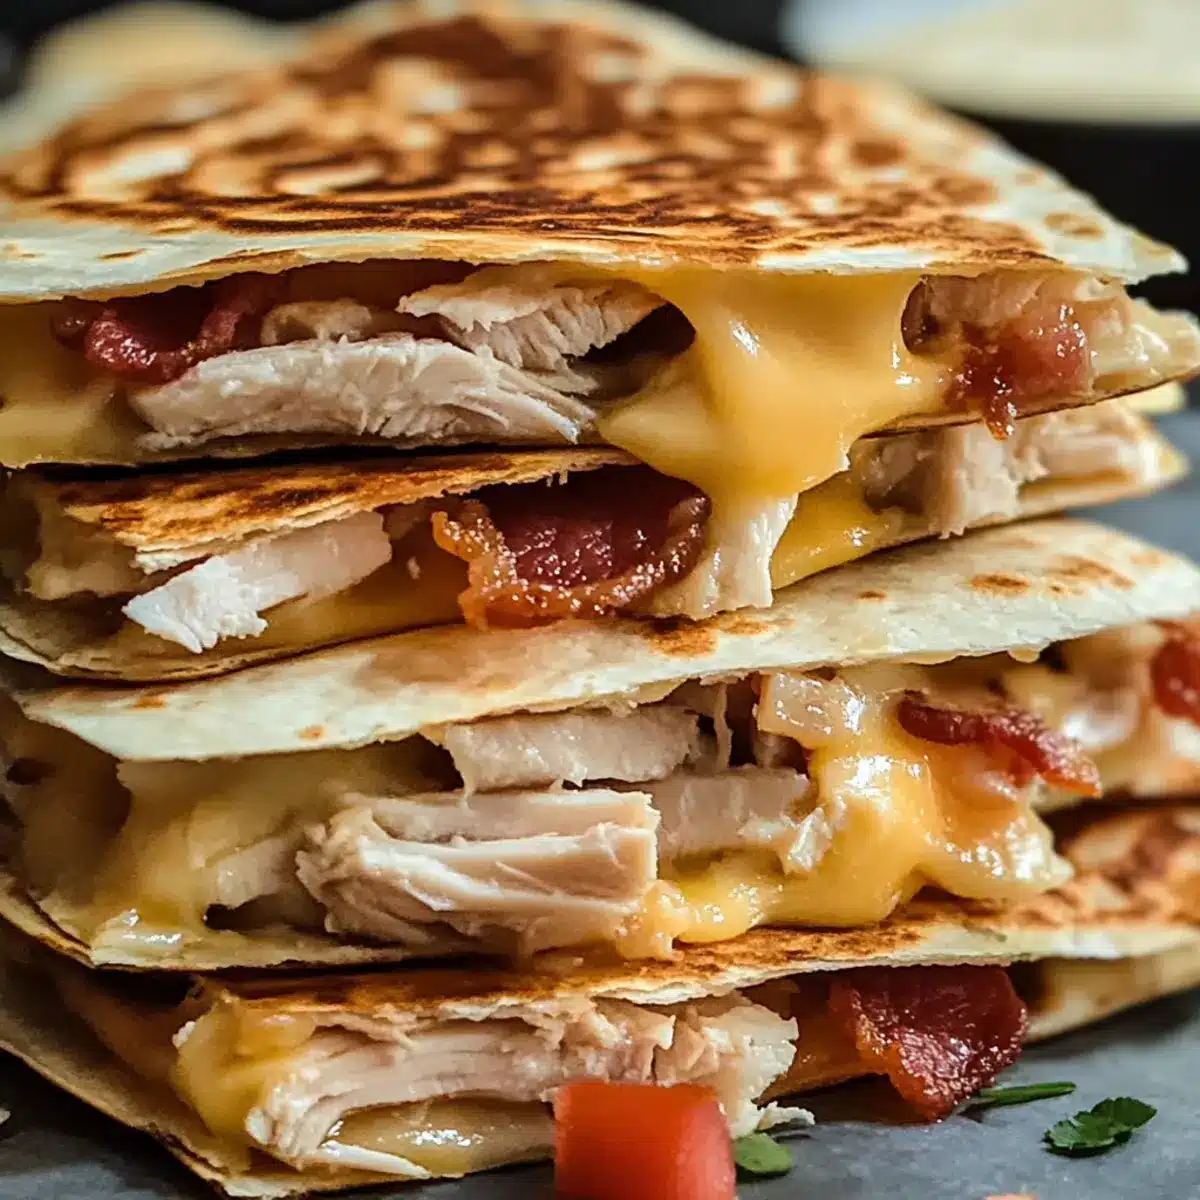
Once cooked to perfection, remove the quesadilla from the skillet and let it rest for a minute—this helps the cheese set. Using a sharp knife, cut the quesadilla into wedges for easy serving. The finished Chicken Bacon Ranch Quesadilla should be crispy on the outside with a savory, cheesy filling ready to be enjoyed!
Make Ahead Options
These Chicken Bacon Ranch Quesadillas are perfect for meal prep enthusiasts! You can prepare the filling—mixing together the shredded chicken, ranch dressing, crumbled bacon, diced tomatoes, red onion, and cilantro—up to 24 hours ahead. Store this mixture in an airtight container in the refrigerator to maintain freshness. Additionally, you can pre-shred the cheese and keep it separate, ensuring it stays melty when assembled. When you’re ready to serve, simply layer the filling on the tortilla with cheese and cook as directed. Enjoy the convenience of having a delicious dinner ready in minutes, just as satisfying as when freshly made!
Storage Tips for Chicken Bacon Ranch Quesadilla
Fridge: Store leftovers in an airtight container for up to 2 days. This will help maintain the quesadilla’s freshness and prevent it from becoming soggy.
Freezer: If you want to freeze the quesadilla, wrap it tightly in plastic wrap and then aluminum foil. It can be stored in the freezer for up to 3 months.
Reheating: To enjoy your Chicken Bacon Ranch Quesadilla, reheat in a skillet over medium heat for 3-5 minutes on each side until heated through and crispy.
Expert Tips for Chicken Bacon Ranch Quesadilla
-
Avoid Overstuffing: Keep fillings generous but manageable to prevent tearing the tortilla and making flipping difficult.
-
Medium Heat Cooking: Use medium heat to achieve a crispy, golden tortilla without burning, ensuring the cheese melts perfectly.
-
Let it Rest: Allow the cooked quesadilla to rest for a minute before slicing, so the cheese can set and fillings won’t spill.
-
Use Fresh Ingredients: Fresh diced tomatoes and cilantro brighten up the flavor, giving your Chicken Bacon Ranch Quesadilla an amazing freshness.
-
Customize to Taste: Experiment with different cheeses or dressings for unique flavor twists that suit your family’s preferences.
Chicken Bacon Ranch Quesadilla Variations
Feel free to get creative with this Chicken Bacon Ranch Quesadilla—tailoring it to your taste buds is half the fun!
-
Spicy Kick: Add jalapeños for a zesty heat. If you’re a fan of spice, these little peppers will make your quesadilla sing!
-
Creamy Avocado: Include avocado slices for a buttery texture. This twist will add a luxurious creaminess that beautifully complements the smoky flavors.
-
Smoky Flavor Burst: Swap ranch dressing for smoky chipotle sauce to bring a bold and fiery layer to your quesadilla.
-
Cheesy Twist: Experiment with different types of cheese, like pepper jack for an extra kick or gouda for a rich savories. Each cheese brings its unique character!
-
Lower Fat Option: Use turkey bacon instead of traditional bacon for a leaner, yet still indulgent experience. Your taste buds won’t know the difference!
-
Vegetarian Option: Swap the chicken completely for grilled vegetables like bell peppers and zucchini. You’ll keep all the satisfying flavors while making it meat-free.
-
Herb-Packed: Add a few tablespoons of fresh spinach or arugula to the filling. This little addition brings a fresh boost of flavor and nutrition.
-
Salsa Sensation: Top with fresh salsa instead of diced tomatoes to elevate the flavor while giving that tangy twist that pairs beautifully with the ranch and bacon.
Ready to take your quesadilla journey to the next level? Try pairing with a side of guacamole or a refreshing salad for a complete meal that everyone will love! For more delicious options, don’t forget to check out my recipes for Street Corn Chicken and Garlic Chicken with Roasted Potatoes.
What to Serve with Chicken Bacon Ranch Quesadilla
Let’s elevate your meal experience with delightful side dishes that will complement the comforting flavors of your quesadilla.
-
Guacamole:
Creamy and rich, a fresh guacamole brings a cool contrast that balances the savory crunch of the quesadilla. -
Mexican Street Corn:
Sweet corn topped with creamy sauce and spices adds a burst of flavor and great texture to your plate. -
Fresh Salsa:
A zesty salsa brings brightness to each bite, enhancing the smoky notes of the Chicken Bacon Ranch Quesadilla. -
Crispy Nachos:
Serve a side of crispy nachos loaded with cheese and jalapeños for an irresistible crunch that mirrors the quesadilla. -
Lime-Cilantro Rice:
Light and fragrant, this rice dish brings a refreshing note, softly lifting the richness of the meal. -
Side Salad:
A fresh salad with mixed greens, tomatoes, and a citrus dressing adds a burst of color and health to your table.
Pairing these sides with your Chicken Bacon Ranch Quesadilla will not only create a more satisfying meal but also make dinner feel like a special occasion!
Chicken Bacon Ranch Quesadilla Recipe FAQs
What kind of tortillas should I use for this quesadilla?
You can use large flour tortillas for a classic quesadilla. If you’re looking for a gluten-free option, corn tortillas work beautifully too! The texture will differ slightly, but they’ll still hold your delicious fillings wonderfully.
How can I store leftovers of my Chicken Bacon Ranch Quesadilla?
For best results, place leftover quesadillas in an airtight container and refrigerate them. They’ll stay fresh for up to 2 days. When you’re ready to enjoy them again, simply reheat them in a skillet over medium heat for 3-5 minutes on each side until heated through and crispy.
Can I freeze my Chicken Bacon Ranch Quesadilla?
Absolutely! To freeze, wrap each quesadilla tightly in plastic wrap, then cover it with aluminum foil. This helps prevent freezer burn. They can be stored in the freezer for up to 3 months. When you’re ready to eat one, just thaw in the fridge overnight and reheat in a skillet.
What if I have a food allergy?
If you’re concerned about allergens, you can easily customize the ingredients. For example, use gluten-free corn tortillas to eliminate gluten. If dairy is a concern, consider substituting the cheese with a dairy-free alternative and use olive oil instead of butter for cooking. Always check labels on ranch dressing and other packaged ingredients.
How can I avoid a soggy quesadilla?
To prevent sogginess, ensure that your ingredients, especially tomatoes, are thoroughly drained before mixing into the filling. Use a moderate amount of ranch dressing, as too much can lead to moisture build-up. Cooking over medium heat also helps in achieving that perfect crispy exterior!

Satisfy Your Cravings with Chicken Bacon Ranch Quesadilla
Ingredients
Equipment
Method
- In a mixing bowl, combine 2 cups of shredded cooked chicken with ½ cup of ranch dressing, ensuring every piece of chicken is well-coated.
- Gently fold in 8 slices of crumbled cooked bacon, 1 cup of diced tomatoes, ¼ cup of finely chopped red onion, and 2 tablespoons of fresh cilantro.
- Take a large flour tortilla and place it on a clean surface. On one half, sprinkle a generous layer of 1 cup of shredded Mexican cheese, followed by the chicken mixture.
- Carefully fold the tortilla in half, pressing gently to secure the contents.
- Heat 2 tablespoons of butter in a skillet over medium heat. Place the folded quesadilla into the skillet and cook for about 2-3 minutes until the bottom is golden brown.
- Flip the quesadilla and cook for another 2-3 minutes until the cheese is melted and the tortilla is browned.
- Remove the quesadilla from the skillet and let it rest for a minute before slicing into wedges for easy serving.
Leave a Reply