
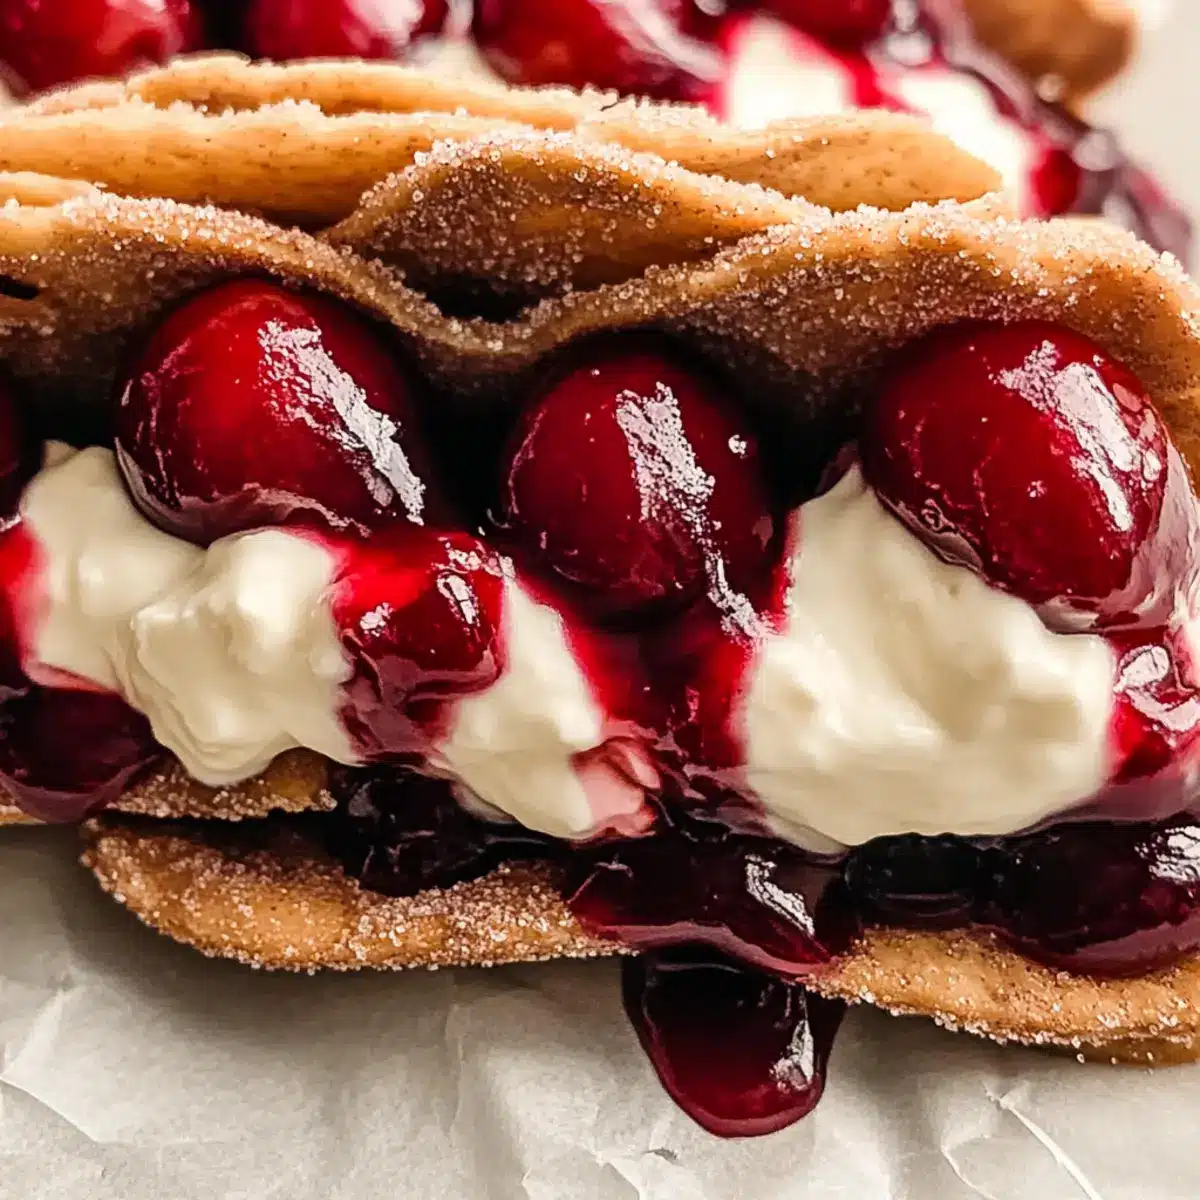
As I stood in my kitchen, the intoxicating aroma of frying tortillas whispered promises of an extraordinary dessert. Cherry cheesecake tacos are the perfect blend of playful and satisfying, transforming the familiar concept of cheesecake into a fun, handheld treat. With their crispy, cinnamon-sugar-coated shells, these delightful dessert tacos not only bring a delightful crunch but also come together in a snap, making them ideal for gatherings or a special family night. The combination of smooth cheesecake filling topped with sweet cherry pie filling offers a unique twist that will leave everyone wanting more. Whether served at parties or just as a treat to brighten your day, have you ever seen such a creative way to enjoy cheesecake?
Why are Cherry Cheesecake Tacos so special?
Fun and Unique: Cherry cheesecake tacos turn a classic dessert into a playful handheld treat that will surprise your guests.
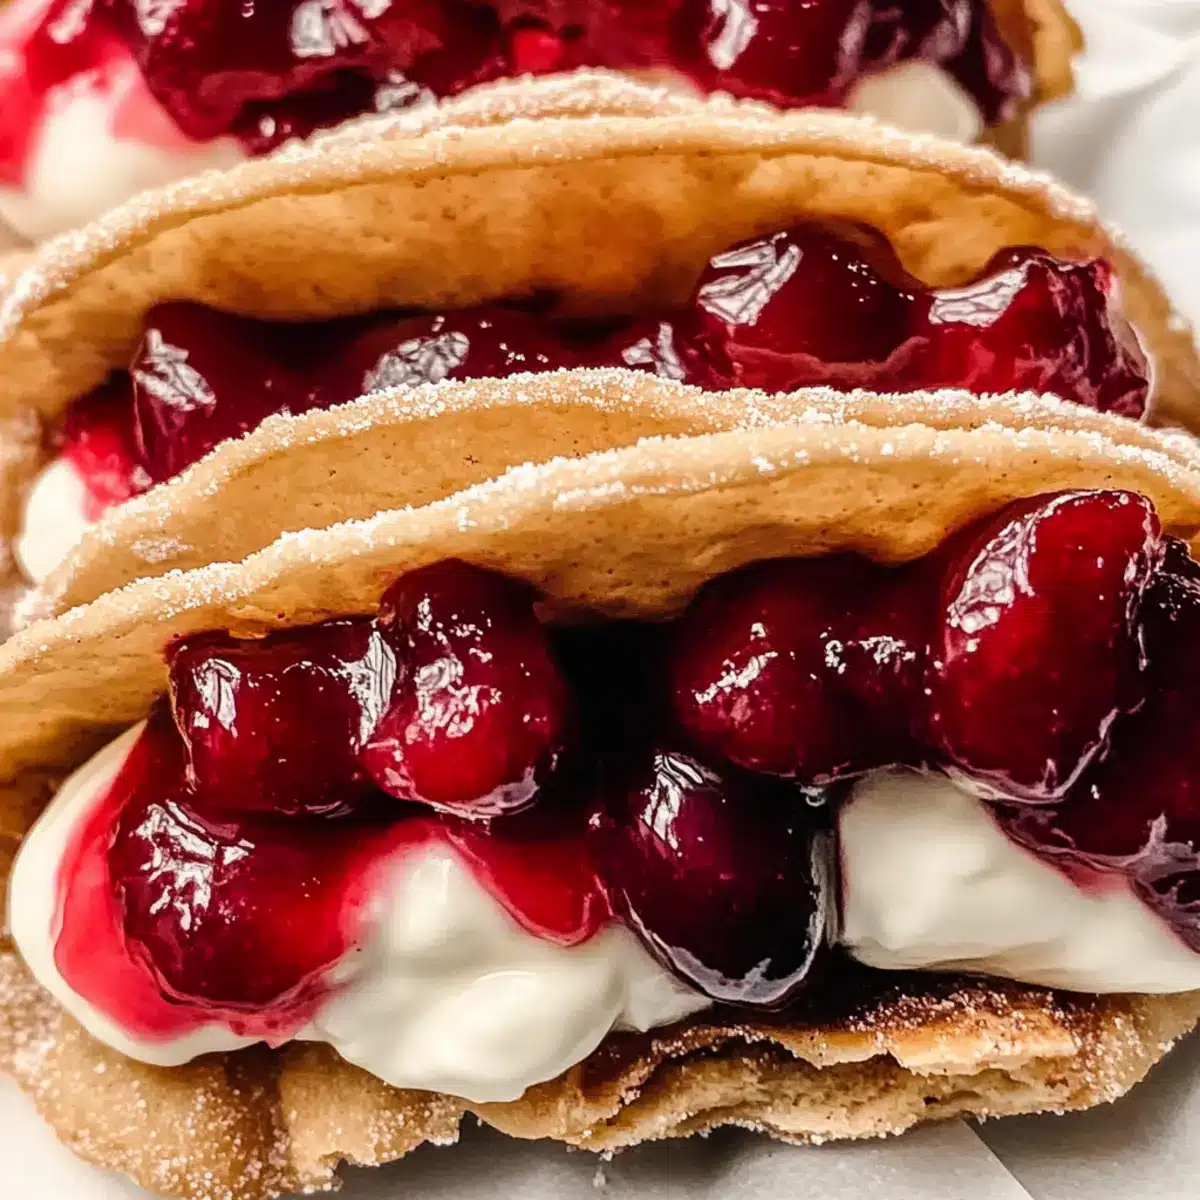
Crispy Delight: The cinnamon-sugar-coated tortilla shells add a delightful crunch, making each bite unforgettable.
Quick and Easy: This recipe comes together quickly, perfect for weeknight desserts or last-minute gatherings.
Customizable Toppings: Swap out cherry pie filling for other fruits like blueberry or peach for a twist that keeps things exciting.
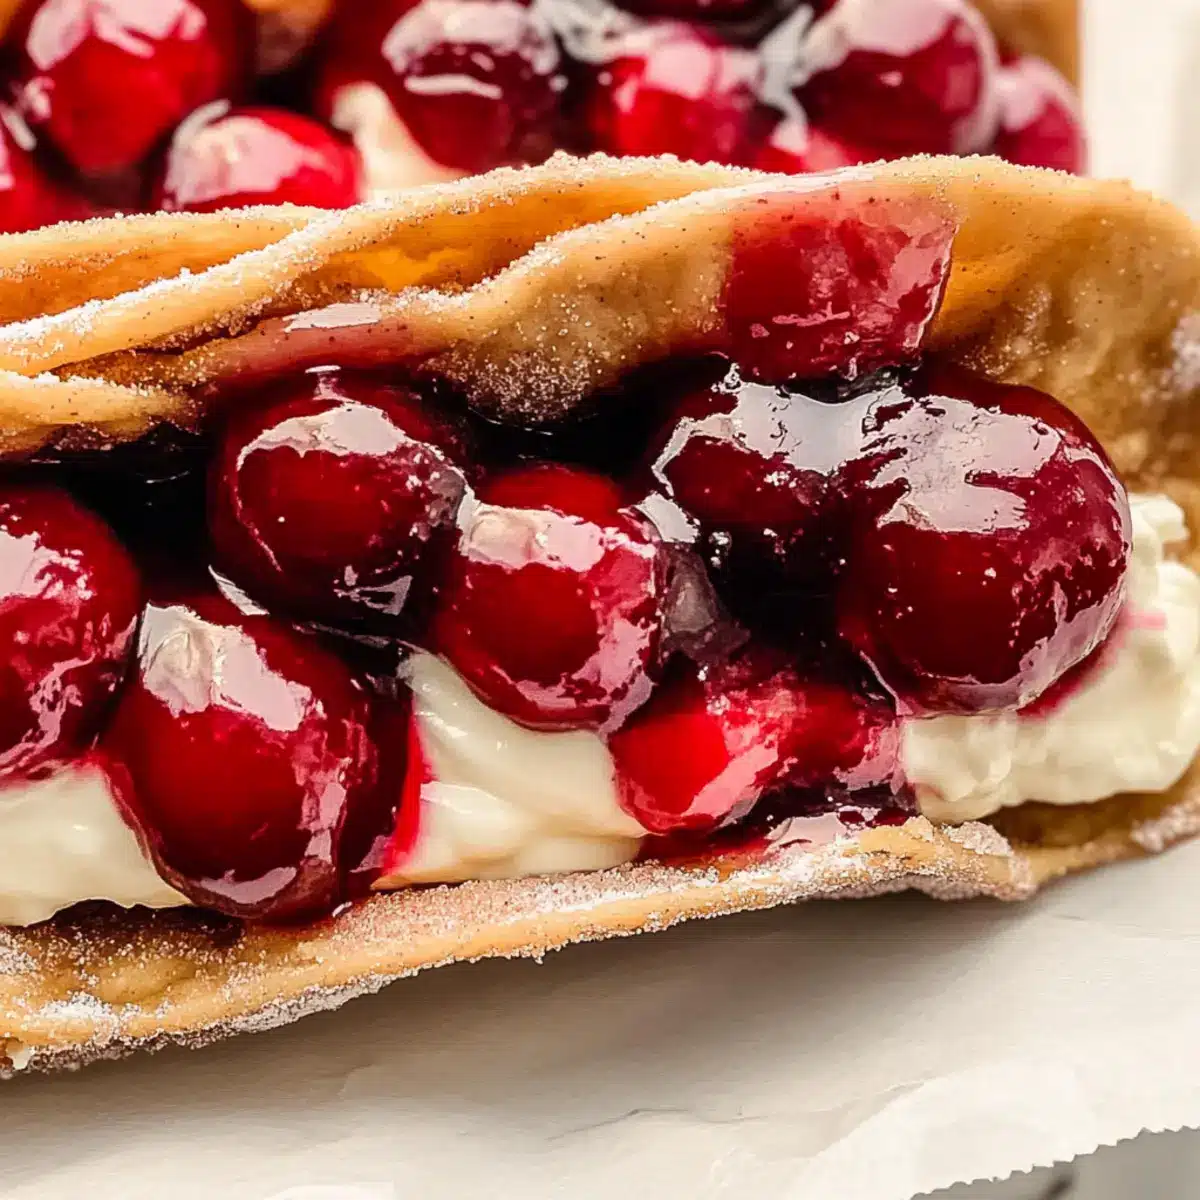
Crowd-Pleasing Flavor: Rich, creamy cheesecake filling pairs wonderfully with sweet fruit on top, ensuring everyone at your table will be asking for seconds! For more creative dessert ideas, check out these Cherry Cheesecake Bites or explore our delicious Brownie Cheesecake Sweet options!
Cherry Cheesecake Tacos Ingredients
For the Taco Shells
- Street-Sized Flour Tortillas – These smaller tortillas are easier to handle and fry, making the perfect base for your cheesecake tacos.
- Neutral Oil (Vegetable, Avocado, Peanut) – Choose your preferred oil for frying; maintaining the right temperature is key to achieving those crispy shells.
- Unsalted Butter – Melt before using; it adds a rich, buttery flavor to your cinnamon sugar coating.
- Granulated Sugar – This sweetener is a must for your cinnamon sugar mix, enhancing the overall taste of your dessert.
- Ground Cinnamon – Essential for that churro-like flavor in the sugar coating!
For the Cheesecake Filling
- Full-Fat Cream Cheese – Ensure it’s at room temperature for easy blending; it contributes to a luxurious, creamy filling.
- Confectioners’ Sugar – This powdered sugar sweetens the cheesecake without the graininess of granulated sugar.
- Vanilla Extract – A splash of this improves the flavor profile of your cheesecake, making it irresistible.
- Heavy Whipping Cream – Whip this to stiff peaks to add lightness and texture to your filling.
For the Finishing Touch
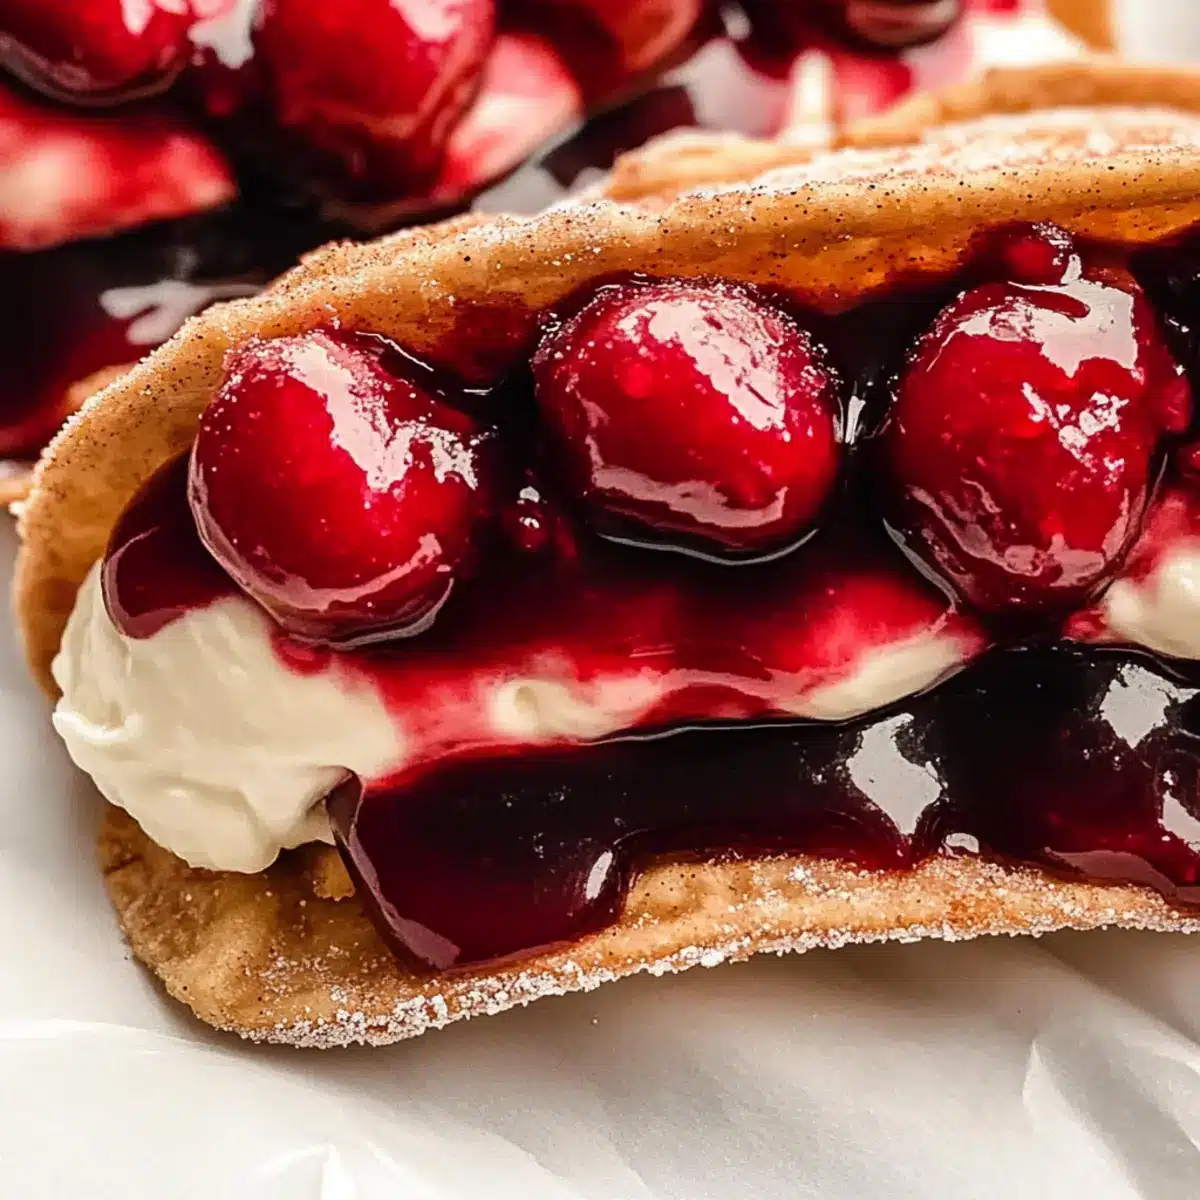
- Cherry Pie Filling – A sweet, fruity topping that adds the perfect burst of flavor to finish your Cherry Cheesecake Tacos and keep guests coming back for more!
Delight your taste buds with these unique Cherry Cheesecake Tacos, merging the best of two beloved desserts into one unforgettable treat!
Step‑by‑Step Instructions for Cherry Cheesecake Tacos
Step 1: Prepare Tortillas
Using a fork, prick the street-sized flour tortillas all over to prevent bubbling during frying. This is a crucial step to ensure they fry evenly into perfect taco shapes. Set the pricked tortillas aside while you heat up the oil, getting ready for the delightful crunch of your Cherry Cheesecake Tacos.
Step 2: Heat Oil
In a deep pot, pour in enough neutral oil to reach about 3 inches deep and heat it to 325°F. Use a candy thermometer to monitor the temperature closely. This is key for achieving crispy taco shells. Once the oil is ready, you’ll see a slight shimmer on the surface, signaling that frying can begin.
Step 3: Fry Tortillas
Carefully fold each tortilla in half and gently lower it into the hot oil using tongs. Fry the tortillas for about 1 minute, or until they are pale golden brown and crisp. Be sure not to overcrowd the pot, as this can drop the temperature and affect the frying process. Once done, remove them from the oil and let excess oil drip off.
Step 4: Shape and Cool
Immediately after frying, place the crispy tortillas in a taco rack or a muffin tin to hold their shape while they cool. This step is vital for firm taco shells, allowing them to set as they cool down. Let them cool for approximately 10 minutes; they’ll become even crispier as they settle.
Step 5: Coat Shells
Once cooled, brush each taco shell with melted butter to enhance the flavor. Shortly after, dip each shell into a mixture of granulated sugar and ground cinnamon to create that delicious cinnamon sugar coating. This adds a delightful sweetness and crunch to your Cherry Cheesecake Tacos, taking them to the next level!
Step 6: Make Filling
In a mixing bowl, beat the full-fat cream cheese, confectioners’ sugar, and vanilla extract together until smooth and creamy. This should take about 2-3 minutes. Once combined, gently fold in the whipped heavy cream until stiff peaks form. This creates a luscious cheesecake filling that is both creamy and light, perfect for your tacos.
Step 7: Fill Tacos
Using a piping bag or simple spoon, carefully fill each taco shell with the creamy cheesecake filling, ensuring an even distribution. Don’t be shy; fill them generously! After filling the tacos, top each one with a spoonful of cherry pie filling, adding that sweet and tangy burst that beautifully complements the rich cheesecake base.
Make Ahead Options
These Cherry Cheesecake Tacos are perfect for meal prep, allowing busy home cooks to enjoy a delightful dessert without the last-minute rush! You can make the cheesecake filling up to 3 days in advance; simply store it in an airtight container in the refrigerator to keep it fresh and creamy. For the taco shells, fry them fresh just before serving to maintain their delightful crunch—refrigerated shells may lose their crispness. When you’re ready to enjoy, fill the tacos with the cheesecake mixture and top with cherry pie filling right before serving for restaurant-quality results with minimal effort. Embrace the joy of celebration with this time-saving prep!
What to Serve with Cherry Cheesecake Tacos
Elevate your dessert experience with delightful pairings that complement the sweet and tangy flavors of your cherry cheesecake tacos.
-
Vanilla Ice Cream: A scoop of creamy vanilla ice cream balances the rich cheesecake and cherry flavors, creating a lovely contrast. The cold creaminess melts into the warm taco shells, enhancing every bite.
-
Fresh Berries: Serve with a side of fresh raspberries or blueberries for a pop of color and flavor. Their tartness will beautifully offset the sweetness, adding a refreshing touch to your dessert table.
-
Chocolate Drizzle: Drizzle warm chocolate sauce over your tacos for a decadent twist. The rich chocolate enhances the sweet cherry and creamy cheesecake in a blissful harmony.
-
Whipped Cream: A dollop of homemade whipped cream brings an airy texture, elevating the richness of the filling while adding a luxurious finishing touch.
-
Sparkling Lemonade: Pair your tacos with a glass of sparkling lemonade for a refreshing drink that cleanses the palate between bites. The citrus notes add a zesty zing that complements the sweetness beautifully.
-
Mini Fruit Salad: Keep things light with a mini fruit salad of seasonal fruits. Its vibrant colors and natural sweetness will entice and delight your guests, making it a lovely addition to the dessert spread.
How to Store and Freeze Cherry Cheesecake Tacos
Fridge: Store any uneaten assembled tacos in the refrigerator, wrapped tightly in plastic wrap or in an airtight container for up to 1 day to maintain freshness, but crispy texture may lessen.
Filling Storage: Keep the cheesecake filling in the fridge for up to 3 days in an airtight container. This allows for easy assembly when you’re ready to enjoy these Cherry Cheesecake Tacos again!
Shells Freezing: Store leftover tortilla shells (fried but unfilled) in a freezer-safe bag for up to 2 months. Reheat in a 350°F oven for about 5-7 minutes before serving.
Avoid Assembling Ahead: Because the filled tacos won’t hold their crispy texture, wait to assemble them until you’re ready to serve for the best experience!
Expert Tips for Cherry Cheesecake Tacos
-
Monitor Oil Temperature: Keep a close eye on the oil; too hot can burn the shells, while too cool makes them soggy. Aim for a consistent 325°F for perfect frying.
-
Use Room Temperature Ingredients: Ensure your cream cheese is at room temperature for smooth blending in the cheesecake filling. This avoids lumps and achieves a creamy texture.
-
Crispy Shells Matter: Assemble your cherry cheesecake tacos right before serving to keep the shells crunchy. The longer they sit filled, the softer they’ll become.
-
Experiment with Fillings: Don’t hesitate to switch up the cherry pie filling! Explore alternatives like blueberry or mixed berry for a fun twist on these dessert tacos.
-
Avoid Overcrowding: When frying the tortillas, fry only a few at a time. Overcrowding can lower the oil temperature, resulting in less crispy shells for your Cherry Cheesecake Tacos.
Cherry Cheesecake Tacos Variations
Feel free to get creative and make these delightful tacos your own with these tasty adaptations.
- Gluten-Free: Use gluten-free tortillas instead of regular flour tortillas to make this dessert suitable for everyone.
- Berry Medley: Swap cherry pie filling for a blend of fresh berries for a refreshing twist. Think blueberries, strawberries, and raspberries!
- Chocolate Drizzle: Add a luscious drizzle of melted chocolate over the cherry topping for a decadent finish. This sweet touch elevates every bite.
- Coconut Flavors: Mix in shredded coconut into the cheesecake filling for a tropical flair that pairs beautifully with cherry.
- Nutty Crunch: Sprinkle slivered almonds or crushed pecans on top for a delightful crunch that complements the creamy filling.
- Spiced Caramel: Drizzle with caramel sauce mixed with cinnamon for warmth and richness that enhances the overall flavor profile.
- Peppermint Twist: During the holidays, mix in peppermint extract instead of vanilla for a festive cheesecake flavor that feels like a treat.
- Vegan Option: Substitute cream cheese with a dairy-free alternative and use coconut cream for the filling, ensuring everyone can enjoy this treat.
For more delicious flavors, consider making some delightful Crunch Cheesecake Tacos or explore variations with our Burnt Basque Cheesecake.
Cherry Cheesecake Tacos Recipe FAQs
What type of tortillas should I use for the taco shells?
I recommend using street-sized flour tortillas, as they are easier to handle and fry. These smaller tortillas create the perfect base for your Cherry Cheesecake Tacos, allowing for a delightful handheld experience.
How should I store leftover Cherry Cheesecake Tacos?
Any uneaten assembled tacos can be stored in the refrigerator, wrapped tightly in plastic wrap or placed in an airtight container for up to 1 day. However, keep in mind that the crispy texture may lessen over time, so it’s best to enjoy them fresh.
Can I freeze the taco shells?
Absolutely! You can store leftover fried but unfilled tortilla shells in a freezer-safe bag for up to 2 months. When you’re ready to enjoy them, just reheat the shells in a preheated oven at 350°F for about 5-7 minutes until warmed and crispy.
What’s the best way to prepare the cheesecake filling in advance?
You can prepare the cheesecake filling ahead of time and keep it in an airtight container in the fridge for up to 3 days. This way, when you’re ready to serve, simply fill the taco shells with the chilled filling and top with cherry pie filling for a quick and delicious treat!
Can I use other types of fruit fillings instead of cherry pie filling?
Definitely! Feel free to swap out the cherry pie filling for other fruit options such as blueberry, peach, or a mix of fresh berries. This allows for a delightful variation in flavors, keeping your Cherry Cheesecake Tacos exciting every time.
Irresistible Cherry Cheesecake Tacos That Wow Your Taste Buds
Ingredients
Equipment
Method
- Using a fork, prick the street-sized flour tortillas all over to prevent bubbling during frying.
- In a deep pot, pour in enough neutral oil to reach about 3 inches deep and heat it to 325°F.
- Carefully fold each tortilla in half and gently lower it into the hot oil using tongs. Fry for about 1 minute.
- Immediately after frying, place the crispy tortillas in a taco rack or muffin tin to hold their shape while they cool.
- Once cooled, brush each taco shell with melted butter and dip into a mixture of granulated sugar and ground cinnamon.
- In a mixing bowl, beat the cream cheese, confectioners' sugar, and vanilla extract together until smooth. Fold in whipped heavy cream.
- Using a piping bag or spoon, fill each taco shell with the cheesecake filling and top with cherry pie filling.
Leave a Reply