
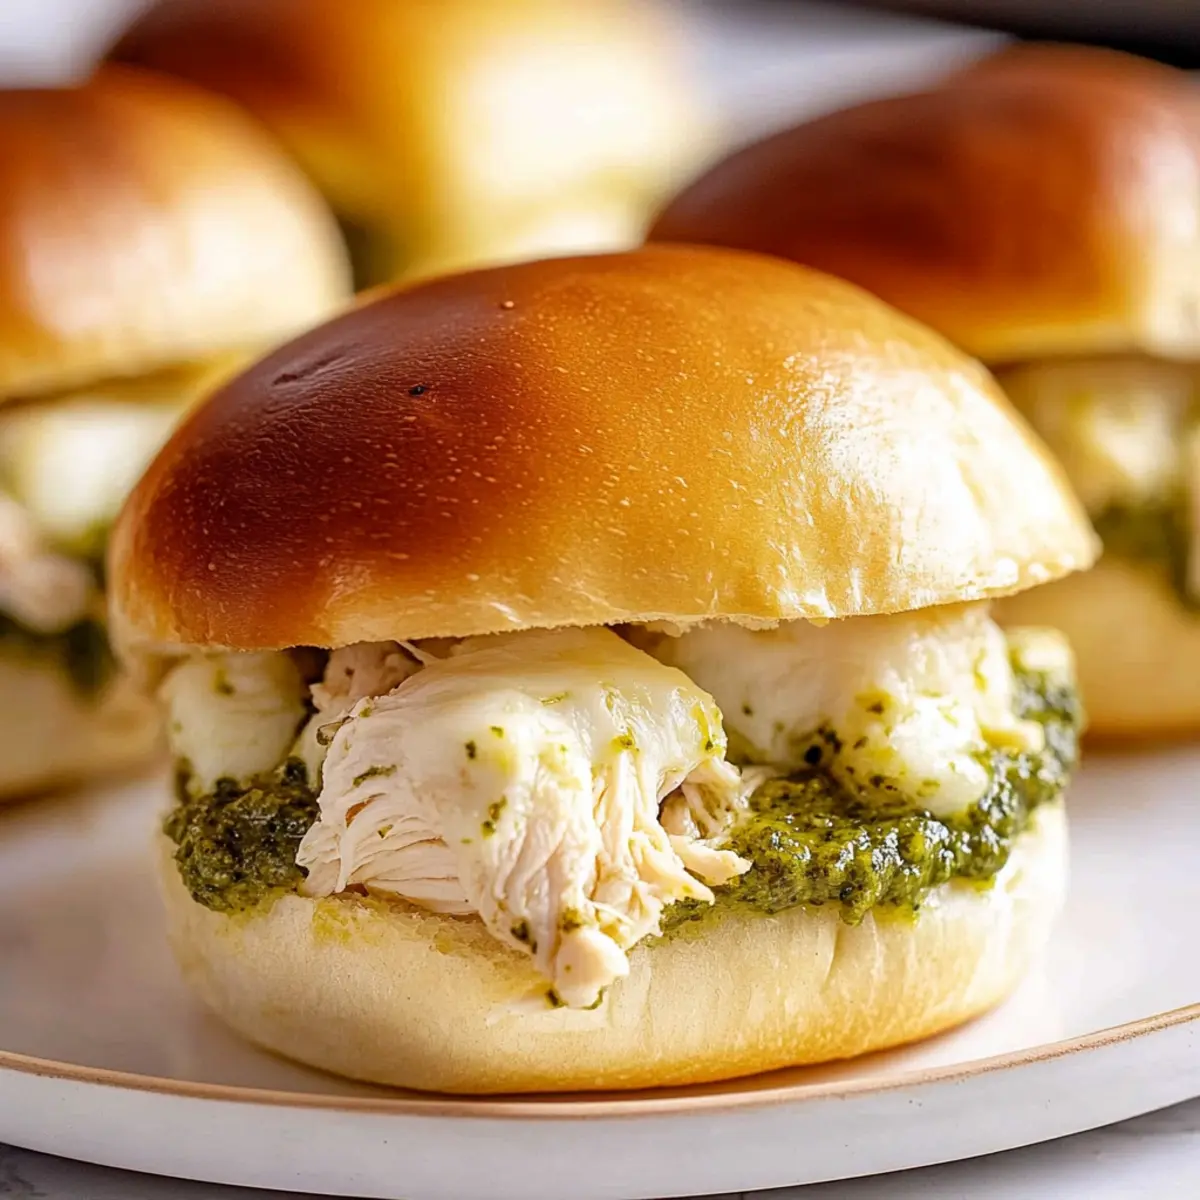
Picture the warm, inviting aroma of freshly baked bread, mingling with the savory scent of garlic and herby pesto—it’s a smell that instantly makes your heart feel at home. Today, I’m excited to share my Cheesy Garlic Pesto Chicken Sliders Recipe, a delightful way to elevate your game day or cozy family dinner. These sliders not only come together in no time but also offer a wonderfully satisfying melty texture that’s sure to charm everyone at the table. With tender shredded chicken and gooey mozzarella enveloped in soft slider rolls, they make for the perfect crowd-pleaser. Plus, they’re super versatile—you can whip these up with store-bought ingredients or showcase your culinary skills with homemade pesto! Ready to dive into the world of sliders that are both delicious and easy to prep? Let’s get started!
Why are these sliders a must-try?
Quick and Easy: The simple preparation means you can whip these up in under 30 minutes, making it a perfect dish for unexpected guests or last-minute gatherings.
Irresistible Flavor Combination: Each bite features a harmonious blend of savory chicken, zesty pesto, and melty mozzarella that will leave your taste buds dancing.
Versatile Ingredients: Feel free to customize with your favorite cheeses or add some greens—spinach or jalapeños for a punch—keeping meals exciting.
Crowd-Pleaser: Whether it’s a game day or family dinner, these sliders are guaranteed to impress and satisfy eaters of all ages.
Comforting Texture: The golden, gooey exterior combined with tender fillings creates a delightful sensory experience for everyone. For more easy dinner ideas, check out my Gooey Cheesy Garlic or One Pan Chicken recipes!
Cheesy Garlic Pesto Chicken Sliders Ingredients
For the Sliders
• Shredded Chicken – Provides the main protein; for convenience, use rotisserie chicken instead.
• Basil Pesto – Adds a fresh, herbaceous flavor; store-bought or homemade works beautifully.
• Mozzarella Cheese – Creates a gooey, melty texture; provolone can be a sharper substitute.
• Slider Rolls – Soft bread to enclose fillings; whole wheat or gluten-free rolls are perfect alternatives.
• Garlic Butter – Enhances flavor with a rich aroma; olive oil offers a lighter option.
• Salt & Pepper – Always adjust seasoning to your taste for the best flavors.
Let’s get cooking and transform these ingredients into the irresistible Cheesy Garlic Pesto Chicken Sliders Recipe you’ll crave!
Step‑by‑Step Instructions for Cheesy Garlic Pesto Chicken Sliders Recipe
Step 1: Preheat Your Oven
Begin by preheating your oven to 350°F (175°C). This ensures that the Cheesy Garlic Pesto Chicken Sliders will bake evenly and thoroughly. While the oven warms up, gather all your ingredients and prepped cooking equipment, including a baking sheet lined with parchment for easy cleanup.
Step 2: Mix the Filling
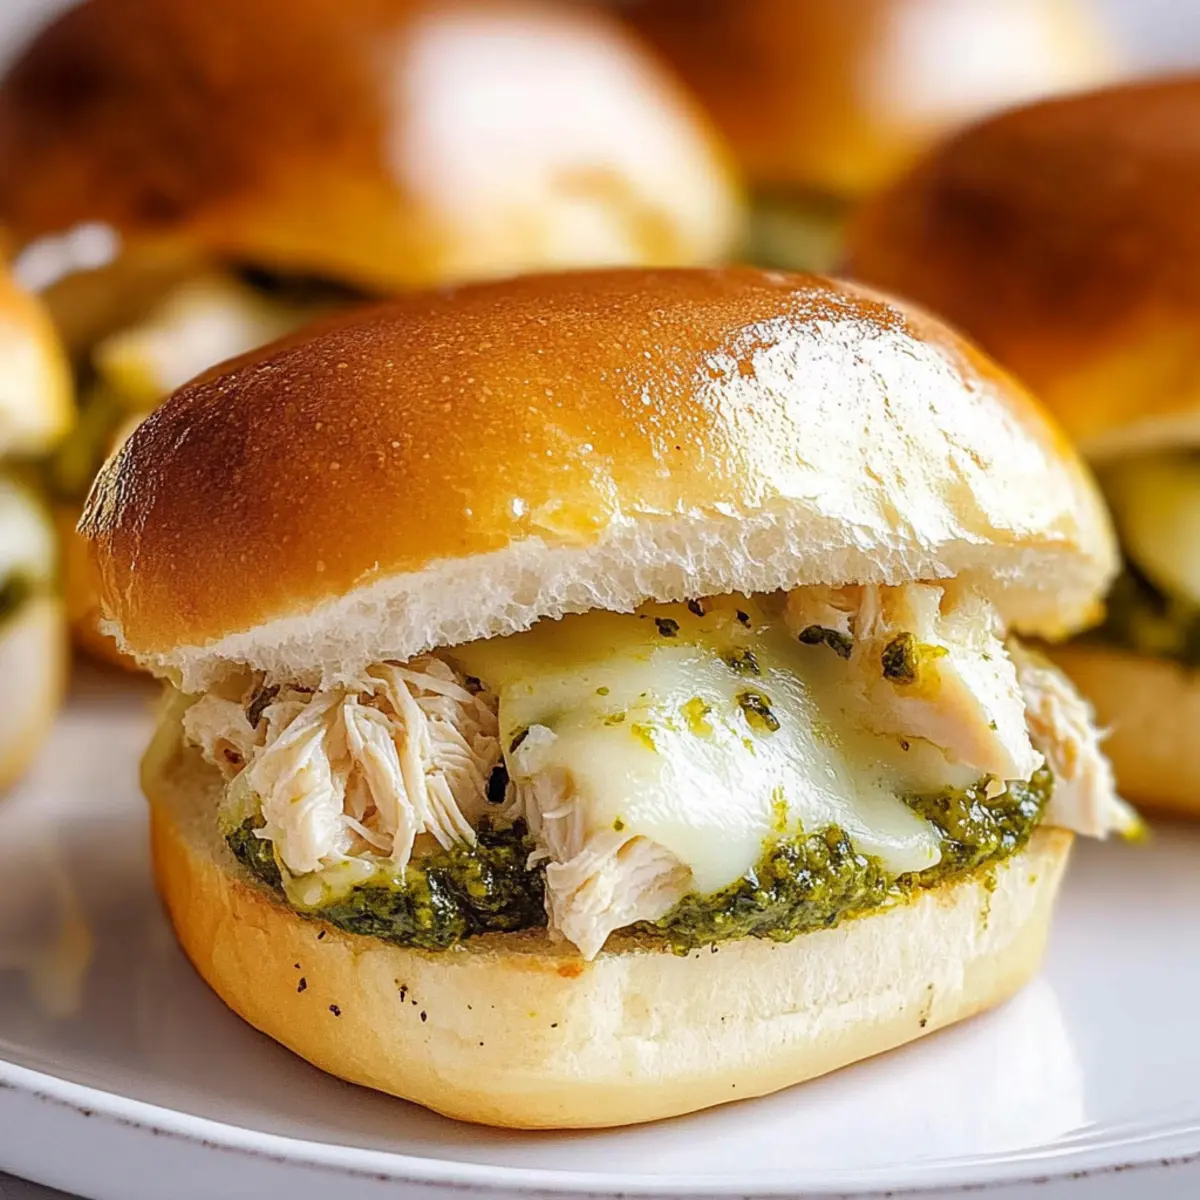
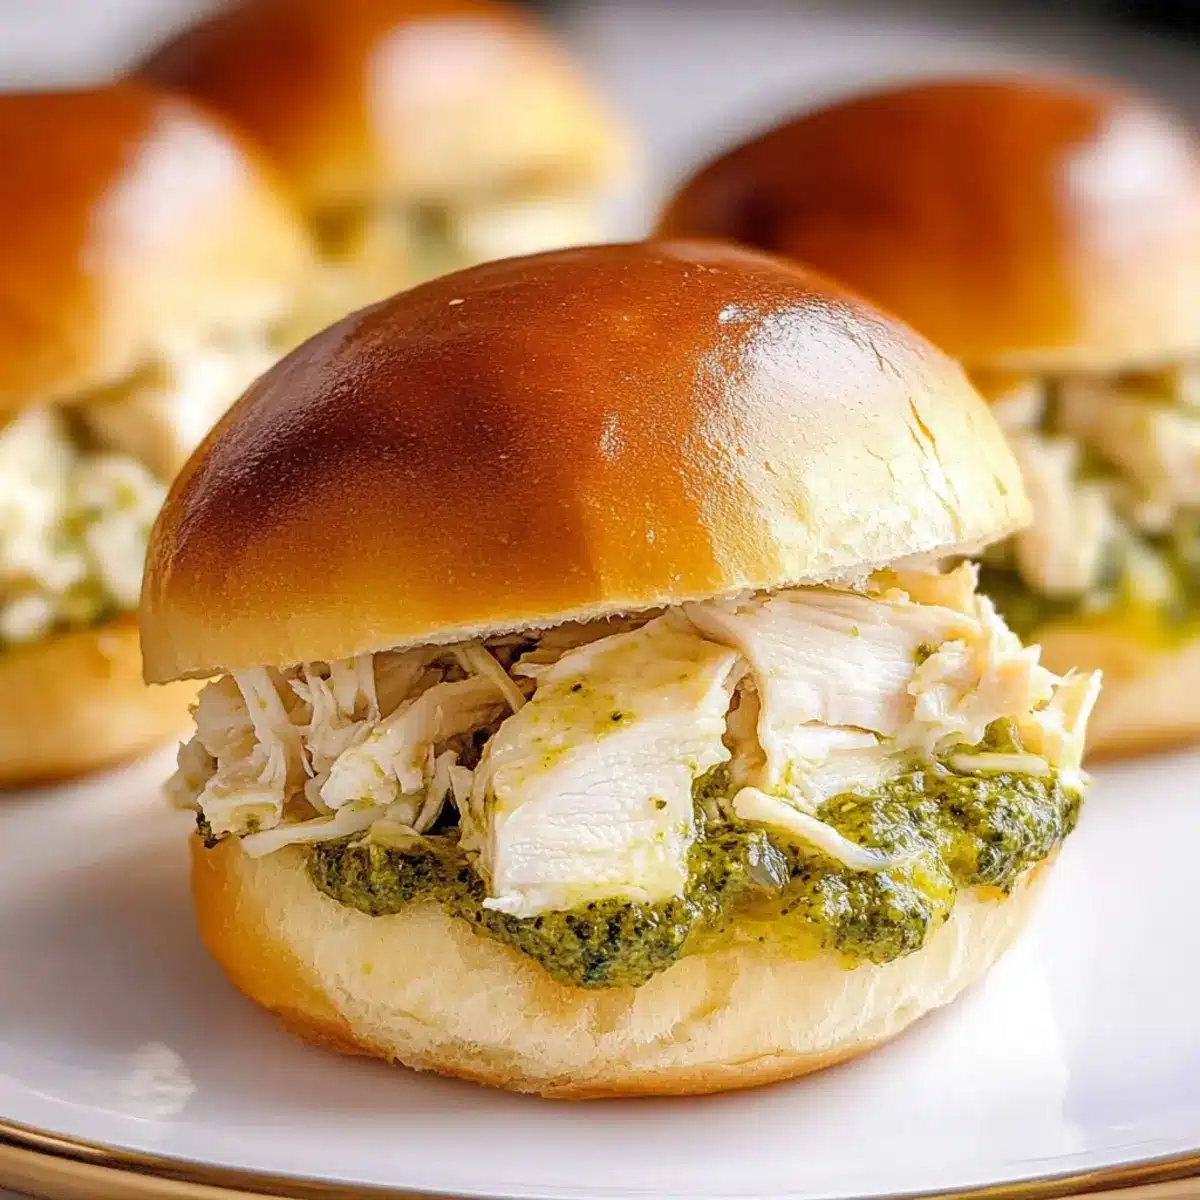
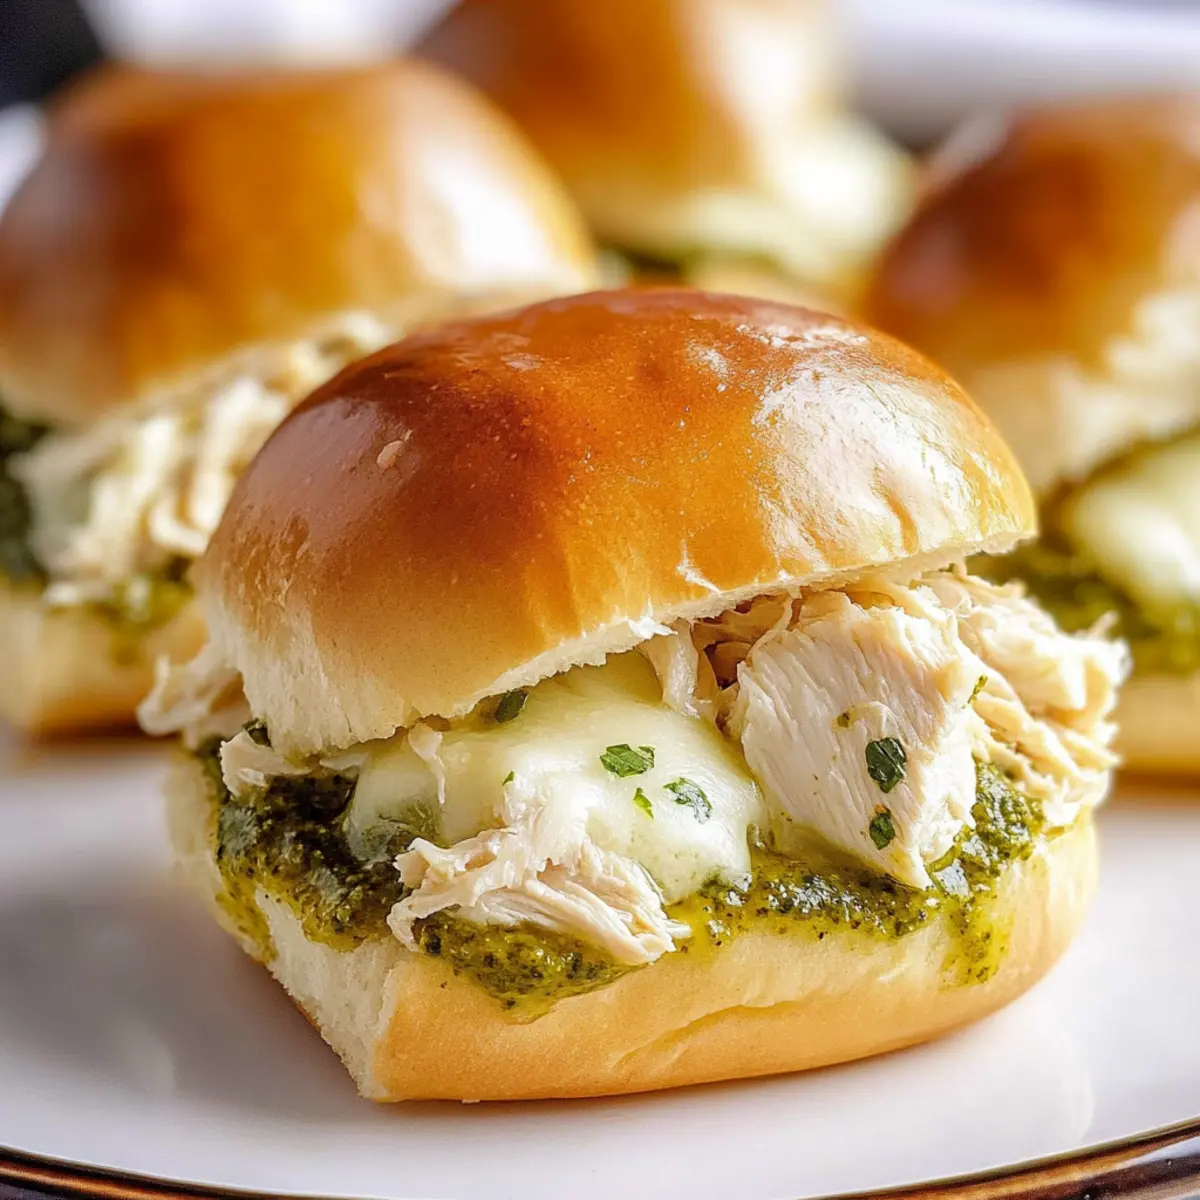
In a medium-sized mixing bowl, combine your shredded chicken with basil pesto and mozzarella cheese. Use a spatula to fold the ingredients together until everything is well coated and the cheese is evenly distributed. This flavorful mixture is what will give your sliders their delicious, melty center that everyone will love.
Step 3: Prepare the Slider Rolls
Carefully slice the slider rolls in half horizontally and place the bottom halves on the prepared baking sheet. Make sure the seams are facing up to hold the filling later. The soft rolls will cradle the chicken mixture perfectly. Leaving the tops aside for now, it helps to pack in that gooey goodness!
Step 4: Assemble Your Sliders
Spoon the chicken mixture generously onto the bottom halves of each slider roll. Ensure each roll is equally filled to get that delightful Cheesy Garlic Pesto Chicken goodness in every bite. For an extra touch, press down lightly on the filling to compact it, allowing the sliders to hold together beautifully when baked.
Step 5: Add Garlic Butter
In a small bowl, melt some garlic butter. Using a brush or spoon, generously coat the tops of the slider rolls with the warm garlic butter, enhancing the aroma and flavor of your sliders. This step ensures the rolls bake to a delightful golden brown color and adds a rich, savory finish.
Step 6: Cover and Bake
Carefully place the tops of the slider rolls over the chicken filling, then cover the baking sheet with aluminum foil. This helps create steam, which keeps the rolls moist. Bake in your preheated oven for 15-20 minutes, checking for the cheese to be melted and the tops to turn lightly golden.
Step 7: Cool and Serve
Once the Cheesy Garlic Pesto Chicken Sliders are beautifully golden and bubbly, remove them from the oven and let them cool for a few minutes. This short cooling time makes them easier to slice and serve. Use a sharp knife to cut through each slider and plate them up for everyone to enjoy!
Expert Tips for Cheesy Garlic Pesto Chicken Sliders
- Prep Ahead: Assemble sliders in advance and keep them in the fridge until you’re ready to bake. This ensures freshness and flavor.
- Perfect Shredding: Make sure the chicken is thoroughly shredded for even seasoning and flavor maximize in each Cheesy Garlic Pesto Chicken Slider.
- Moisture Preservation: When reheating, cover with a damp paper towel in the microwave to maintain that soft, tender bread texture.
- Flavor Variations: Get creative by adding veggies, different cheeses, or swapping chicken for turkey or mushrooms—endless possibilities!
- Watch the Bake: Keep an eye on the sliders towards the end of baking to prevent over-browning while ensuring that cheese is oozingly melted.
What to Serve with Cheesy Garlic Pesto Chicken Sliders?
Elevate your slider experience by pairing them with delightful sides that balance flavors and textures for a memorable meal.
-
Crispy Sweet Potato Fries: The natural sweetness and crispiness of sweet potato fries contrast beautifully with the rich sliders, creating a satisfying bite every time.
-
Fresh Garden Salad: A light salad with mixed greens, cherry tomatoes, and a tangy vinaigrette complements the sliders perfectly, adding brightness and crunch to your meal.
-
Garlic Parmesan Roasted Broccoli: The savory, roasted flavors of broccoli enhance the garlic notes in the sliders while contributing a nutritious element to your plate.
-
Coleslaw: A refreshing and crunchy coleslaw with a tangy dressing offers a refreshing contrast to the melted cheese and pesto, making each bite burst with flavor.
-
Classic Potato Chips: Simple yet satisfying, crunchy chips provide a delightful textural contrast, making for an effortless side that everyone loves.
-
Iced Lemonade: A chilled, tart lemonade complements the savory sliders while cleansing your palate between bites, providing relief on warm days.
-
Chocolate Chip Cookies: End your meal on a sweet note with gooey chocolate chip cookies, bringing a comforting finish that balances the savory sliders beautifully.
Enjoy these pairings for a full, delicious spread that makes your Cheesy Garlic Pesto Chicken Sliders shine!
Cheesy Garlic Pesto Chicken Sliders Variations
Feel free to tweak this recipe to match your taste buds and pantry staples!
- Turkey Substitute: Swap out chicken for shredded turkey for a delicious variation perfect for leftovers.
- Vegetarian Option: Use sautéed mushrooms or a medley of roasted vegetables instead of chicken for a yummy veggie twist.
- Cheese Variations: Try sharp cheddar or creamy goat cheese for a different flavor profile that will elevate your sliders even more.
- Whole Grain Roll: Opt for whole wheat slider rolls for added fiber, making your indulgent treat that much healthier.
- Heat Boost: Add sliced jalapeños or crushed red pepper flakes to the chicken mixture for those who crave a little heat. You can also experiment with spicy cheese for an extra kick!
- Green Goodness: Incorporate fresh spinach or arugula into the chicken mixture for a nutritious boost that adds color and flavor to your sliders.
- Mayo or Aioli: Spread a thin layer of basil mayo or garlic aioli on the slider rolls for an extra layer of creamy flavor. This little touch can make a world of difference!
The beauty of these sliders is their versatility! Each variation not only brings its unique flair but also allows you to put your personal spin on a classic recipe. If you’re looking for something equally delightful, you might enjoy my Street Corn Chicken Casserole or Garlic Chicken Roasted recipes!
Make Ahead Options
These Cheesy Garlic Pesto Chicken Sliders are perfect for meal prep enthusiasts! You can assemble the sliders up to 24 hours in advance by layering the shredded chicken, basil pesto, and mozzarella cheese onto the bottom halves of the slider rolls, then covering with the tops. Just refrigerate them until you’re ready to bake. To maintain their quality, make sure to wrap the assembled sliders tightly in plastic wrap to prevent them from drying out. When you’re ready to serve, simply brush the tops with garlic butter and bake as directed for 15-20 minutes until golden and bubbly. This way, you’ll have delicious, easy sliders ready in no time, ideal for busy weeknights or last-minute gatherings!
Storage Tips for Cheesy Garlic Pesto Chicken Sliders
Fridge: Store any leftover sliders in an airtight container for up to 3 days. This keeps them moist and flavorful for your next snack!
Freezer: If meal prepping, wrap the assembled sliders tightly in plastic wrap and place them in a freezer-safe bag for up to 2 months. Thaw in the fridge before baking.
Reheating: To reheat, place in the oven at 350°F (175°C) for about 10-15 minutes. This method ensures they retain their delightful, melty texture!
Make-Ahead: You can assemble the Cheesy Garlic Pesto Chicken Sliders and refrigerate them uncooked until you’re ready to bake, offering ultimate convenience for busy days.
Cheesy Garlic Pesto Chicken Sliders Recipe FAQs
How do I select the best ingredients for this recipe?
Absolutely! For the shredded chicken, look for tender, juicy meat, preferably from rotisserie chicken for convenience. When selecting basil pesto, try to choose one that’s vibrant and chunky for the best flavor. For mozzarella, pick fresh mozzarella for that gooey stretch, but if you prefer a stronger flavor, provolone is an excellent option.
What is the best way to store leftover cheesy garlic pesto chicken sliders?
Very! To keep your sliders fresh, store them in an airtight container in the refrigerator for up to 3 days. This helps maintain their moisture and flavor. If you plan to keep them longer, consider freezing them instead.
Can I freeze assembled cheesy garlic pesto chicken sliders?
Absolutely! Wrap the assembled sliders tightly in plastic wrap and place them inside a freezer-safe bag. They can be frozen for up to 2 months. When you’re ready to enjoy them, just thaw them in the fridge overnight, and then bake them as instructed to achieve that melty goodness.
What should I do if my sliders are too dry after baking?
No worries! If your sliders turn out a bit dry, consider covering them with a damp paper towel when reheating in the microwave to help retain some moisture. Additionally, brushing more garlic butter on top before baking next time can enhance flavor and help keep things moist.
Are these sliders suitable for anyone with dietary restrictions?
Yes, indeed! To make these sliders gluten-free, simply opt for gluten-free slider rolls. If you’re accommodating dairy-free diets, you can try using dairy-free cheese alternatives with the same delicious pesto and chicken filling. Always check for any allergy concerns with your ingredients, especially with store-bought pesto.
Cheesy Garlic Pesto Chicken Sliders Recipe You’ll Crave!
Ingredients
Equipment
Method
- Preheat your oven to 350°F (175°C).
- In a medium-sized mixing bowl, combine your shredded chicken with basil pesto and mozzarella cheese, folding until well combined.
- Carefully slice the slider rolls in half horizontally and place the bottom halves on a prepared baking sheet.
- Spoon the chicken mixture onto the bottom halves of each slider roll, packing it in lightly.
- Melt garlic butter and brush it generously over the tops of the slider rolls.
- Place the tops of the slider rolls over the filling and cover the baking sheet with aluminum foil. Bake for 15-20 minutes.
- Allow to cool for a few minutes before slicing and serving.
Leave a Reply