
As the rich aroma of freshly churned cream fills the kitchen, I can’t help but smile at the simplicity of this process—who knew making a Homemade Butter Recipe could be such an enjoyable adventure? With just two basic ingredients, heavy cream and optional salt, this delightful spread comes together effortlessly, bringing joy to both seasoned chefs and kitchen newcomers alike. What makes this recipe even more appealing is its versatility; whether you’re serving it atop warm bread, pancakes, or even baked potatoes, it can be customized with flavor variations like zesty garlic or sweet honey. Not only is this butter an effortless crowd-pleaser, but it also provides a wholesome alternative to store-bought versions. Ready to elevate your culinary game? Let’s dive in and transform that cream into something truly delicious!

Why Make Homemade Butter?
Simplicity is key: You’ll need only two ingredients, making it a hassle-free kitchen project anyone can enjoy.
Versatility shines through: Personalize your homemade butter with flavors like roasted garlic or honey for a sweet twist.
Freshness matters: There’s nothing quite like the creamy, rich taste of freshly churned butter!
Kid-friendly activity: Get the little ones involved in the fun of making their very own spread.
Wholesome alternative to store-bought: Skip the preservatives and enjoy a more natural product. Pair your butter with warm bread, or use it to enhance veggies as you would with Garlic Butter Shrimp. This Homemade Butter Recipe will elevate your meals and impress your guests!
Homemade Butter Recipe Ingredients
For the Butter
• Heavy Whipping Cream – This is the primary ingredient that creates the rich and creamy texture of homemade butter; for optimal results, make sure to use high-fat cream.
• Salt – A little salt enhances the flavor of your butter beautifully; you can adjust the amount or omit it for unsalted butter.
Optional Flavorings
• Minced Garlic – Add this for a zesty garlic butter variation, perfect for spreading or sautéing.
• Honey – Blend in honey for a delightful sweet butter that complements breakfast pastries or biscuits.
Step‑by‑Step Instructions for Easy Homemade Butter with Flavoring Variations
Step 1: Prepare the Mixer
Begin by pouring 2 cups of heavy whipping cream into the bowl of your stand mixer. Ensure the bowl is clean and dry to achieve the best results. Using the whisk attachment, secure the bowl and prepare to blend. Start the mixer on low speed to avoid splashing, then gradually increase to medium-high as you move to the next step.
Step 2: Whip Cream
Mix the cream on medium-high speed until it thickens and forms stiff peaks, similar to whipped cream. This process usually takes about 3-5 minutes. Watch carefully; the texture should transform to a silky, thick mass with a pale color. Once you see the stiff peaks forming, continue to the next step without stopping.
Step 3: Separate Butter & Buttermilk
Keep mixing the whipped cream past the stiff peak stage for another 2-3 minutes until the mixture separates into clumps of butter and buttermilk. You’ll witness the butter globules begin to form, while the buttermilk will become liquid in the process. You may want to cover the mixer with a towel to minimize splatters.
Step 4: Collect Buttermilk
Once you see the separation, carefully pour out the liquid buttermilk into a separate container. This buttermilk can be reserved for baking or cooking. Make sure to save it, as it contains flavor and moisture, perfect for other recipes. Set it aside and focus on the fresh butter remaining in the bowl for the next steps.
Step 5: Wash Butter
To ensure your homemade butter is fresh and pure, transfer the collected butter into a bowl filled with ice water. Knead the butter gently in the water, which will help wash away any remaining buttermilk. Change the water a few times until the water runs clear, indicating that the buttermilk is fully rinsed away.
Step 6: Flavor and Shape
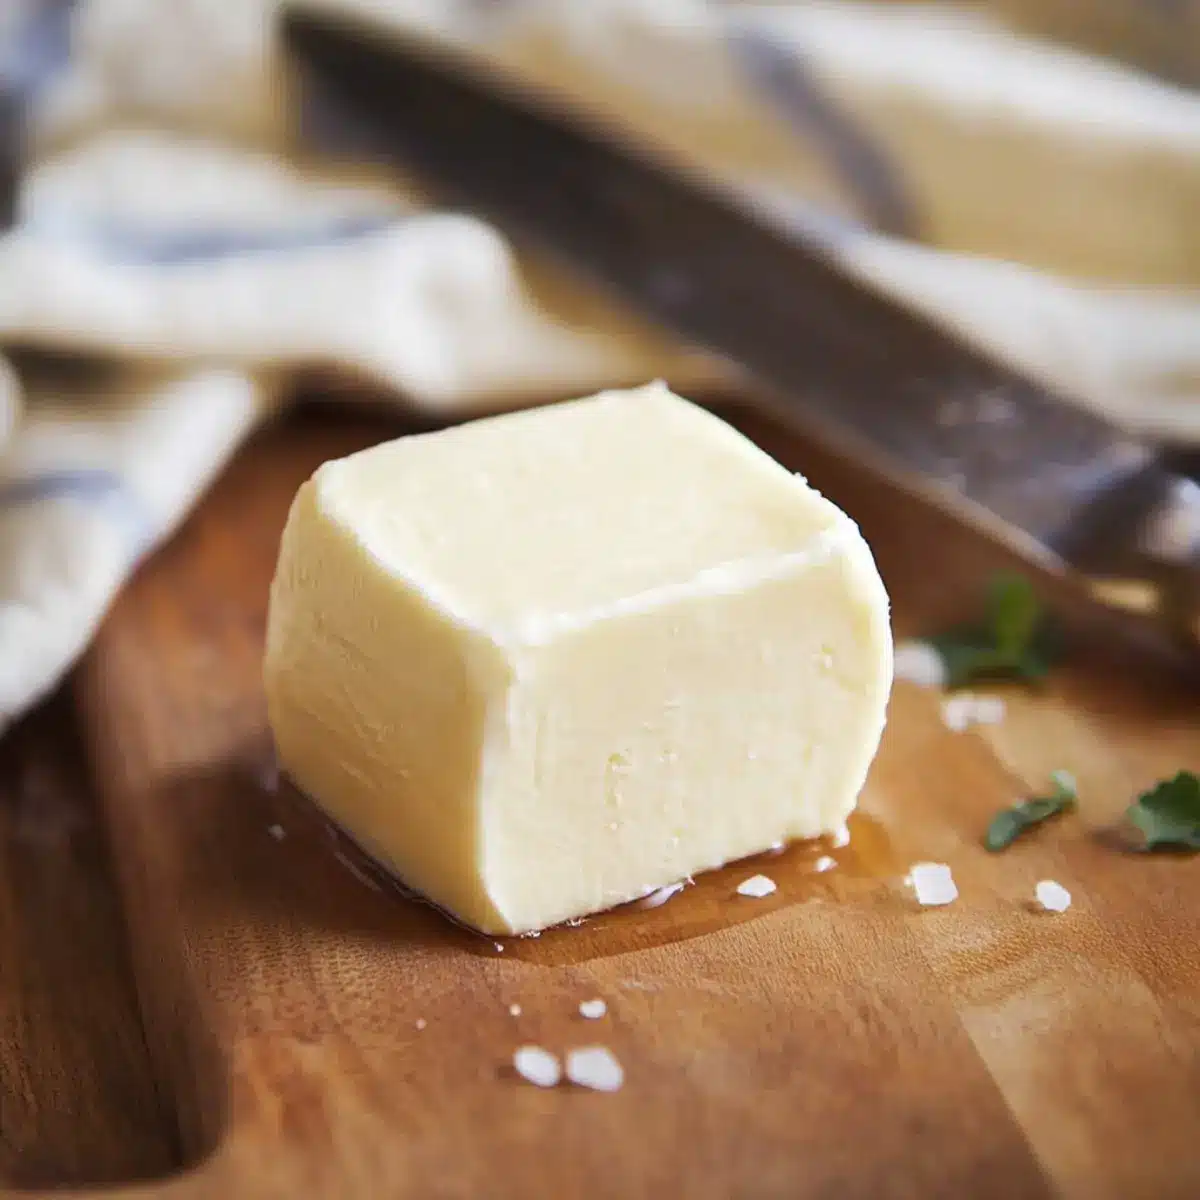
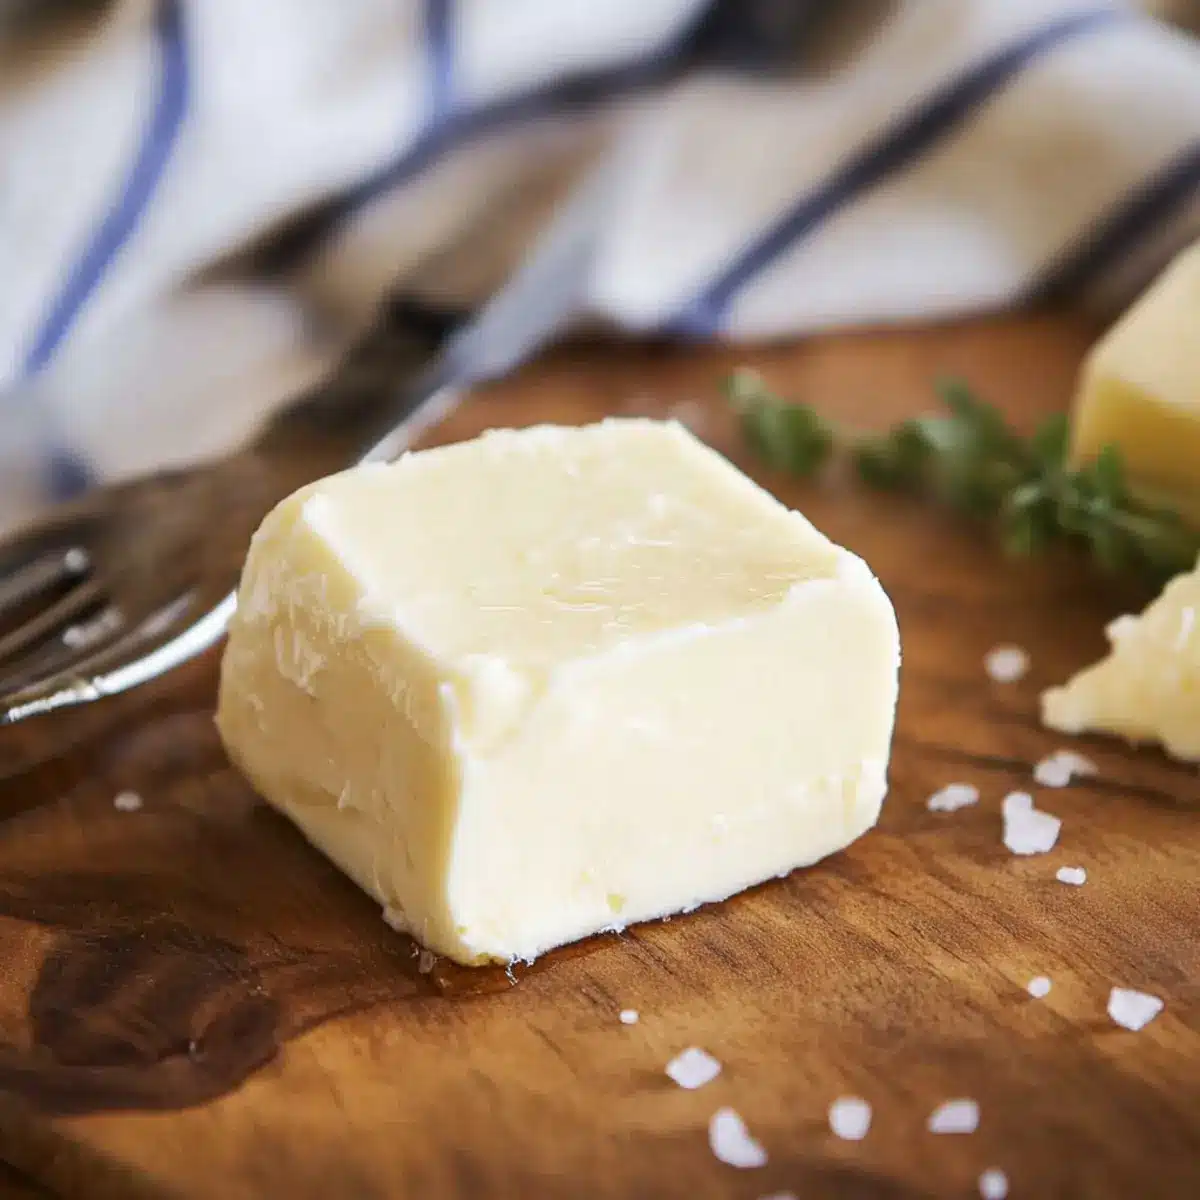
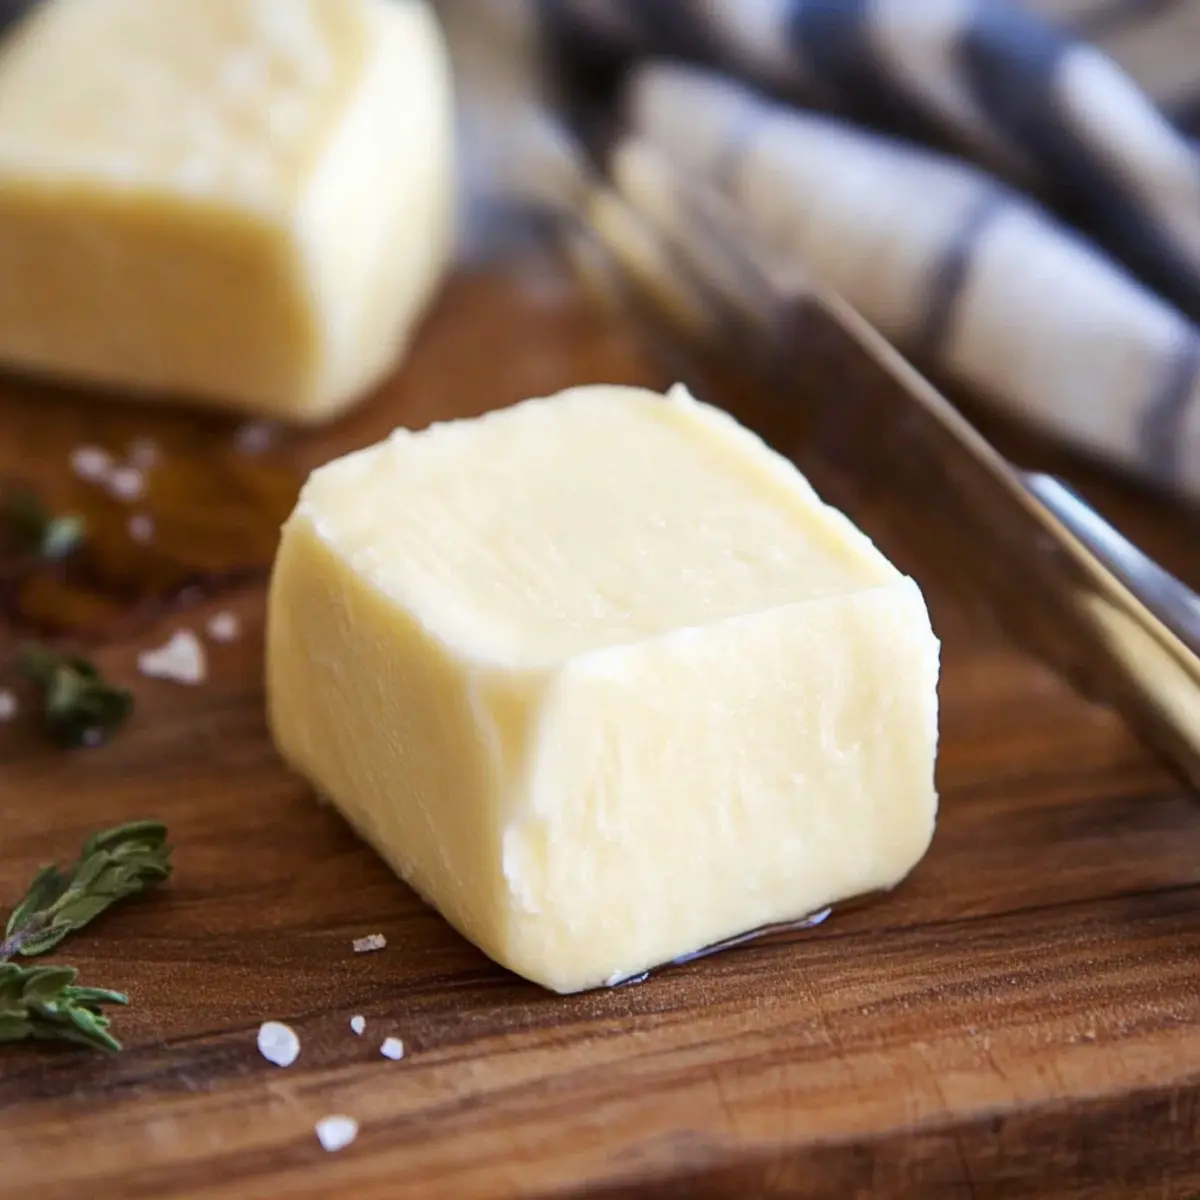
After rinsing, mix in salt to taste if you desire a salted butter taste. For added flavor variations, incorporate minced garlic for a savory option or blend in honey for a sweet touch. Shape your butter into a ball or log, then wrap it tightly in parchment paper or plastic wrap. Lastly, refrigerate your homemade butter for at least 1 hour to firm up.
How to Store and Freeze Homemade Butter
Refrigerate: Keep your homemade butter in an airtight container to maintain freshness for up to 2 weeks; it’s easiest to slather on warm bread or pancakes.
Freezer: For longer storage, freeze your homemade butter in a freezer-safe container or wrap tightly in parchment paper for up to 6 months; just thaw in the fridge overnight when you’re ready to use it.
Thawing: Avoid microwaving to thaw; instead, place frozen butter in the fridge to defrost gradually while preserving its creamy texture.
Portioning: Consider dividing your homemade butter into smaller portions before freezing for convenient use, especially if you plan to try out various flavorings later!
Make Ahead Options
Making this Homemade Butter Recipe is a fantastic option for meal prep! You can easily whip up the butter and refrigerate it up to 1 week before serving, allowing the flavors to meld beautifully. To prep ahead, simply complete steps 1 through 5, then wrap your butter in parchment paper or plastic wrap—this helps maintain its creamy texture and prevent any absorption of fridge odors. When you’re ready to enjoy, take it out of the fridge and allow it to soften for about 15-30 minutes, then mix in any desired flavorings before shaping and serving. This approach not only saves time but ensures you’ll always have fresh, delicious butter on hand for your favorite dishes!
Expert Tips for Homemade Butter Recipe
- Choose Quality Cream: Select high-fat heavy whipping cream for the best flavor and texture. Store brands often yield better results than low-fat alternatives.
- Temperature Matters: Let the cream sit at room temperature for about 30 minutes before whipping; this promotes better aeration and quicker separation of butter.
- Avoid Over-Whipping: Be careful not to whip the cream too long. Once you see the butter clumping, stop mixing to prevent dry butter.
- Preserve Buttermilk: Use homemade buttermilk in baking recipes for added flavor; store it in the refrigerator. Avoid using it for drinking, as it differs from store-bought buttermilk.
- Flavor with Care: Start with small amounts when adding flavorings like garlic or honey. You can always add more, but it’s hard to tone down strong flavors in your homemade butter recipe.
What to Serve with Easy Homemade Butter?
As you whip up this delightful spread, it’s tempting to imagine how it will elevate your meals and treat your taste buds with excitement.
-
Warm Bread: Perfectly complements the creamy, rich flavor, allowing the butter to melt and soak into the fresh loaf. There’s nothing quite like the aroma of bread wafting through the kitchen!
-
Fluffy Pancakes: Spread a dollop on your pancakes for an indulgent breakfast. The warmth of the pancakes enhances the butter’s softness, making it a treat to savor.
-
Baked Potatoes: A classic pairing, the richness of homemade butter complements the earthiness of potatoes. Add a sprinkling of herbs for a fresh touch.
-
Grilled Vegetables: Use garlic butter to enhance the flavors of grilled zucchini or asparagus. It elevates the dish with a flavorful, savory kick that balances the veggies.
-
Savory Muffins: Incorporate honey butter with cheese muffins. The sweet and savory combo creates a delightful contrast, making each bite unforgettable.
-
Black Coffee: Serving your butter with a cup of black coffee creates a harmonious balance of richness and bold flavor. It’s the ultimate breakfast duo!
-
Fruit and Cheese Platter: Add honey butter to a spread of fruits and cheeses. It adds a silky sweetness that pairs beautifully with the textures of the cheese and crunch of the fruits.
Incorporating these sides will surely make your meals not only heartier but also a memorable dining experience!
Homemade Butter Recipe Variations
Feel free to get creative with this homemade butter recipe—it’s a blank canvas just waiting for your touch!
- Garlic Butter: Stir in minced garlic for a savory twist that’s perfect for spreading on bread or enhancing dishes like Garlic Butter Shrimp.
- Honey Butter: Mix in honey until well-blended for a sweet, luscious spread that pairs beautifully with biscuits or pancakes.
- Herbed Butter: Add your favorite herbs—like rosemary or thyme—for an aromatic touch that’s delightful on roasted vegetables or meats.
- Spicy Kick: Blend in a pinch of cayenne or crushed red pepper flakes to give your butter a spicy, exciting edge.
- Citrus Zest: Grate in lemon or orange zest for some fruity brightness that works wonders on grilled seafood or chicken.
- Maple Butter: Substitute honey with maple syrup for a unique, sweet butter perfect for drizzling over pancakes or waffles.
- Nutty Flavor: Incorporate toasted, finely chopped nuts like pecans or walnuts for a lovely texture and flavor boost.
- Sweet Cinnamon Butter: Mix in cinnamon and a bit of powdered sugar for a sweet spread that’s delightful on toast or English muffins.
The beauty of homemade butter lies in its adaptability—whether you’re a fan of savory flavors or sweet spreads, customization is at your fingertips! Want to experiment further? Try whipping up a batch of Decadent Brown Butter next!
Homemade Butter Recipe FAQs
What type of heavy cream should I use for the best results?
Absolutely! For the best flavor and texture, choose high-fat heavy whipping cream, typically containing about 36% fat. This high fat content is essential for creating rich, creamy homemade butter. Avoid low-fat alternatives, as they won’t yield the same results.
How should I store my homemade butter?
To keep your homemade butter fresh, store it in an airtight container in the refrigerator, where it will last for up to 2 weeks. It’s easy to enjoy slathered on warm bread or pancakes. If you wish to store it longer, you can opt for freezing!
Can I freeze homemade butter?
Very! To freeze your homemade butter, wrap it tightly in parchment paper or place it in a freezer-safe container. Properly stored, it can last for up to 6 months. When you’re ready to use it, thaw the butter in the refrigerator overnight for the best texture. Avoid the microwave to maintain its creamy essence!
What if my butter separates or doesn’t form properly?
No worries! If your butter seems to separate, keep mixing for an additional 2-3 minutes until the butter globules form. If it seems too dry, you might have over-whipped it. Remember, the key is to monitor the process closely to stop right when the butter starts to clump together.
Are there any dietary considerations I should keep in mind?
Definitely! If you’re making butter for someone with specific dietary needs, make sure to use heavy cream that is free from additives or preservatives. Additionally, if you’re flavoring the butter, check that any added ingredients like garlic or honey are safe for those with allergies. For pets, be cautious, as dairy isn’t suitable for all animals.
Irresistibly Creamy Homemade Butter Recipe You'll Love
Ingredients
Equipment
Method
- Prepare the mixer by pouring 2 cups of heavy whipping cream into the bowl and secure using the whisk attachment.
- Whip the cream on medium-high speed until it thickens and forms stiff peaks, about 3-5 minutes.
- Continue mixing past the stiff peak stage until the mixture separates into clumps of butter and buttermilk, about 2-3 minutes more.
- Carefully pour out the liquid buttermilk into a separate container for later use.
- Transfer the collected butter into a bowl of ice water and knead gently to wash away remaining buttermilk.
- Mix in salt to taste, and any optional flavorings like garlic or honey. Shape the butter and refrigerate for at least 1 hour.
Leave a Reply