
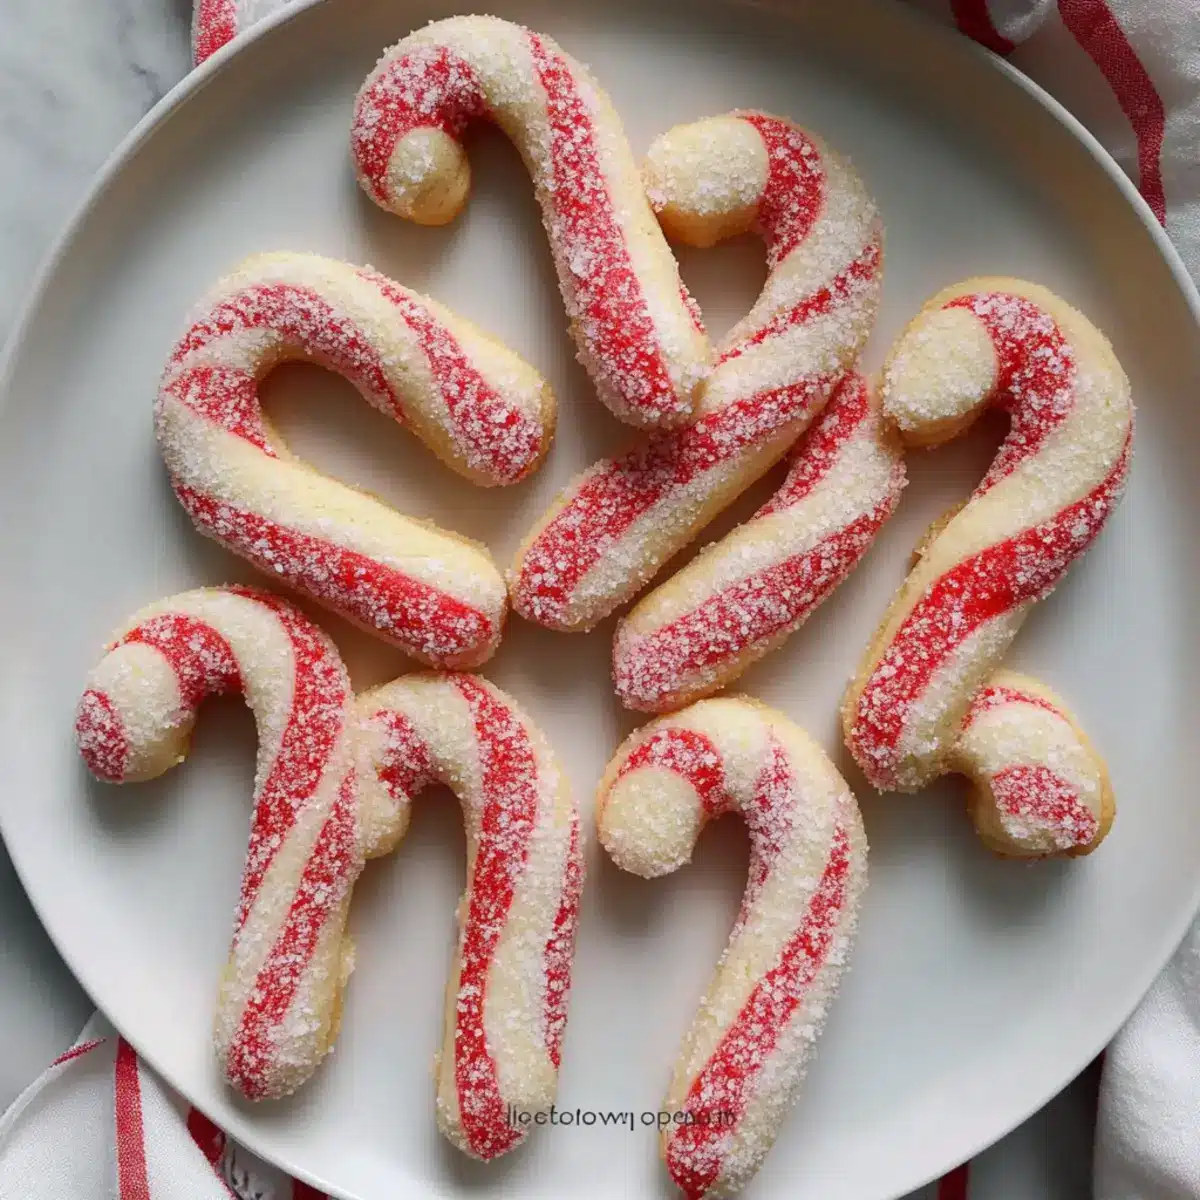
The aroma of freshly baked cookies wafting through the house—it’s one of those simple pleasures that makes the holiday season feel magical. Today, I’m excited to share my recipe for Classic Candy Cane Cookies, the perfect blend of buttery goodness and a refreshing peppermint kick. Not only are these cookies a delightful treat for festive gatherings, but they’re also incredibly easy to make, making them a fantastic option for baking with the little ones or whipping up a batch for friends. With versatile variations like Chocolate-Dipped Candy Canes or Gluten-Free options, there’s a recipe here for everyone. So, are you ready to bring a little holiday cheer into your kitchen? Let’s dive into the joyful world of cookie-making!
Why Are These Candy Cane Cookies Special?
Irresistible Flavor: The buttery base combined with a refreshing peppermint twist truly embodies the essence of the holidays. It’s a classic flavor that brings warm memories to life.
Versatile Variations: With options like Chocolate Candy Cane Cookies and Mini Candy Cane Bites, there’s something to satisfy every palate! Get creative and adapt the recipe to make it your own.
Kid-Friendly Fun: Baking together is always a blast! These cookies are simple to make, making it a joy to create memories with the little ones, especially when shaping those festive twists.
Perfect for Gifting: Whether part of a cookie tray or lovingly packed into a gift box, these cookies are perfect for sharing, just like my delicious Lemon Oatmeal Cookies or Classic Macaroni Salad.
Time-Saving Treat: Quick to prepare and bake, these cookies give you more time to enjoy the festivities! Plus, they store well—ideal for busy holiday schedules.
Classic Candy Cane Cookies Ingredients
For the Cookie Base
- All-Purpose Flour – Provides structure; you can substitute with a 1:1 gluten-free flour blend for a gluten-free version.
- Baking Powder – Helps cookies rise; no substitutions are recommended for best results.
- Salt – Enhances flavor and is essential for balancing the sweetness.
- Unsalted Butter – Adds richness and tenderness; ensure it is softened for easy mixing.
- Granulated Sugar – Sweetens the cookies; alternatives may alter texture and flavor significantly.
- Egg – Binds ingredients and adds moisture; avoid using substitutes for binding purposes.
- Vanilla Extract – Adds depth of flavor; can be replaced with almond extract for a different twist.
- Peppermint Extract – Infuses that refreshing peppermint flavor; can be swapped with vanilla for a classic cookie taste.
For the Festive Touch
- Red Gel Food Coloring – Provides that vibrant festive color; avoid liquid food coloring to keep dough from becoming sticky.
- Crushed Candy Canes/Sugar – Optional topping for a delightful crunch and extra holiday cheer!
Let’s get baking those Classic Candy Cane Cookies! 🍪
Step‑by‑Step Instructions for Classic Candy Cane Cookies
Step 1: Prepare Dough
In a large mixing bowl, combine 2 cups of all-purpose flour, 1 teaspoon of baking powder, and a pinch of salt. Whisk the dry ingredients together until fully mixed, ensuring there are no lumps. This step sets the foundation for your Classic Candy Cane Cookies, providing structure and flavor.
Step 2: Cream Butter & Sugar
In a separate bowl, use an electric mixer to beat ½ cup of softened unsalted butter and 1 cup of granulated sugar together until the mixture is light and fluffy, about 3-4 minutes. This creamy blend is key for the tender texture of the cookies. Add in 1 egg, 1 teaspoon of vanilla extract, and ½ teaspoon of peppermint extract, continuing to beat until well combined.
Step 3: Combine Mixtures
Gradually incorporate the dry ingredient mixture into the wet mixture, stirring with a wooden spoon or spatula until the dough begins to form. You want a smooth, cohesive dough that can hold its shape; if it feels too crumbly, knead it gently with your hands. This will ensure every bite of your Classic Candy Cane Cookies is deliciously soft.
Step 4: Color the Dough
Divide the dough in half, placing one portion into a separate bowl. Add a few drops of red gel food coloring to one half and knead gently until the color is evenly distributed. This adds that festive twist to your Candy Cane Cookies! Keep the other half white for a striking visual contrast.
Step 5: Chill Dough
Wrap both portions of dough in plastic wrap and refrigerate for at least 30 minutes. Chilling the dough is essential as it helps to firm up the butter, making it easier to shape the candy canes later on. Aim for a slightly firmer consistency, but don’t leave it too long or it will be difficult to work with.
Step 6: Shape Cookies
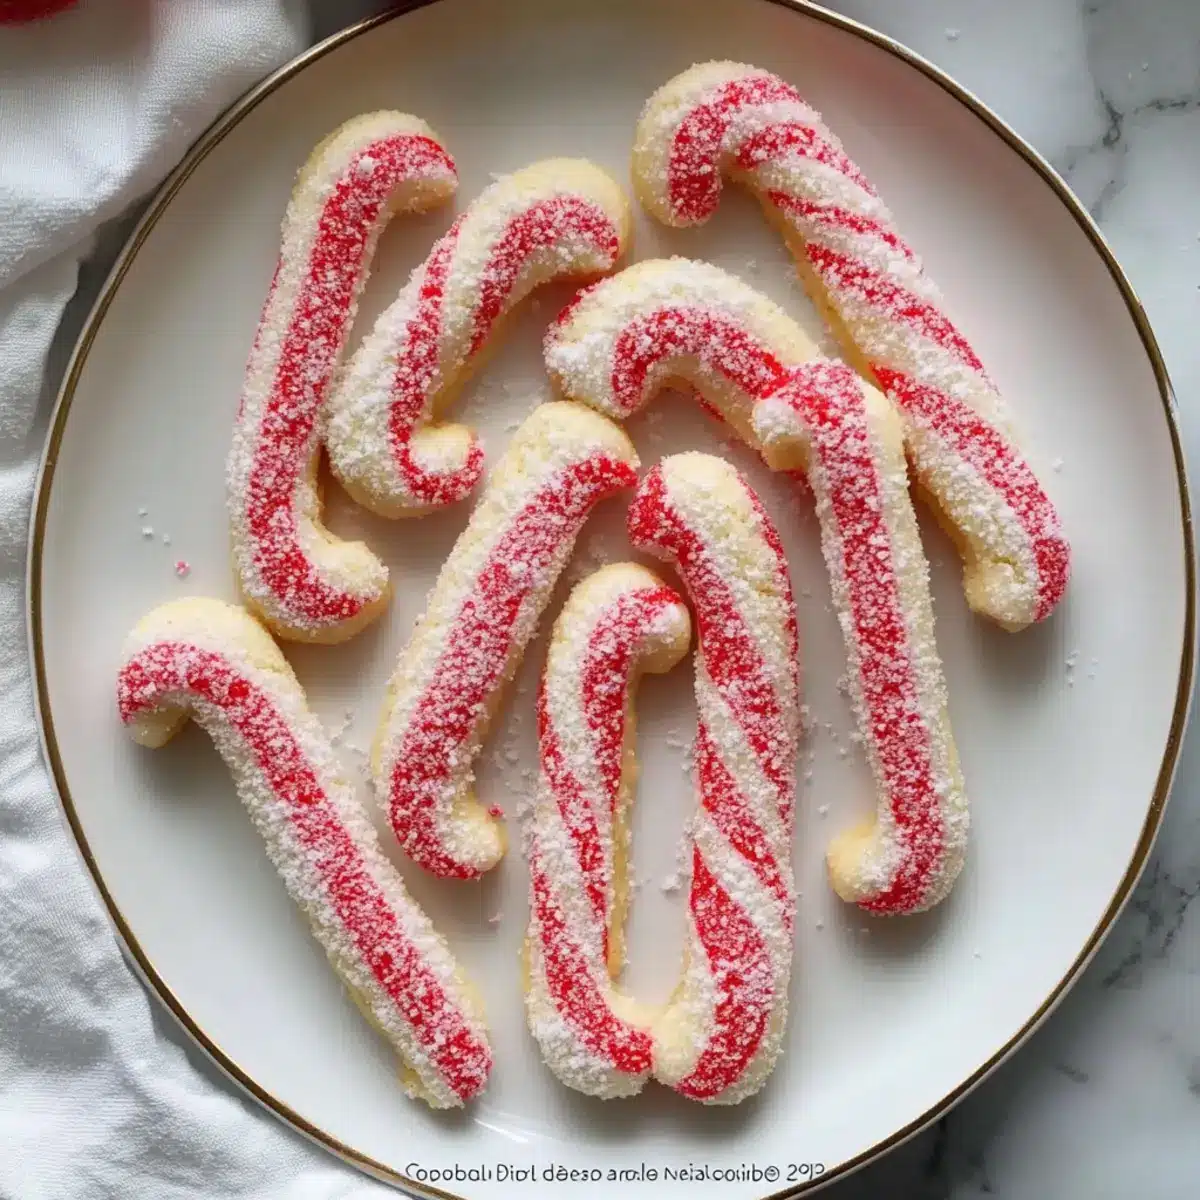
Preheat your oven to 350°F (175°C). On a lightly floured surface, roll out each colored dough into long ropes, about 6 inches long. Twist them together to form a candy cane shape, pressing gently to seal the ends to prevent them from separating during baking. Arrange the shaped cookies on a baking sheet lined with parchment paper.
Step 7: Bake
Place the baking sheet in the preheated oven and bake the cookies for 10-12 minutes, or until the edges are lightly golden. Keep an eye on them to prevent overbaking, as you want your Classic Candy Cane Cookies to be soft and chewy at the center.
Step 8: Cool & Serve
Once out of the oven, let the cookies cool on the baking sheet for about 5 minutes before transferring them to a wire rack to cool completely. For an extra festive touch, feel free to sprinkle crushed candy canes on top while they are still warm. Enjoy your delightful Classic Candy Cane Cookies this holiday season!

Make Ahead Options
These Classic Candy Cane Cookies are a perfect treat for meal prep enthusiasts! You can prepare the cookie dough up to 24 hours in advance, storing it tightly wrapped in plastic wrap in the refrigerator. For an even longer option, roll the shaped cookies and place them on a baking sheet, then cover and refrigerate for up to 3 days before baking. To maintain their delightful texture, ensure the dough is kept cool to prevent spreading during baking. When you’re ready to enjoy your cookies, simply preheat the oven and bake straight from the fridge, allowing for that fresh, holiday aroma to fill your home with minimal hassle!
Classic Candy Cane Cookies Variations
Feel free to customize these delightful cookies to suit your taste and celebrate the season!
-
Chocolate Candy Cane Cookies: Add 2 tablespoons of cocoa powder to half the dough for a rich chocolate twist that perfectly complements peppermint.
-
Vanilla Almond Candy Canes: Replace peppermint extract with almond extract for a nutty flavor that will surprise and delight your taste buds!
-
Peppermint Swirl Cookies: Roll together the two colored doughs and slice them into spirals before baking, creating a stunning visual treat.
-
Chocolate-Dipped Candy Canes: After baking, dip each cookie in melted chocolate for an indulgent treat that adds an extra layer of flavor.
-
Gluten-Free Candy Canes: Use a 1:1 gluten-free flour blend instead of all-purpose flour, ensuring everyone can enjoy your festive creations.
-
Mini Candy Cane Bites: Create shorter rolled pieces for a fun bite-sized treat that’s perfect for kids and gatherings.
-
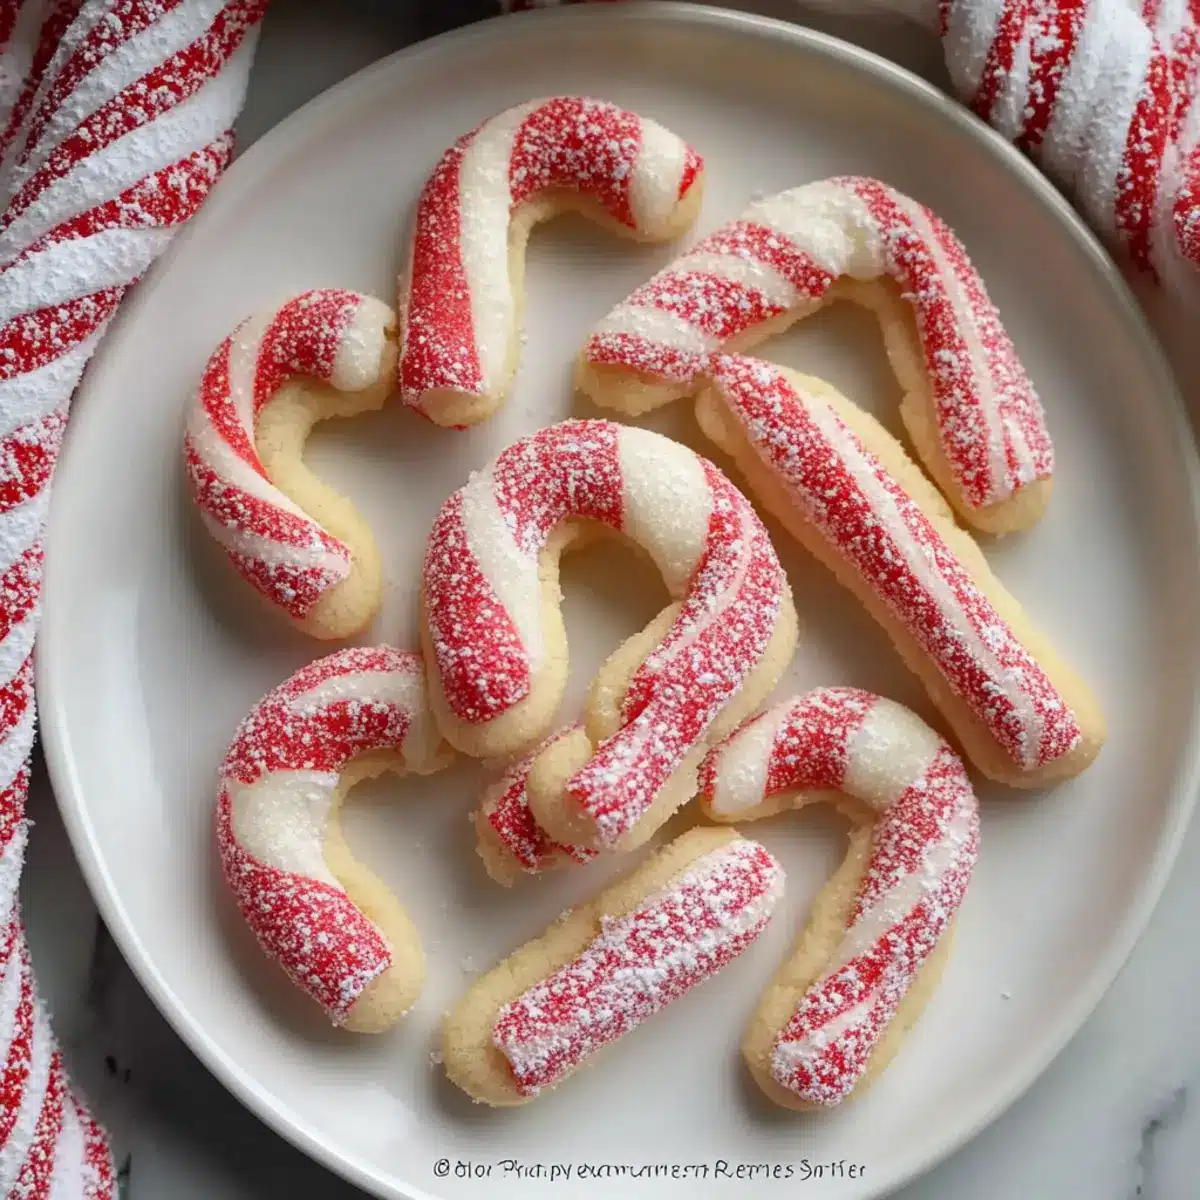
Sparkling Sugar Candy Canes: Sprinkle colorful sugar on top before baking for an extra festive crunch and holiday sparkle.
-
Stuffed Candy Cane Cookies: Add a chocolate or peppermint filling inside the dough before shaping for a delightful surprise in every bite!
Feel inspired to experiment? For additional festive ideas, check out my delicious Ingredient Chewy Cookies that are easy to whip up any time. Happy baking!
What to Serve with Classic Candy Cane Cookies
The holiday season calls for a feast that warms the heart, and pairing delicious treats elevates every gathering.
-
Rich Hot Chocolate: Nothing beats a creamy cup of hot cocoa with marshmallows, perfectly complementing the peppermint flavor of your cookies. The warmth and indulgence provide a cozy contrast that enhances festive vibes.
-
Festive Fruit Plate: Bright, fresh fruits like pomegranate, oranges, and berries add a refreshing, tangy note that balances the sweet cookies. Their vibrant colors mirror the holiday spirit and offer a delightful palate cleanser.
-
Spiced Chai Latte: The warming spices in a chai latte pair beautifully with the buttery cookies, creating a comforting and aromatic experience. Perfect for chilly winter days, this pairing invites you to indulge.
-
Peppermint Bark: Intensify the seasonal flavors with homemade peppermint bark! The chocolatey richness combined with crunchy peppermint bits makes for an irresistible, festive treat that echoes the candy cane theme.
-
Eggnog: Creamy, spiced eggnog is a holiday classic that enhances the joyful atmosphere. Its velvety texture complements the chewy cookies, making it a beloved drink to enjoy by the fireplace.
-
Traditional Sugar Cookies: For an incredible cookie platter, include traditional sugar cookies. Their simplicity and sweetness harmonize with the festive notes of the Candy Cane Cookies, enticing guests to mix flavors and textures.
-
Warm Cinnamon Apples: Baked cinnamon apples add a cozy, aromatic touch to your dessert table. Their warmth and spiced sweetness offer a delightful contrast to the minty freshness of the cookies.
-
Honey Gingerbread Men: Add some fun with these chewy, spiced cookies! Their delicious flavor and nostalgic charm perfectly mingle with the candy cane twist, bringing back warm memories of holiday baking.
How to Store and Freeze Classic Candy Cane Cookies
Room Temperature: Store in an airtight container at room temperature for up to 5 days. This keeps them soft and fresh, perfect for snacking!
Refrigerator: If you need to keep them longer, you can refrigerate the cookies in a sealed container for up to 7 days, though they may lose some tenderness.
Freezer: Freeze Classic Candy Cane Cookies individually wrapped in plastic wrap or layered between parchment paper in an airtight container for up to 2 months.
Reheating: To bring back the freshness, warm cookies in a preheated oven at 275°F (135°C) for about 5 minutes. Enjoy them just like fresh!
Expert Tips for Classic Candy Cane Cookies
-
Chill the Dough: Make sure to chill the dough thoroughly before shaping; this prevents cookies from spreading too much while baking.
-
Use Gel Coloring: Opt for gel food coloring instead of liquid to achieve vibrant colors without altering the dough’s consistency or stickiness.
-
Batch Baking: Bake cookies in batches for consistent results; this helps maintain the right oven temperature for perfect cookies every time.
-
Check Early: Keep a close eye on your cookies during baking; check them a couple of minutes early to avoid overbaking and maintain that soft, chewy center.
-
Top for Extra Flavor: Sprinkle crushed candy canes on warm cookies for a festive garnish that adds both flavor and a delightful crunch to your Classic Candy Cane Cookies!
Classic Candy Cane Cookies Recipe FAQs
What is the best way to select peppermint extract for this recipe?
Absolutely! When choosing peppermint extract, opt for pure extracts rather than imitation for the best flavor. Look for vibrant, fresh scents, and check the ingredients to ensure it contains only natural flavors without additives. The quality of your extract can truly enhance the essence of these Classic Candy Cane Cookies!
How should I store these cookies to keep them fresh?
To keep your Classic Candy Cane Cookies soft and delicious, store them in an airtight container at room temperature for up to 5 days. If you need to keep them longer, refrigerating them is an option, though they may lose some tenderness over time. When stored properly, you can also freeze them for up to 2 months, layering them with parchment paper between cookies to prevent sticking.
Can I freeze Classic Candy Cane Cookies? If so, how?
Yes, you can definitely freeze your cookies! To freeze, wrap each cookie individually in plastic wrap and then place them in an airtight container. If you’re stacking them, use parchment paper between layers to avoid any sticking. They will stay fresh for up to 2 months in the freezer. When you’re ready to enjoy, simply thaw at room temperature or warm them in a preheated oven at 275°F (135°C) for about 5 minutes to revive their lovely texture.
What can I do if my cookie dough is too sticky to work with?
If your dough is sticky, you may want to add a little extra flour, about 1 tablespoon at a time, until it reaches a manageable consistency. Remember, it’s essential to chill your dough thoroughly for at least 30 minutes before shaping, as this helps firm it up, making it easier to twist into those charming candy cane shapes without sticking to your hands.
Are there any dietary considerations I should keep in mind while making these cookies?
Definitely! If you have guests with allergies, be mindful of your choices in ingredients. For a gluten-free version, substitute regular all-purpose flour with a 1:1 gluten-free flour blend. Additionally, check that your peppermint extract does not contain any allergens if you’re accommodating guests with food sensitivities. Always feel free to adapt this recipe further, as many variations like the Chocolate-Dipped Candy Canes allow for extra creativity while considering everyone’s needs.
Can I substitute ingredients for dietary restrictions?
Very! You can replace the egg in this recipe with a flaxseed meal or chia seed mixture (1 tablespoon flaxseed/chia seeds mixed with 3 tablespoons of water) for a vegan option. Also, if you’re looking for a less sweet alternative, try reducing the sugar by up to 25%. Just remember that substitutions may slightly alter the texture and flavor of your Classic Candy Cane Cookies, so be open to experimenting!
Classic Candy Cane Cookies with a Festive Peppermint Twist
Ingredients
Equipment
Method
- In a large mixing bowl, combine the flour, baking powder, and salt. Whisk until fully mixed.
- In a separate bowl, beat the softened butter and sugar together until light and fluffy, about 3-4 minutes. Add in the egg, vanilla extract, and peppermint extract, beating until well combined.
- Gradually incorporate the dry ingredients into the wet mixture, stirring until a dough forms. Knead gently if too crumbly.
- Divide the dough, color half with red gel food coloring, and keep the other half white.
- Wrap both portions in plastic wrap and refrigerate for at least 30 minutes.
- Preheat your oven to 350°F (175°C). Roll each portion into long ropes and twist them together to form candy cane shapes.
- Arrange the shaped cookies on a parchment-lined baking sheet and bake for 10-12 minutes.
- Cool on the baking sheet for 5 minutes before transferring to a wire rack. Sprinkle crushed candy canes on warm cookies if desired.
Leave a Reply