
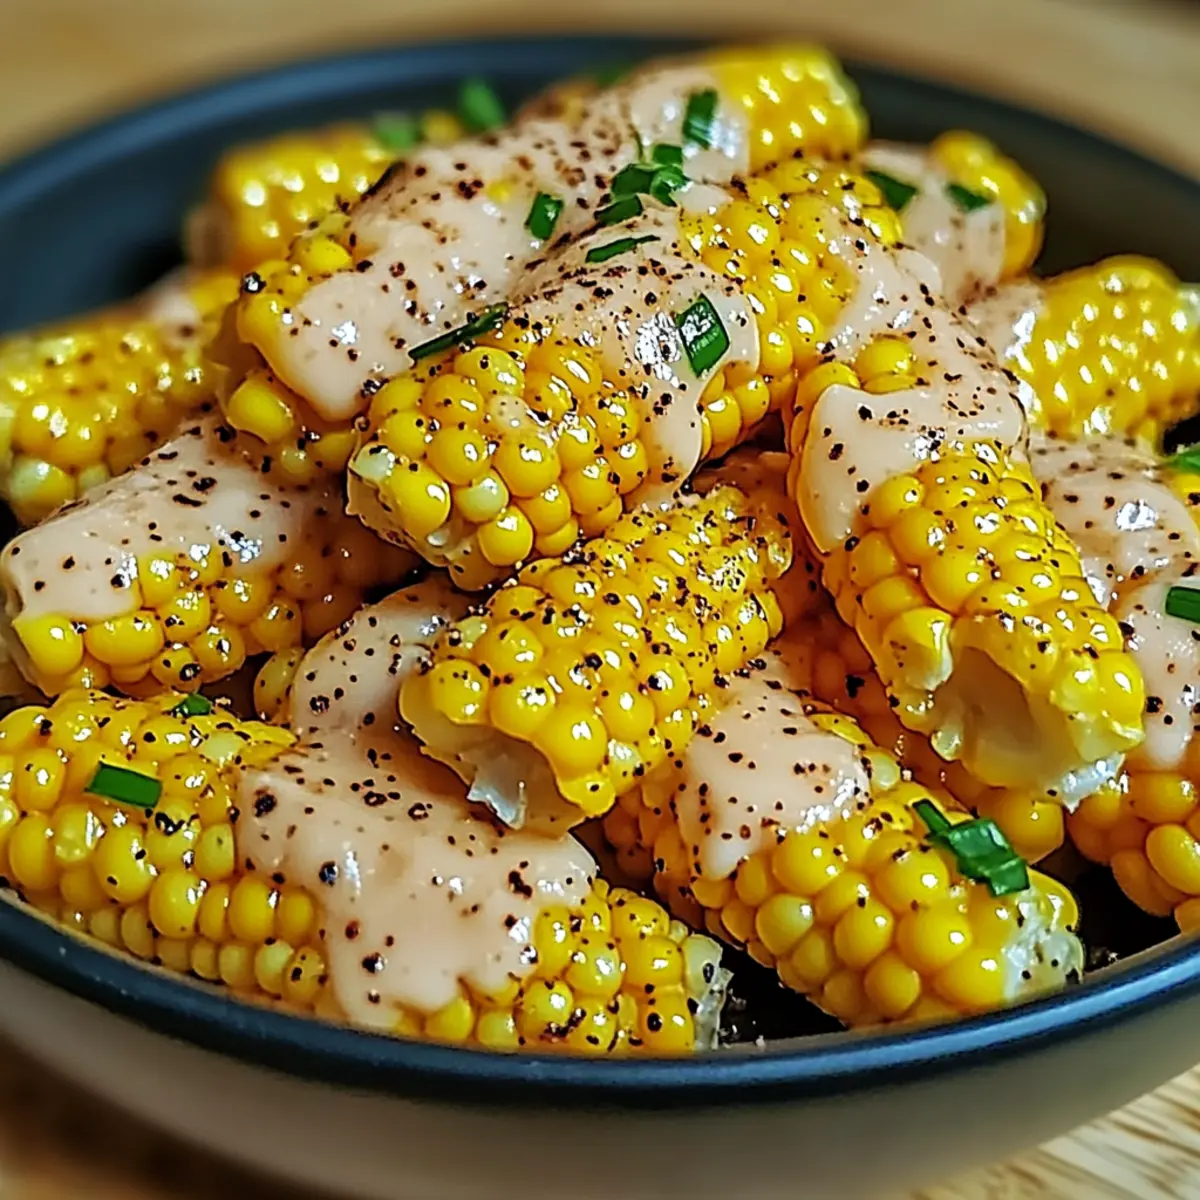
After hearing the sizzle of butter hitting a hot skillet, I always know comfort is just moments away. This Honey Butter Skillet Corn Side Dish transforms ordinary frozen corn into a creamy delight that will have your taste buds dancing. In less than 20 minutes, you can whip up this vegetarian-friendly side that not only pairs beautifully with grilled meats but also impresses picky eaters around the table. The combination of sweet honey and rich cream cheese creates a velvety coat of flavor that makes this dish irresistible. Plus, it’s the perfect way to elevate weeknight dinners or gatherings without spending hours in the kitchen. What variations will you try to make it your own?
Why is Honey Butter Skillet Corn a Must-Try?
Simplicity and Speed: This dish is a breeze to prepare, taking less than 20 minutes from start to finish. Rich, Creamy Texture: The combination of cream cheese and honey creates a sauce that hugs each kernel, making every bite a delight. Versatile Variations: Want to tailor it to your taste? You can swap honey for maple syrup or add crispy bacon bits for an extra crunch! Crowd-Pleasing Flavor: Its sweet and savory profile appeals to both kids and adults, making it a perfect side for family dinners or barbecues. If you love satisfying sides, don’t miss out on pairing it with delicious recipes like Garlic Butter Shrimp or Spicy Garlic Butter.
Honey Butter Skillet Corn Ingredients
• Get ready for a sweet and creamy treat!
For the Base
- Salted Butter – Adds richness and flavor; use salted for a savory kick.
- Frozen Corn (16 oz) – The foundation of this dish that lends texture and sweetness; fresh corn can elevate flavor, just cook it a bit longer.
For Flavor
- Honey – Imparts natural sweetness; feel free to adjust the amount to match your taste preferences.
- Salt (1/4 tsp) – Enhances overall flavor; tweak according to your liking.
- Black Pepper (1/4 tsp) – Introduces a subtle heat that beautifully complements the sweetness.
For Creaminess
- Cream Cheese (2 oz) – Provides a luxurious texture and smoothness; ensure it’s at room temperature for easier melting, or replace with Greek yogurt for a lighter twist.
Step‑by‑Step Instructions for Honey Butter Skillet Corn Side Dish
Step 1: Melt the Butter and Honey
In a cast-iron skillet, heat 2 tablespoons of salted butter over medium-high heat until it begins to melt, about 1 minute. Once melted, add in 2 tablespoons of honey, stirring well until combined and frothy—this should take an additional 1-2 minutes. The aroma will be delicious as the butter and honey meld together.
Step 2: Add the Corn
Pour 16 oz of frozen corn into the skillet, stirring it into the honey-butter mixture. Cook for about 5-8 minutes, tossing frequently until the corn is heated through, turning a bright yellow color. You’ll know it’s ready when the kernels are tender and glistening with the honey butter sauce.
Step 3: Incorporate Cream Cheese
Lower the heat to medium and add 2 oz of room-temperature cream cheese, along with 1/4 teaspoon of salt and 1/4 teaspoon of black pepper. Stir gently for 3-5 minutes until the cream cheese fully melts and blends into the corn, creating a creamy, velvety texture. The mixture should be thickened and well-combined, coating each kernel beautifully.
Step 4: Serve and Store
Remove the skillet from the heat and serve the Honey Butter Skillet Corn hot for the best flavor and texture. If you have any leftovers, transfer them to a covered container and refrigerate for up to 3 days. Reheat gently on the stove or in the microwave with a splash of milk or water to regain creaminess.
What to Serve with Honey Butter Skillet Corn
The perfect meal awaits when you pair this creamy side dish with hearty mains and fresh accompaniments.
-
Grilled Chicken Breasts: Juicy and tender, they provide a savory contrast to the sweetness of the corn, making each bite balanced and satisfying.
-
Steak or Pork Chops: Rich flavors from the grill complement the creamy corn beautifully. Consider a pepper crust on the meat to heighten the flavor contrast.
-
Fresh Green Salad: A crisp salad with mixed greens and a lemon vinaigrette adds brightness and balance, cutting through the richness of the corn.
-
Garlic Mashed Potatoes: The buttery, creamy texture of mashed potatoes aligns perfectly with the velvety corn, creating a comforting plate that feels like a warm hug.
-
Roasted Vegetables: Seasonal vegetables like carrots, zucchini, and bell peppers add color and nutrition, offering a delightful crunch. Their earthy flavors enhance the overall meal.
-
Cornbread Muffins: These subtly sweet, warm muffins are a delightful addition to soak up any remaining honey butter sauce, tying the whole meal together.
-
Chilled White Wine: A crisp Sauvignon Blanc or a light Pinot Grigio elevates the dining experience, complementing the dish’s sweetness while refreshing your palate.
-
Brownies or Apple Pie: End your meal on a sweet note with fudge brownies or pie; their rich flavors pair well with the sugary notes of the corn.
Expert Tips for Honey Butter Skillet Corn
-
Choose the Right Skillet: Use a cast-iron skillet for enhanced flavor and a lovely slight sear on your corn, elevating the dish.
-
Room Temperature Cream Cheese: Ensure cream cheese is at room temperature before adding it to the mix. This avoids clumping and ensures a smooth consistency in your Honey Butter Skillet Corn.
-
Stir Frequently: Keep stirring the corn mixture while cooking to prevent any sticking or burning, ensuring every kernel is evenly coated and cooked.
-
Serve Immediately: For the best flavor and creaminess, serve your Honey Butter Skillet Corn right after cooking. It tends to thicken as it cools, which may alter its delightful texture.
-
Adjust Seasonings: Feel free to taste and adjust the honey, salt, and pepper to suit your preferences. A touch more honey can enhance sweetness, while a pinch more salt can bring out the flavors beautifully.
How to Store and Freeze Honey Butter Skillet Corn
Fridge: Store leftovers in an airtight container in the refrigerator for up to 3 days. Reheat gently on the stove, adding a splash of milk or water for creaminess.
Freezer: For longer storage, freeze the Honey Butter Skillet Corn in freezer-safe bags, removing as much air as possible, for up to 3 months. Label and date bags to keep track.
Reheating: When ready to enjoy again, thaw in the fridge overnight. Reheat on medium heat in a skillet, stirring occasionally until heated through, adding a little milk if needed.
Honey Butter Skillet Corn Variations
Customize this creamy delight to suit your tastes and impress your loved ones with delightful twists!
- Maple Syrup: Swap honey for maple syrup to impart a delightful, earthy sweetness that adds a new layer of flavor.
- Crispy Bacon: Add crispy bacon bits for a smoky crunch. The saltiness of the bacon complements the sweet corn, making every bite a savory delight.
- Spicy Kick: Mix in red pepper flakes or diced jalapeños for a spicy kick. This addition perfectly balances the sweetness, creating an exciting flavor profile that wakes up your taste buds.
- Dairy-Free: Replace cream cheese with cashew cream or silken tofu for a creamy yet dairy-free alternative. It’s a wonderful option for those looking to keep it light without sacrificing flavor!
- Nutty Texture: Toss in toasted nuts like pecans or walnuts for added crunch and nuttiness. Not only does this variation enhance the texture, but it also brings out the sweetness of the corn beautifully.
- Fresh Herbs: Incorporate freshly chopped herbs like basil or cilantro for a pop of brightness. The herbaceous notes elevate the dish, making it a refreshing accompaniment to any meal.
- Parmesan Cheese: Stir in a bit of grated Parmesan cheese for added depth and umami flavor. The savory cheese pairs wonderfully with the sweet corn and honey, enhancing overall richness.
- Coconut Cream: For a tropical twist, substitute cream cheese with coconut cream. This swap gives the dish an exotic flair, making it perfect for summer gatherings or beach barbecues.
Explore these variations and let your creativity shine! For even more delicious inspirations, consider trying this Decadent Brown Butter sauce drizzled over your corn or enhance your side selection with Honey Peach Cream.
Make Ahead Options
Preparing your Honey Butter Skillet Corn ahead of time is a fantastic way to save precious minutes on busy weeknights! You can cook the corn and mix it with the honey and butter up to 24 hours in advance. Simply melt the butter and honey, add the corn, and stir it all together. Transfer the mixture to an airtight container and refrigerate it. When you’re ready to finish the dish, gently reheat the corn in a skillet over medium heat, then stir in the cream cheese, salt, and black pepper for that creamy finish. This method keeps the flavors vibrant and ensures your cozy side dish is just as delicious when served!
Honey Butter Skillet Corn Recipe FAQs
What kind of corn should I use for this recipe?
Absolutely! While frozen corn works perfectly in this Honey Butter Skillet Corn recipe for its convenience, using fresh corn can elevate the flavor even further. Just make sure to cook it a bit longer to ensure it’s tender and bursting with sweetness. Look for corn with bright, plump kernels and a sweet smell; avoid any cobs with dried-out or shriveled kernels.
How long can I store leftovers and how should I do it?
Honey Butter Skillet Corn can be stored in an airtight container in the refrigerator for up to 3 days. Just make sure to let it cool to room temperature before sealing it. When you’re ready to enjoy it again, simply reheat gently on the stove with a splash of milk or water to restore its creamy texture.
Can I freeze Honey Butter Skillet Corn?
Certainly! You can freeze Honey Butter Skillet Corn for up to 3 months. To do this, portion the cooled corn into freezer-safe bags, removing as much air as possible before sealing. Label the bags with the date, and when you’re ready to use them, just thaw overnight in the fridge. Reheat on medium heat, stirring occasionally, adding a splash of milk if needed to revive its creaminess.
What should I do if my corn ends up too thick or sticky?
Very good question! If the mixture becomes too thick or sticky while cooking, don’t hesitate to add a little bit of milk or water. Start with a tablespoon or two, stirring it in gently until you reach your desired consistency. Additionally, make sure to lower the heat if it’s thickening too quickly, allowing for a gentler cooking process that helps combine all the flavors harmoniously.
Is this recipe suitable for people with dietary restrictions or allergies?
Definitely! Honey Butter Skillet Corn is vegetarian-friendly, but if you have dairy allergies, feel free to swap the cream cheese for cashew cream or silken tofu. Just make sure to adjust the honey if you’re trying to cut sugar. And as always, if you’re preparing this dish for pets or those with allergies, double-check ingredient labels to ensure everything is safe for them!
What variations can I make to customize this dish?
The more the merrier! You can swap out honey with maple syrup for a different sweet profile, or add crispy bacon bits for a smoky touch. If you like a bit of heat, consider mixing in red pepper flakes or jalapeños. Feel free to get creative with personalized touches and enjoy a dish that reflects your taste!
Honey Butter Skillet Corn Side Dish: Sweet, Creamy Delight!
Ingredients
Equipment
Method
- In a cast-iron skillet, heat 2 tablespoons of salted butter over medium-high heat until it begins to melt, about 1 minute. Once melted, add in 2 tablespoons of honey, stirring well until combined and frothy—about 1-2 minutes.
- Pour 16 oz of frozen corn into the skillet, stirring it into the honey-butter mixture. Cook for about 5-8 minutes, tossing frequently until heated through and bright yellow.
- Lower the heat to medium and add 2 oz of room-temperature cream cheese, along with 1/4 teaspoon of salt and 1/4 teaspoon of black pepper. Stir gently for 3-5 minutes until the cream cheese melts and blends into the corn.
- Remove the skillet from the heat and serve the Honey Butter Skillet Corn hot. For leftovers, transfer to a covered container and refrigerate for up to 3 days.
Leave a Reply