
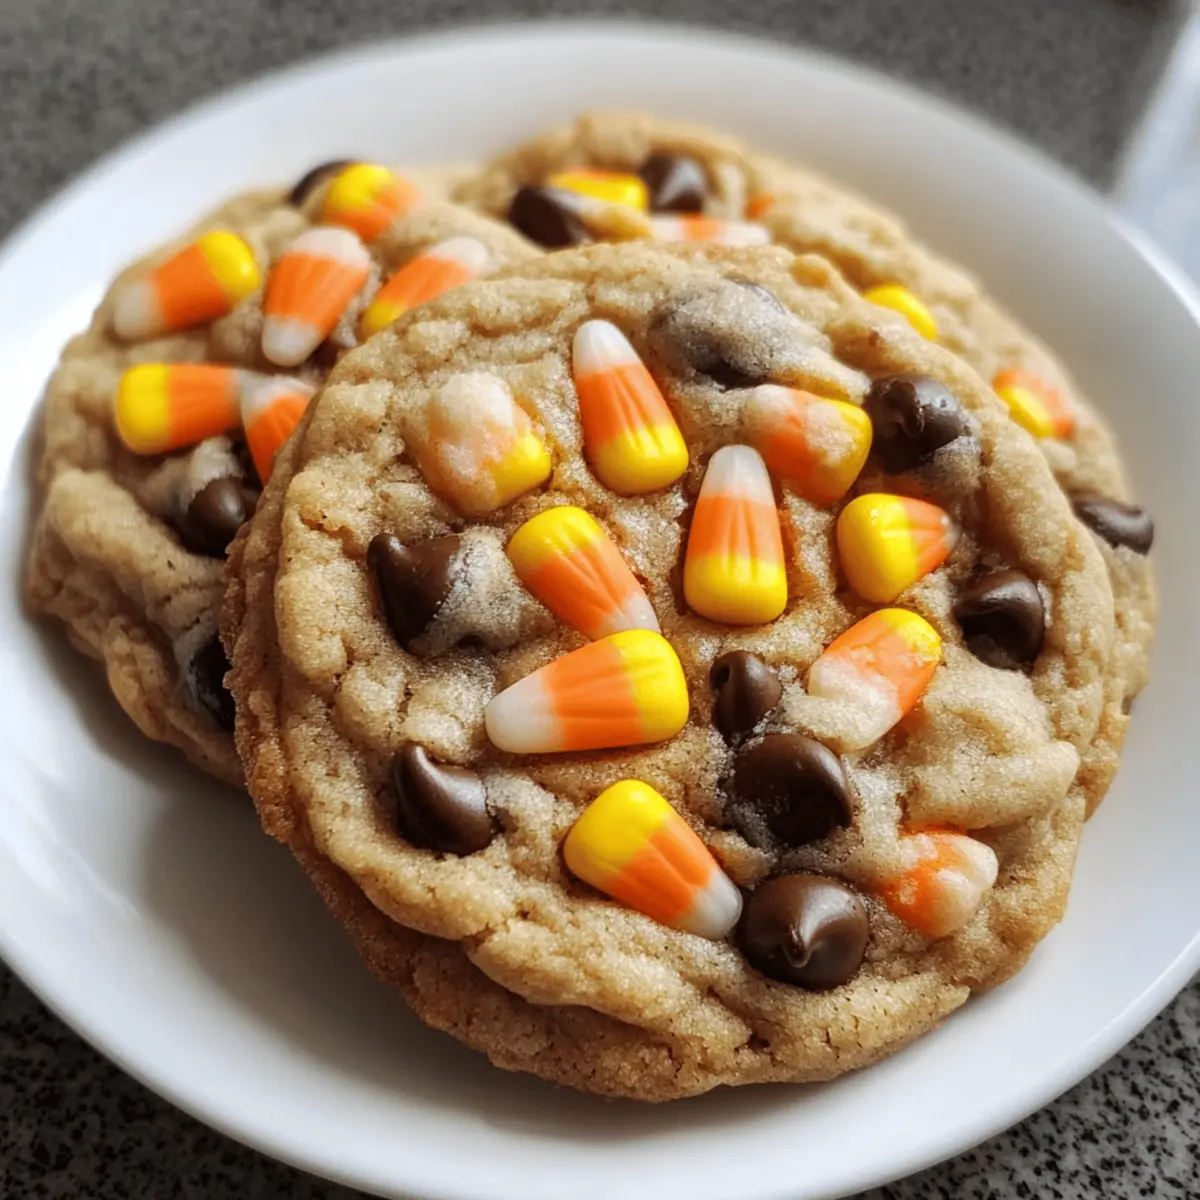
As I eagerly bustled around my kitchen, I couldn’t help but feel a wave of excitement wash over me. Halloween is just around the corner, and what better way to celebrate than with a batch of whimsical Halloween Cauldron Cookies? These festive treats are not only a feast for the eyes with their vibrant chocolate and candy corn accents, but they also promise quick prep time for those of us with busy schedules. In just 32 minutes, you can whip up these soft, chewy delights—perfect for any costume party or cozy family gathering. Plus, the joy of customizing them with your favorite candies makes this recipe a real crowd-pleaser, whether you’re aiming to impress the little goblins or your fellow grown-up ghouls. So, are you ready to enchant your taste buds this spooky season?
Why Are These Cookies a Must-Bake?
Delightful and festive, Halloween Cauldron Cookies bring joy to your kitchen and your taste buds! Quick to prepare, you can enjoy homemade treats in just 32 minutes, perfect for anyone with a busy schedule. Endless customization options mean you can easily swap chocolate types or add your favorite seasonal candies. Soft and chewy, with colorful bursts of candy corn, they’re a hit at any Halloween party or gathering. If you love unique, creative snacks, this recipe is a must-try—especially when paired with other treats like Oreo Cheesecake Cookie Cups for a delightful dessert spread!
Halloween Cauldron Cookie Ingredients
-
For the Dough
-
1 cup unsalted butter – Provides richness and moisture; substitute with margarine if needed.
-
1 cup granulated sugar – Sweetens and caramelizes during baking; use a sugar substitute for a lower-calorie version.
-
1 cup brown sugar – Adds depth of flavor and chewiness; light or dark can be used interchangeably.
-
2 large eggs – Binds the ingredients and adds moisture; can be replaced with 1/4 cup applesauce per egg for a vegan option.
-
2 teaspoons vanilla extract – Enhances sweetness and aroma; use pure vanilla for better flavor.
-
3 cups all-purpose flour – Provides structure; substitute with gluten-free flour for a gluten-free version.
-
1 teaspoon baking soda – Helps cookies rise; baking powder can be used as a substitute (3x amount needed).
-
1/2 teaspoon salt – Balances sweetness; use sea salt for a more pronounced flavor.
-
For the Sweet Add-ins
-
1 cup chocolate chips – Adds sweetness and rich chocolate flavor; swap with white chocolate or dark chocolate chips if desired.
-
1 cup candy corn – Provides a festive and colorful touch; can be replaced with your favorite Halloween candy.
Step‑by‑Step Instructions for Halloween Cauldron Cookie Creation
Step 1: Preheat the Oven
Begin your Halloween Cauldron Cookie Creation by preheating your oven to 350°F (175°C). This step is crucial for ensuring that your cookies bake evenly and achieve that perfect golden outer crust. As the oven warms up, you can gather your ingredients and prepare for the mixing process, creating a smooth flow for your baking adventure.
Step 2: Cream the Butter and Sugars
In a large mixing bowl, combine 1 cup of softened unsalted butter, 1 cup of granulated sugar, and 1 cup of brown sugar. Using an electric mixer, cream the mixture together on medium speed for 2-3 minutes until it becomes light and fluffy. You’ll know it’s ready when the color has lightened and the texture is airy, helping your cookies achieve that delightful chewiness.
Step 3: Add Eggs and Vanilla
Next, add 2 large eggs and 2 teaspoons of vanilla extract to the creamed mixture. Beat the ingredients together on medium speed until fully incorporated and smooth, about 1-2 minutes. The batter should look glossy, and the eggs will help bind everything together perfectly, setting the stage for your Halloween Cauldron Cookies to shine.
Step 4: Mix the Dry Ingredients
In a separate bowl, whisk together 3 cups of all-purpose flour, 1 teaspoon of baking soda, and 1/2 teaspoon of salt. This step ensures even distribution of the dry ingredients, which is critical for achieving the right texture in your cookies. The flour mixture should be well aerated, giving your Halloween Cauldron Cookie dough the perfect foundation for rising beautifully.
Step 5: Combine Wet and Dry Ingredients
Gradually add the dry mix to the wet mixture, stirring gently until just combined. Be careful not to overmix, as this could lead to tough cookies. You want a slightly shaggy dough that still holds together, with all the flour incorporated. This blending is essential for creating that tender, chewy texture that will make your Halloween Cauldron Cookies a hit.
Step 6: Fold in Chocolate Chips and Candy Corn
Now it’s time to add 1 cup of chocolate chips and 1 cup of candy corn to your dough. Using a spatula, carefully fold these sweet add-ins into the mixture until they are evenly distributed. The colorful bursts of candy corn and the rich chocolate will create delightful pockets of flavor in each cookie, enhancing your Halloween experience.
Step 7: Shape the Cookies
Using a cookie scoop or a tablespoon, drop spoonfuls of dough onto a lined baking sheet, spacing them about 2 inches apart. Each scoop should be generous to ensure your cookies have a thick presence. You’ll start to see the fun come to life as these mounds of colorful dough take shape, ready for the oven!
Step 8: Bake the Cookies
Place the baking sheet in the preheated oven and bake the cookies for approximately 10-12 minutes. Keep an eye on them; you want the edges to be golden while the centers remain slightly soft. This contrast will give your Halloween Cauldron Cookies that perfect chewy texture and ensure they’re delightful to devour.
Step 9: Cool and Transfer
Once the cookies are baked, remove the baking sheet from the oven and allow the cookies to cool on the sheet for 5 minutes. This brief cooling period helps them firm up slightly. After that, carefully transfer the cookies to a wire rack to cool completely. This final step ensures they maintain their ideal texture and prevents them from becoming soggy.
Halloween Cauldron Cookie Variations
Feel free to embrace your creativity and transform these cookies into your personal favorite delights with these exciting twists!
- Nutty Addition: Add chopped pecans or walnuts for a delightful crunch that complements the chewy texture.
- Candy Swap: Replace candy corn with seasonal favorites like M&M’s or Reese’s Pieces for a colorful burst of sweetness.
- Chocolate Change: Swap chocolate chips for white or dark chocolate, or get adventurous with caramel bits for extra richness.
- Spice It Up: Include a pinch of cinnamon or nutmeg in the dough for a warm, comforting flavor perfect for fall.
- Vegetarian Version: Keep it vegetarian by using a flax egg substitute; mix 1 tablespoon ground flaxseed with 2.5 tablespoons water per egg.
- Gluten-Free Delight: Substitute all-purpose flour with gluten-free flour to make these treats accessible to everyone.
These variations allow you to tailor your Halloween Cauldron Cookies to your family’s taste. Whether opting for unique flavor combinations or making them accessible for dietary preferences, your creativity will ensure a festive flavor experience! And if you’re looking for more fun dessert ideas, check out these Lemon Oatmeal Cookies or try something rich like Choco Cheesecake Cookie Bites.
How to Store and Freeze Halloween Cauldron Cookies
Room Temperature: Store completely cooled cookies in an airtight container at room temperature for up to 4-5 days to maintain freshness. Layer them with parchment paper to prevent sticking.
Freezer: For longer storage, freeze individual cookies in a single layer on a baking sheet, then transfer to a freezer-safe container. They can be kept for up to 2-3 months.
Reheating: When ready to enjoy, reheat frozen cookies in the microwave for about 10-15 seconds to achieve that gooey texture again. Enjoy your Halloween Cauldron Cookies warm and delightful!
Make Ahead Options
These Halloween Cauldron Cookies are perfect for meal prep enthusiasts! You can prepare the cookie dough up to 24 hours in advance by mixing the wet and dry ingredients, then refrigerating the dough in an airtight container. This allows the flavors to deepen, making them just as delicious when baked later. Alternatively, shape the cookies and freeze them for up to 3 months; just scoop them onto the baking sheet and flash freeze before transferring to a bag. When you’re ready to bake, simply preheat your oven and bake the frozen cookies for a minute or two longer than the usual time. Enjoy the convenience of homemade cookies with minimal effort and maximum festivity!
Expert Tips for Halloween Cauldron Cookies
- Butter Temperature: Ensure your butter is softened, not melted. This creates a creamy texture when mixed with sugar, giving your cookies the right chewiness.
- Mixing Caution: Avoid overmixing the dough after adding flour. This can lead to tough cookies instead of the tender Halloween cookies you desire.
- Add-Ins Balance: When customizing with extra candies or nuts, don’t overcrowd the dough. Too many add-ins can impact baking evenly.
- Cooling Time: Let cookies cool on the baking sheet before transferring. This helps them set properly and maintain their delightful softness.
- Storage Tips: Store completely cooled cookies in an airtight container with parchment paper between layers. This keeps them fresh for 4-5 days at room temperature.
What to Serve with Halloween Cauldron Cookie Creation
Elevate your Halloween festivities with paired delights that complement these festive cookies, making your celebration even sweeter and more memorable.
-
Spooky Milkshake: A creamy blend of vanilla ice cream and chocolate syrup topped with whipped cream, perfectly balancing the sweetness of your cookies.
-
Pumpkin Spice Latte: This cozy drink adds a warm, spiced note that enhances the festive spirit of Halloween, making each bite of cookie even more enjoyable.
-
Tart Apple Slices: Crisp and refreshing, the tartness of fresh apple slices provides a delightful contrast to the sweet cookies, creating a refreshing palette experience.
-
Ghoulish Fruit Salad: A mix of colorful seasonal fruits like pineapple, berries, and melon adds vibrancy, keeping things light and refreshing alongside the rich cookie flavor.
-
Caramel Sauce: Drizzling warm caramel over the cookies adds a festive flair and a luscious touch that takes the dessert to the next level of indulgence.
-
Choco-Candy Parfait: Layer chocolate pudding with crushed Halloween candies for a fun, layered dessert that echoes the whimsical spirit of your cookies, offering delightful textures and flavors.
-
Chilling Cider: Serve a chilled apple cider spiked with a hint of cinnamon for a seasonal drink that complements the sweet and chewy textures of your Halloween Cauldron cookies.
-
Decorated Cupcakes: Festively decorated with spooky designs, these cupcakes can provide another focal point of sweetness at your gathering, making for an unforgettable dessert table.
Halloween Cauldron Cookie Creation Recipe FAQs
What is the best way to select ripe ingredients for these cookies?
Absolutely! For the best Halloween Cauldron Cookies, use room temperature butter that’s softened but not melted—this ensures optimal creaminess when mixing with sugar. Eggs should be fresh; crack one open before adding to check for any off smells or discoloration. When it comes to candy corn, choose bags that have bright, vibrant colors, avoiding any that show signs of age or hardening.
How should I store my leftover cookies?
Very! To keep your Halloween Cauldron Cookies fresh for 4-5 days, store them in an airtight container at room temperature. It’s a great idea to layer them with parchment paper, as this prevents them from sticking together. If you anticipate not finishing them off quickly, freezing can be a brilliant option!
Can I freeze leftover cookies, and if so, how?
Certainly! To freeze your Halloween Cauldron Cookies, allow them to cool completely. Lay them out in a single layer on a baking sheet and place them in the freezer until they’re solid. Then, transfer the frozen cookies to a freezer-safe container or zip-top bag. They can be stored for up to 2-3 months. When you’re ready to indulge, simply reheat in the microwave for 10-15 seconds for that lovely, gooey texture again!
What should I do if my cookie dough is too sticky?
No worries! If you find your cookie dough a bit sticky, it could be due to warmer temperatures or measurements. To fix this, chill the dough in the refrigerator for 15-30 minutes. This will firm it up and make it easier to handle when shaping your cookies. If needed, you can also add a couple more tablespoons of flour, but be careful not to overdo it—keeping a nice balance is key to that chewiness!
Are these cookies suitable for people with allergies?
Definitely! This Halloween Cauldron Cookie recipe can cater to various dietary needs. For allergies to eggs, you can use 1/4 cup of applesauce for each egg for a vegan version. To make them gluten-free, simply substitute the all-purpose flour with a gluten-free blend. Always double-check the labels on your ingredients, especially with chocolate chips and candy corn, to ensure they’re free from allergens specific to your needs.
Halloween Cauldron Cookie Creation: Spooky Sweet Treats
Ingredients
Equipment
Method
- Preheat your oven to 350°F (175°C).
- In a mixing bowl, cream together the unsalted butter, granulated sugar, and brown sugar until light and fluffy.
- Add eggs and vanilla extract to the mixture, beating until smooth.
- In a separate bowl, whisk together flour, baking soda, and salt.
- Gradually combine the dry ingredients with the wet ingredients until just mixed.
- Fold in chocolate chips and candy corn until evenly distributed.
- Drop spoonfuls of dough onto a lined baking sheet, spacing them about 2 inches apart.
- Bake for approximately 10-12 minutes until edges are golden and centers are slightly soft.
- Allow to cool on the sheet for 5 minutes before transferring to a wire rack.
Leave a Reply