
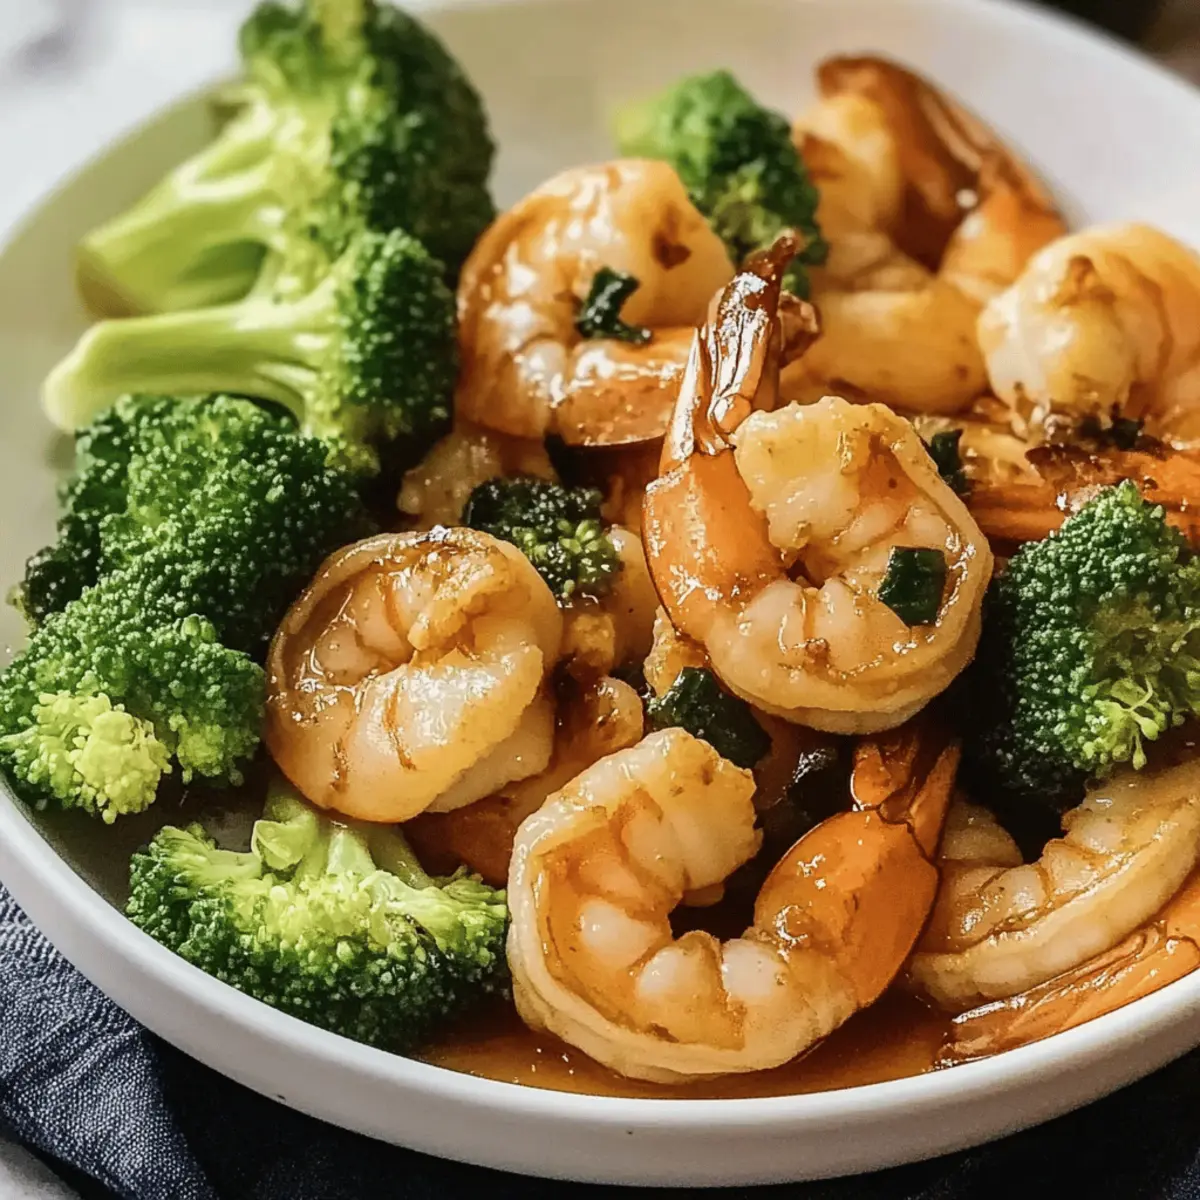
A delightful aroma wafts through my kitchen as I prepare an exciting new dish. The sizzle of shrimp hitting the pan is music to my ears, promising a quick and vibrant meal that will make any weeknight feel special. Meet my Easy Hibachi Shrimp, a fantastic combination of juicy shrimp and crisp broccoli, all ready in just 10 minutes. This recipe makes it simple to elevate dinner time—perfect for busy nights or when you want to impress friends and family without spending hours in the kitchen. With only five straightforward ingredients, you’ll create a dish that’s not only healthy and high in protein but also fully customizable. Whether you’re swapping vegetables or experimenting with spices, the possibilities are endless! So, what’s your secret ingredient for an unforgettable hibachi experience?

Why Is This Recipe a Must-Try?
Quick and Easy: This Easy Hibachi Shrimp comes together in just 10 minutes, making it perfect for those busy weeknights when you crave something delicious without the wait.
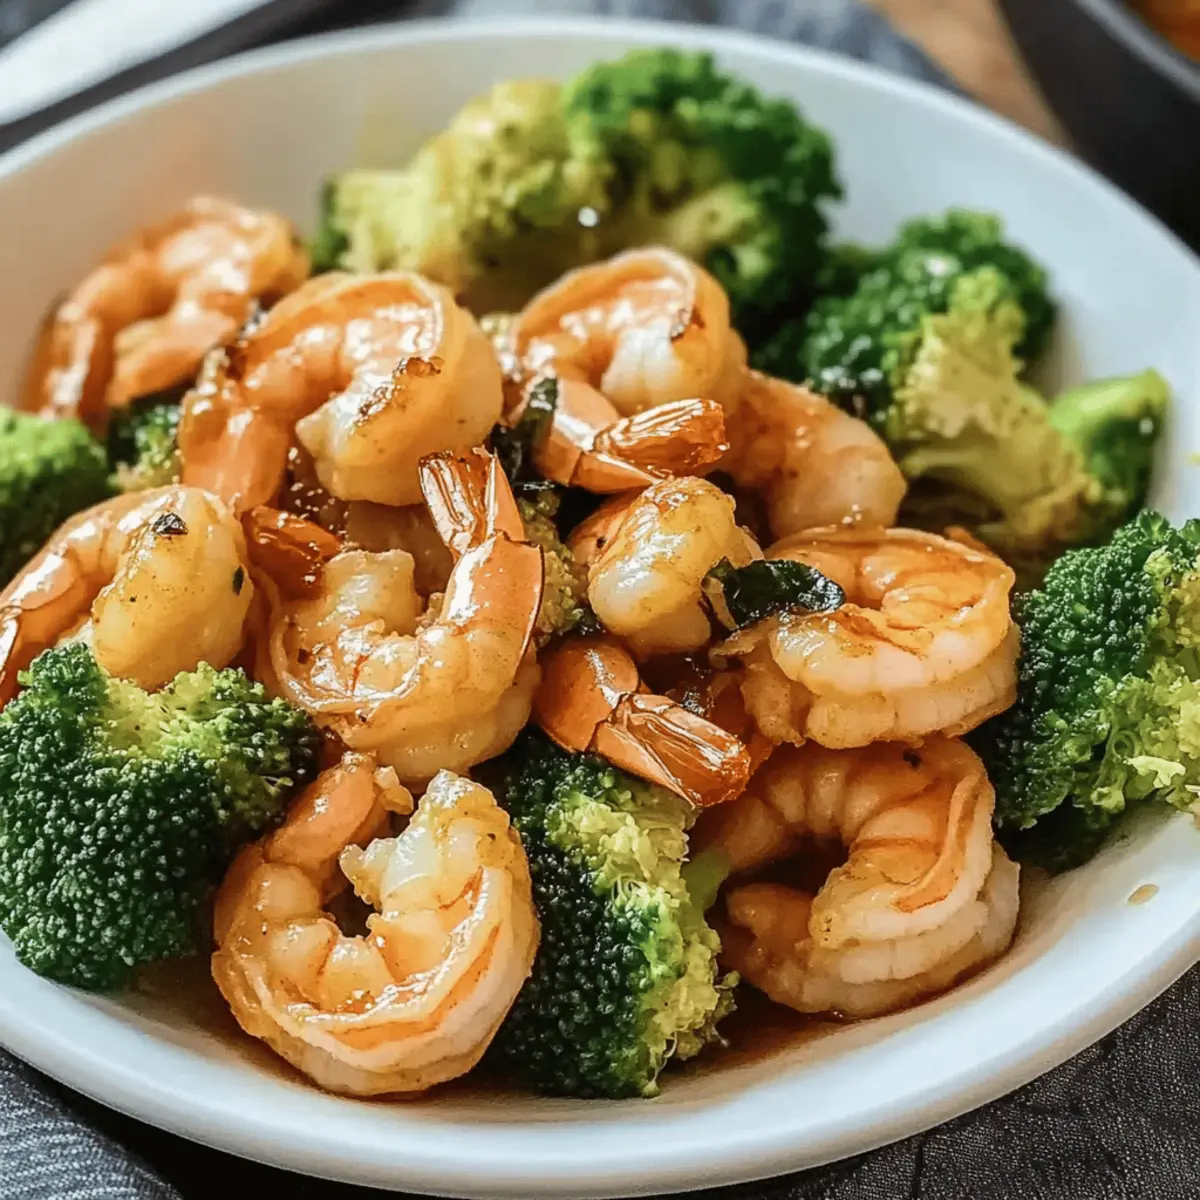
Flavor-Packed: With rich butter, umami soy sauce, and the zest of fresh lemon, every bite is bursting with vibrancy that rivals your favorite restaurant dish.
Customizable: Don’t hesitate to make it your own! Substitute shrimp for chicken or tofu, swap broccoli with colorful bell peppers, or add a sprinkle of red pepper flakes for a spicy kick.
Healthy Delight: Packed with protein and low in carbs, this dish is excellent for anyone focused on healthy eating. Pair it with Oreo Balls for a sweet finish!
Crowd-Pleaser: Whether you’re impressing guests or feeding the family, this recipe guarantees clean plates and satisfied smiles every time.
Easy Hibachi Shrimp Ingredients
For the Shrimp
- Large Shrimp (1 pound, 41-50 count) – Opt for fresh shrimp free of dark spots for the best texture and flavor.
For the Broccoli
- Broccoli Florets (2 cups) – Fresh broccoli will provide a satisfying crunch; however, pre-cut florets can save time.
For Flavoring
- Kosher Salt (1 teaspoon) – A key ingredient that enhances the natural flavors; feel free to adjust based on your taste preferences.
- Black Pepper (1 teaspoon, freshly cracked) – This adds a subtle heat and depth; freshly cracked pepper elevates the dish even further.
- Butter (2 tablespoons) – Essential for richness and flavor, don’t skip this ingredient for that divine buttery finish.
- Soy Sauce (3 tablespoons, low sodium optional) – The heart of the umami flavor; you can substitute with tamari for a gluten-free option.
- Fresh Lemon Juice (1 tablespoon) – This brightens up the dish and deglazes the pan, enhancing the overall flavor profile.
For Steaming
- Water (1/4 cup) – Used to steam the broccoli, ensuring it’s perfectly tender without losing its vibrant color.
Step‑by‑Step Instructions for Easy Hibachi Shrimp
Step 1: Prepare the Shrimp
Start by cleaning one pound of large shrimp, removing the shells and deveining if necessary. Pat the shrimp dry with paper towels to ensure it sears nicely instead of steaming. This technique is critical for achieving that perfectly crisp exterior.
Step 2: Steam the Broccoli
In a large skillet over medium-high heat, add two cups of broccoli florets along with 1/4 cup of water. Cover the skillet and steam for 1–2 minutes, until the broccoli turns bright green and is just tender. Once done, remove the broccoli and set it aside, keeping it warm.
Step 3: Cook the Shrimp
Using the same skillet, melt one tablespoon of butter over medium-high heat. Once the butter is bubbling, add the shrimp in a single layer, seasoning them with a teaspoon of kosher salt and freshly cracked black pepper. Cook undisturbed for about 1 minute until the shrimp turn pink and opaque at the edges.
Step 4: Add Soy Sauce
Flip the shrimp and drizzle 1 tablespoon of soy sauce over them, letting it cook for another minute. Stir gently to coat the shrimp evenly, allowing them to absorb the savory flavor while it caramelizes slightly. This step enhances the taste, bringing out the umami in your Easy Hibachi Shrimp.
Step 5: Combine Ingredients
Return the steamed broccoli to the skillet, adding another 2 tablespoons of soy sauce. Cook everything together for one more minute, stirring to ensure the broccoli and shrimp are well-mixed. This will create a delightful harmony of flavors, making your dish truly satisfying.
Step 6: Finish Off
To finish your Easy Hibachi Shrimp, squeeze 1 tablespoon of fresh lemon juice over the mixture, deglazing the pan. The acidity brightens the dish while lifting any flavorful bits stuck to the skillet, adding a burst of freshness and enhancing the overall flavor.
Step 7: Serve
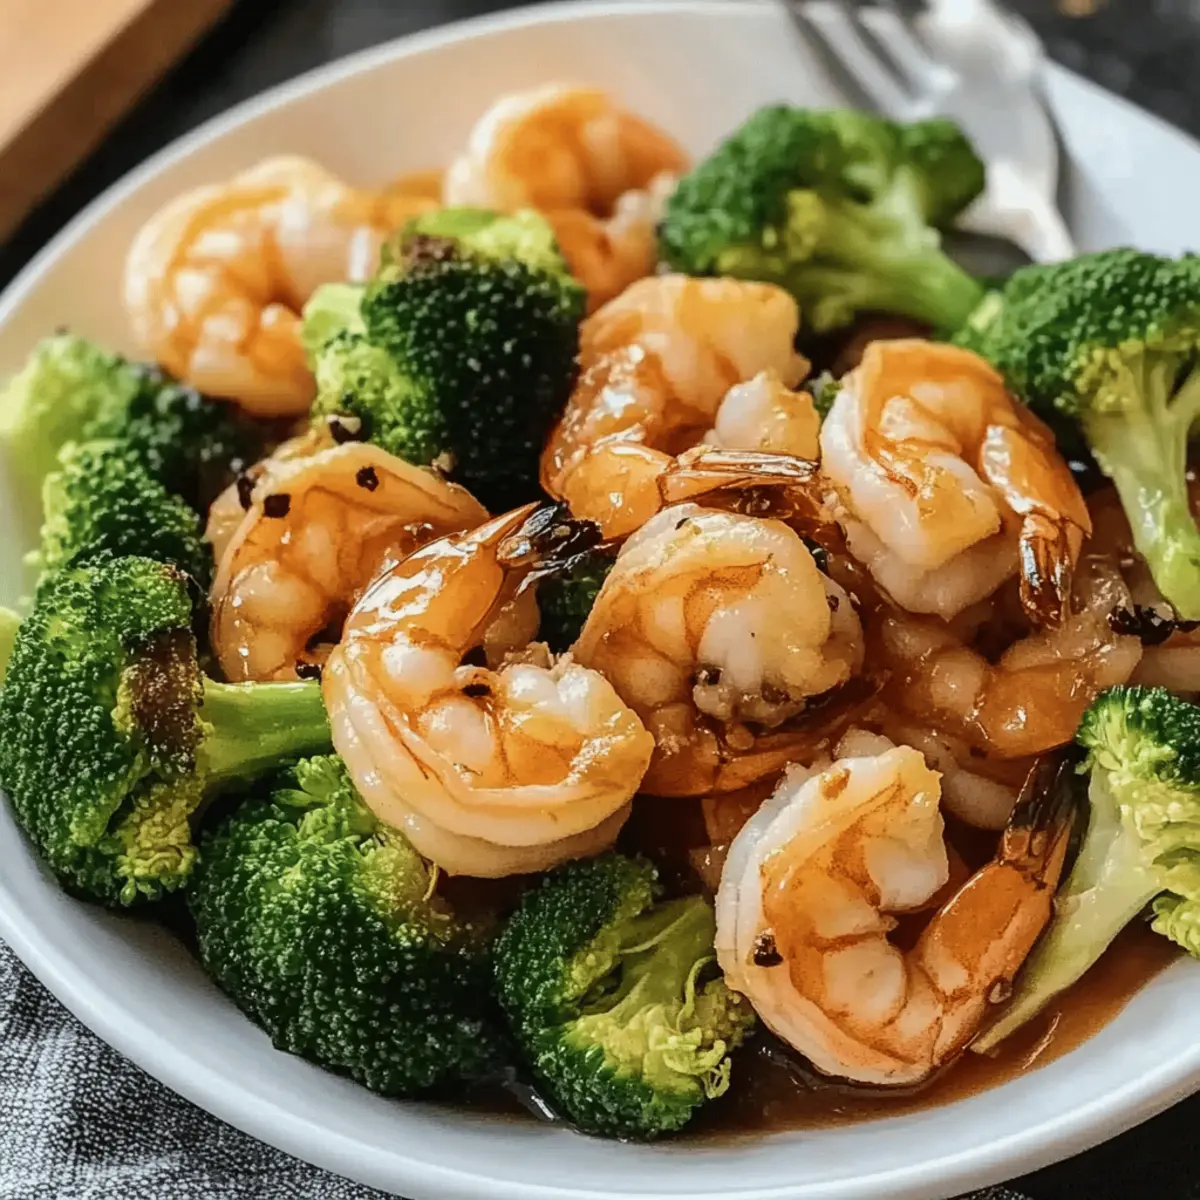
Plate the hot hibachi shrimp and broccoli immediately, making sure to drizzle any remaining sauce from the skillet over the top. If desired, serve with homemade yum yum sauce on the side for a perfect touch. Enjoy your quick and flavorful Japanese delight!
Easy Hibachi Shrimp Variations & Substitutions
Let your creative culinary spirit shine with these delicious twists and alternative ingredients for your Easy Hibachi Shrimp!
-
Vegetable Swap: Replace broccoli with zucchini, bell peppers, or snap peas for a vibrant mix of flavors. Each vegetable offers its unique crunch, ensuring a delightful bite.
-
Protein Twist: Try swapping shrimp for chicken or tofu to cater to various dietary preferences. Both options blend beautifully with the same flavorful sauce.
-
Add Spice: For those who enjoy a kick, sprinkle in red pepper flakes or drizzle some Sriracha. The heat elevates the dish, making it a memorable culinary adventure.
-
Herb Enhancement: Garnish your dish with chopped green onions or fresh cilantro for a pop of color and freshness. Herbs can transform the flavor profile, making each bite even more enjoyable.
-
Citrus Options: Experiment with lime or orange juice instead of lemon. Each citrus fruit brings its unique zest, adding a refreshing note that complements the dish beautifully.
-
Noodle Addition: Want a heartier meal? Stir in some cooked noodles or toss in a handful of cooked rice, creating a comforting bowl that’s perfect for any occasion.
-
Gluten-Free Option: Use tamari or coconut aminos in place of soy sauce to keep your dish gluten-free without sacrificing flavor.
Feeling adventurous? Your adapted Easy Hibachi Shrimp can be paired with sides like Oreo Icebox Cake for a sweet finish, or try a light cucumber salad alongside. The options are limitless!
How to Store and Freeze Easy Hibachi Shrimp
Fridge: Store leftovers in an airtight container for up to 3-4 days to keep the shrimp and broccoli fresh and flavorful.
Freezer: For longer storage, freeze cooked Easy Hibachi Shrimp in an airtight container or freezer bag for up to 2 months.
Reheating: Thaw frozen shrimp in the fridge overnight, then reheat gently in a skillet over low heat to maintain texture and avoid overcooking.
Avoiding Texture Loss: When reheating, add a splash of water or broth to help steam the shrimp, keeping them juicy and tender.
Make Ahead Options
These Easy Hibachi Shrimp are ideal for meal prep enthusiasts looking to save time during busy weeknights! You can clean and marinate your shrimp in up to 24 hours in advance, using a mixture of soy sauce, salt, and pepper. Additionally, steam the broccoli ahead of time and store it in the refrigerator for up to 3 days. When you’re ready to cook, simply sauté the marinated shrimp in butter, add the pre-steamed broccoli, and finish with fresh lemon juice. This way, you’ll achieve that delightful restaurant-quality taste with minimal effort and just as much flavor!
What to Serve With Easy Hibachi Shrimp
Elevate your hibachi dining experience at home with these delightful pairings that awaken your taste buds and complete your meal.
-
Hibachi Fried Rice: This classic side dish is a perfect complement, bringing savory flavors and a satisfying texture that balances the dish beautifully.
-
Crispy Spring Rolls: Light and crunchy, spring rolls add a refreshing element alongside your hibachi shrimp, making every bite feel festive.
-
Garlic Edamame: These buttery, garlicky pods are a nutritious and protein-rich option that keeps the meal light yet filling, with a touch of umami.
-
Cucumber Salad: A refreshing cucumber salad dressed in rice vinegar creates a vibrant contrast to the warm shrimp, enhancing the overall flavor profile.
-
Miso Soup: This subtle yet flavorful soup warms the palate and adds a satisfying depth to your meal, connecting you to the authentic hibachi experience.
-
Sake or Japanese Beer: Pairing your dish with a chilled sake or a light Japanese beer like Asahi elevates the experience, refreshing your palate between bites.
-
Chocolate Mousse: For dessert, a luscious chocolate mousse provides a rich and creamy finish, making your meal feel complete and indulgent.
Expert Tips for Easy Hibachi Shrimp
Dry Shrimp Thoroughly: This prevents steaming and allows for a better sear, ensuring a delightful caramelization on the shrimp.
Avoid Overcrowding: Cook shrimp in batches if necessary to ensure they brown nicely, allowing each piece to get that perfect texture.
Monitor Steaming: Overcooked broccoli can lose its vibrant color and crunch; steam until just tender to keep it fresh and bright.
Use Fresh Ingredients: Fresh lemon, quality soy sauce, and good shrimp significantly enhance the flavors of your Easy Hibachi Shrimp, making every bite memorable.
Customize Wisely: While experimenting with ingredients, keep balance in mind; too many different flavors can overpower the dish.
Easy Hibachi Shrimp Recipe FAQs
What type of shrimp should I use?
It’s best to opt for fresh large shrimp that are free of dark spots and have a firm texture. If using frozen shrimp, make sure to fully thaw and pat them dry before cooking to achieve optimal results.
How long can I store leftovers?
You can store any leftover Easy Hibachi Shrimp in an airtight container in the refrigerator for 3-4 days. Make sure it’s completely cooled before sealing to maintain freshness.
Can I freeze Easy Hibachi Shrimp?
Absolutely! Freezing is a great option for meal prep. Simply place cooked shrimp in an airtight container or freezer bag and freeze for up to 2 months. When you’re ready to eat it, thaw the shrimp in the fridge overnight before reheating gently on the stove.
What should I do if my broccoli gets overcooked?
To avoid mushy broccoli, keep a close eye on steaming. Aim for it to be bright green and tender-crisp. If you find it’s overcooked, consider repurposing it into a soup or incorporating it into a stir-fry to salvage the dish!
Is this recipe gluten-free?
Yes, with a simple swap! Use tamari instead of soy sauce to make this Easy Hibachi Shrimp completely gluten-free. Just check the labels to ensure no hidden gluten ingredients, and enjoy!
Can I use other vegetables instead of broccoli?
Very much so! Feel free to swap out broccoli for other colorful vegetables like bell peppers, zucchini, or snap peas to highlight different textures and flavors. Just ensure varying cooking times are taken into account for each vegetable’s best results.
Easy Hibachi Shrimp: A Quick and Tasty Dinner Adventure
Ingredients
Equipment
Method
- Start by cleaning one pound of large shrimp, removing the shells and deveining if necessary. Pat the shrimp dry.
- In a large skillet over medium-high heat, add two cups of broccoli florets along with 1/4 cup of water. Cover and steam for 1–2 minutes.
- Melt one tablespoon of butter in the same skillet over medium-high heat and cook the shrimp.
- Flip the shrimp, add 1 tablespoon of soy sauce, and cook for another minute.
- Return the steamed broccoli to the skillet, adding another 2 tablespoons of soy sauce.
- Squeeze 1 tablespoon of fresh lemon juice over the mixture to finish.
- Plate the hot hibachi shrimp and broccoli, drizzling any remaining sauce over the top.
Leave a Reply