
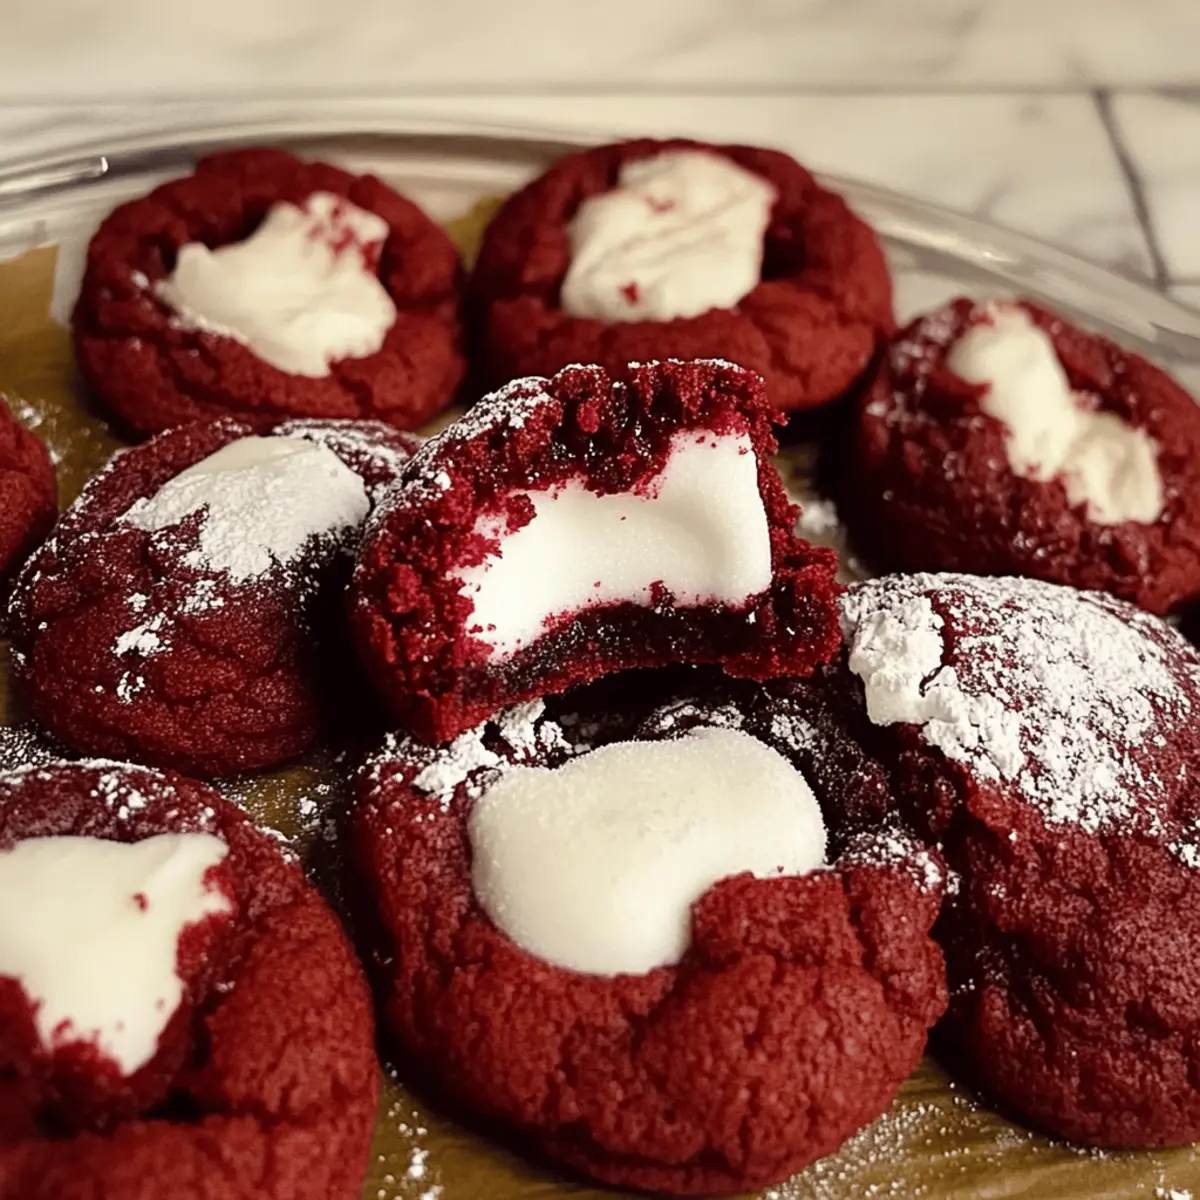
As I turned the corner from the bustling kitchen, the sweet aroma of nostalgia hit me like a warm wave. That’s when I knew it was time to whip up a batch of my Decadent Red Velvet Marshmallow Cookies. These delightful cookies are the ultimate festive treat—a stunning centerpiece for any holiday gathering that’s sure to impress. With a soft and chewy texture encasing a gooey marshmallow center, they transform baking into a delightful experience, whether you’re a seasoned chef or just starting out. Plus, they’re quick to prepare, making them perfect for last-minute holiday magic. Are you ready to experience the joy that comes with every bite? Let’s dive into this delightful recipe together!
Why are Red Velvet Marshmallow Cookies a Must-Try?
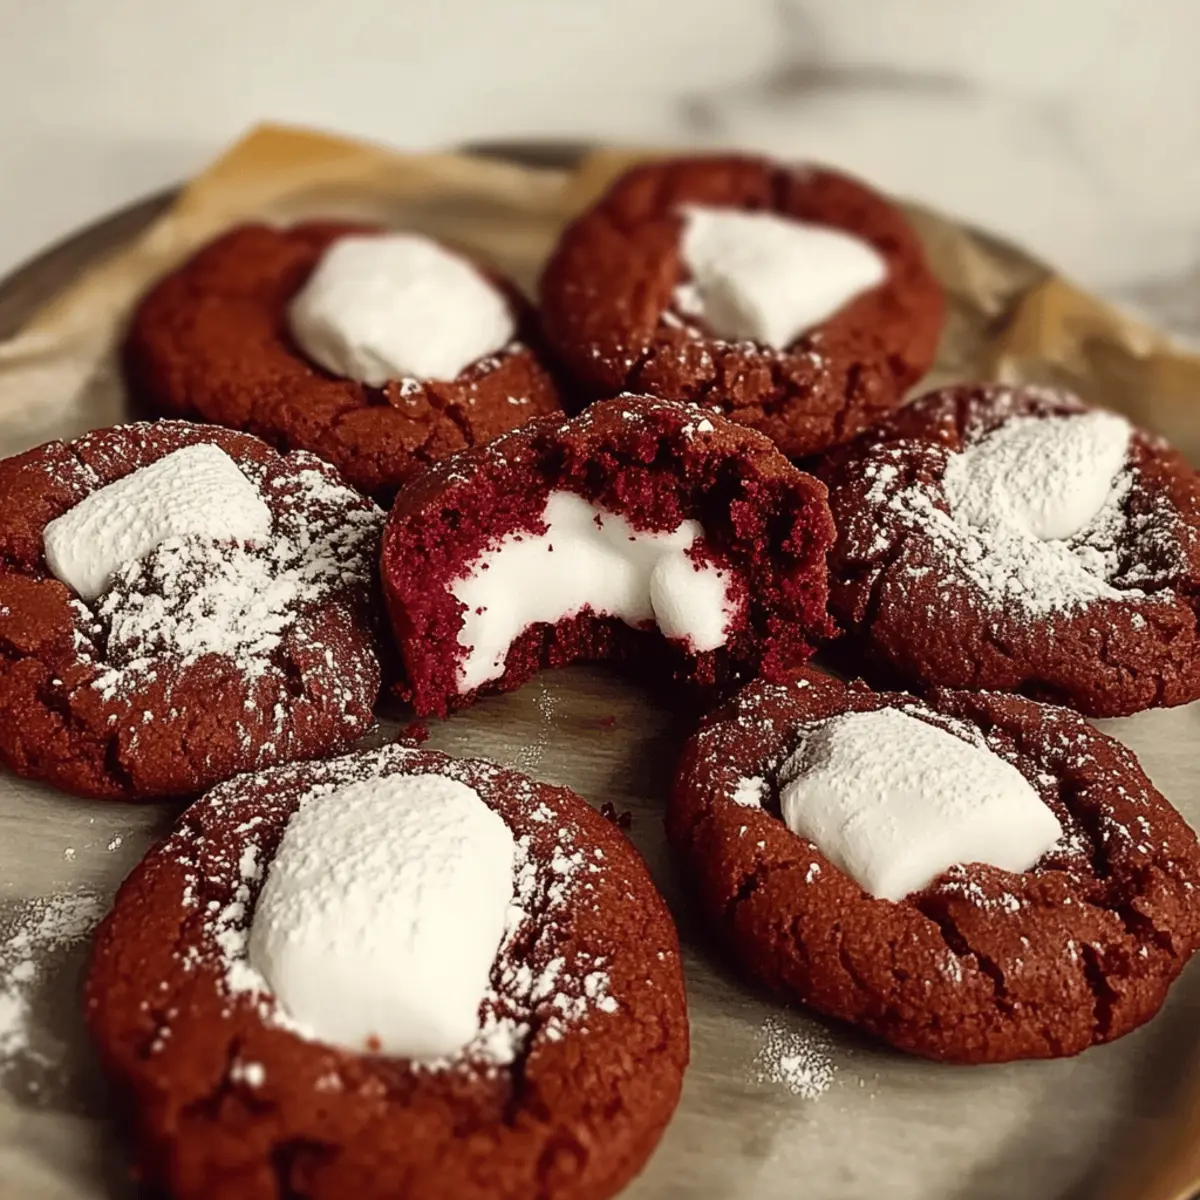
Irresistible Charm: These cookies blend the classic allure of red velvet with a modern twist—gooey marshmallow centers. Festive Favorite: Their vibrant color and soft texture make them a perfect holiday treat. Quick Preparation: With simple steps and minimal prep time, they’re ideal for busy bakers seeking holiday magic. Crowd-Pleaser: No one can resist a delightful combination of flavor and nostalgia! You’ll also love pairing them with a warm cup of cocoa or even trying similar recipes like Lemon Oatmeal Cookies for variety. Embrace the joy of homemade indulgence with these delicious cookies!
Red Velvet Marshmallow Cookies Ingredients
-
For the Dough
-
All-purpose flour – Provides structure; feel free to substitute with a gluten-free blend for dietary preferences.
-
Salt – Enhances flavor; sea salt gives an elegant touch.
-
Baking powder – Acts as a leavening agent; make sure it’s fresh for the best cookie rise.
-
Dutch cocoa powder – Adds rich chocolate flavor and color; regular cocoa can work if Dutch isn’t available.
-
Unsalted butter – Increases moisture and richness; always use for better seasoning control.
-
Granulated sugar – Sweetens the dough; mixing in brown sugar enhances chewiness and depth.
-
Brown sugar – Contributes moisture and caramel notes; coconut sugar is a great alternative for a healthier touch.
-
Vanilla extract – Elevates flavor; opt for pure extract for the best experience.
-
Egg – Binds ingredients and aids in rise; for an egg-free option, try a flax egg.
-
White vinegar – Activates red food coloring; a splash of lemon juice can serve as a good alternative.
-
Red food coloring – Gives the signature hue; gel color is preferred for deeper results.
-
For the Marshmallow Filling
-
Marshmallow fluff – Creates delicious gooey pockets inside the cookies; homemade adds a personal touch.
These Red Velvet Marshmallow Cookies are sure to be a hit at your next gathering, making every bite a delightful surprise!
Step‑by‑Step Instructions for Red Velvet Marshmallow Cookies
Step 1: Prepare the Dough
In a large mixing bowl, whisk together 2 cups of all-purpose flour, 1 teaspoon of salt, 1 teaspoon of baking powder, and ¼ cup of Dutch cocoa powder until well combined. In a separate bowl, cream together ¾ cup of softened unsalted butter with ½ cup of granulated sugar and ½ cup of brown sugar until light and fluffy, about 3-5 minutes. Mix in one egg, 2 teaspoons of vanilla extract, and 1 teaspoon of white vinegar until fully incorporated. Gradually add the dry ingredients, stirring until you form a smooth dough.
Step 2: Add Color
Once your dough is formed, it’s time to bring it to life with color! Stir in the desired amount of red food coloring, mixing until the dough is evenly tinted a vibrant red hue. Depending on the intensity you prefer, you can adjust the amount of coloring. The well-mixed dough should appear strikingly bright, showcasing the classic red velvet tone.
Step 3: Chill Dough
Now that your Red Velvet Marshmallow Cookie dough is beautifully colored, cover the bowl tightly with plastic wrap. Refrigerate for at least 1 hour; this chilling step is crucial for enhancing the dough’s flavor and preventing the cookies from spreading too much during baking. You’ll know it’s ready when the dough feels slightly firm to the touch.
Step 4: Preheat Oven
Before you take the dough out of the fridge, preheat your oven to 350°F (175°C). While the oven heats, line a baking sheet with parchment paper to ensure easy cleanup and prevent sticking. This preparation sets the stage for perfectly baked cookies, providing a warm environment that enhances their flavor while baking.
Step 5: Form Cookies
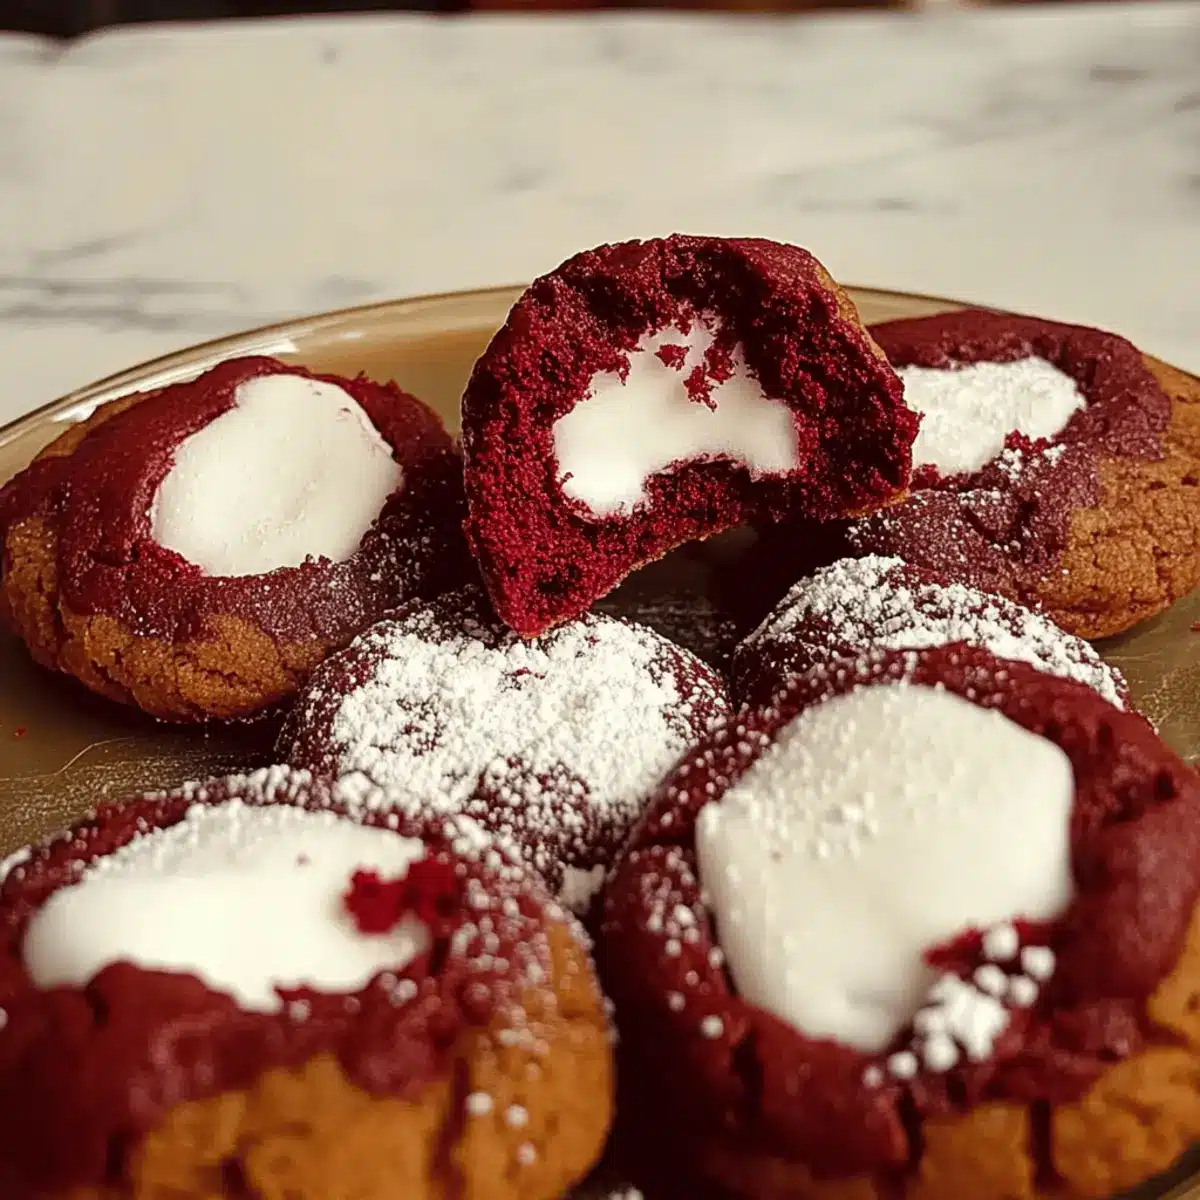
Scoop about 2 tablespoons of chilled dough and place it on the prepared baking sheet, leaving space between each cookie for spreading. Make a small indentation in the center of each ball, then spoon in a generous amount of marshmallow fluff. Seal the edges of the cookie dough around the fluff to enclose it, ensuring a delightful gooey center awaits.
Step 6: Bake
Place the baking sheet in the preheated oven and bake for 12-15 minutes, keeping a close eye on them. Look for edges that are set and softly puffed centers—these visual cues indicate they are just right. The cookies will continue to firm up as they cool, resulting in a delightful soft texture that holds the marshmallow surprise.
Step 7: Cool
Once baked to perfection, remove the cookies from the oven and let them cool on the baking sheet for about 5 minutes. This slight cooling period allows them to hold their shape. Then, gently transfer the cookies to a wire rack to cool completely—it’s a perfect opportunity to take in their heavenly aroma!
Make Ahead Options
These Red Velvet Marshmallow Cookies are a fantastic option for busy home cooks looking to save time without sacrificing flavor! You can prepare the cookie dough up to 24 hours in advance by following the first three steps of the recipe: prepare the dough, add color, and chill it in the fridge. This not only enhances the flavor but also helps to maintain the perfect texture. Once you’re ready to bake, simply scoop, fill with marshmallow fluff, seal, and bake as directed. Alternatively, you can shape the dough into cookie balls and freeze them for up to 3 months. Just bake from frozen, adding a couple of extra minutes to the baking time for delicious, fresh cookies anytime!
Red Velvet Marshmallow Cookies Variations
Feel free to get creative and make these delightful cookies your own with these fun and tasty options!
- Gluten-Free: Substitute all-purpose flour with a gluten-free blend to accommodate dietary needs while keeping that soft texture intact.
- Nutty Additions: Fold in a handful of chopped walnuts or pecans for crunch and a delightful contrast against the chewy cookie.
- Dairy-Free: Use vegan butter and coconut milk instead of regular dairy ingredients for a dairy-free and equally scrumptious alternative.
- Flavored Marshmallow: Swap the marshmallow fluff for flavored varieties like chocolate or strawberry for an exciting twist that tempts the taste buds.
- Spicy Kick: Add a pinch of cayenne pepper or chili powder to the dough for a warm, spicy surprise that dances on your palate.
- Chocolate Lovers: Mix in semi-sweet or dark chocolate chips to enhance the chocolate flavor and bring an extra level of indulgence.
- Reduced Sugar: Opt for a sugar alternative like Stevia or Monk fruit to create a lower-calorie version without sacrificing sweetness.
- Homemade Marshmallow: Try making your own marshmallow filling for a personal touch. The difference in freshness will elevate your cookie game!
Each variation brings a new flair to these Red Velvet Marshmallow Cookies, making them a festive delight for any gathering. Pair them with a warm cup of cocoa or explore delicious recipes like Spicy Thai Red for a complete holiday treat experience!
What to Serve with Decadent Red Velvet Marshmallow Cookies
There’s something magical about creating a cozy dessert spread that complements your scrumptious cookies, elevating the whole experience.
-
Chilled Milk: The classic pairing to soft cookies. Its cool creaminess balances the sweetness of your gooey centers perfectly.
-
Hot Cocoa: A rich, velvety hot chocolate enhances the festive spirit, with each sip marrying delightfully with the cookie’s flavors.
-
Vanilla Bean Ice Cream: The rich creaminess contrasts beautifully with the chewy texture, making every bite a blend of warm and cold indulgence.
-
Cream Cheese Frosting: For an extra layer of sweetness, a dollop of this tangy frosting echoes the red velvet tradition and adds a delightful twist.
-
Roasted Hazelnuts: Their crunch introduces a nutty flavor that complements the marshmallow goodness while providing an enticing texture contrast.
-
Peppermint Tea: This refreshing herbal option brings a subtle minty kick that cuts through the sweetness, creating a balanced aftertaste.
-
Chocolate Covered Strawberries: Take your dessert to the next level with the freshness of strawberries dipped in chocolate; they add a vibrant and elegant touch.
-
Spiced Chai Latte: The warm spices in this tea create cozy, aromatic notes that harmonize beautifully with the cookies and evoke holiday warmth.
-
Caramel Sauce: Drizzle warm caramel over these cookies to add a luscious layer of flavor, enhancing the delightfully sweet experience.
-
Cozy Holiday Cheesecake: Serve a small slice of spiced cheesecake alongside; its creaminess and fall flavors pair wonderfully with the cookies.
How to Store and Freeze Red Velvet Marshmallow Cookies
-
Room Temperature: Store cookies in an airtight container at room temperature for up to 3 days. This keeps them soft and chewy, ready for cozy snacking.
-
Fridge: Keep these delightful cookies in the refrigerator for up to a week. Just make sure they’re sealed properly to prevent absorption of other flavors.
-
Freezer: For longer storage, freeze your cookies for up to 3 months. Place them in a freezer-safe container, with parchment paper between layers to avoid sticking.
-
Reheating: To enjoy your cookies warm again, pop them in the microwave for about 10-15 seconds. This will revitalize their gooey marshmallow centers and delicious flavors.
Expert Tips for Red Velvet Marshmallow Cookies
-
Chill for Success: Chilling the dough is essential for flavor and texture. Skipping this step can lead to flatter cookies that lose their shape.
-
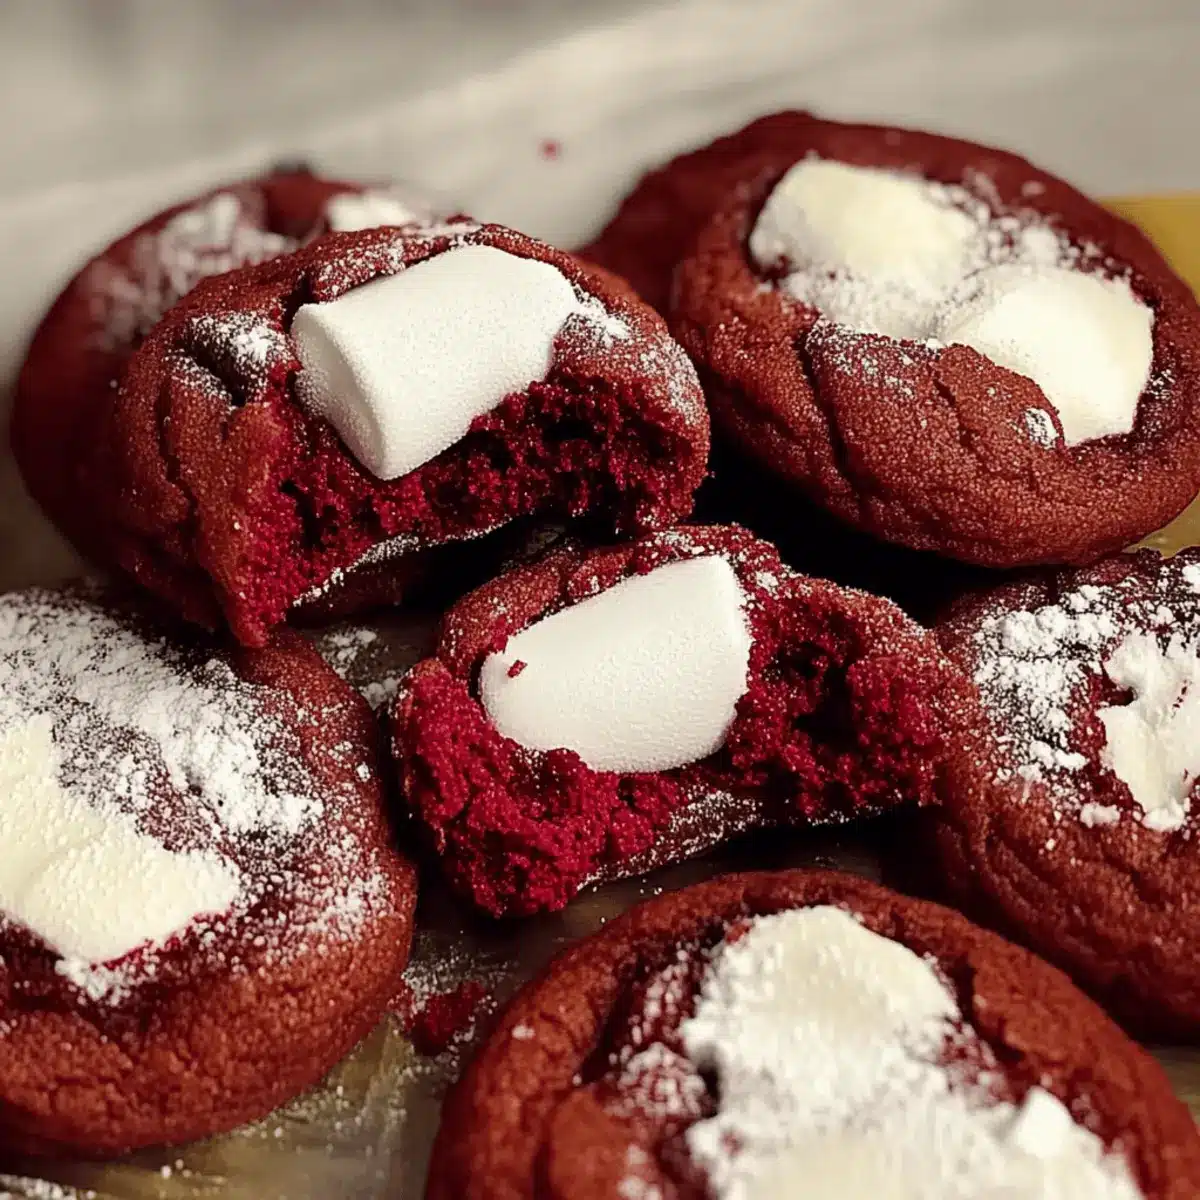
Seal the Fluff: Ensure the marshmallow fluff is completely enclosed by the dough to prevent it from leaking during baking. A good seal makes for the best Red Velvet Marshmallow Cookies.
-
Baking Time Matters: Keep an eye on baking time! The edges should be set while the centers remain soft; overbaking can dry them out.
-
Fresh Ingredients Count: Using fresh baking powder ensures a good rise. Outdated leavening agents can result in dense, heavy cookies.
-
Experiment with Flavor: Don’t be afraid to mix it up! Try adding flavored extracts like almond or hazelnut for a unique twist on your Red Velvet Marshmallow Cookies.
Red Velvet Marshmallow Cookies Recipe FAQs
What should I look for when selecting a ripe egg for the recipe?
Absolutely! When choosing eggs, it’s best to look for those with clean, uncracked shells. The best eggs will be in the refrigerated section with a sell-by date far off into the future. If you have a choice between large and extra-large, go with large for the most consistent results in these Red Velvet Marshmallow Cookies.
How should I store my Red Velvet Marshmallow Cookies?
To keep your cookies fresh and chewy, store them in an airtight container at room temperature for up to 3 days. If you prefer them chilled, they can last up to a week in the refrigerator, but be sure they are sealed properly to avoid picking up any other flavors.
Can I freeze Red Velvet Marshmallow Cookies? If so, how?
Yes, indeed! To freeze your cookies, allow them to cool completely, then place them in a single layer in a freezer-safe container, with parchment paper between layers to prevent sticking. They’ll stay fresh for up to 3 months. When you’re ready to enjoy them, simply thaw in the fridge overnight or pop them in the microwave for about 10-15 seconds to get that gooey marshmallow center back!
What are some troubleshooting tips if my cookies spread too much?
Very! If your cookies spread during baking, it could be due to several factors. First, ensure your butter is adequately softened—not melted, as this can lead to spreading. Always chill the dough for at least an hour; if it’s still spreading too much, you might want to refrigerate it for longer. Lastly, make sure your baking powder isn’t expired, as this can also affect the rise and spread.
Can I make these cookies egg-free, and how?
Of course! To make your Red Velvet Marshmallow Cookies egg-free, use a flax egg as a substitute. Mix 1 tablespoon of ground flaxseed with 2.5 tablespoons of water, letting it sit for about 5 minutes until it thickens. This egg alternative binds the ingredients together effectively, ensuring your cookies turn out beautifully chewy.
How can I adjust the sweetness for dietary preferences?
If you’re looking to cut back on sugar, consider reducing the granulated sugar slightly or substituting it with coconut sugar, which provides a lower glycemic index. You can mix in some stevia or monk fruit sweetener, but I recommend testing with smaller batches since these sweeteners can sometimes alter the texture. This way, you can enjoy your Red Velvet Marshmallow Cookies without compromising on flavor!
Red Velvet Marshmallow Cookies: A Cozy Holiday Delight
Ingredients
Equipment
Method
- In a large mixing bowl, whisk together the flour, salt, baking powder, and Dutch cocoa powder until well combined.
- In a separate bowl, cream together the unsalted butter, granulated sugar, and brown sugar until light and fluffy, about 3-5 minutes.
- Mix in the egg, vanilla extract, and white vinegar until fully incorporated. Gradually add the dry ingredients, stirring until you form a smooth dough.
- Stir in the desired amount of red food coloring until the dough is evenly tinted a vibrant red hue.
- Cover the bowl tightly with plastic wrap and refrigerate for at least 1 hour.
- Preheat your oven to 350°F (175°C) and line a baking sheet with parchment paper.
- Scoop about 2 tablespoons of chilled dough, place on the baking sheet leaving space between, and make an indentation in each ball.
- Spoon marshmallow fluff into the indentation and seal the edges of the cookie dough around it.
- Bake for 12-15 minutes until edges are set and centers are softly puffed.
- Allow cookies to cool on the baking sheet for about 5 minutes, then transfer to a wire rack to cool completely.
Leave a Reply