
Every time I whip up these no-bake chocolate oat cookies, I’m transported back to my childhood kitchen, where sweet scents and laughter filled the air. If you’ve ever craved a quick, satisfying treat that saves you from turning on the oven, you’re in for a delightful surprise! The creamy texture from nut butter and the chewy goodness of rolled oats come together in this Easy No-Bake Chocolate Oat Cookies recipe, making it a perfect go-to for busy days or late-night cravings. Not only are these cookies gluten-free, but they also whip up in mere minutes, which means less time waiting and more time indulging. Whether you’re entertaining guests or just treating yourself, these delectable cookies are sure to hit the spot. Curious how to get that perfectly chewy bite? Let’s dive into this simple yet satisfying recipe!
Why Are These Cookies So Irresistible?
Easy Preparation: With only a few simple steps, you can whip up these delicious cookies in no time!
Gluten-Free Delight: Perfect for accommodating dietary restrictions without compromising on flavor.
Endless Customization: Get creative by adding dried fruits, shredded coconut, or even dark chocolate chips for a flavor twist.
Perfect Snack: Great for on-the-go munching, these cookies make the ideal pick-me-up anytime.
Kid-Friendly Fun: Involve the little ones in the making—no baking means less mess and more smiles!
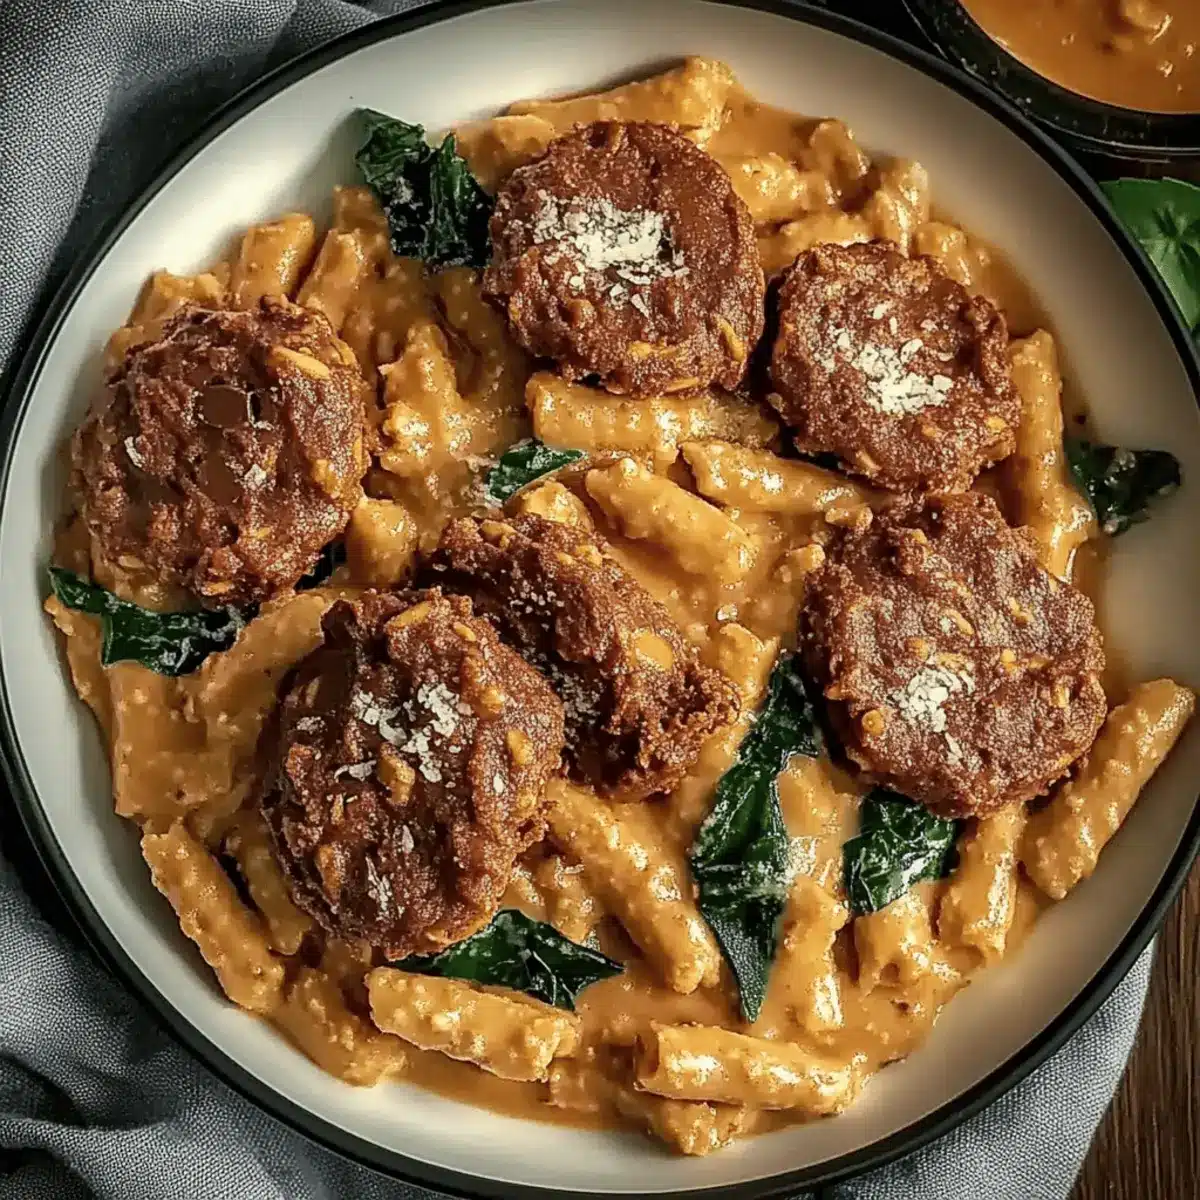
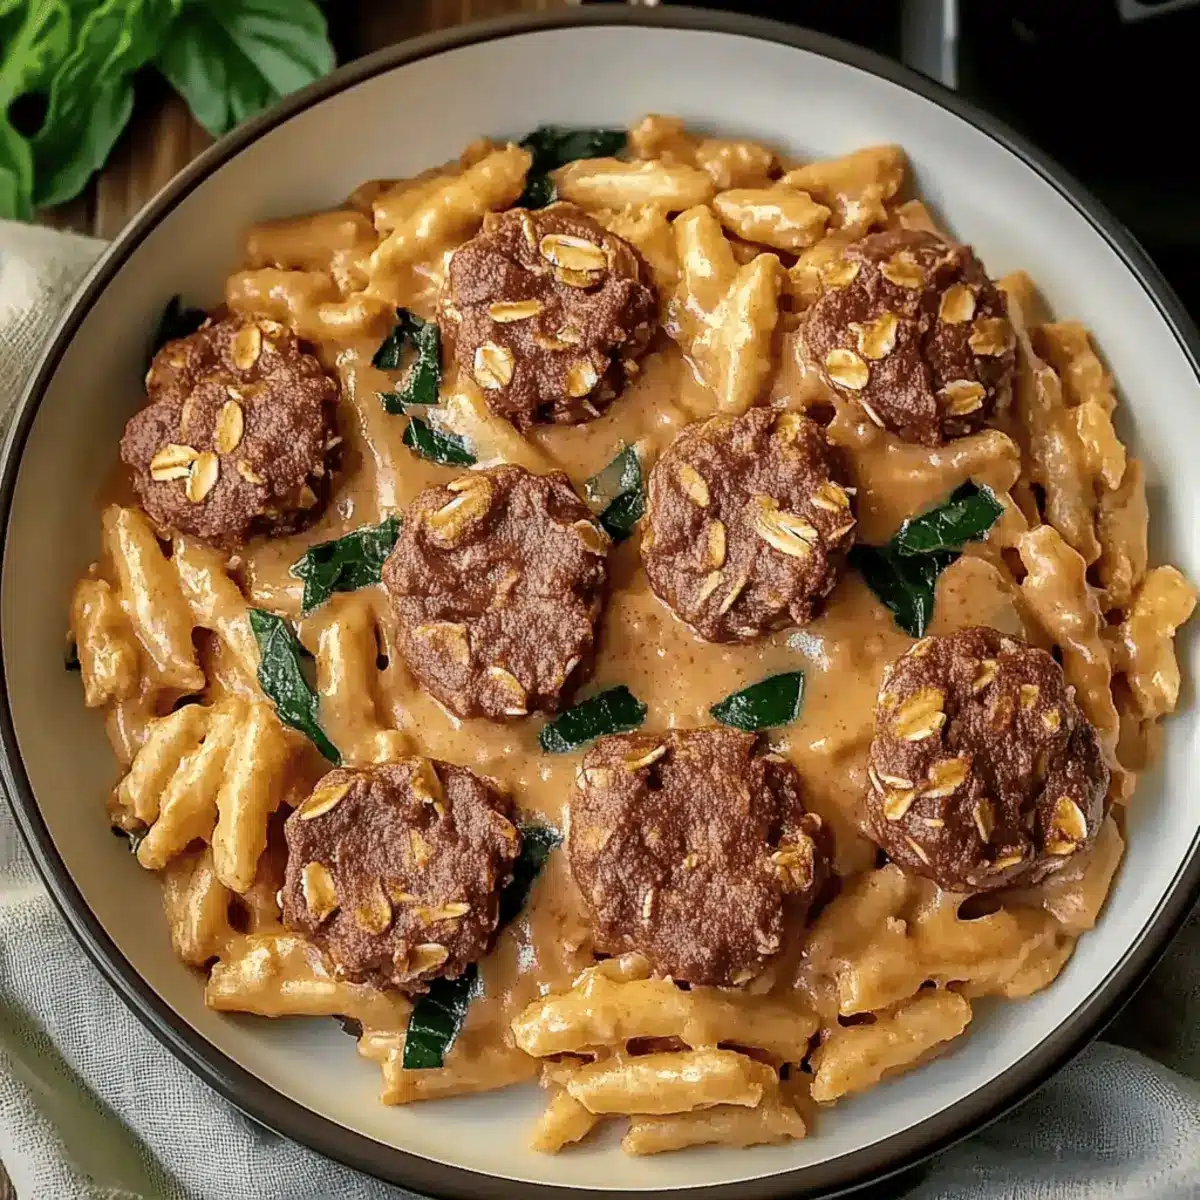
Pair these treats with a glass of milk or coffee for a delightful experience, and if you’re in the mood for more tasty adventures, try my Creamy Cajun Sausage Pasta for an unforgettable meal!
No-Bake Chocolate Oat Cookies Ingredients
For the Cookies
- Rolled oats – Provides structure and chewiness; for a quicker option, use quick oats but note the texture may change.
- Cocoa powder – Adds a rich chocolate flavor; unsweetened cocoa can substitute for a less sweet version.
- Nut butter (peanut or almond) – Acts as a binding agent and adds creaminess; use sunflower seed butter for a nut-free treat.
- Honey or maple syrup – Sweetens and helps bind ingredients; agave nectar can be a vegan-friendly alternative.
- Vanilla extract – Enhances the flavor profile; opt for pure vanilla for the best results.
- Salt – Balances sweetness and enhances flavors; a pinch is just right.
For Optional Add-Ins
- Dried fruits – Add a burst of flavor and texture; consider raisins or cranberries for added sweetness.
- Shredded coconut – Brings a tropical twist; use unsweetened for a healthier option.
- Chocolate chips – Amplify the chocolatey goodness; dark chocolate will pair beautifully with the base ingredients.
These No-Bake Chocolate Oat Cookies are not only effortless to make but also a perfect way to satisfy those sweet cravings without the need for baking. Enjoy the delicious texture and taste with your loved ones!
Step‑by‑Step Instructions for Easy No-Bake Chocolate Oat Cookies
Step 1: Combine Dry Ingredients
In a large mixing bowl, pour in the rolled oats and cocoa powder. Use a whisk to blend them together until well mixed, ensuring there are no lumps from the cocoa. This step sets the base for your creamy no-bake chocolate oat cookies, with the oats providing structure and chewiness.
Step 2: Add Wet Ingredients
Next, spoon in your choice of nut butter—either peanut or almond—followed by honey (or maple syrup) and vanilla extract. Using a spatula, mix these ingredients until everything is fully incorporated, and a thick, sticky dough forms. This binding mixture will ensure that your cookies hold together beautifully.
Step 3: Season the Mixture
Sprinkle a pinch of salt into the mixture, allowing it to enhance the flavors of the sweet and nutty elements. Give the cookie dough another good stir to ensure the salt is evenly distributed. This step is crucial for balancing the sweetness in your Easy No-Bake Chocolate Oat Cookies.
Step 4: Shape the Cookies
Using a tablespoon, scoop out portions of the mixture and drop them onto a sheet of parchment paper. With your hands, shape each scoop into round cookies, about 1 inch thick. Arrange them spaced apart to allow for easy handling later. This is where the fun part transforms your cookie dough into cookie shapes!
Step 5: Chill and Set
Place the tray in the refrigerator and let the cookies chill for at least 30 minutes. This waiting time allows the flavors to meld and the nut butter to firm up, resulting in chewy yet fudgy cookies that won’t fall apart. Keep an eye on them; they are worth the wait!
Step 6: Enjoy Your Creation
After the chilling period, remove the cookies from the refrigerator. They should feel firm to the touch, with a slightly crisp exterior. Now it’s time to enjoy your delicious Easy No-Bake Chocolate Oat Cookies! Pair them with a glass of milk or coffee for a delightful treat any time of day.

Storage Tips for No-Bake Chocolate Oat Cookies
Fridge: Store cookies in an airtight container for up to 1 week to maintain their chewy texture and freshness.
Freezer: Place cookies in a freezer-safe container or bag for up to 3 months. For easy access, layer them between parchment paper.
Reheating: If you prefer warm cookies, simply microwave for 10-15 seconds before serving. Enjoy the delicious, creamy texture from your homemade no-bake chocolate oat cookies!
Make Ahead Options
These Easy No-Bake Chocolate Oat Cookies are perfect for meal prep enthusiasts looking to save time without sacrificing flavor! You can mix the dough and shape it into cookie rounds up to 24 hours in advance, storing them in the refrigerator covered with parchment paper to maintain quality. When you’re ready to enjoy, simply take them out and allow a quick chill for about 10-15 minutes to firm them up again if needed. Alternatively, these cookies can be stored in an airtight container for up to one week, maintaining their deliciously chewy texture. Prepare ahead and relish the ease of having a sweet treat on hand for those busy days!
What to Serve with Easy No-Bake Chocolate Oat Cookies
Pair these delightful treats with complementary items to create a comforting and satisfying spread.
- Glass of Milk: The creaminess of milk perfectly balances the rich chocolate flavors, making each bite even more enjoyable.
- Cup of Coffee: Brewed to perfection, a warm cup of coffee enhances the cookie’s rich taste, providing a delightful contrast.
- Vanilla Ice Cream: A scoop of vanilla ice cream alongside the cookies adds a luxurious creaminess that every chocolate lover will adore.
- Fresh Berries: Bright, tangy berries like raspberries or strawberries provide a refreshing burst of flavor that contrasts beautifully with the cookies’ sweetness.
- Chocolate Dipping Sauce: Elevate the cookie experience by drizzling melted chocolate on top for an extra indulgent touch.
- Nut Butter Spread: A smear of your favorite nut butter adds richness and pairs beautifully with the chewy oat texture for a true treat!
- Coconut Whipped Cream: Fluffy coconut whipped cream is perfect for a tropical twist, adding lightness and sweetness to your indulgence.
- Fruit Smoothie: A refreshing fruit smoothie can serve as a drinkable dessert, brightening your palate after enjoying these decadent cookies.
No-Bake Chocolate Oat Cookies Variations
Feel free to make these cookies your own—there are so many delightful twists to try!
-
Nut-Free: Use sunflower seed butter instead of nut butter for a safe option that retains creaminess and flavor.
-
Vegan Delight: Swap honey for agave nectar and stick to dairy-free chocolate chips to keep it plant-based and indulgent.
-
Chocolate Lovers: Add extra chocolate chips or chunks to the mix for a more decadent cookie; a double dose of chocolate is always a hit!
-
Fruitful Addition: Toss in some dried fruits like cranberries or raisins for a touch of sweetness and chewy texture, making each bite a little celebration.
-
Coconut Flair: Mix in unsweetened shredded coconut to harmonize beautifully with the chocolate for that tropical twist.
-
Spicy Kick: Add a dash of cayenne pepper or cinnamon for a subtle heat that dances on your palate, creating a whimsical flavor experience.
-
Crunchy Texture: For a satisfying crunch, substitute some rolled oats for crushed nuts or seeds, providing an interesting contrast to the chewy texture.
-
No-Bake Granola Bars: Shape the mixture into a rectangular mold instead of individual cookies, let it set, and cut it into bars for an easy grab-and-go snack.
These variations not only satisfy cravings but also allow everyone to tailor the cookies to their preferences. Explore, enjoy, and don’t forget to pair these treats with a glass of milk or check out my Creamy Cajun Sausage Pasta for a complete meal!
Expert Tips for No-Bake Chocolate Oat Cookies
-
Mix Thoroughly: Ensure all ingredients are well combined to prevent dry spots that can lead to uneven texture.
-
Adjust Consistency: If the mixture feels too crumbly, add a little extra nut butter or syrup to achieve the desired consistency for your chocolate oat cookies.
-
Nut Butter Reminder: Always stir natural nut butter before measuring to incorporate the oils back into the mix, ensuring smooth and creamy cookies.
-
Chill Time Matters: Don’t rush the chilling process; allowing at least 30 minutes in the refrigerator helps the cookies set properly and enhances their texture.
-
Creative Add-ins: Feel free to experiment with add-ins like dried fruits or chocolate chips to elevate the flavor of your no-bake chocolate oat cookies.
No-Bake Chocolate Oat Cookies Recipe FAQs
How do I select ripe ingredients for the cookies?
Absolutely! For these no-bake chocolate oat cookies, always opt for fresh rolled oats that are free from any dark spots or off odors. When choosing nut butter, go for a brand that uses minimal ingredients. Check that there are no added sugars or oils to ensure a pure, creamy texture; if it’s natural, be sure to stir it well to mix in the oils before using.
What’s the best way to store these cookies?
Very! To maintain the chewy texture of your no-bake chocolate oat cookies, store them in an airtight container in the refrigerator for up to 1 week. Make sure they are completely chilled and firm before sealing them, keeping unwanted moisture out. You can also place parchment paper between layers for optimal freshness.
Can I freeze these cookies for later enjoyment?
Absolutely! To freeze your no-bake chocolate oat cookies, first ensure they are fully set in the refrigerator. Then, place them in a freezer-safe container or bag, layering each cookie with parchment paper for easy separation. They can be kept in the freezer for up to 3 months. When you’re ready to enjoy, simply thaw them in the fridge or let them sit at room temperature for a few minutes.
What if my cookie mixture turns out too crumbly?
Oh, that’s an easy fix! If you find that your cookie mixture is too crumbly, it could be due to not enough moisture. Start by adding an extra tablespoon of nut butter or honey. Mix thoroughly until the dough sticks together. If it still feels too dry, a little more syrup or nut butter can help reach the perfect consistency. It’s all about finding that balance!
Are there any dietary considerations for these cookies?
Very! These no-bake chocolate oat cookies are naturally gluten-free, but ensure that the oats you purchase are certified gluten-free to avoid cross-contamination. If you’re accommodating nut allergies, opt for sunflower seed butter instead of nut butters. For a vegan-friendly version, simply substitute honey with agave nectar or maple syrup. Enjoy customizing this treat for everyone!
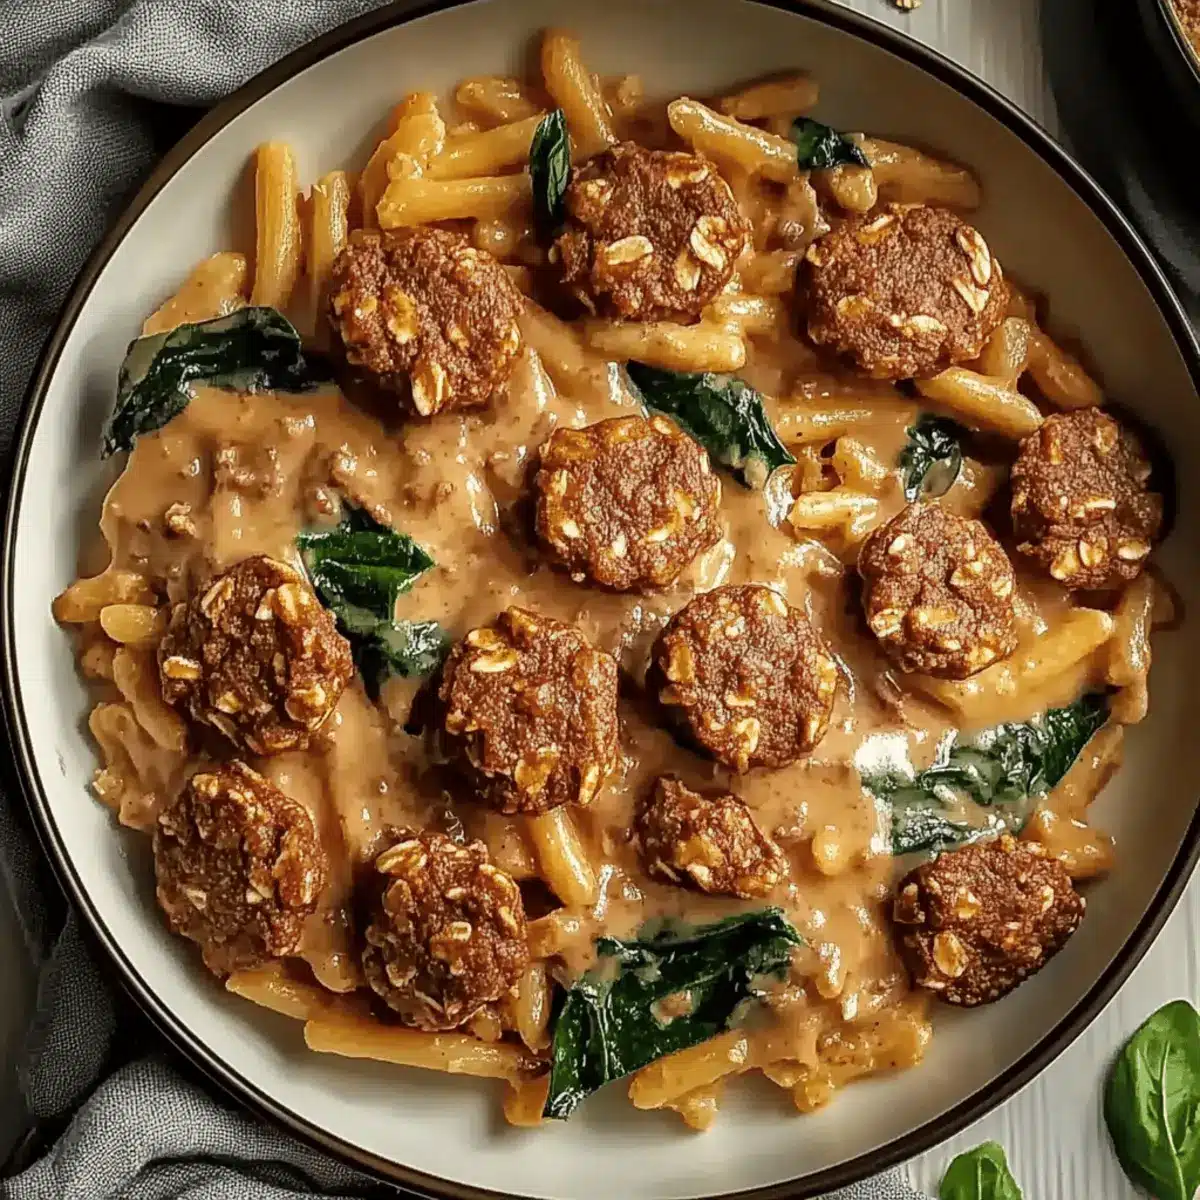
Creamy Cajun Sausage Pasta One Pot for the Ultimate Comfort Meal
Ingredients
Equipment
Method
- Combine the rolled oats and cocoa powder in a large mixing bowl, whisking them together until well mixed.
- Add the nut butter, honey (or maple syrup), and vanilla extract, mixing until a thick, sticky dough forms.
- Sprinkle a pinch of salt into the mixture and stir to ensure even distribution.
- Scoop out portions of the mixture onto parchment paper and shape into round cookies, about 1 inch thick.
- Chill the cookies in the refrigerator for at least 30 minutes to allow them to firm up.
- After chilling, enjoy your delicious cookies paired with a glass of milk or coffee.
Leave a Reply