
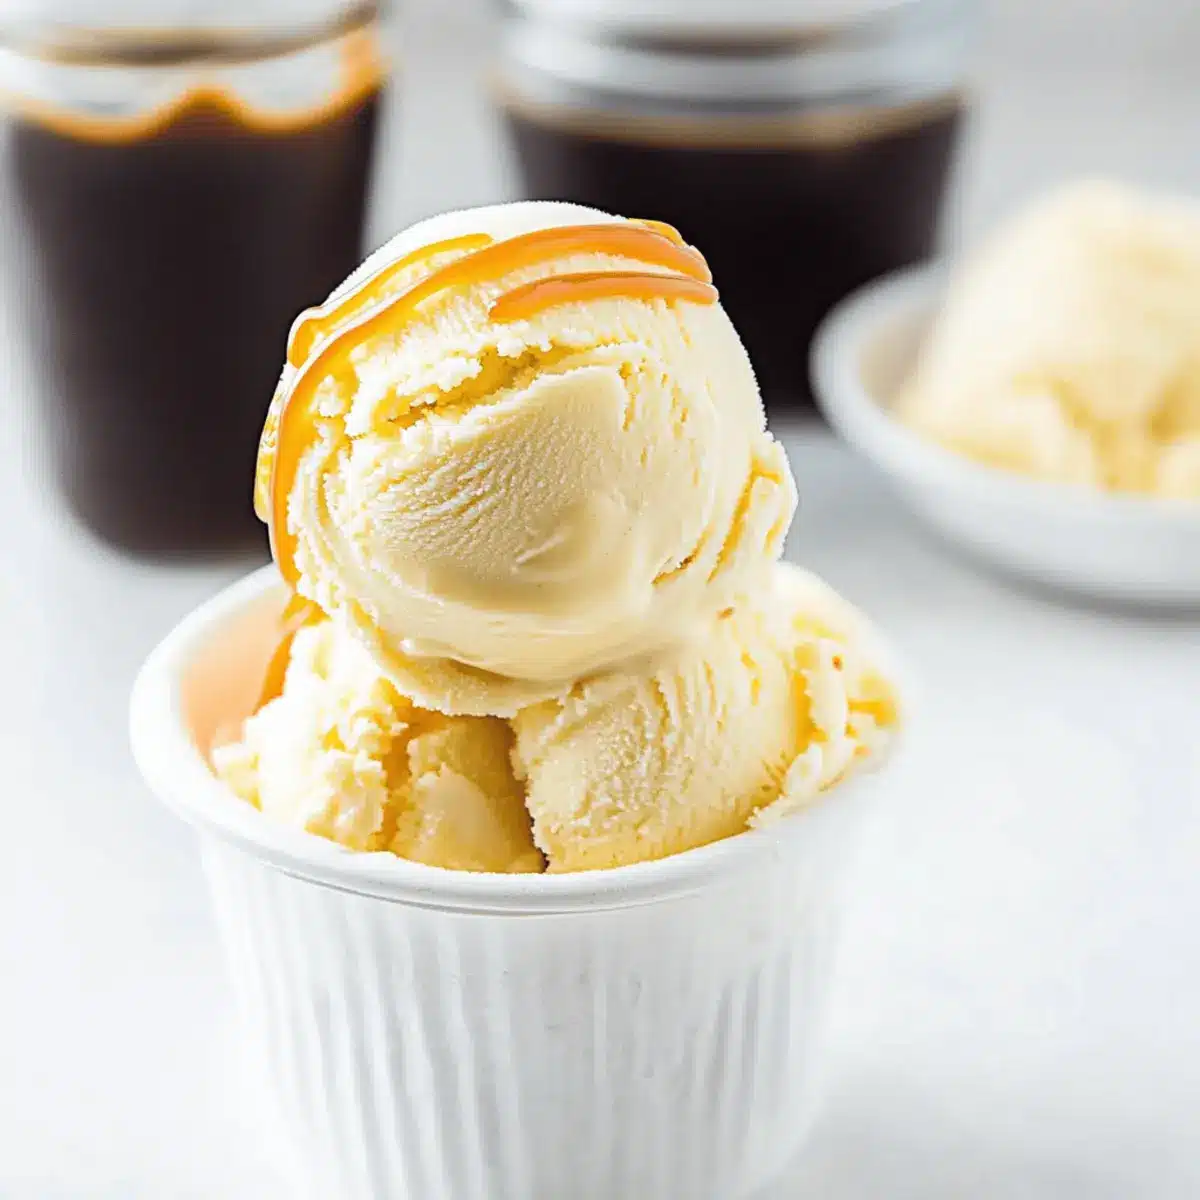
The moment that creamy scoop of old-fashioned vanilla ice cream hits your tongue, time seems to stand still. As simple as it is delightful, my Creamy Old-Fashioned Vanilla Ice Cream recipe captures the essence of nostalgia while offering you the freedom to customize it to your heart’s desire. This egg-free treat is not just a quick fix for a sweet tooth; it’s perfect for sunny afternoons, cozy family gatherings, or a splash of joy after a long day. With just a handful of ingredients, you can whip up pure bliss that lovingly melts in your mouth. And if you’re feeling adventurous, feel free to explore variations like rich chocolate or fruity infusions that make each scoop uniquely yours! What flavor combination will you create today?
Why is this ice cream a must-try?
Simplicity Meets Joy: Making your own Creamy Old-Fashioned Vanilla Ice Cream is easier than you think, requiring just a few ingredients and minimal time in the kitchen.
Customization Galore: Whether you’re feeling a chocolate twist or a fresh fruit infusion, this recipe allows you to experiment with flavors any time you crave something special.
Crowd-Pleasing Treat: Perfect for summer barbecues or cozy family dinners, this ice cream is guaranteed to please both kids and adults alike—everyone loves a scoop of homemade bliss!
Nostalgic Flavor: Each creamy bite delivers that authentic, nostalgic vanilla taste, reminiscent of classic ice cream parlors, making it a delightful experience.
Dairy-Free Option: Easily adapt this recipe with coconut cream for a rich, dairy-free version that still delivers on creaminess—no one will miss the dairy!
For a weekend check-out of delightful options, try pairing with warm brownies or experiment with variations like a Chocolate Delight for added fun!
Creamy Old-Fashioned Vanilla Ice Cream Ingredients
• Discover the essentials for your Creamy Old-Fashioned Vanilla Ice Cream!
For the Base
- Heavy Whipping Cream – This is essential for achieving that luxurious, smooth texture.
- Sugar – Sweetens the ice cream to perfection; granulated sugar works best for this recipe.
- Vanilla Bean – Provides authentic depth of flavor; select plump and fragrant pods for the greatest impact.
- Pure Vanilla Extract – Boosts the vanilla essence; opt for high-quality extract to elevate your ice cream.
For Variations
- Cocoa Powder or Melted Chocolate – Add if you’re in the mood for a chocolate twist; this enhances the classic flavor delightfully.
- Mix-Ins (e.g., Crushed Cookies, Fresh Fruit, Nuts) – Personalize your ice cream by folding in your favorite extras for unique textures and flavors!
- Coconut Cream (optional) – Substitute for heavy cream if opting for a dairy-free version while keeping that creamy consistency intact.
Enjoy crafting your very own Creamy Old-Fashioned Vanilla Ice Cream and let your imagination run wild with variations!
Step‑by‑Step Instructions for Creamy Old-Fashioned Vanilla Ice Cream
Step 1: Whisk Base
In a large mixing bowl, pour in the heavy whipping cream and add the granulated sugar. Use a whisk to blend the mixture for about 2–3 minutes until all the sugar is fully dissolved. You’ll know it’s ready when the mixture appears smooth and slightly thickened.
Step 2: Add Vanilla
Stir in the pure vanilla extract, allowing its rich aroma to infuse into your base. This step is essential for enhancing the flavors of your Creamy Old-Fashioned Vanilla Ice Cream. Make sure to mix thoroughly for about 30 seconds until the extract is fully combined.
Step 3: Incorporate Vanilla Bean
Carefully slice the vanilla bean lengthwise with a sharp knife. Using the back of the knife, scrape out the tiny seeds and add them along with the whole vanilla pod to the cream mixture. Mix well to ensure that those beautiful specks of vanilla get distributed evenly throughout the ice cream base.
Step 4: Chill
Cover the mixing bowl tightly with plastic wrap and place it in the refrigerator. Allow the mixture to chill for at least 1 hour; for an even better flavor, let it sit overnight. This resting time helps all the flavors meld beautifully, ensuring a delightful taste in every scoop of your ice cream.
Step 5: Churn
Once chilled, remove the vanilla pod from the mixture. Pour the creamy base into your ice cream maker, following the manufacturer’s instructions. Churn the ice cream for about 20–25 minutes until it reaches a soft-serve consistency, and it’s doubled in volume and feels fluffy.
Step 6: Freeze
Transfer the churned ice cream into a freezer-safe container. Smooth the top with a spatula, then cover it with plastic wrap before sealing the lid. Freeze the ice cream for at least 4 hours to firm up completely, allowing every scoop of your Creamy Old-Fashioned Vanilla Ice Cream to be perfectly creamy and scoopable.
Creamy Old-Fashioned Vanilla Ice Cream Variations
Now that you’ve made your glorious Creamy Old-Fashioned Vanilla Ice Cream, why not embark on a delightful journey of customization? Let your taste buds roam free and create your dream flavor!
-
Chocolate Delight: Add ½ cup cocoa powder to the base for a rich chocolate twist. The deep, indulgent flavor makes every scoop feel like an irresistible treat.
-
Fruit Fusion: Mix in fresh berries or pureed fruits like strawberries or mangoes. This fruity variation brightens the classic vanilla, perfect for a refreshing summer dessert.
-
Nutty Addition: Fold in chopped nuts, such as walnuts or pistachios, during the last few minutes of churning for an exciting crunch. This adds texture and a delightful surprise to each creamy bite.
-
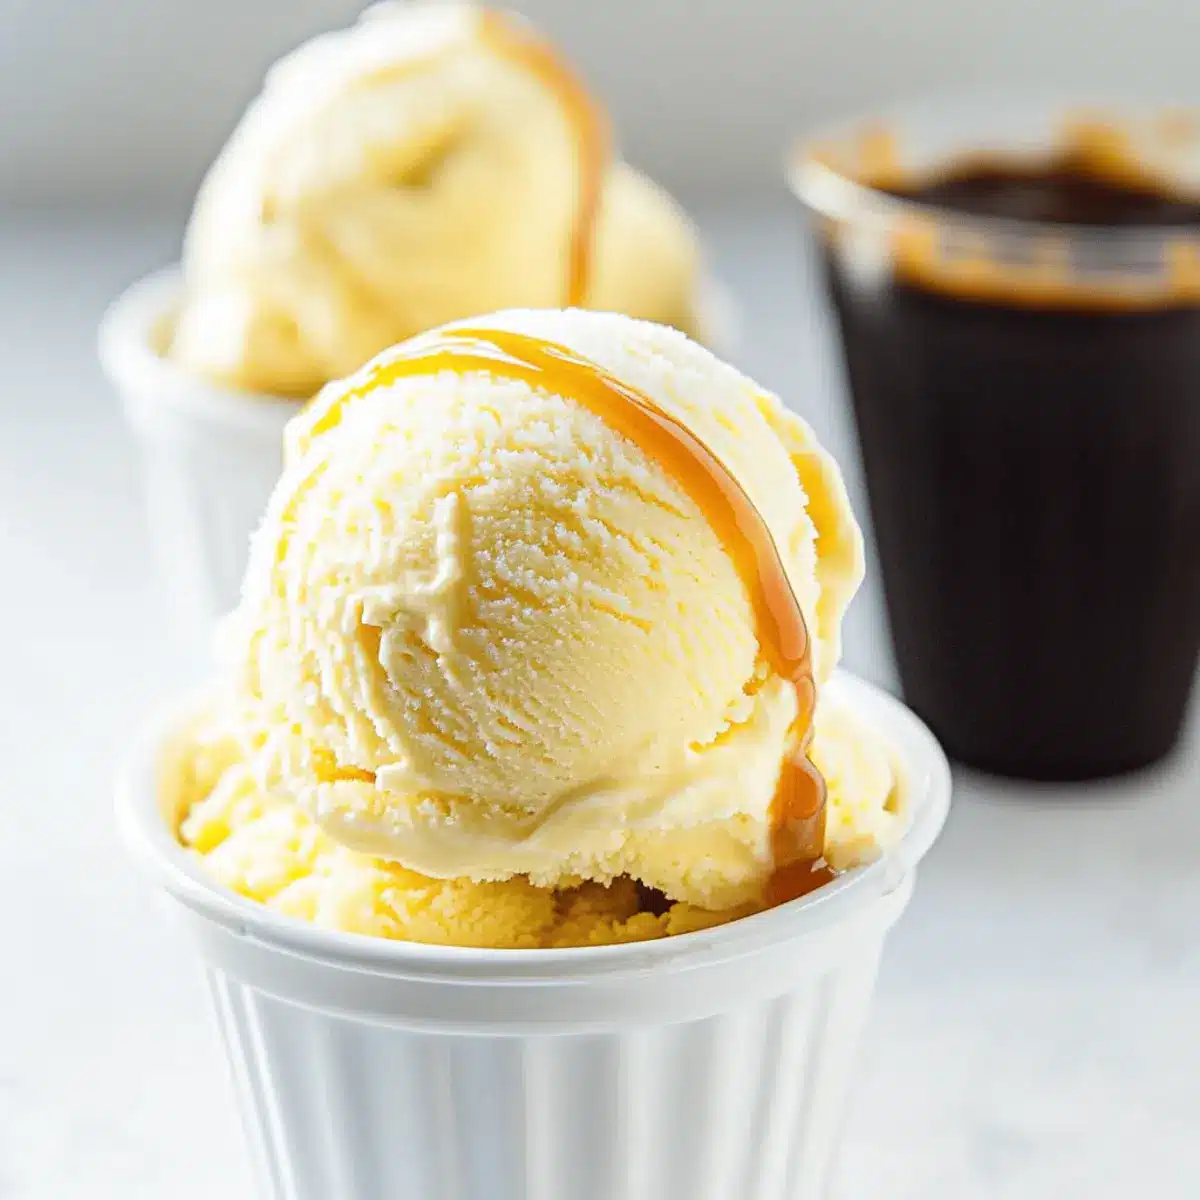
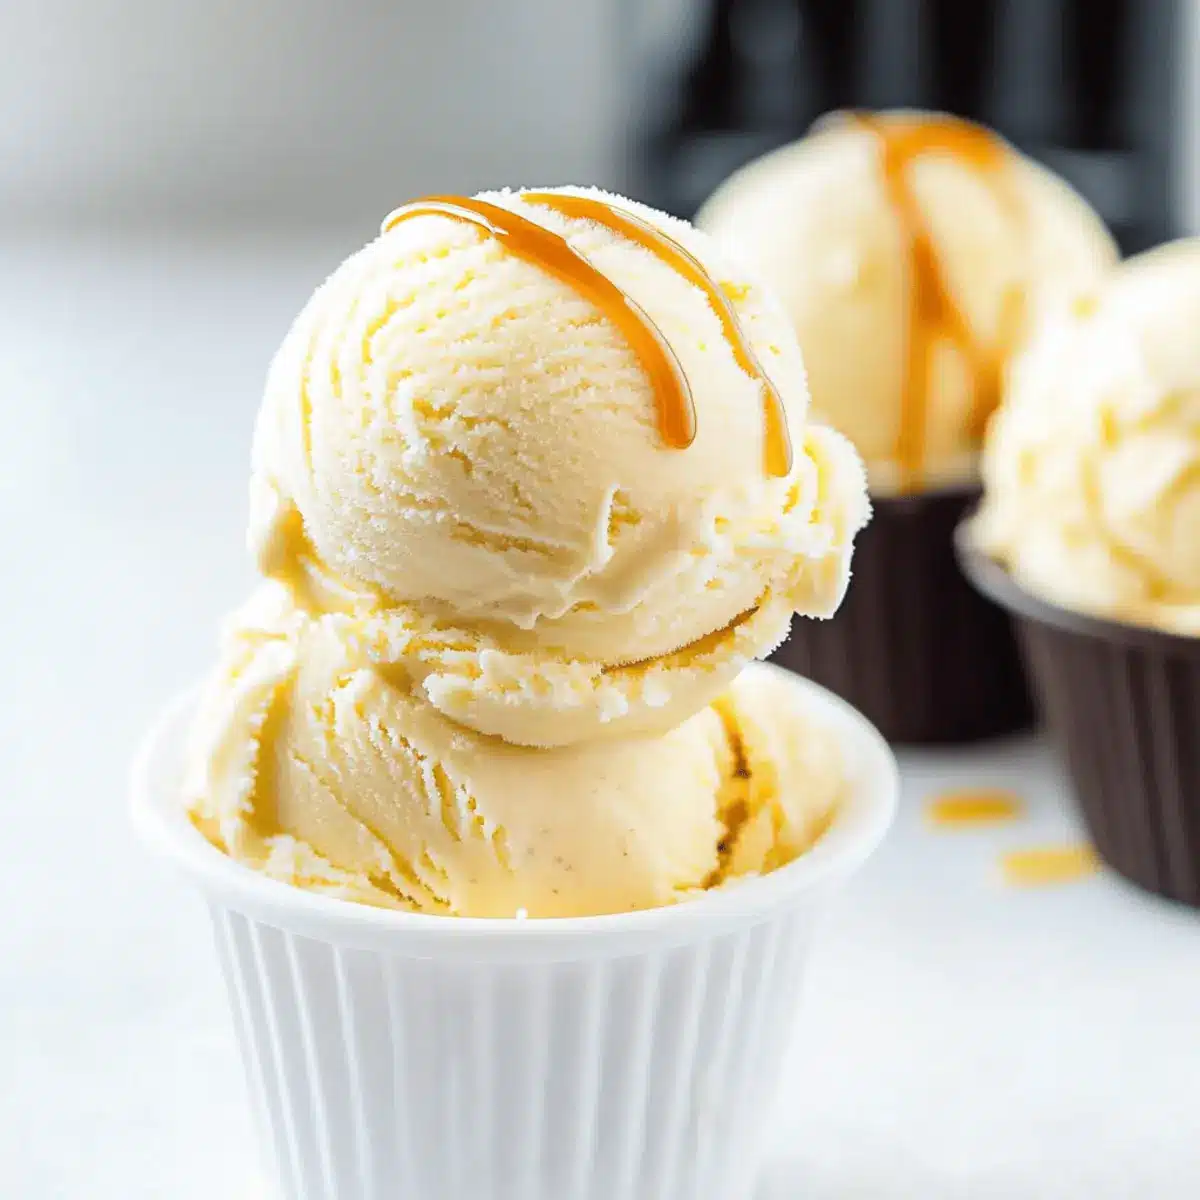
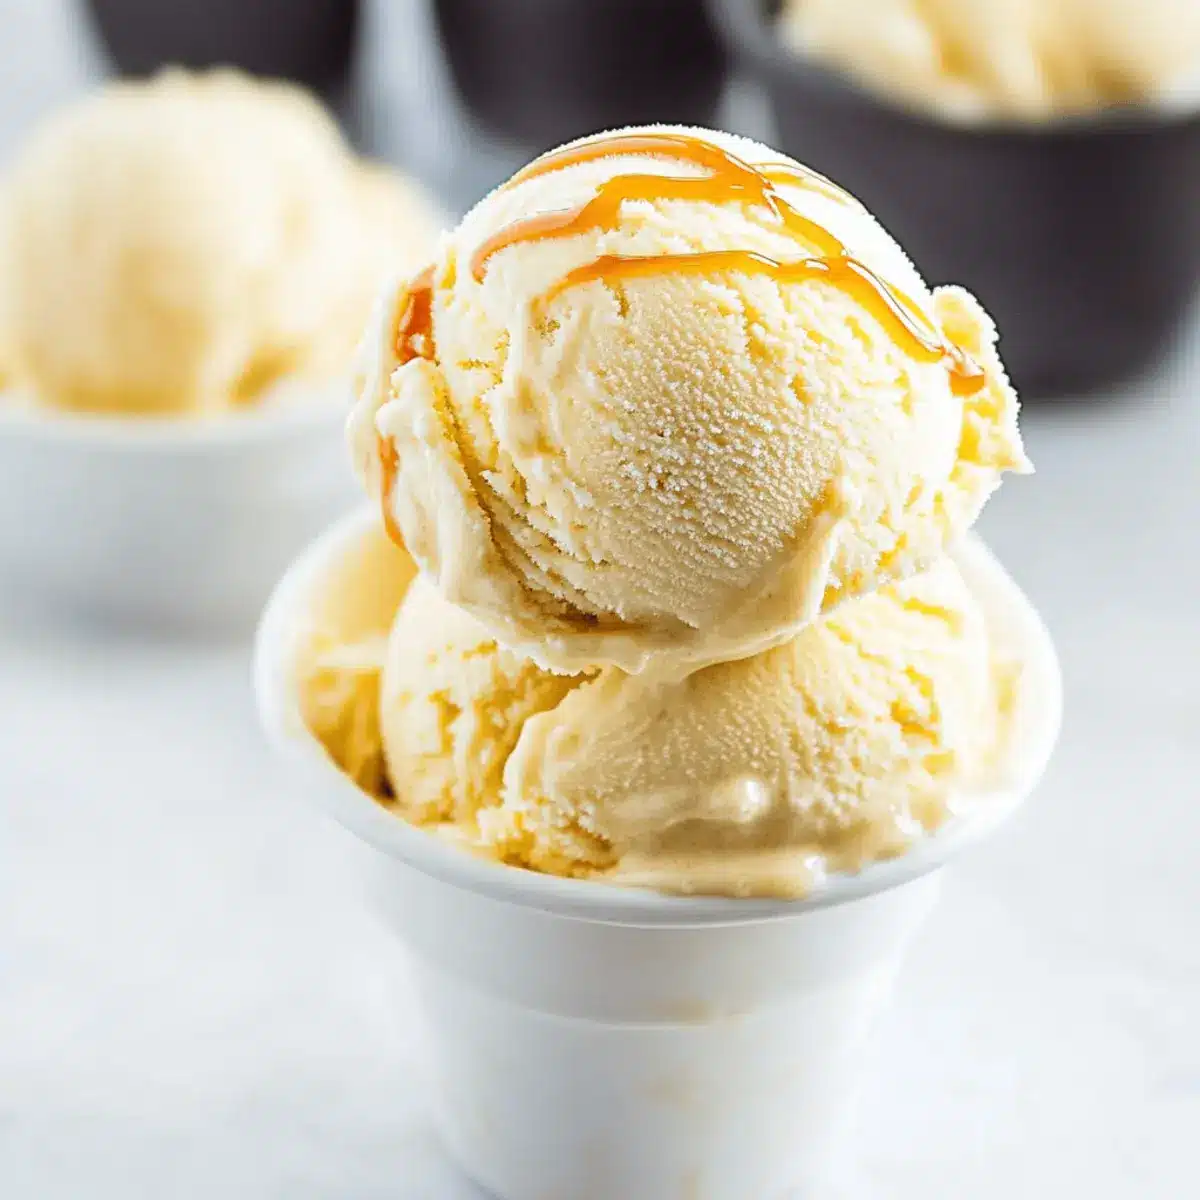
Caramel Swirl: Drizzle in some caramel sauce just before freezing for a luscious caramel ripple throughout your ice cream. The sweet, gooey goodness complements the vanilla perfectly.
-
Spicy Twist: Sprinkle in a pinch of cinnamon or cayenne for a unique flavor kick. The subtle heat elevates your ice cream, making it an adventurous dessert choice.
-
Herbal Infusion: Infuse your base with fresh herbs like mint or basil before chilling. This creates a fragrant, aromatic treat that’s both sophisticated and refreshing.
For an extra creamy experience, consider pairing your exciting creations with a rich dessert like Coffee Cheesecake or a comforting bowl of Cauliflower Soup New for a delightful end to your meal!
How to Store and Freeze Creamy Old-Fashioned Vanilla Ice Cream
Airtight Container: Store your Creamy Old-Fashioned Vanilla Ice Cream in an airtight container to maintain its creamy texture and prevent freezer burn.
Freezer Timeframe: It will stay fresh in the freezer for up to 4 weeks, but it’s so delicious, it might not last that long!
Thawing: When you’re ready to enjoy a scoop, let the ice cream sit at room temperature for about 5-10 minutes to soften slightly before scooping.
Press Plastic Wrap: For optimal freshness, press plastic wrap directly onto the surface of the ice cream before sealing the container to reduce ice crystal formation.
What to Serve with Creamy Old-Fashioned Vanilla Ice Cream
Indulge in a symphony of flavors and textures as you enhance your homemade frozen delight with these perfect pairings.
-
Warm Brownies: The gooey chocolate contrasts beautifully with the creamy vanilla. A warm brownie topped with a scoop is a match made in dessert heaven!
-
Fresh Berries: Bright, juicy strawberries or raspberries offer a refreshing burst of flavor that complements the rich sweetness of the ice cream, creating a balanced treat.
-
Homemade Waffles: Crisp and fluffy waffles provide a delightful crunch, making each bite an adventure of texture. Top it off with a drizzle of syrup for more indulgence.
-
Chocolate Sauce: Drizzling warm, silky chocolate over your creamy scoop adds an extra layer of indulgence, turning your dessert into a luxurious experience.
-
Caramel Swirl: A touch of rich caramel sauce will bring warmth and richness, creating a delicious interplay of flavors with the classic vanilla.
-
Nutty Butter Cookies: The crunchiness of these cookies balances the smoothness of your ice cream wonderfully. Crumble a few on top for added texture!
-
Coconut Flakes: Adding lightly toasted coconut flakes elevates the ice cream’s flavor. The tropical element complements the creamy old-fashioned vanilla beautifully.
-
Mint-Infused Tea: A refreshing, cool drink works wonders alongside your dessert, cleansing the palate while making your experience more delightful.
-
Spiced Hot Cider: In colder months, a mug of warm spiced cider pairs wonderfully with ice cream, enhancing flavors and creating a feel-good vibe that’s perfect for family gatherings.
Helpful Tricks for Creamy Old-Fashioned Vanilla Ice Cream
-
Use Chilled Ingredients: Ensure your heavy cream is cold from the fridge before whisking. This promotes optimal churning and rich texture in your Creamy Old-Fashioned Vanilla Ice Cream.
-
Dissolve Sugar Well: Take the time to whisk your sugar into the cream until fully dissolved. Undissolved sugar can lead to an icy texture, diminishing the creaminess of your ice cream.
-
Chill Properly: Allow the mixture to chill for at least an hour, or overnight if you have time. This helps the flavors meld and enhances the overall taste of your ice cream.
-
Monitor Churning Time: It’s key to churn for the right amount of time. Over-churning can lead to ice crystals forming, resulting in a less creamy consistency.
-
Seal to Prevent Ice Crystals: Store your ice cream in a wide, shallow container and press plastic wrap directly onto the surface before sealing. This minimizes exposure to air and helps prevent unwanted ice crystals from forming.
Make Ahead Options
Making your Creamy Old-Fashioned Vanilla Ice Cream ahead of time can save you precious moments on busy days! You can prepare the base mixture up to 24 hours in advance; simply whisk together the heavy whipping cream, sugar, pure vanilla extract, and vanilla bean seeds, then refrigerate it until you’re ready to churn. This chilling time not only enhances the flavor but also ensures a velvety texture in every scoop. When you’re set to serve, just pour the chilled mixture into your ice cream maker and churn per instructions (about 20-25 minutes). This way, you’ll have homemade ice cream ready to delight your family without any last-minute fuss!
Creamy Old-Fashioned Vanilla Ice Cream Recipe FAQs
What type of vanilla bean should I use?
I recommend selecting plump and shiny vanilla beans, as they contain the oils that provide the richest flavor. Look for pods with a fragrant aroma—this is a sign of freshness.
How do I store my homemade ice cream?
Store your Creamy Old-Fashioned Vanilla Ice Cream in an airtight container, ensuring minimal exposure to air. It will remain fresh for up to 4 weeks in the freezer, but to ensure absolutely no ice crystals, press plastic wrap directly onto the surface before sealing.
Can I freeze my ice cream and for how long?
Absolutely! After churning, transfer your ice cream to a freezer-safe container and smooth the top. Cover it well to avoid ice formation, and freeze for at least 4 hours. For best quality, consume it within 4 weeks, although it may hang around longer because it’s so delicious!
What can I do if my ice cream is too icy?
If your ice cream turns out too icy, it’s often due to undissolved sugar or insufficient churning. Make sure to whisk the sugar completely into the cream to avoid this. When churning, keep an eye on the time; over-churning can introduce too much air, leading to a less creamy texture.
Is there a dairy-free option for this ice cream?
Yes, you can easily make a dairy-free version by substituting heavy whipping cream with coconut cream. This keeps the ice cream creamy while adding a delightful, light coconut flavor—your sweet tooth will be satisfied without the dairy!
Can I add mix-ins to my ice cream?
Certainly! During the last few minutes of churning, fold in your favorite mix-ins like crushed cookies, nuts, or fresh fruit. This customization adds a unique twist to every scoop, making your Creamy Old-Fashioned Vanilla Ice Cream even more enjoyable!
Creamy Old-Fashioned Vanilla Ice Cream for Pure Joy
Ingredients
Equipment
Method
- In a large mixing bowl, pour in the heavy whipping cream and add the granulated sugar. Whisk for about 2–3 minutes until smooth and slightly thickened.
- Stir in the pure vanilla extract for enhanced flavor.
- Slice the vanilla bean lengthwise, scrape out the seeds, and mix them into the cream.
- Cover the bowl tightly and chill in the refrigerator for at least 1 hour, or overnight for better flavor.
- Remove the vanilla pod and churn the mixture in your ice cream maker according to the manufacturer's instructions for 20–25 minutes.
- Transfer to a freezer-safe container, smooth the top, cover it with plastic wrap, and freeze for at least 4 hours before serving.
Leave a Reply