
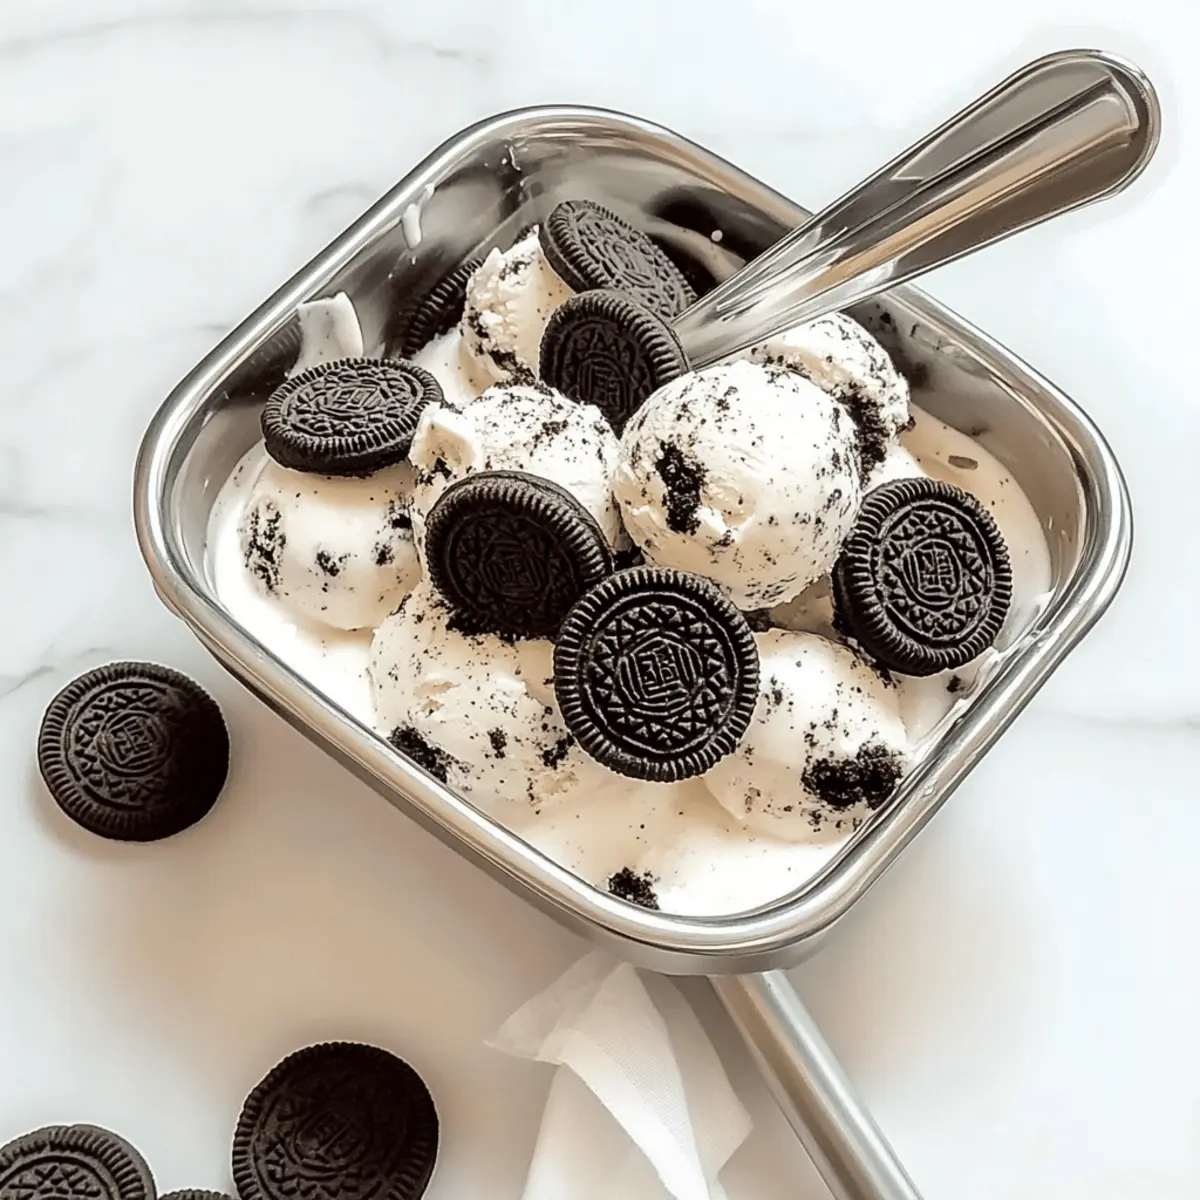
The delightful sound of mixing and the heavenly scent of vanilla drifting through the kitchen instantly make me feel at home. Today, I’m thrilled to share my favorite recipe for homemade Oreo ice cream, a luscious treat that you can whip up in just 10 minutes. This no-churn, egg-free delight is not only effortlessly satisfying but also offers endless possibilities for customization—think mint or peanut butter variations to spark your creativity! Whether you’re hosting a dinner party or simply looking for a comforting dessert to enjoy on a cozy evening, this crunchy and creamy masterpiece will hit the spot. Are you ready to dive into a delicious adventure with me? Let’s get started!
Why Is Homemade Oreo Ice Cream So Good?
Irresistible Flavor: The combination of rich vanilla and crunchy Oreo bits creates a taste that’s hard to resist.
Quick & Easy: In just 10 minutes, you can whip up this delightful dessert, making it perfect for spontaneous cravings or last-minute gatherings.
Egg-Free & Versatile: Enjoy a dessert that caters to various dietary preferences while allowing for endless variations, like mint chocolate or fruit fusion.
Crowd-Pleaser: This homemade treat will impress family and friends alike—perfect for summer BBQs or cozy movie nights.
Pair it with fresh berries or serve it in homemade waffle cones for an elevated experience that everyone will love!
Homemade Oreo Ice Cream Ingredients
For the Ice Cream Base
• Heavy whipping cream – This rich cream provides the velvety texture; it’s best to use it cold for optimal whipping.
• Sweetened condensed milk – Adds a luscious sweetness and creamy consistency; don’t swap this with regular milk for best results.
• Vanilla extract – Amplifies the flavor of the ice cream; choose pure vanilla extract for a more authentic taste.
For the Mix-Ins
• Oreo cookies – The star of the show, these cookies give your homemade Oreo ice cream its beloved flavor and texture; save some for a crunchy topping.
• Optional alternate cookies – For a fun twist, substitute with mint or peanut butter cookies to create a unique variation of homemade Oreo ice cream.
Step‑by‑Step Instructions for Homemade Oreo Ice Cream
Step 1: Chop Cookies
Begin by chopping the Oreo cookies into small chunks, ensuring that some crumbs remain for later use as a topping. Use a sharp knife or a food processor for quick work, looking for a mixture of sizable bits and fine crumbs. Set aside the chopped cookies while you prepare the ice cream base.
Step 2: Whip Cream
In a large, chilled mixing bowl, pour in the cold heavy whipping cream. Using an electric mixer, beat it on medium speed until medium-firm peaks form—this should take about 2 to 3 minutes. Watch for a thickened, airy texture that holds its shape but isn’t overly stiff, creating a perfect base for your homemade Oreo ice cream.
Step 3: Fold Ingredients
Gently fold in the sweetened condensed milk and vanilla extract into the whipped cream, using a spatula to preserve the airy texture. Be careful not to overmix; you want to maintain the lightness of the cream while fully incorporating the ingredients. This mixture will become the luscious base of your homemade Oreo ice cream.
Step 4: Incorporate Cookies
Now, add three-quarters of the chopped Oreo cookies to the cream mixture. With gentle folding motions, mix until the cookie pieces are evenly distributed throughout, ensuring you get that familiar Oreo flavor in every scoop. Leave some cookie pieces aside for the finishing touch on top of your ice cream.
Step 5: Freeze Mixture
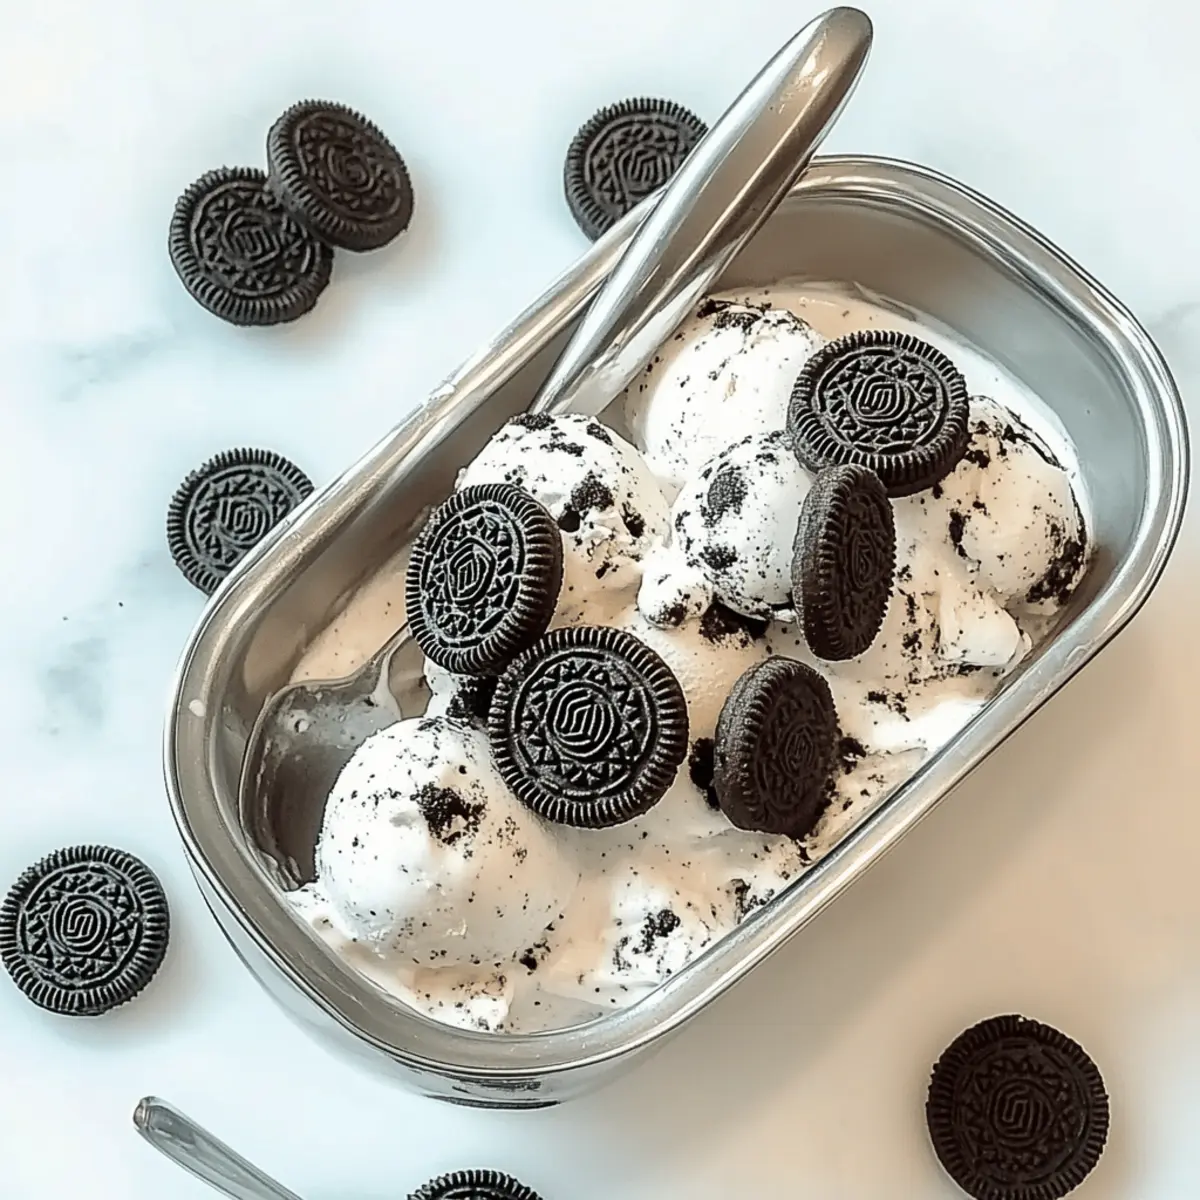
Carefully pour the Oreo mixture into a metal pan, smoothing out the top with a spatula. Sprinkle the reserved Oreo bits evenly over the surface and cover the pan tightly with plastic wrap. Place it in the freezer, and allow it to chill for 4 to 6 hours, or until the ice cream is firm and scoopable, creating a delightful treat.
Step 6: Serve and Enjoy
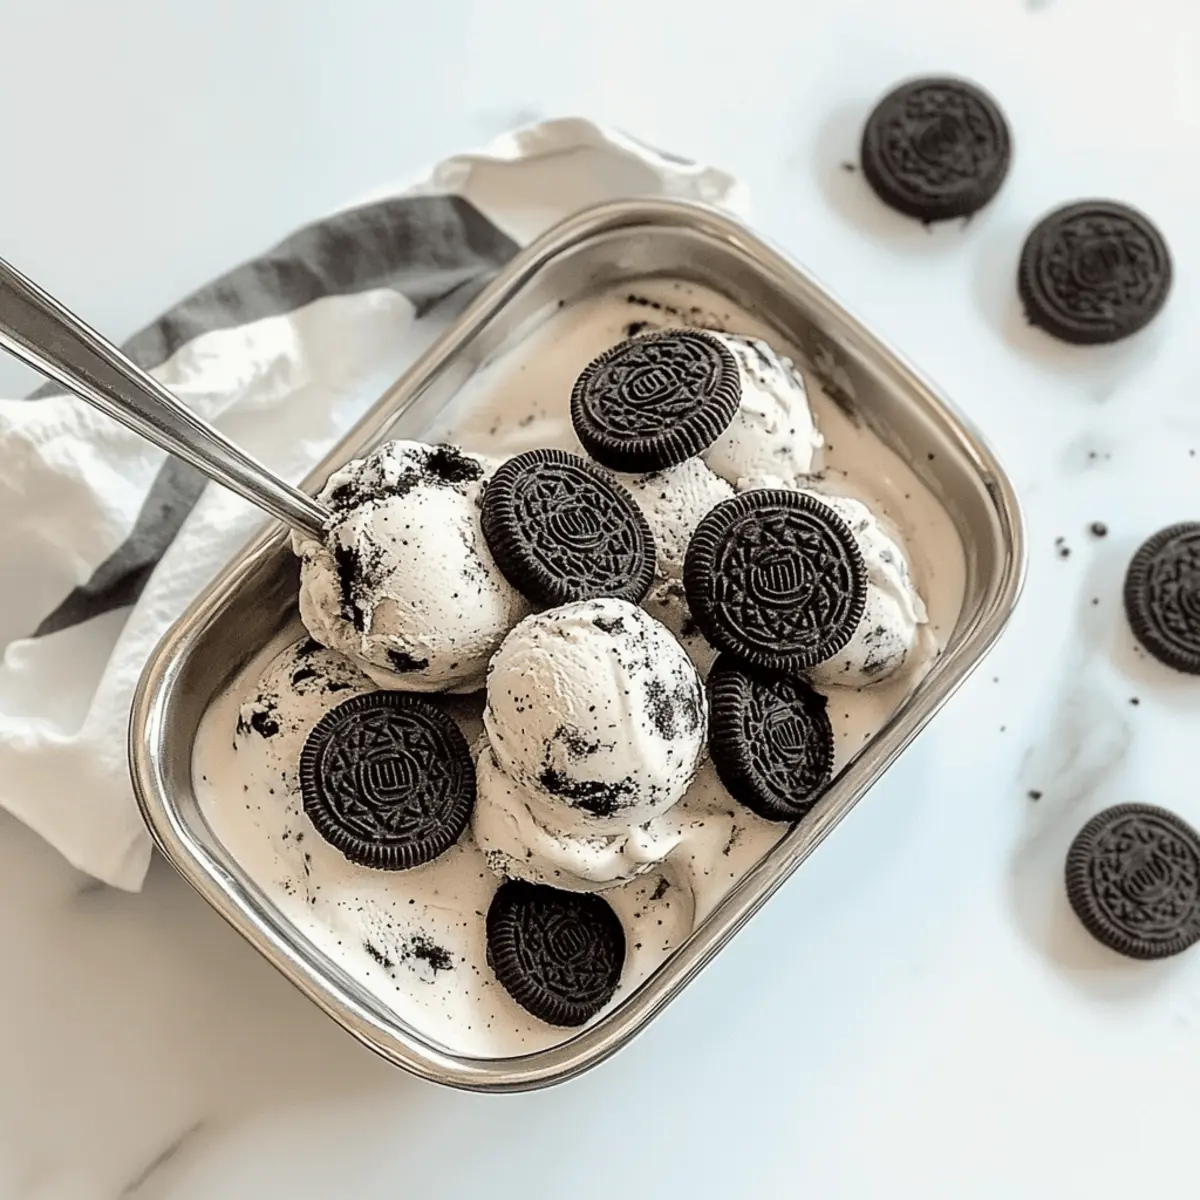
Once fully frozen, remove your homemade Oreo ice cream from the freezer. Allow it to sit at room temperature for about 5-10 minutes for easier scooping. Use an ice cream scoop to serve generous portions into bowls, and consider adding extra toppings like chocolate sauce or fresh berries for a delightful finishing touch.
What to Serve with No-Churn Oreo Ice Cream
Indulging in creamy, homemade Oreo ice cream is a treat worth celebrating, and pairing it with delightful accompaniments elevates the whole experience.
-
Chocolate Sauce: A drizzle of warm chocolate sauce adds a luxurious touch that perfectly complements the crunchy texture of the Oreos. It’s an irresistible combination of flavors and temperatures.
-
Fresh Berries: Tart raspberries or sweet strawberries provide a refreshing contrast to the rich ice cream. Their natural acidity cuts through the creaminess, brightening every bite.
-
Homemade Waffle Cones: Serve your ice cream in crisp, homemade waffle cones for a delightful crunch that enhances the eating experience. Each bite becomes a fun adventure!
-
Whipped Cream: Light, fluffy whipped cream on top makes for an elegant presentation and a creamy contrast, adding a touch of sweet lightness to this rich dessert.
-
Mint Chocolate Brownies: For those who love a blend of textures, accompany your ice cream with fudgy mint brownies, providing a rich and decadent combo that’s hard to resist.
-
Espresso or Coffee: A small cup of hot espresso or your favorite coffee offers a perfect balance, bringing out the flavors of the cookies in the ice cream while giving a gentle caffeine kick.
-
Salted Caramel Drizzle: The addition of a salty caramel sauce can create an exciting flavor profile, enhancing the chocolate and vanilla notes for an unforgettable treat.
Each of these delightful pairings can transform a simple dessert into a spectacular experience, making this homemade Oreo ice cream the star of your gatherings!
Expert Tips for Homemade Oreo Ice Cream
- Chill Everything: Ensure your mixing bowl and cream are chilled to achieve better whipping results, which is crucial for a fluffy homemade Oreo ice cream.
- Fold, Don’t Stir: Gently fold in the condensed milk and vanilla to maintain the airy texture of the whipped cream. Overmixing can deflate your ice cream mixture.
- Proper Storage: Always cover your ice cream with plastic wrap to prevent freezer burn, maintaining that creamy texture and delicious flavor for longer.
- Mix-In Magic: Feel free to experiment with alternative cookie flavors for unique variations, but remember to keep the base ingredients consistent for the best results.
- Scoop with Ease: Let your homemade Oreo ice cream sit at room temperature for 5-10 minutes before serving for an easier scoop and delightful experience.
How to Store and Freeze Homemade Oreo Ice Cream
- Freezer: Store your homemade Oreo ice cream in an airtight container for up to 2 weeks, ensuring it is well-covered with plastic wrap to prevent freezer burn.
- Scoopability: Allow the ice cream to soften at room temperature for 5-10 minutes before scooping, making it easier to serve and enjoy.
- Layering: For the best preservation, place a piece of parchment paper directly on the ice cream surface before sealing the container, which helps maintain texture.
- Avoid Refreezing: Once the ice cream has thawed, it’s best to consume it promptly instead of refreezing, as repeated freezing can affect the creamy goodness.
Homemade Oreo Ice Cream Variations
Feel free to let your creativity shine with these delicious twists on your homemade Oreo ice cream! Each variation opens up a world of taste possibilities that will excite your palate.
-
Mint Chocolate: Swap Oreos with mint chocolate cookies for a refreshing twist that harmonizes with the creamy base. Mint lovers will revel in this cool dessert, perfect for summer!
-
Peanut Butter Swirl: Add dollops of your favorite peanut butter for a nutty, luscious flavor. The blend of creamy peanut butter and crunchy Oreos creates a heavenly combination that’s simply irresistible.
-
Fruit Fusion: Incorporate crushed strawberries or pureed raspberries to give it a fruity zing. This vibrant twist not only adds color but also a delightful freshness that dances on your taste buds.
-
Dairy-Free: Replace heavy cream with coconut cream and ensure the condensed milk is dairy-free for a vegan version. This variation brings a tropical flair to your ice cream, making it a perfect treat for everyone!
-
Spicy Kick: Experiment with a hint of chili powder for a surprising twist. It’s an unconventional choice, but that spicy undertone combined with the sweetness is sure to catch everyone off guard!
-
Nutty Add-In: Toss in some chopped nuts like almonds or walnuts to add a satisfying crunch. This texture twist will elevate your homemade Oreo ice cream to new heights of deliciousness.
-
Chocolate Chips: Add mini chocolate chips for an extra chocolatey punch. They melt slightly, giving each scoop a rich flavor that’s hard to resist.
-
Lemon Zest: Stir in some lemon zest for a zesty refreshment that brightens up the creamy vanilla base. The citrus notes contrast beautifully with the richness of the ice cream.
For even more dessert inspiration, don’t forget to check out my Oreo Balls Bake or try the delightful Lemon Cream Puffs. Enjoy customizing your homemade Oreo ice cream as you embark on this sweet adventure!
Make Ahead Options
These homemade Oreo ice cream treats are perfect for meal prep enthusiasts! You can prepare the ice cream base up to 24 hours in advance, ensuring that you save precious time when entertaining or just indulging on a cozy night. To do this, complete steps 1 through 4 in the original recipe, then transfer the mixture to a metal pan for freezing. For optimal quality, keep the covered ice cream tightly sealed to prevent freezer burn. When you’re ready to serve, simply remove it from the freezer and allow it to soften at room temperature for about 5-10 minutes. Scoop into bowls, sprinkle with reserved Oreo bits, and enjoy a creamy, delicious dessert that’s just as delightful as when you made it fresh!
Homemade Oreo Ice Cream Recipe FAQs
What type of Oreo cookies should I use?
You can use classic Oreo cookies for the traditional taste, but feel free to get creative! I often replace them with mint or peanut butter Oreos to switch up the flavor. Just remember to reserve some for that crunchy topping!
How long can I store homemade Oreo ice cream?
Store your homemade Oreo ice cream in an airtight container in the freezer for up to 2 weeks. I recommend covering the ice cream with plastic wrap before sealing the container to prevent freezer burn.
Can I freeze the ice cream in a different container?
Absolutely! While a metal pan works well, you can also use any freezer-safe container. Just make sure to smooth the mixture and cover it tightly to maintain its creamy texture.
What should I do if the ice cream is too hard to scoop?
If your homemade Oreo ice cream is too hard, let it sit at room temperature for about 5-10 minutes before scooping. This will soften it up and make serving much easier.
Is homemade Oreo ice cream safe for pets or those with allergies?
While it’s a delicious treat for humans, it’s important to note that ice cream is not suitable for pets, especially due to its dairy content. Additionally, check for allergies related to Oreo cookies or any substitutes before serving. Always consult with family members about dietary considerations.
Can I use alternatives for the sweetened condensed milk?
For a dairy-free version, consider using coconut cream or a vegan sweetened condensed milk substitute. Just keep in mind that this will change the flavor slightly, but it’s a delightful twist that many enjoy!
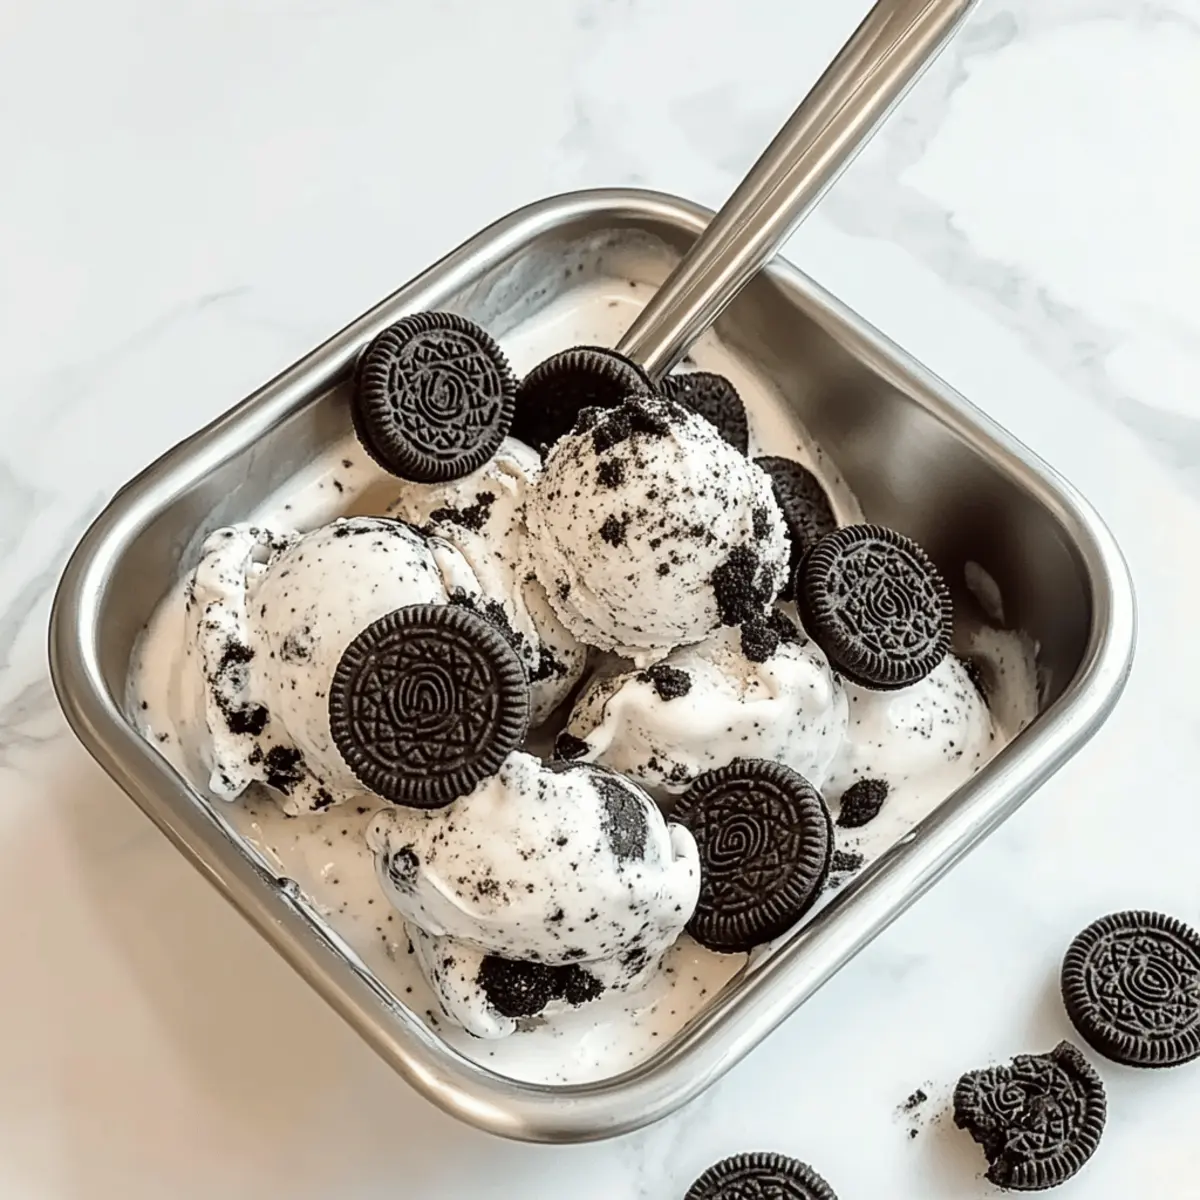
Creamy Homemade Oreo Ice Cream That Will Wow Your Taste Buds
Ingredients
Equipment
Method
- Begin by chopping the Oreo cookies into small chunks, ensuring that some crumbs remain for later use as a topping.
- In a large, chilled mixing bowl, pour in the cold heavy whipping cream. Using an electric mixer, beat until medium-firm peaks form.
- Gently fold in the sweetened condensed milk and vanilla extract into the whipped cream using a spatula.
- Add three-quarters of the chopped Oreo cookies to the cream mixture and gently fold until evenly distributed.
- Pour the mixture into a metal pan, sprinkle reserved Oreo bits on top, cover tightly with plastic wrap, and freeze for 4 to 6 hours.
- Once frozen, let the ice cream sit at room temperature for 5-10 minutes before scooping.
Leave a Reply