
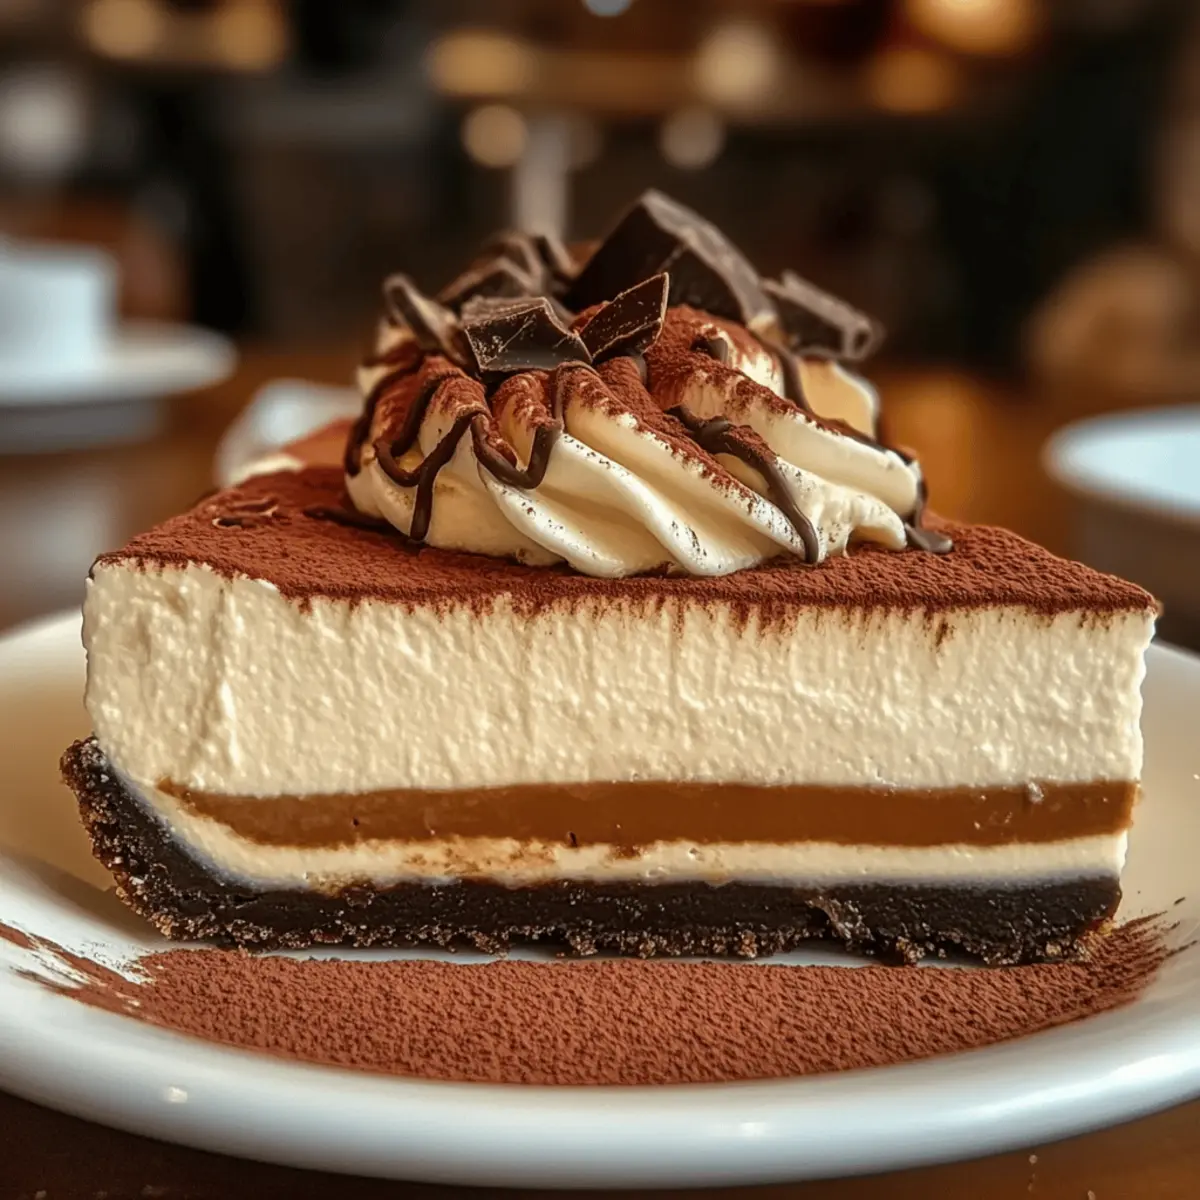
Amidst the whirlwind of life, there are few indulgences that bring pure joy quite like a slice of Creamy Coffee Cheesecake. The way the rich, velvety texture melds with the bold espresso flavor makes every bite feel like a warm hug. This luscious dessert isn’t just a treat; it transforms your gatherings into delightful memories, whether it’s a casual evening with friends or a celebratory occasion. Plus, it’s surprisingly straightforward to whip up with common ingredients found in your pantry! Whether you’re a seasoned home chef or just stepping into the world of baking, this creamy cheesecake promises to impress without requiring hours in the kitchen. So, are you ready to elevate your dessert game and savor the delightful union of coffee and cheesecake?
Why Is This Cheesecake a Must-Try?
Irresistibly Creamy: This Creamy Coffee Cheesecake boasts an incredibly smooth and velvety texture that melts in your mouth, elevating any gathering into a celebration.
Flavor Harmony: With the perfect balance of rich coffee and sweet cream cheese, each slice tantalizes your taste buds, making it a hit among coffee aficionados.
Easy to Make: You’ll love how straightforward this recipe is! In just a few simple steps, you can create a show-stopping dessert that will impress your friends and family.
Versatile Variations: Feeling adventurous? Try swirling in chocolate or adding a splash of liqueur for an adult twist! The options are endless, ensuring every cheesecake can be uniquely yours.
Make-Ahead Friendly: Prepare this cheesecake a day in advance for optimal flavor. Store it in the refrigerator and delight your guests with a dessert that’s as delicious as it is effortless.
If you need more inspiration, check out our Mini Lemon Cheesecakes for a refreshing twist, or tempt yourself with a classic Strawberry Swirl Cheesecake.
Creamy Coffee Cheesecake Ingredients
For the Crust
- Graham Cracker Crumbs – Provides the crust’s texture; feel free to substitute with crushed Oreo cookies for a chocolate twist.
- Unsalted Butter – Binds the crust while adding richness; can be replaced with coconut oil for a dairy-free version.
- Sugar – Adds sweetness to both the crust and filling; consider using coconut sugar for a healthier option.
For the Filling
- Cream Cheese – Forms the cheesecake base; make sure it’s at room temperature for a smooth mixture.
- Eggs – Provides structure and stability; be sure to use room temperature eggs for the best results.
- Espresso or Strong Brewed Coffee – The main flavor component; any robust coffee works well, or try flavored coffee for variation.
- Sour Cream or Heavy Cream – Enhances creaminess; either adds richness, while Greek yogurt can be used for a lighter alternative.
- Vanilla Extract – Rounds out flavors and is essential for aroma.
For Garnishing
- Cocoa Powder or Grated Chocolate – Adds elegance and flavor contrast; perfect for a stunning finishing touch.
With these essential ingredients, you’re poised to create a Creamy Coffee Cheesecake that will leave everyone craving more!
Step‑by‑Step Instructions for Creamy Coffee Cheesecake
Step 1: Preheat and Prepare the Crust
Preheat your oven to 325°F (160°C). In a medium mixing bowl, combine graham cracker crumbs, melted unsalted butter, and sugar. Mix until the mixture resembles wet sand. Press this crust firmly into the bottom of a springform pan to form an even layer, then bake for about 10 minutes or until golden brown and fragrant.
Step 2: Beat the Cream Cheese
While the crust cools, place room temperature cream cheese in a large bowl. Using an electric mixer, beat it on medium speed until it’s creamy and smooth, about 3-4 minutes. Gradually add sugar, mixing well until fully combined. The mixture should be silky without any lumps, creating a perfect base for your creamy coffee cheesecake.
Step 3: Add Eggs and Coffee
Next, add the eggs one at a time to the cream cheese mixture, ensuring each egg is incorporated before adding the next. Mix gently until just blended to avoid adding air. Then, pour in your freshly brewed espresso or strong coffee along with vanilla extract, stirring until completely combined. The aroma will be irresistible and perfectly characterize your cheesecake.
Step 4: Combine with Sour Cream
To enhance the creamy texture, fold in the sour cream or heavy cream gently into the coffee mixture. This step is crucial for achieving that luxurious mouthfeel. Be careful not to overmix; you want the filling to remain smooth but avoid incorporating too much air. The rich, creamy filling is now ready to pour into the crust.
Step 5: Bake the Cheesecake
Pour the luscious coffee cheesecake filling into the cooled crust, smoothing the top with a spatula. Bake the cheesecake in the preheated oven for about 55-65 minutes. You’ll know it’s done when the edges are set but the center still slightly jiggles. This jiggle is essential for achieving that creamy texture!
Step 6: Cool Gradually
Once baked, turn off the oven and let the cheesecake cool inside with the door ajar for about 1 hour. This gradual cooling helps prevent cracks on the surface. Afterward, transfer the cheesecake to the refrigerator, allowing it to chill for at least 4 hours, preferably overnight, to set and enhance the flavors of your creamy coffee cheesecake.
Step 7: Garnish and Serve
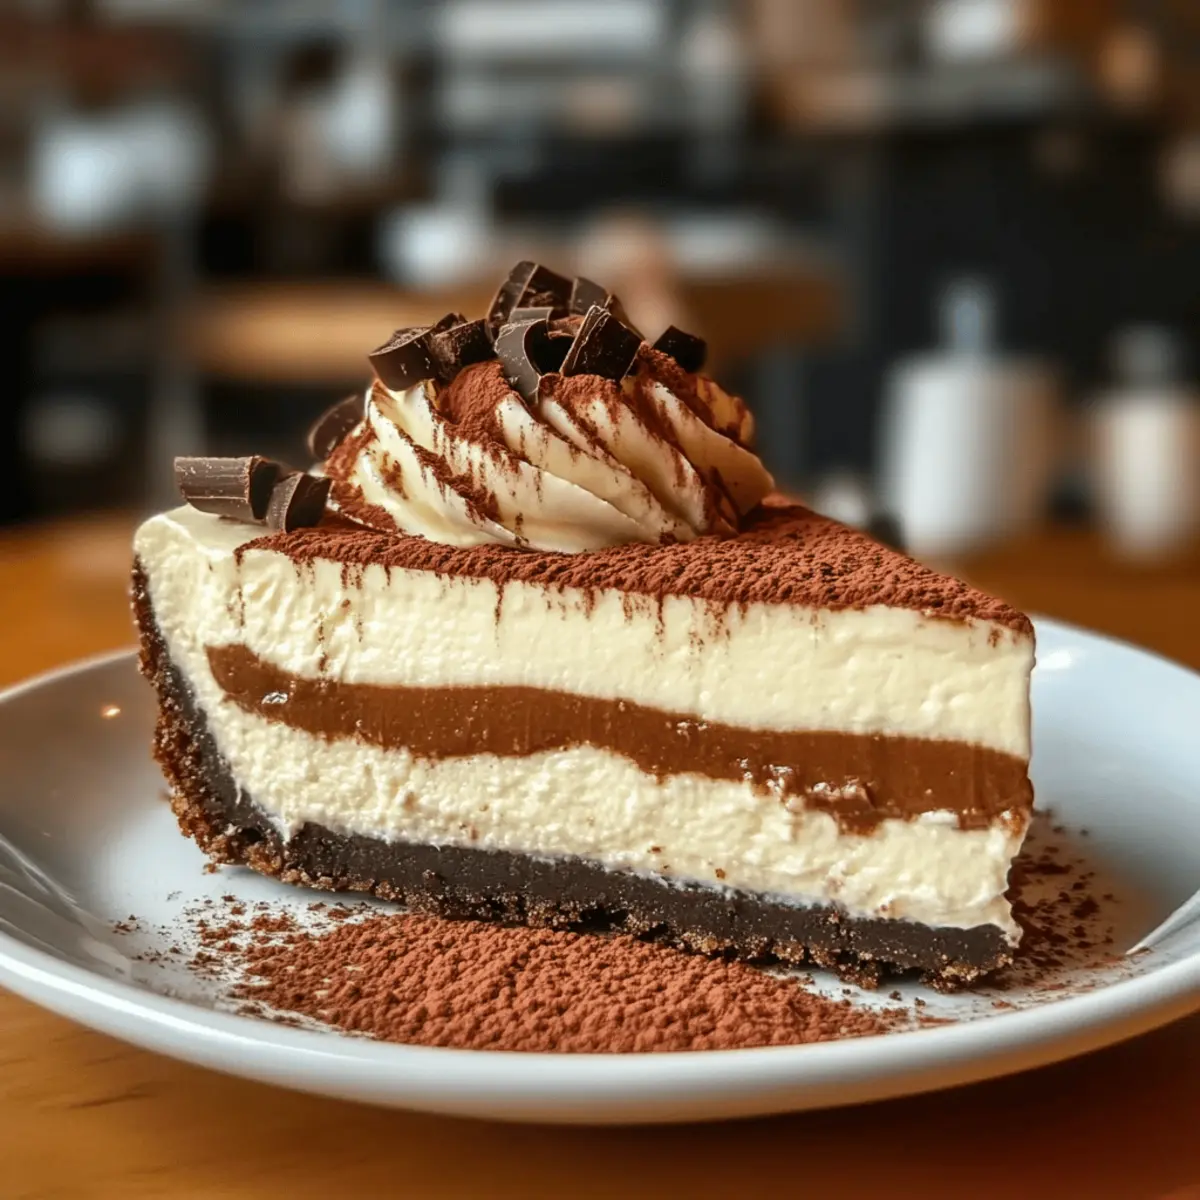
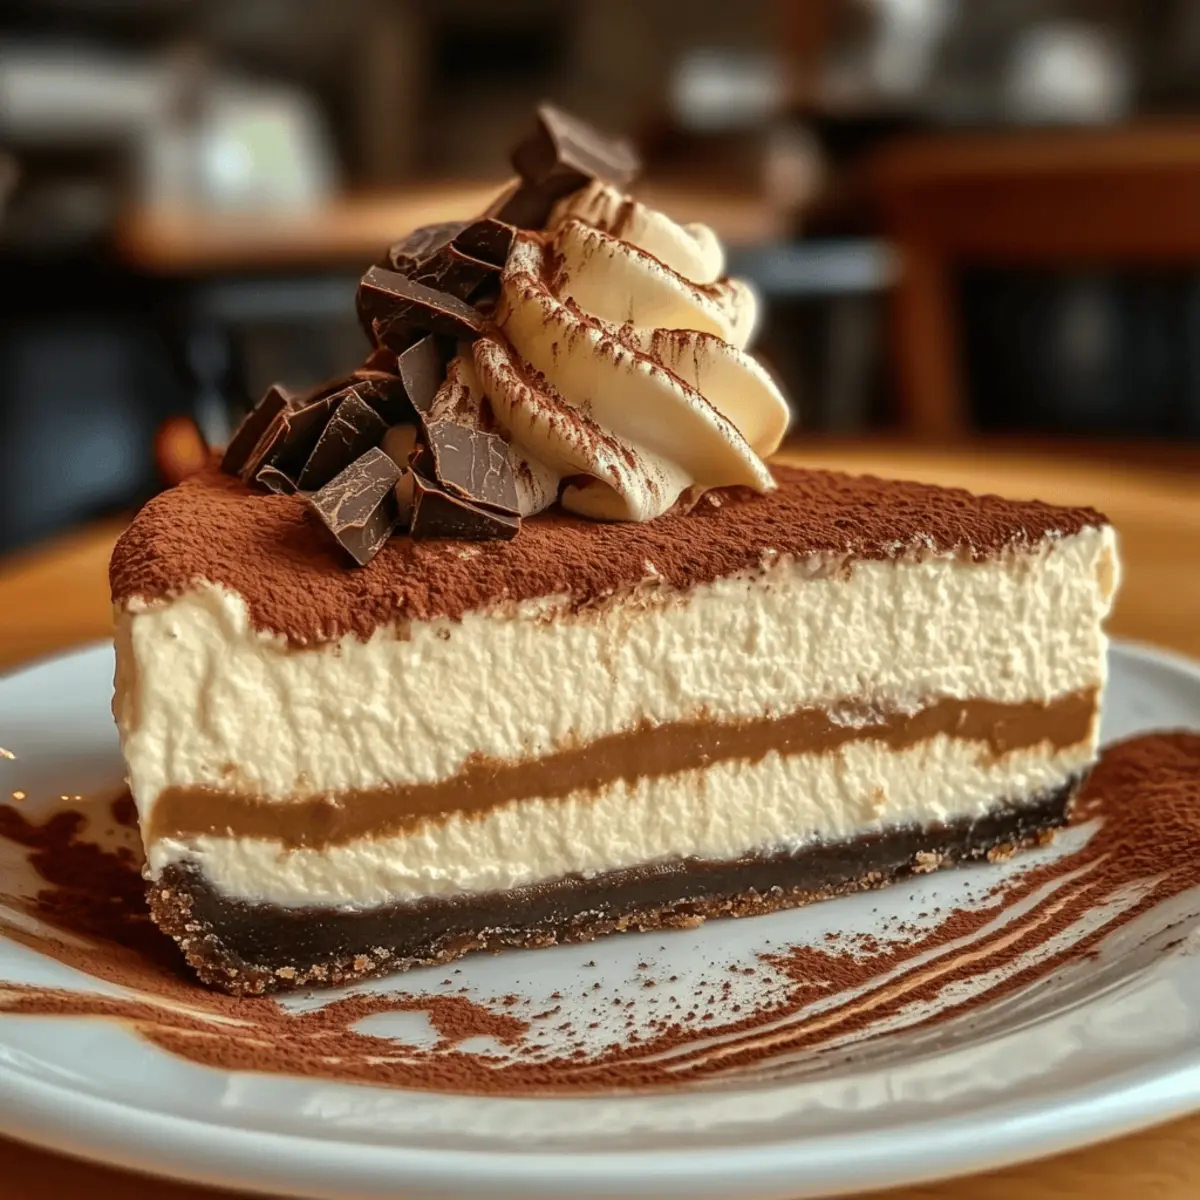
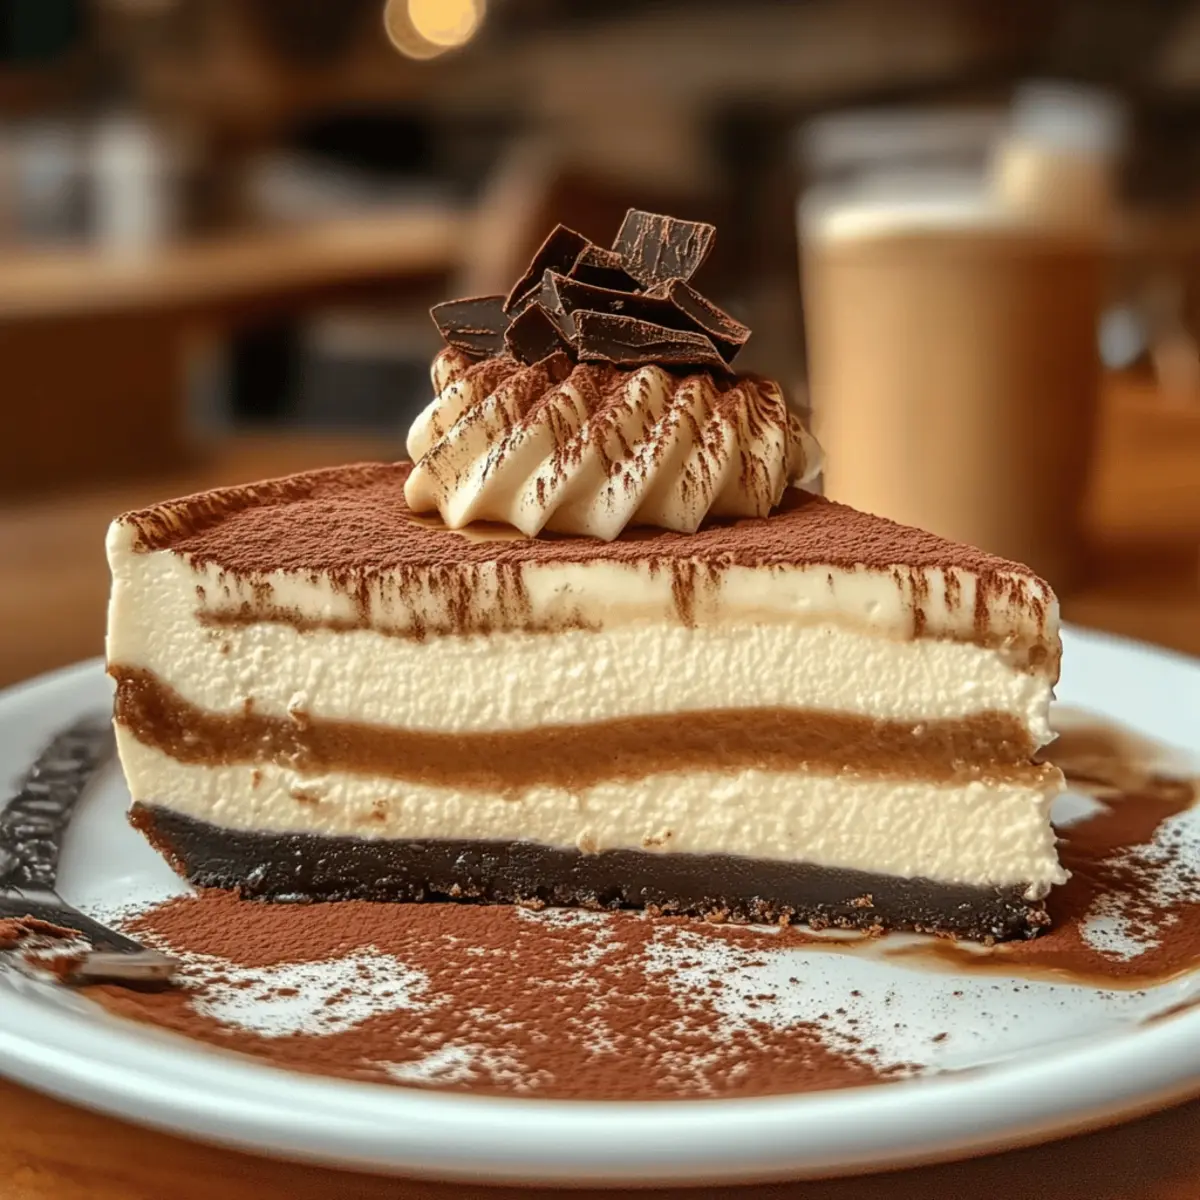
Before serving, remove the cheesecake from the springform pan. Optionally, dust the top with cocoa powder or sprinkle grated chocolate for an elegant finish. Slice the cheesecake and serve it chilled, allowing your guests to indulge in the rich coffee flavors. Enjoy every bite of this delightful and creamy coffee cheesecake!
How to Store and Freeze Creamy Coffee Cheesecake
Fridge: Keep your creamy coffee cheesecake in the refrigerator, covered with plastic wrap or stored in an airtight container, for up to 5 days. This will preserve its luscious texture and flavor.
Freezer: For longer storage, wrap individual slices in plastic wrap followed by aluminum foil and freeze for up to 3 months. This allows you to enjoy a slice whenever the craving strikes!
Thawing: To thaw, transfer the cheesecake to the fridge and allow it to defrost overnight. This slow process helps maintain its creamy consistency and flavor.
Reheating: While cheesecake is best served chilled, you can gently warm slices in the microwave for 10-15 seconds if desired. Enjoy the delightful contrast of the creamy coffee flavor!
Make Ahead Options
These Creamy Coffee Cheesecake slices are perfect for busy weeknights! You can prepare the crust and filling up to 24 hours in advance—simply keep them separate in airtight containers in the refrigerator. Assemble the cheesecake by pouring the filling into the cooled crust just before baking. This approach not only saves you time but also enhances the flavors as they meld overnight. To ensure the cheesecake remains creamy, prevent it from drying out by thoroughly chilling it after baking and letting it cool completely before refrigerating. When ready to serve, simply dust the top with cocoa powder or grated chocolate for a stunning finish. Enjoy this delectable dessert with minimal last-minute effort!
Expert Tips for Creamy Coffee Cheesecake
-
Room Temperature Ingredients: Ensure all ingredients, especially cream cheese and eggs, are at room temperature for a smooth, lump-free filling.
-
Avoid Overmixing: Mix the batter gently once the eggs are added to prevent incorporating too much air, which can cause cracks in your cheesecake.
-
Water Bath Method: Consider using a water bath while baking. This helps regulate the temperature and keeps your Creamy Coffee Cheesecake moist, further preventing cracks.
-
Cooling Gradually: Allow the cheesecake to cool in the oven with the door slightly ajar for an hour post-baking to minimize surface cracking.
-
Chill Before Serving: For optimal flavor and texture, chill your cheesecake overnight. This enhances the richness and makes it easier to slice.
What to Serve with Creamy Coffee Cheesecake
Indulging in a slice of creamy coffee cheesecake is just the beginning of your dessert experience. Enhance the journey with delightful pairings that elevate each bite into unforgettable moments.
- Espresso: The bold, rich flavors of a freshly brewed espresso beautifully complement the cheesecake’s coffee notes, creating a harmonious tasting experience.
- Fresh Berries: Bright and juicy, raspberries or strawberries add a pop of color and a refreshing tang that contrasts the creaminess of the cheesecake.
- Whipped Cream: Light and airy, a dollop of freshly whipped cream elevates the dessert’s indulgence, making every bite even more luxurious.
- Chocolate Shavings: Dark chocolate shavings sprinkle a decadent touch on top of the cheesecake, enhancing the flavors while visually captivating your guests.
- Vanilla Ice Cream: A scoop of creamy vanilla ice cream paired with the cheesecake provides a delightful temperature contrast, enriching the overall flavor experience.
- Toasted Nuts: Sprinkling chopped toasted almonds or walnuts on top adds a satisfying crunch, enhancing the texture and adding a nutty depth to each bite.
- Caramel Sauce: Drizzling warm caramel sauce over the cheesecake introduces a sweet, buttery flavor that pairs effortlessly with coffee, creating a luscious bite.
- Mint Tea: A soothing cup of mint tea provides a refreshing palate cleanser after dessert, leaving you feeling light and content after such an indulgent treat.
- Chocolate Lava Cake: For the ultimate dessert experience, serve a warm chocolate lava cake alongside the cheesecake. The combination of textures and flavors will delight any sweet tooth!
Creamy Coffee Cheesecake Variations
Embrace the joy of customization with these creative twists to make your cheesecake experience even more delightful!
-
Mocha Swirl: Swirl melted dark chocolate into the filling before baking for a luscious mocha flavor that coffee lovers will adore. The chocolate blends beautifully, taking each bite to a new level of indulgence.
-
Boozy Delight: Add a splash of Kahlúa or Baileys to the filling for an adult twist. The liqueur enhances the richness of the cheesecake, making it a perfect dessert for gatherings of friends.
-
Spiced Wonder: Incorporate a pinch of cinnamon or nutmeg into the batter for a warm and inviting flavor. This subtle spice enhances the overall taste profile, creating a comforting aroma that’ll have your guests guessing the secret ingredient.
-
Coffee Upgrade: Experiment with flavored coffee or espresso blends, such as hazelnut or vanilla. Not only does it change the flavor profile, but it also adds a delightful surprise in every bite, elevating your cheesecake to gourmet status.
-
Nutty Crust: Substitute the graham cracker crumbs with crushed almonds or pecans for a richer, nuttier crust. The texture complements the creamy filling beautifully and adds an interesting crunch.
-
Fruit Fusion: Top your cheesecake with a fresh fruit compote made of blueberries, raspberries, or strawberries for a burst of tangy sweetness. The fruit’s acidity balances the richness of the cheesecake perfectly.
For more inspiration, don’t miss out on trying our Strawberry Swirl Cheesecake or our delightful Mini Lemon Cheesecakes. Each offers a unique twist that will surely brighten your dessert table!
Creamy Coffee Cheesecake Recipe FAQs
What type of coffee should I use for the cheesecake?
Absolutely! For the best flavor, I recommend using a strong brewed coffee or espresso. The richer the coffee, the more dynamic your cheesecake will be. Feel free to experiment with flavored coffee options to add a unique twist!
How should I store leftover cheesecake?
Very easily! Store your creamy coffee cheesecake in the refrigerator, covered with plastic wrap or in an airtight container, for up to 5 days. This keeps it fresh and maintains that delicious, creamy texture.
Can I freeze the cheesecake?
Absolutely! To freeze your cheesecake, wrap individual slices in plastic wrap followed by aluminum foil. This method prevents freezer burn, allowing you to enjoy your cheesecake for up to 3 months. When you’re ready to savor a slice, simply transfer it to the fridge and let it thaw overnight.
What can I do if my cheesecake cracks while baking?
No worries! If you find cracks in your cheesecake, it’s often due to overmixing or sudden temperature changes. To avoid this, ensure all ingredients are at room temperature and consider using a water bath for baking. Also, let it cool gradually in the oven before refrigerating; this helps prevent cracks on the surface.
Can I make this cheesecake dairy-free?
Very much so! You can substitute the cream cheese with a dairy-free version; there are great plant-based cream cheeses available. Use coconut oil in the crust and replace the heavy cream with a non-dairy alternative like almond or coconut milk. This way, everyone can enjoy your creamy coffee cheesecake!
Are there any allergies to consider?
Certainly! If you’re serving this dessert to guests, check for allergies related to dairy, eggs, or gluten from the crust. You can make gluten-free adjustments by using gluten-free graham cracker crumbs. Always ensure that the ingredients used are safe for your guests!
Luscious Creamy Coffee Cheesecake for Coffee Lovers
Ingredients
Equipment
Method
- Preheat your oven to 325°F (160°C). In a medium mixing bowl, combine graham cracker crumbs, melted unsalted butter, and sugar. Mix until it resembles wet sand. Press this into the bottom of a springform pan, then bake for about 10 minutes until golden brown.
- While the crust cools, place room temperature cream cheese in a large bowl. Beat on medium speed for about 3-4 minutes until creamy. Gradually add sugar until fully combined.
- Add the eggs one at a time, mixing gently after each addition. Pour in brewed espresso and vanilla extract, stirring until combined.
- Fold in sour cream or heavy cream gently into the mixture, being careful not to overmix.
- Pour the cheesecake filling into the cooled crust, smoothing the top. Bake for 55-65 minutes until edges are set and center slightly jiggles.
- Turn off the oven and let the cheesecake cool inside with the door ajar for about 1 hour. Then transfer to the refrigerator to chill for at least 4 hours, preferably overnight.
- Before serving, optionally dust with cocoa powder or sprinkle grated chocolate. Slice and serve chilled.
Leave a Reply